Aoraki/Mt cook, The mini Caroline/baby Caroline

Caroline face Aoraki mini ski line
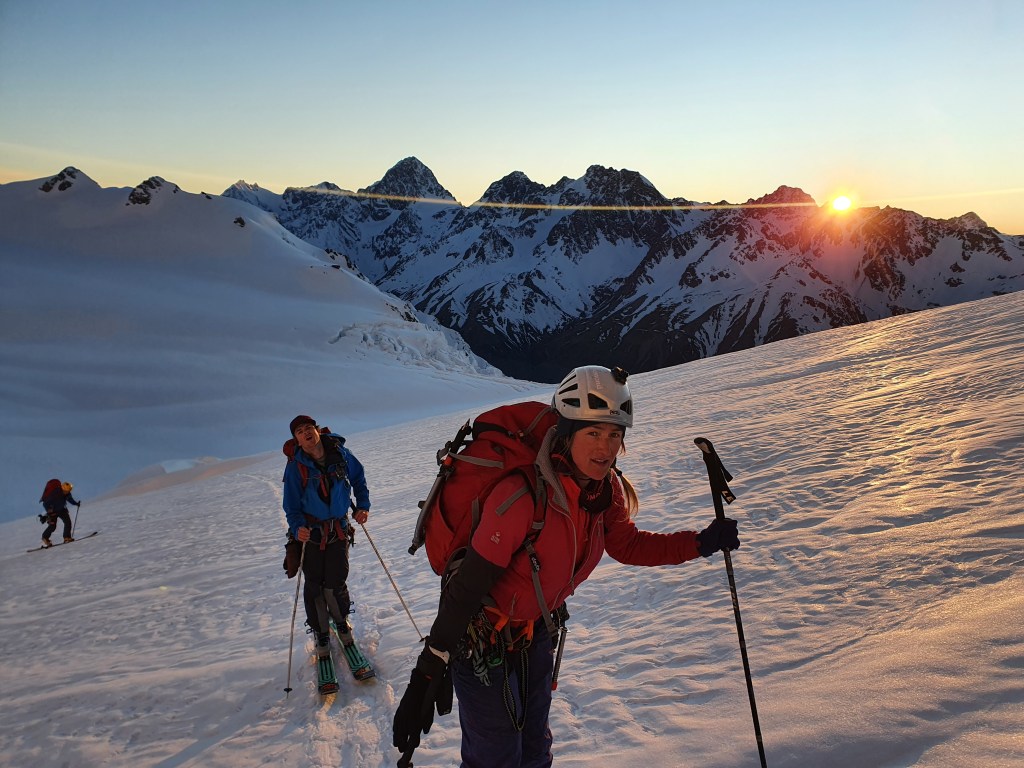
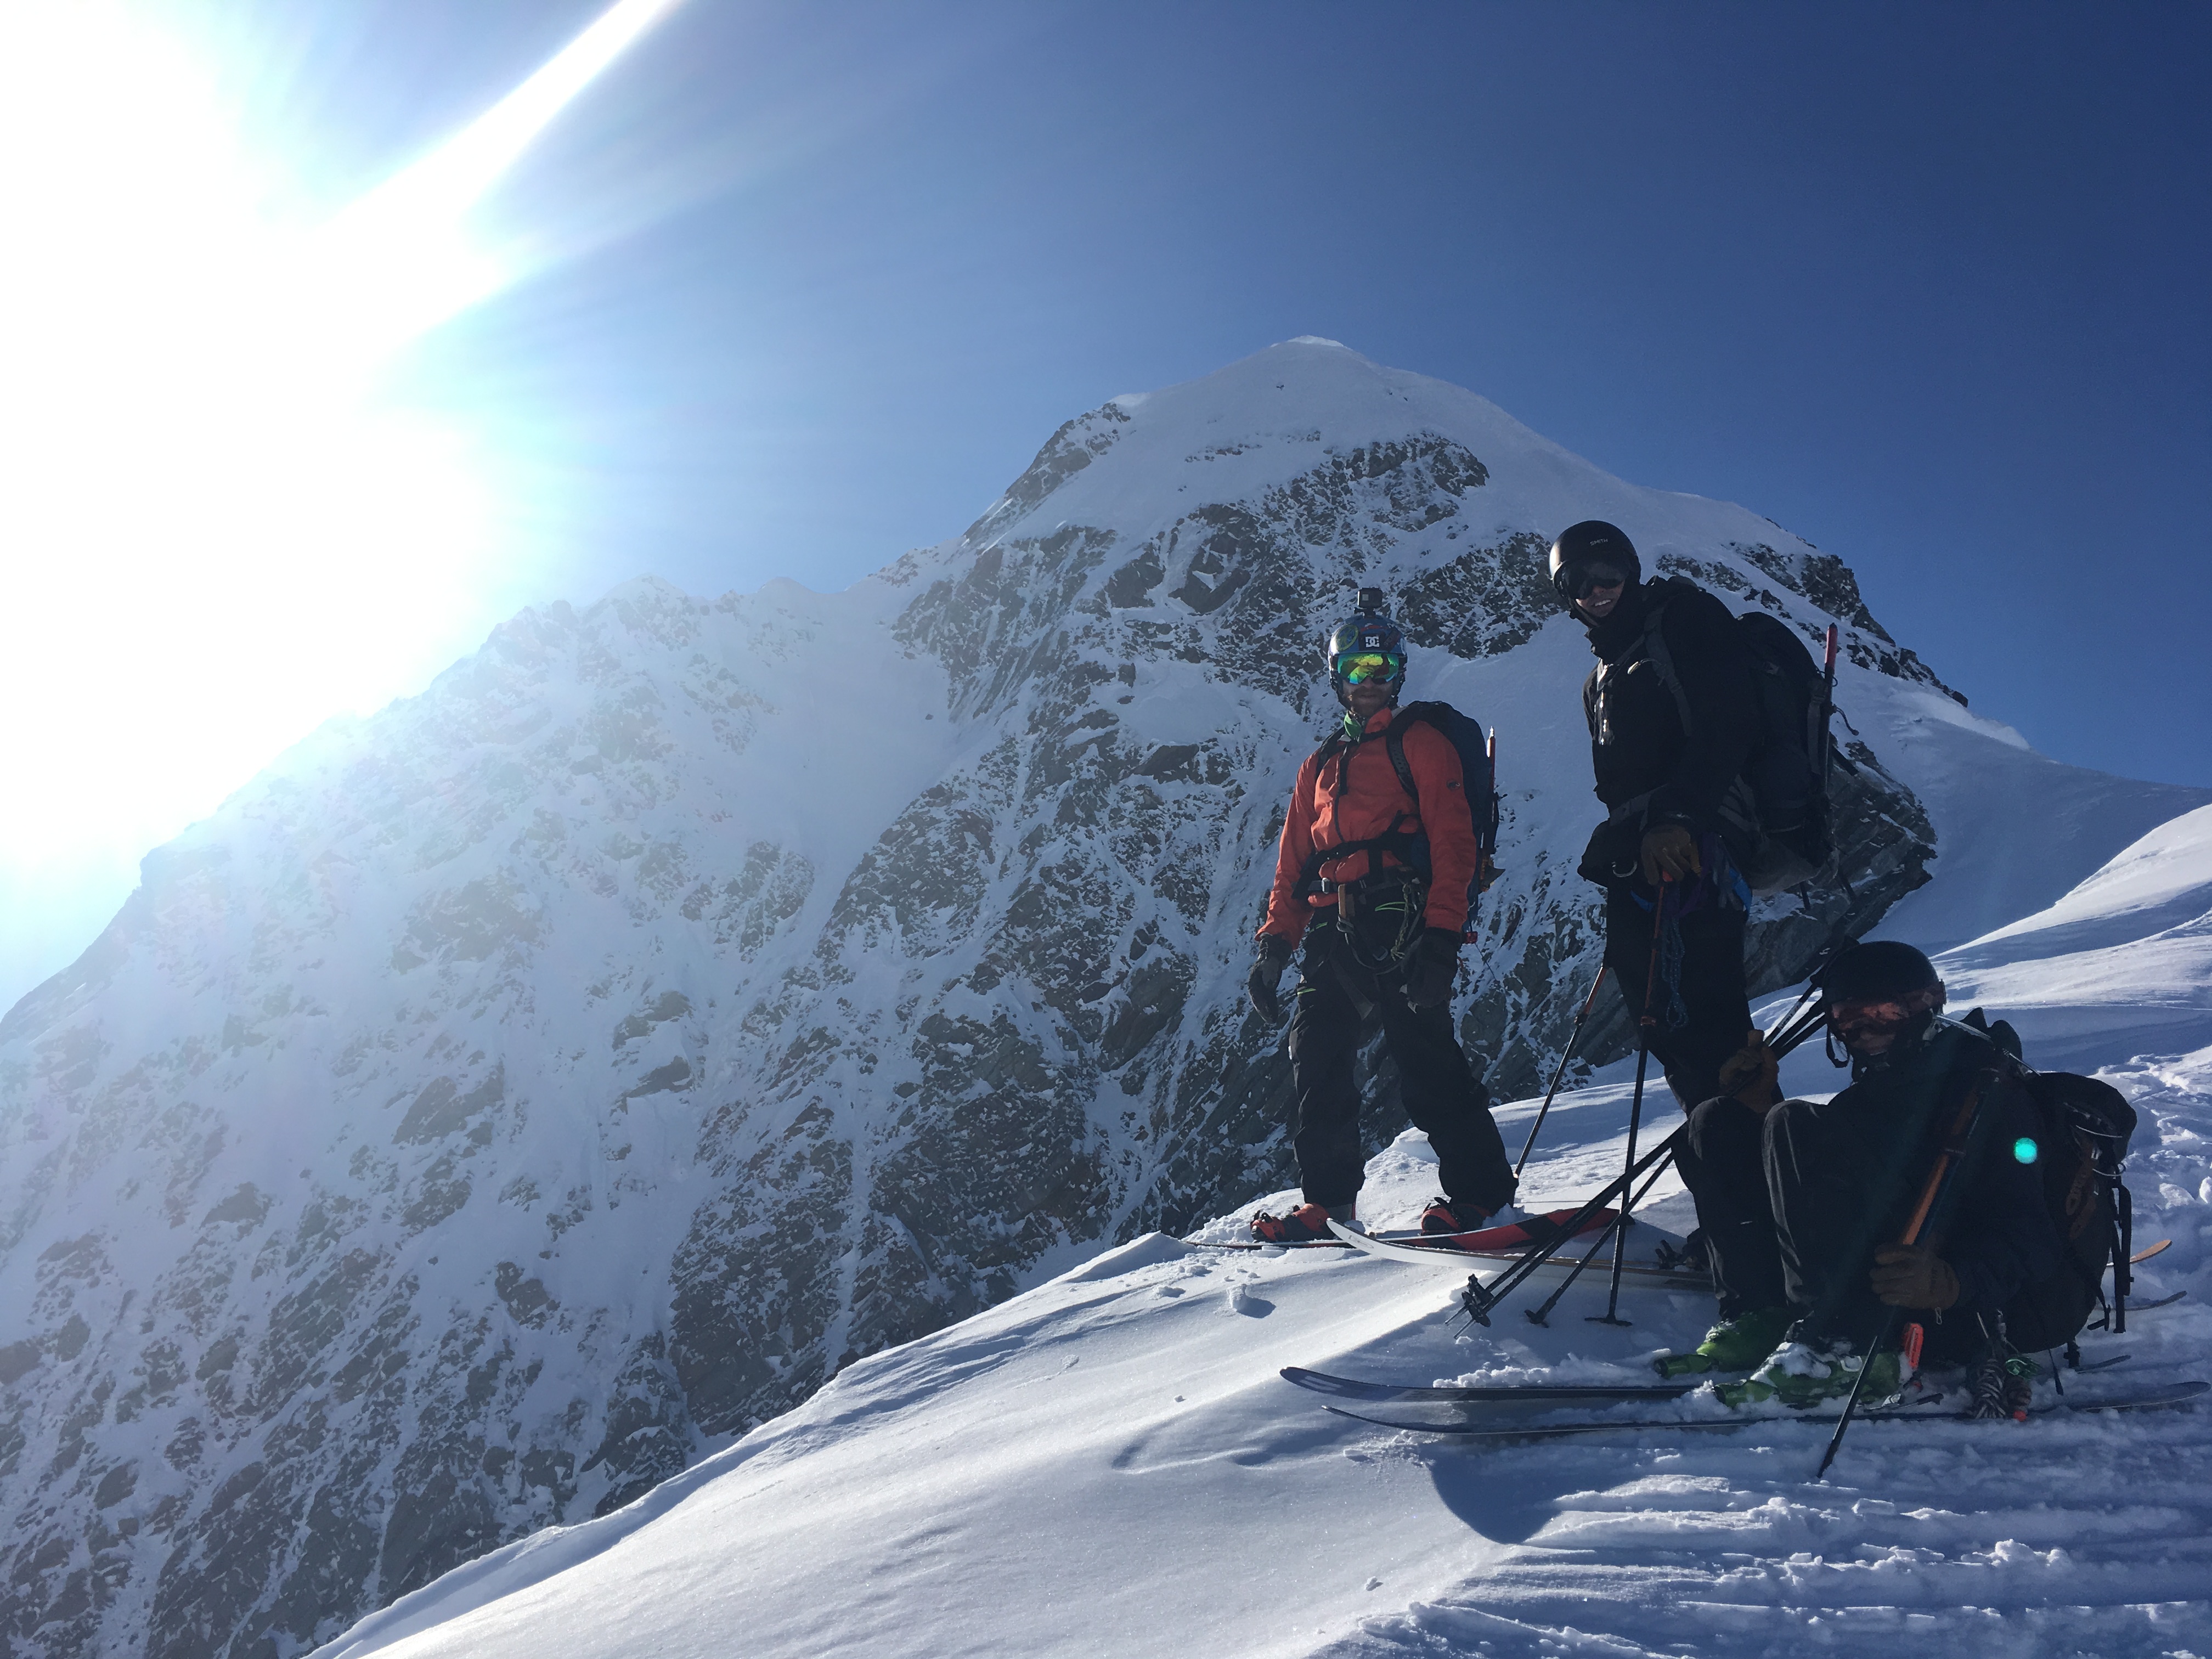
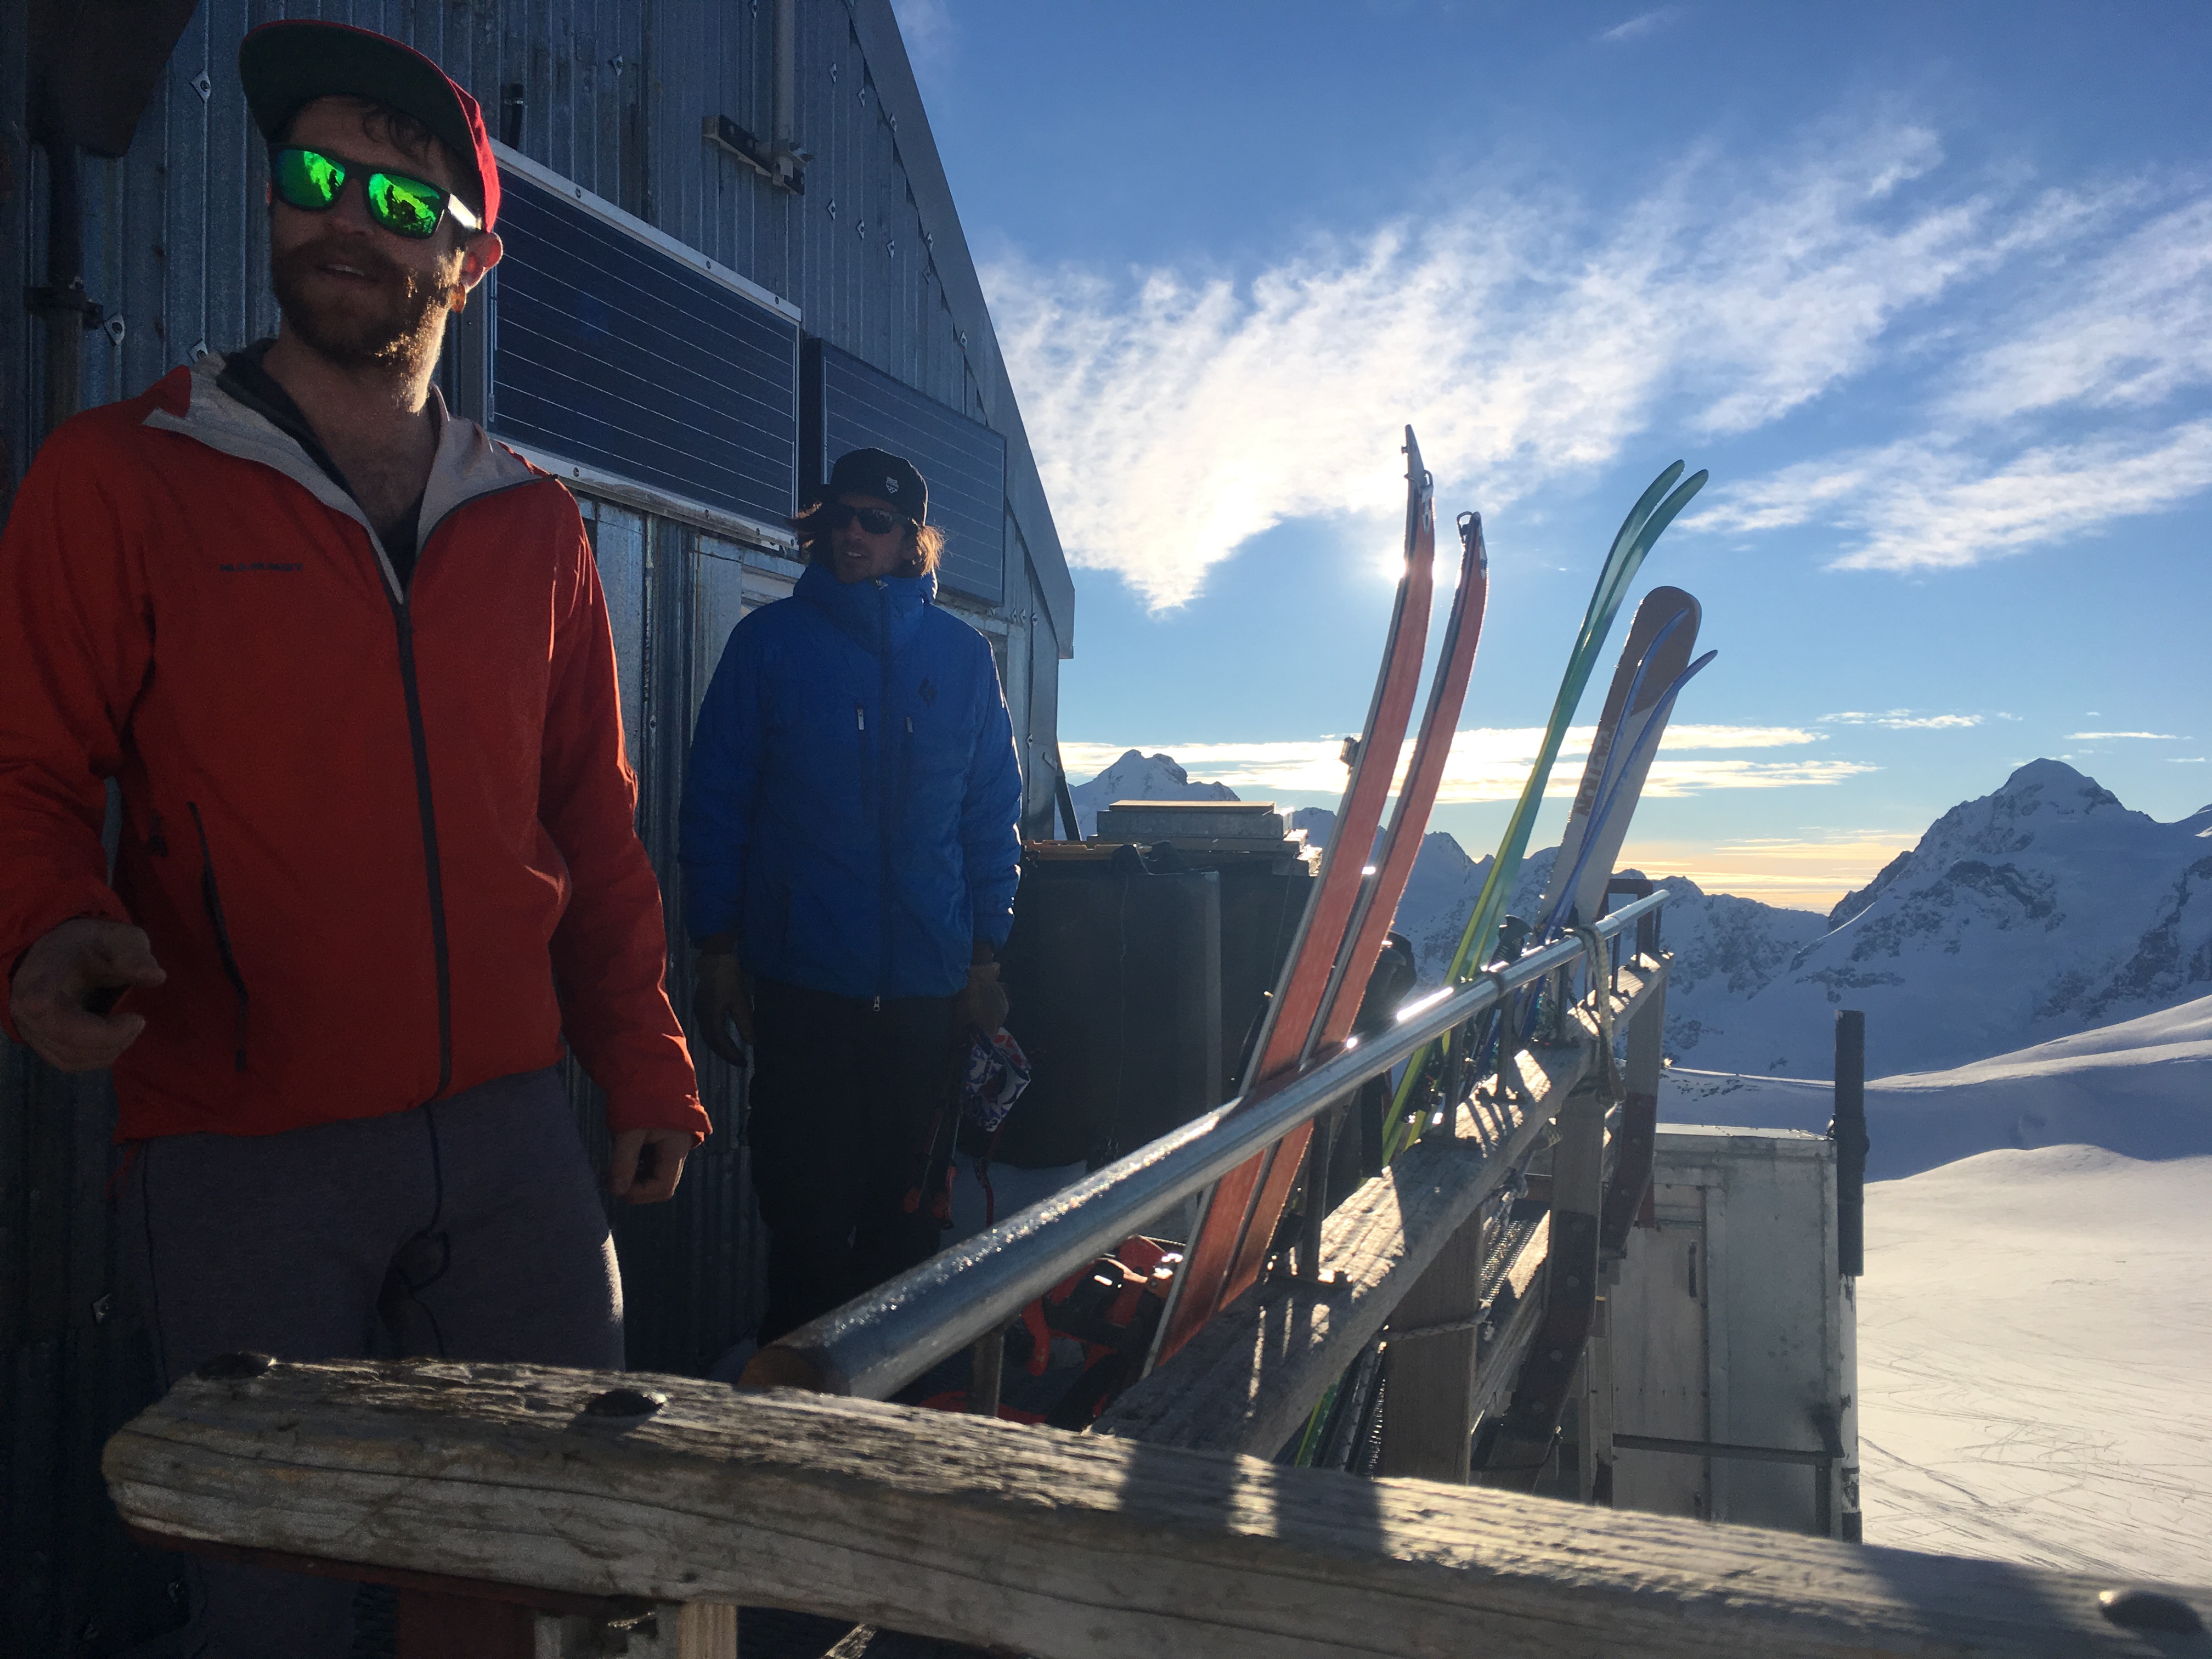
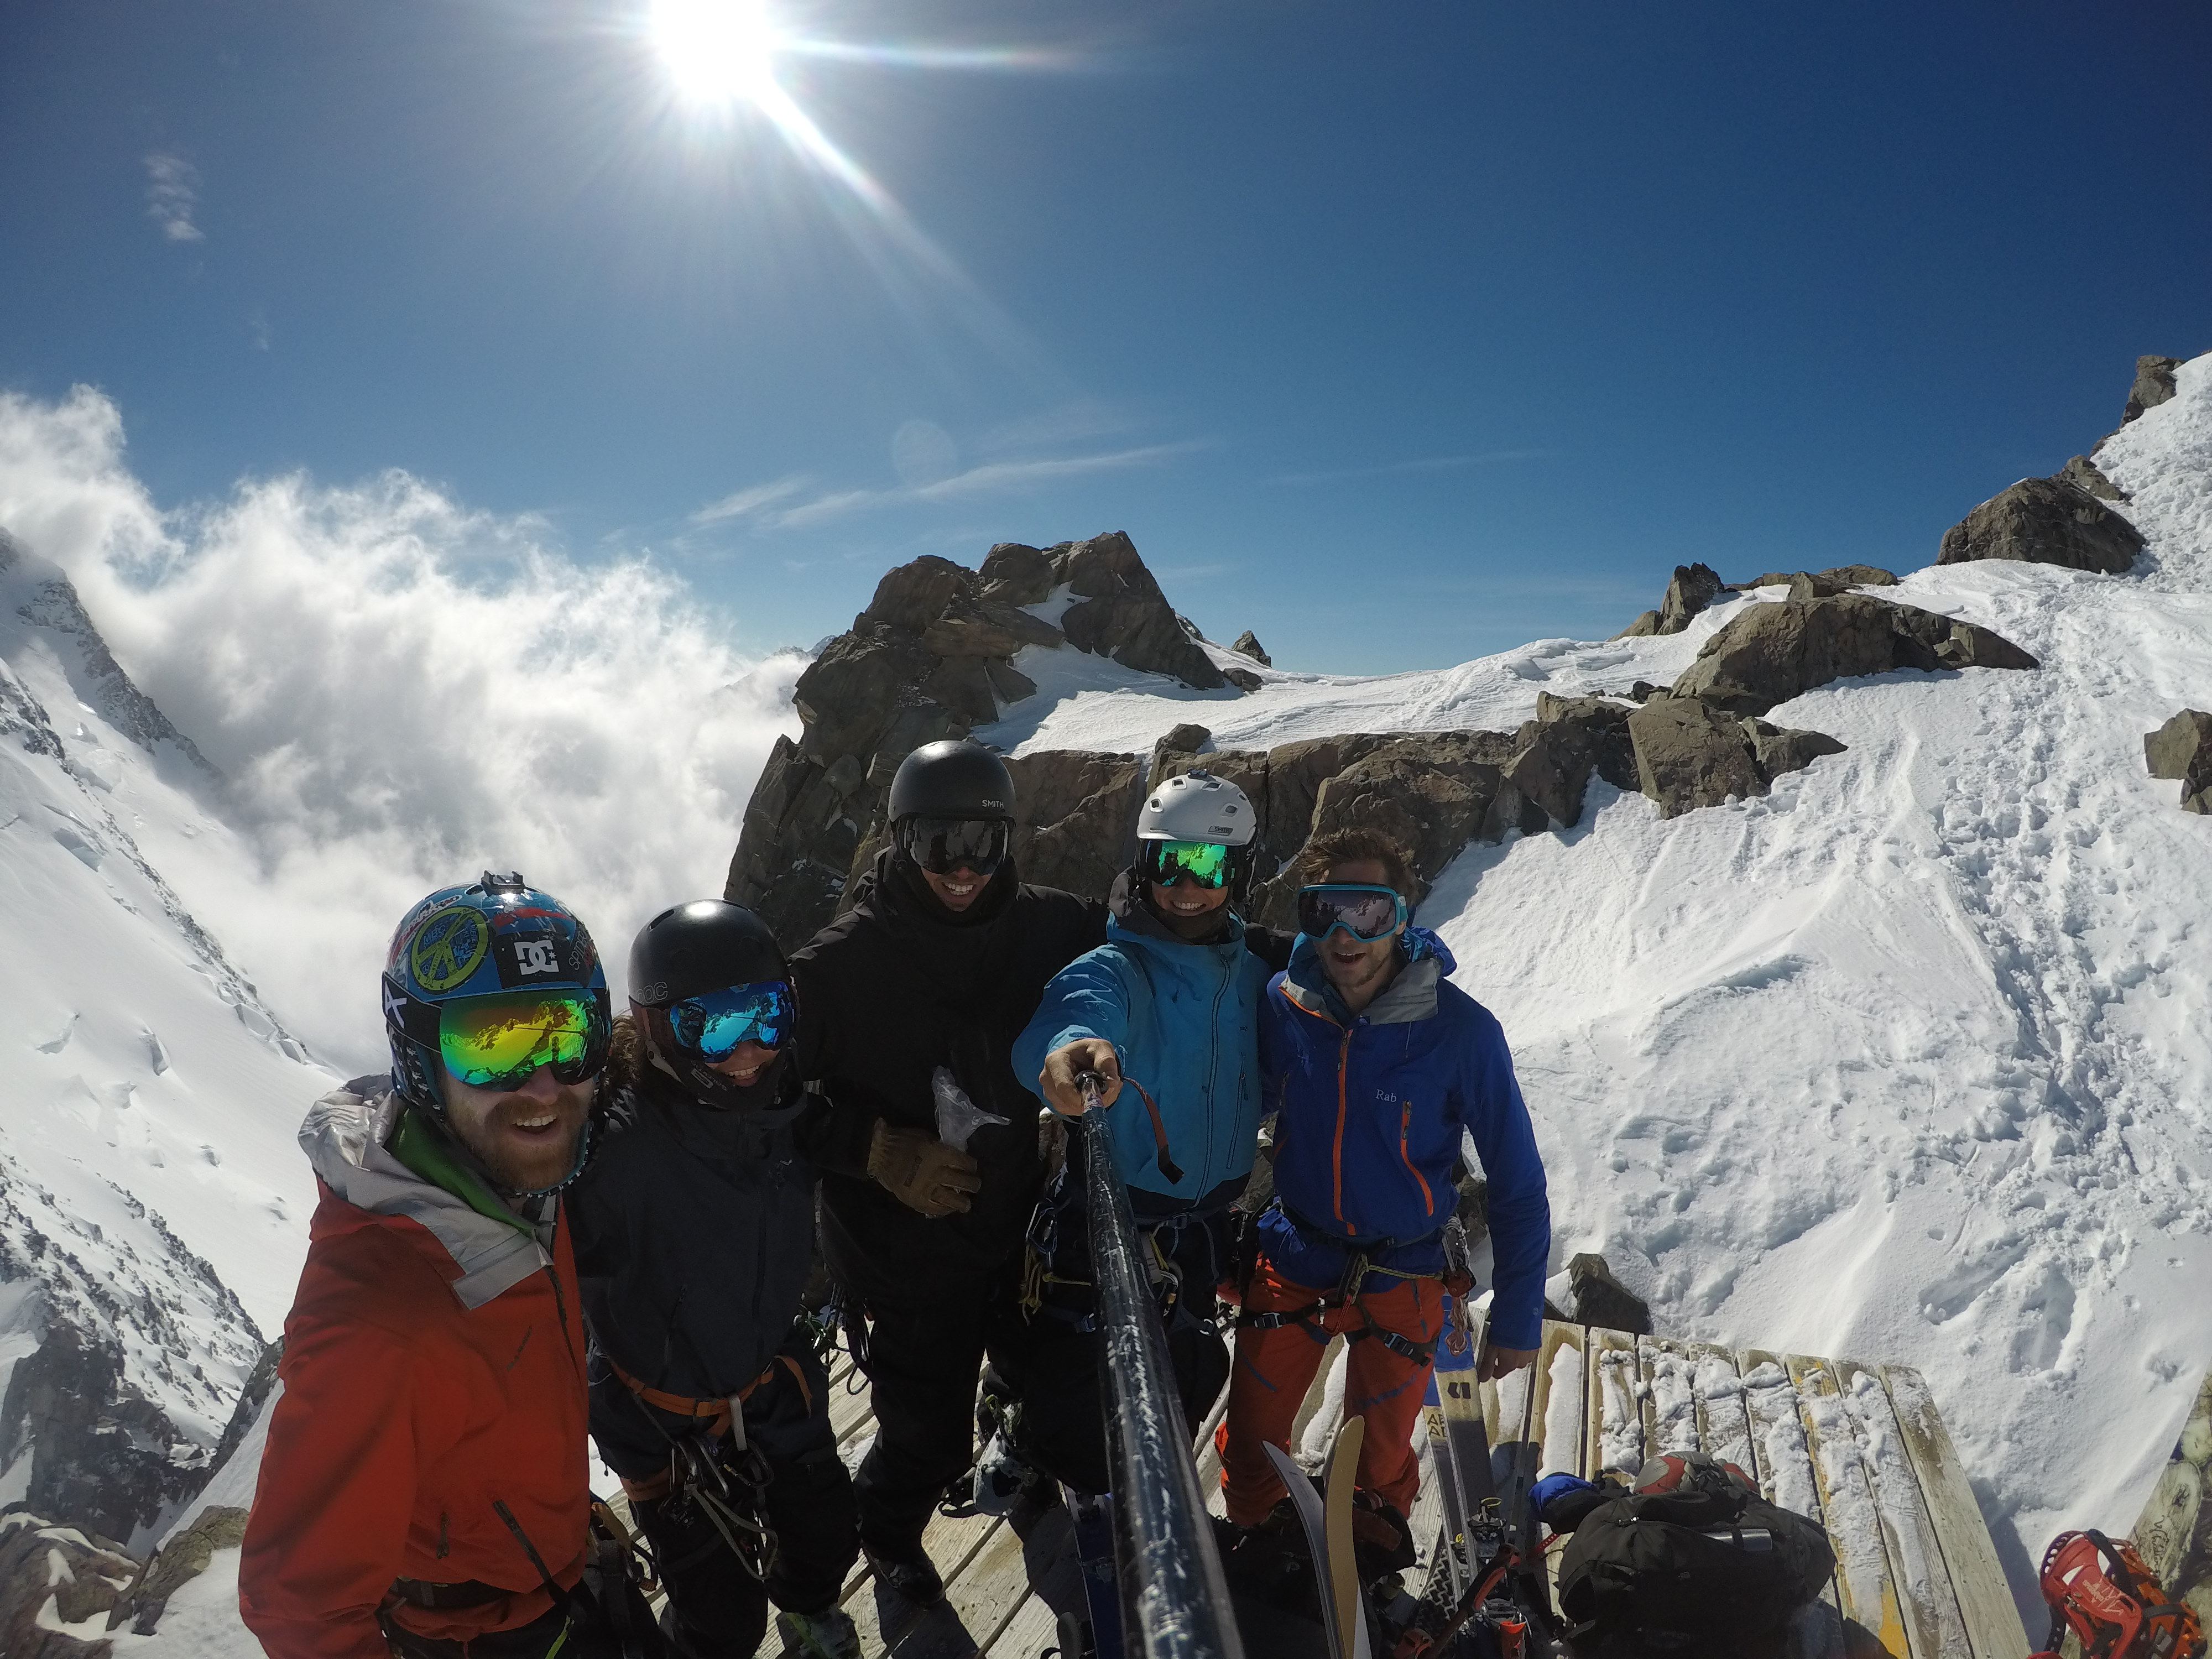
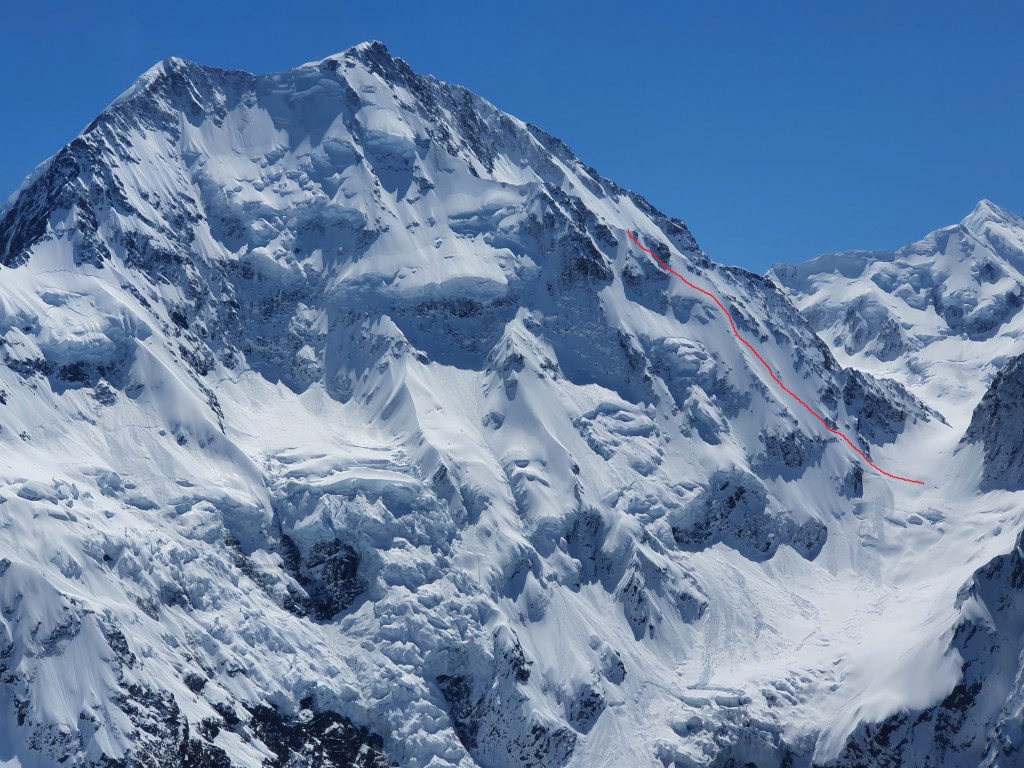
Don’t be put off by the fact this line is on the Caroline – it has none of the objective danger, super easy route finding and a quick easy climb to get to the start of the line from Plateau. Probably the best bang for buck ski line I’ve skied in NZ, deserves to be more popular! We spotted this line while skinning back up to Cinerama col after skiing the Caroline and thought it looked epic, so booted back up the next day with Will Rowntree, George Millets and Clem Cadario.

Length – 800m
Steepness – 45 deg
Exposure – Above some cliffs initially but once your on the main body of the line its a straight line down to the Caroline glacier. You are exposed to some overhead hazard on the approach under the East face but you can skin quickly through this section
Aspect – SE
Extras – nil
Difficulty –  Climb 2. Ski 5.1 E2
Equipment – Glacier equipment.

Climb

Aoraki Caroline face baby ski line climb route
The icefall on the right of the photo is very active so move fast! We skinned all the way to the base of the ridge, then bootpacked up from there

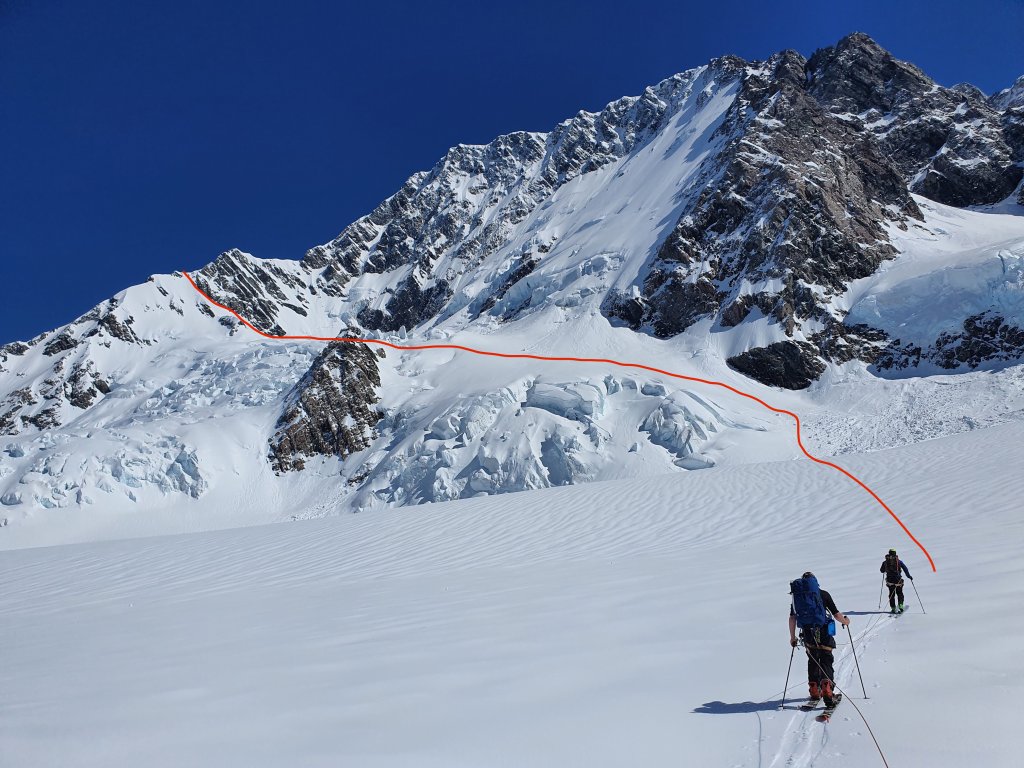
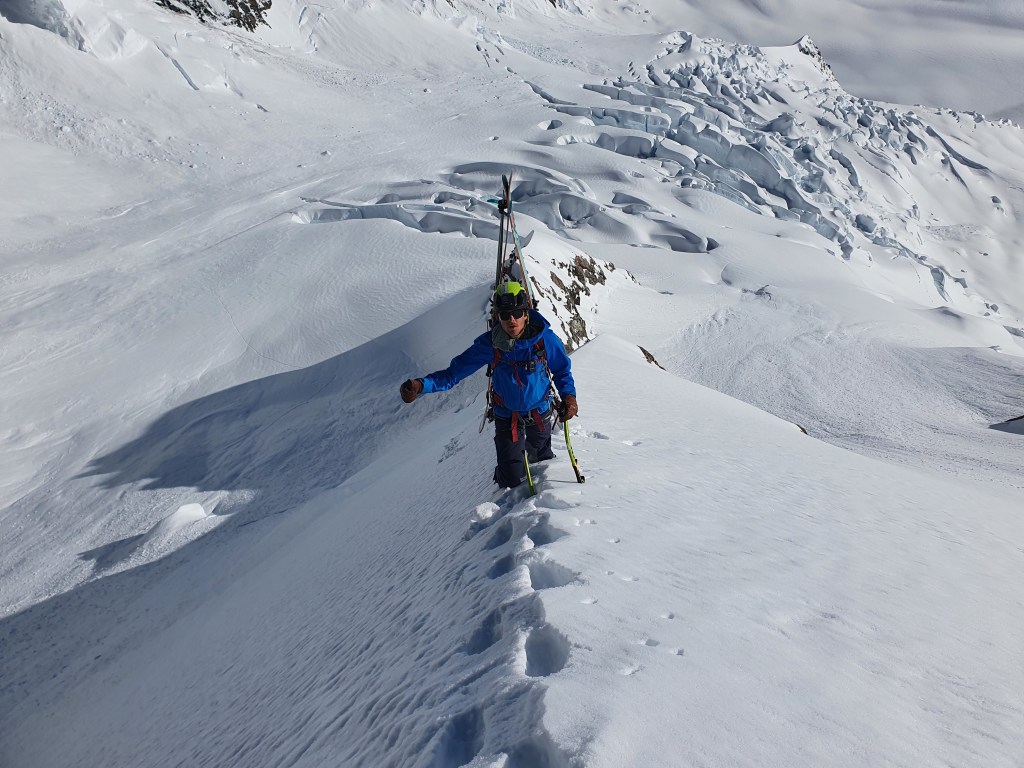
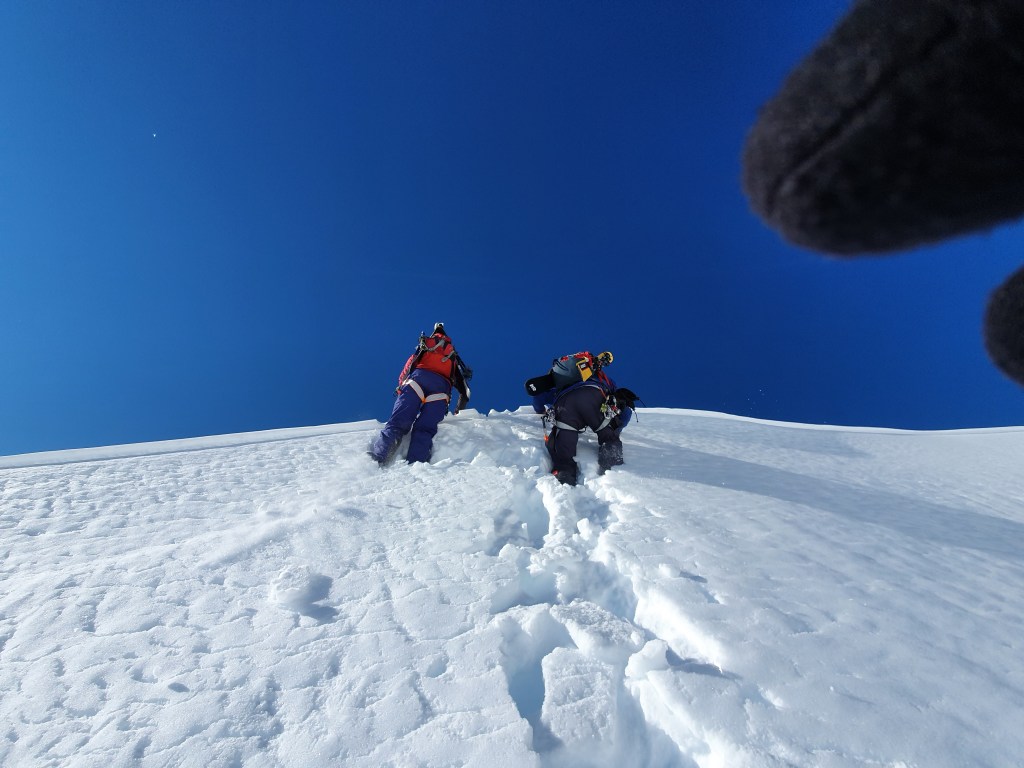
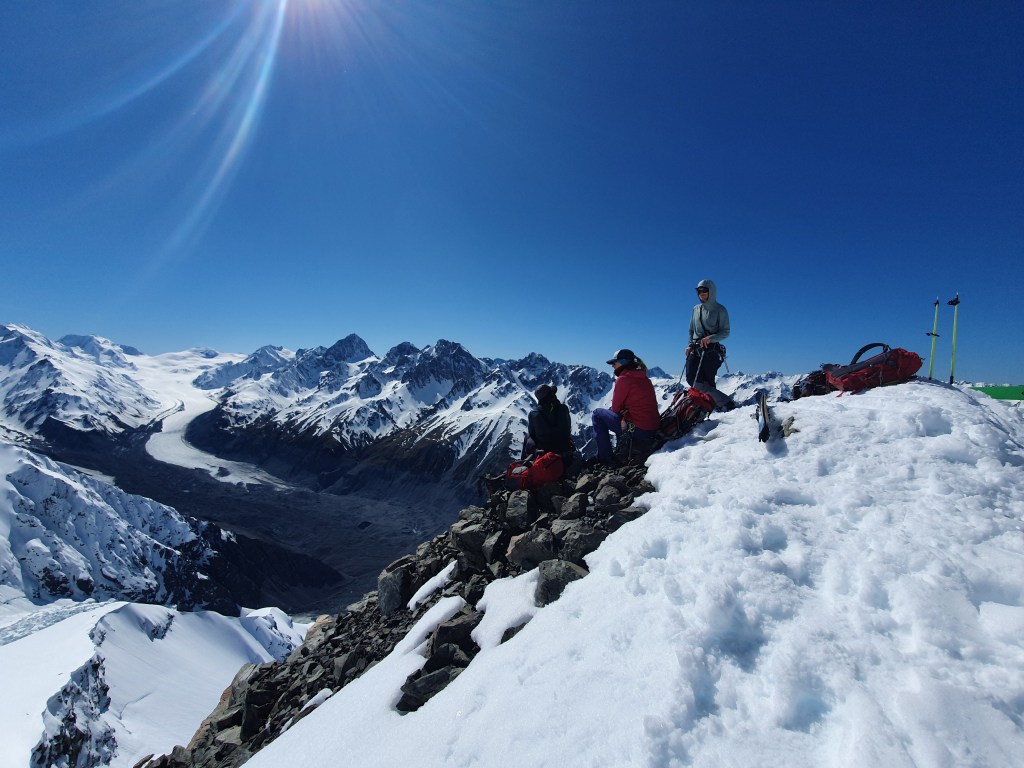
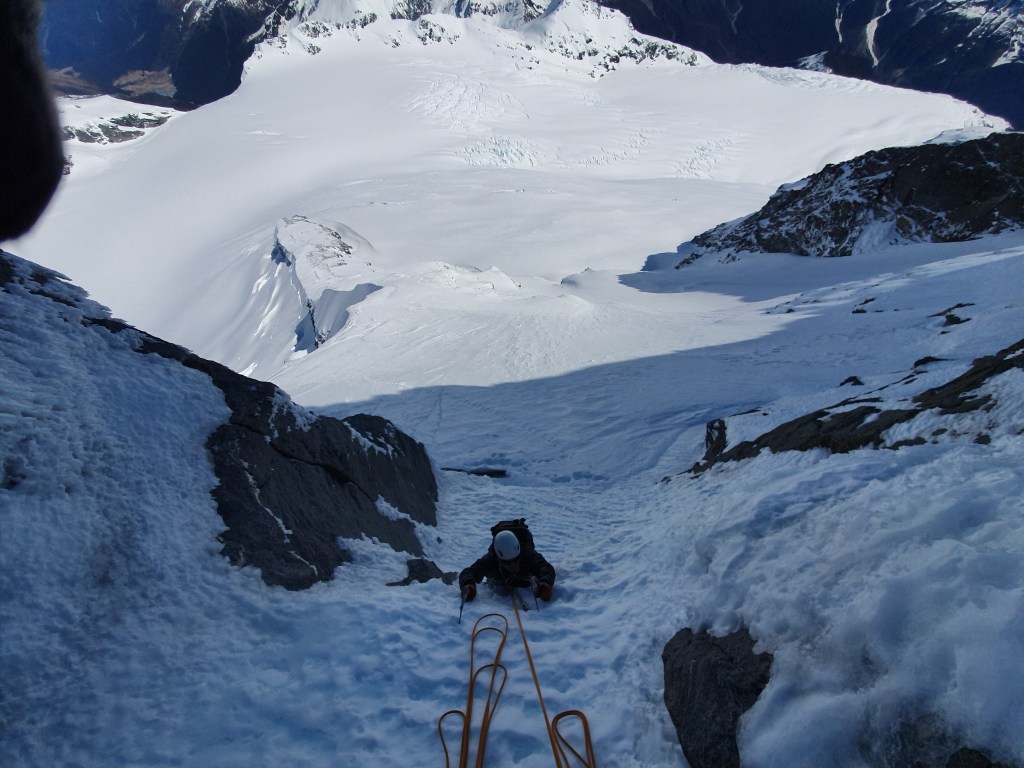
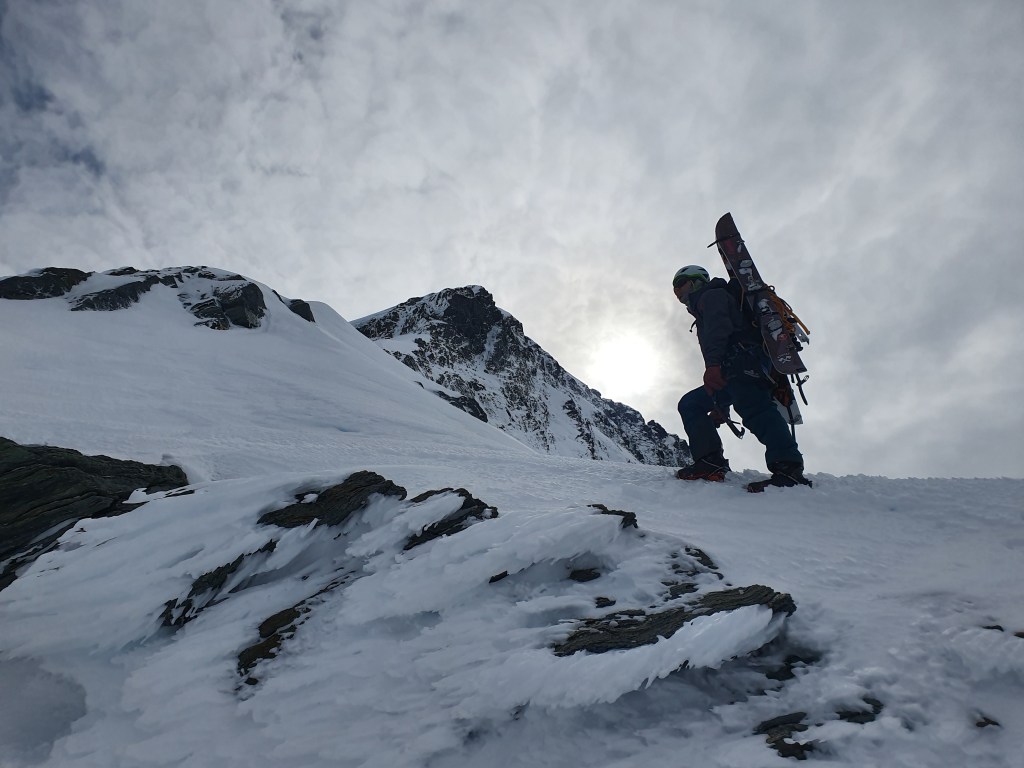
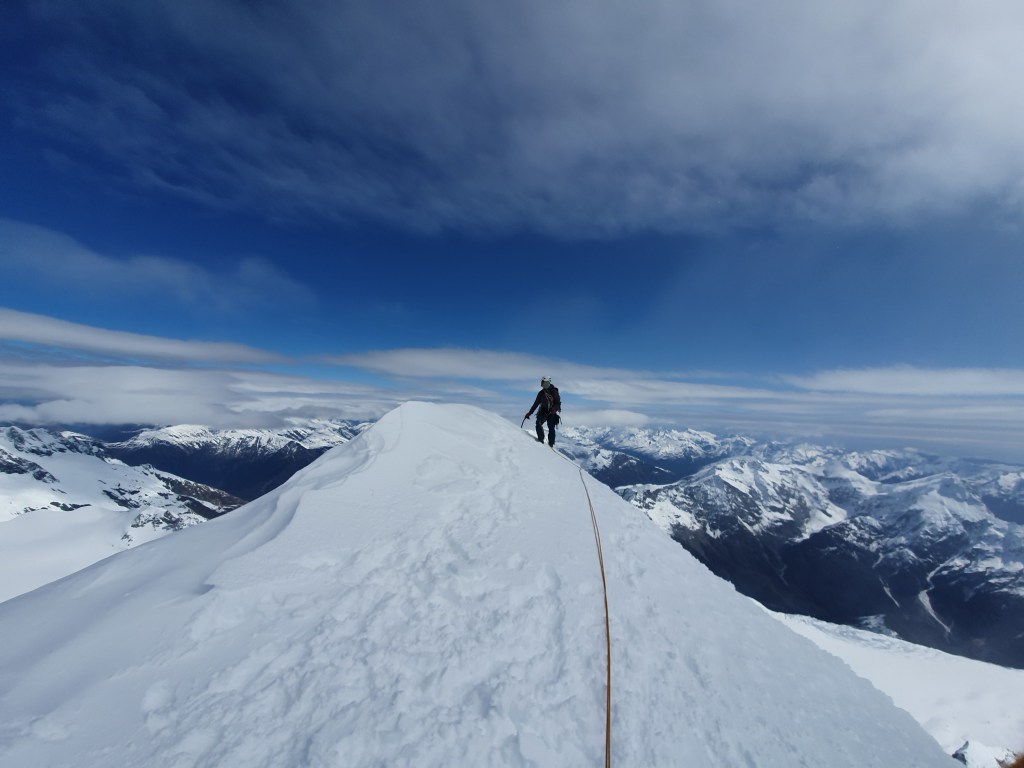
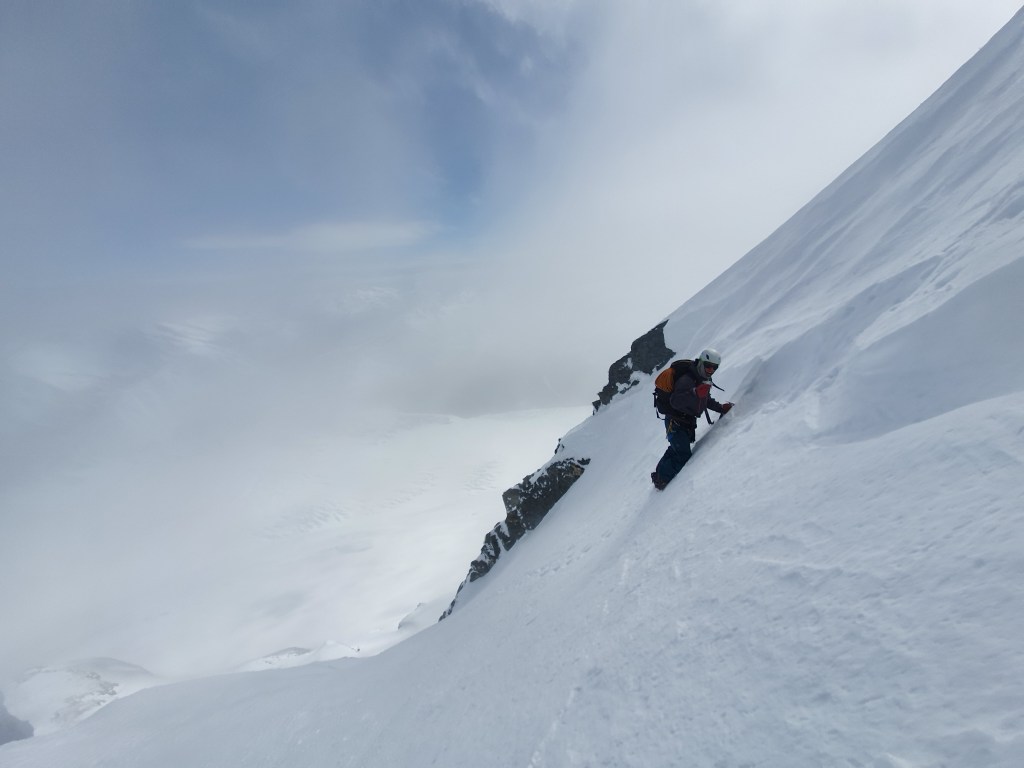
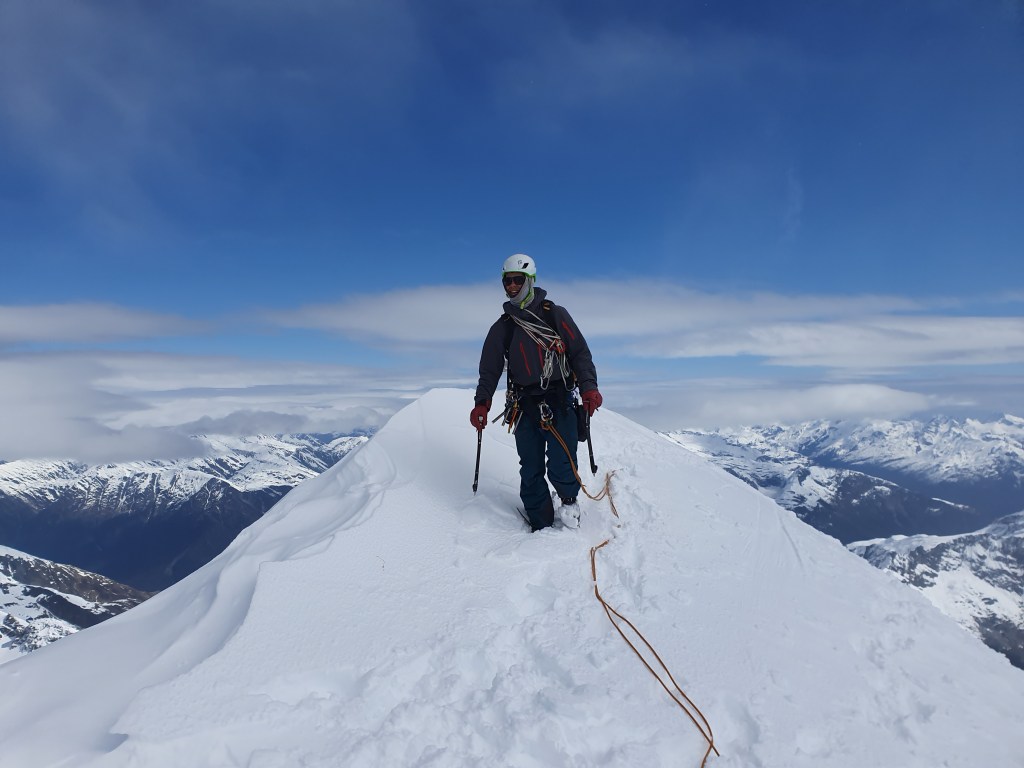
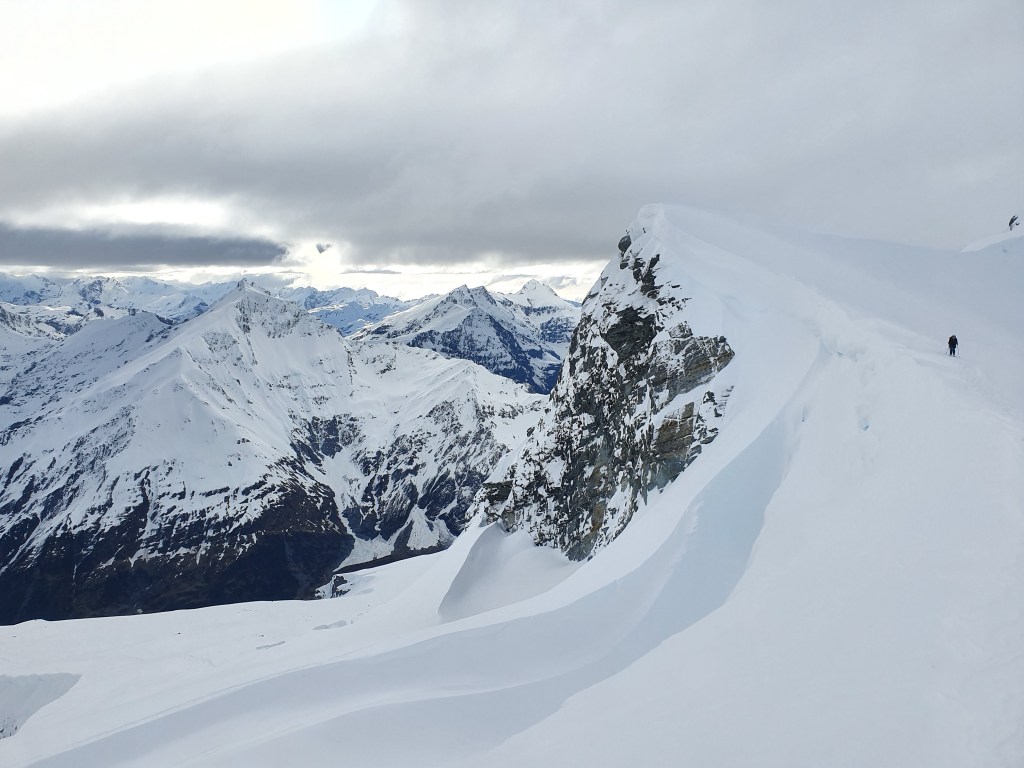
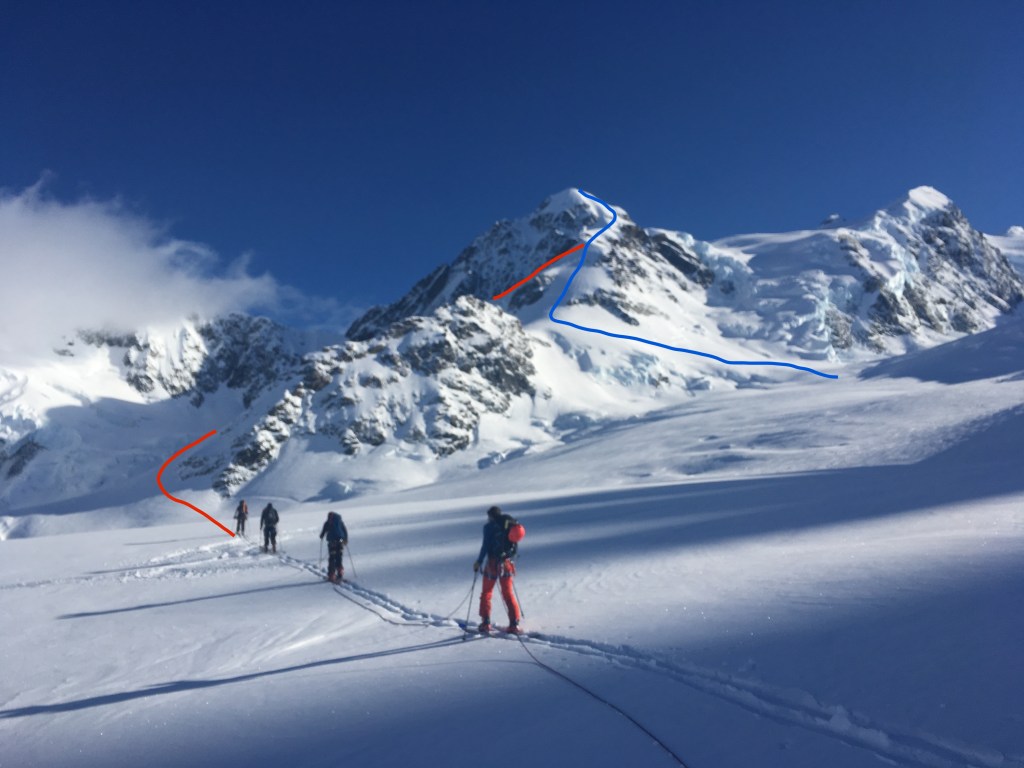
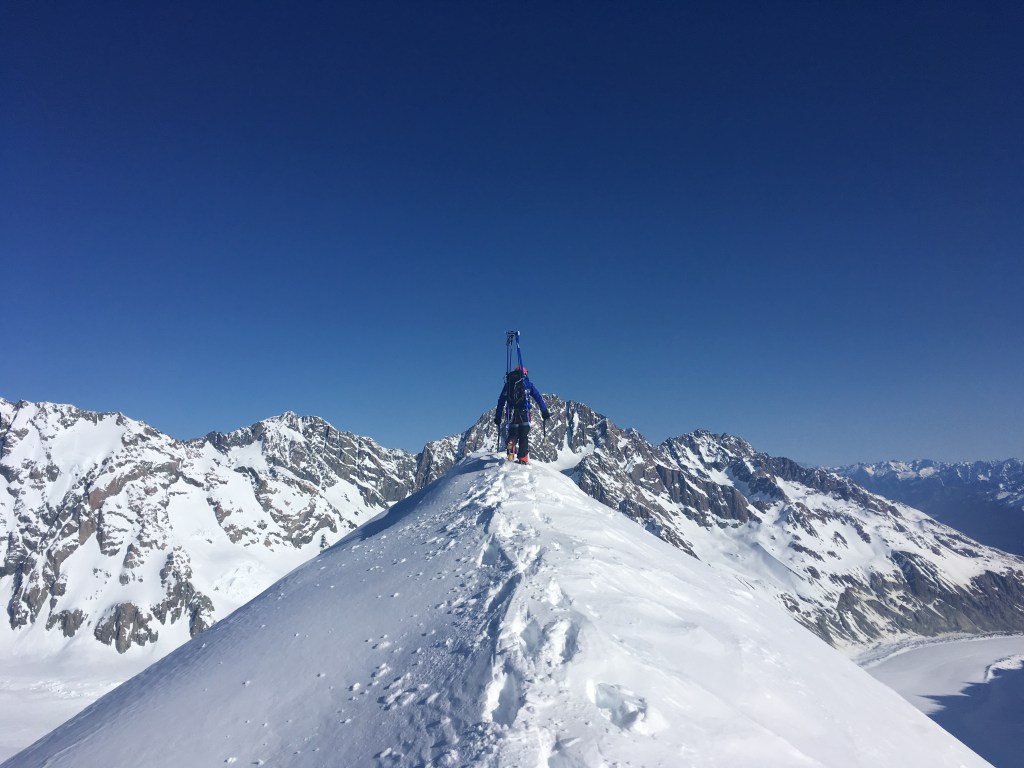
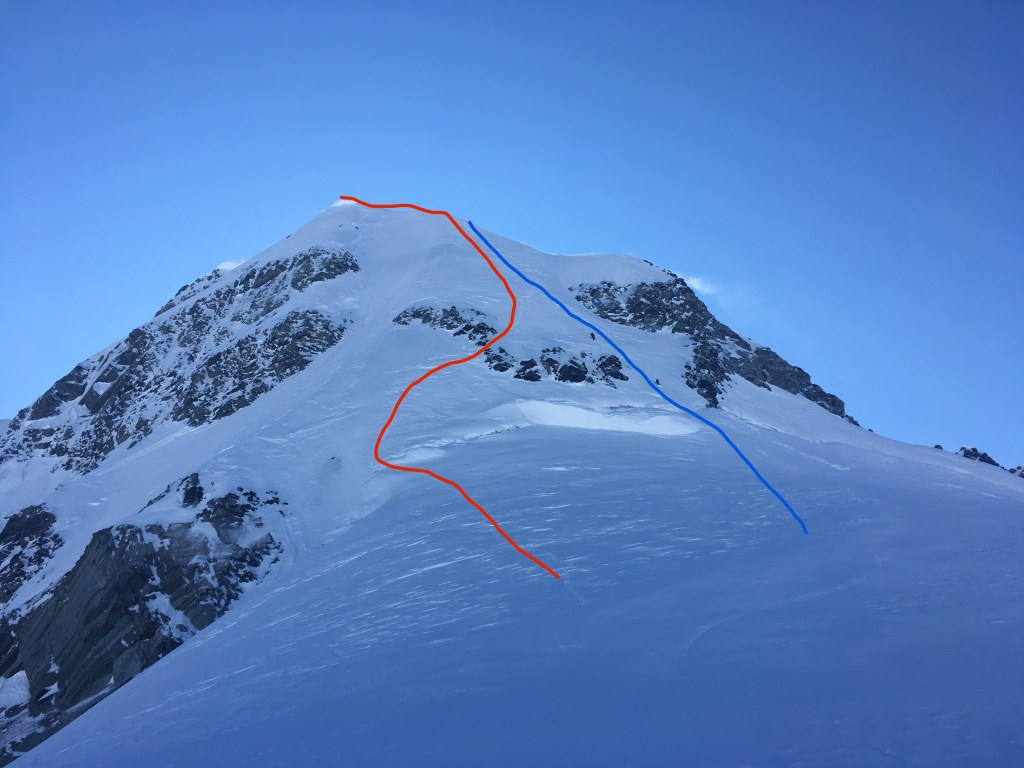
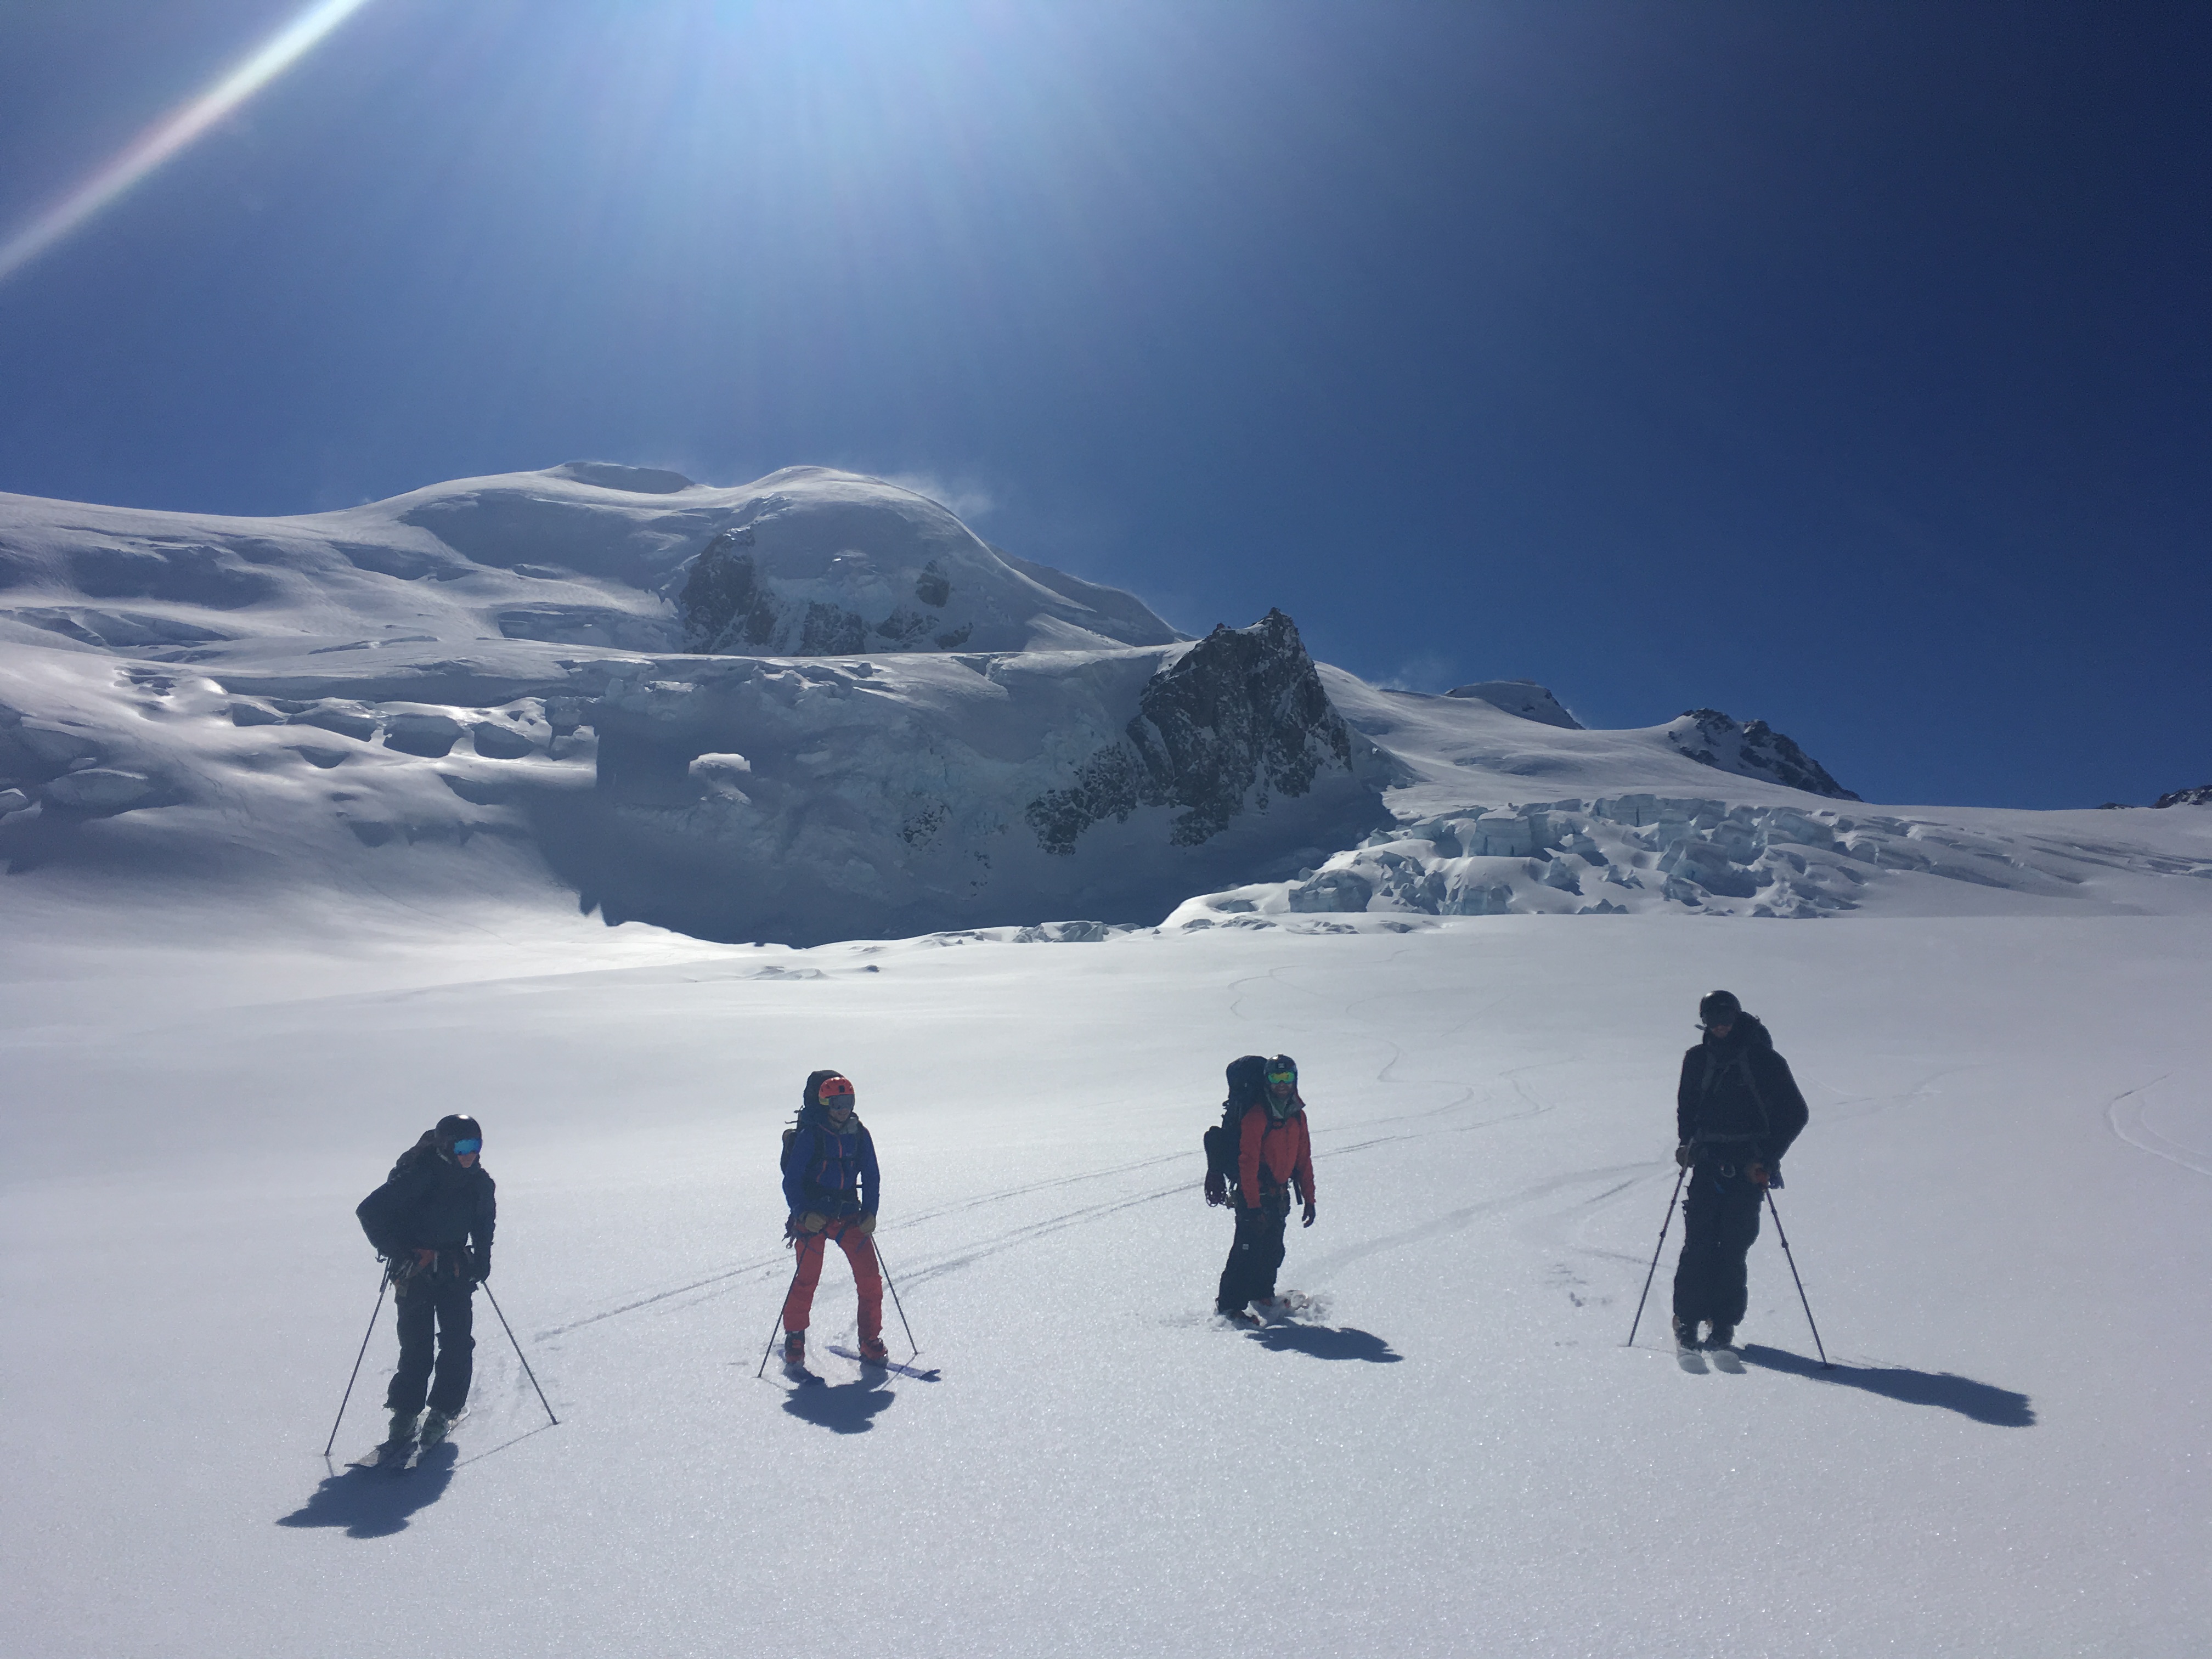
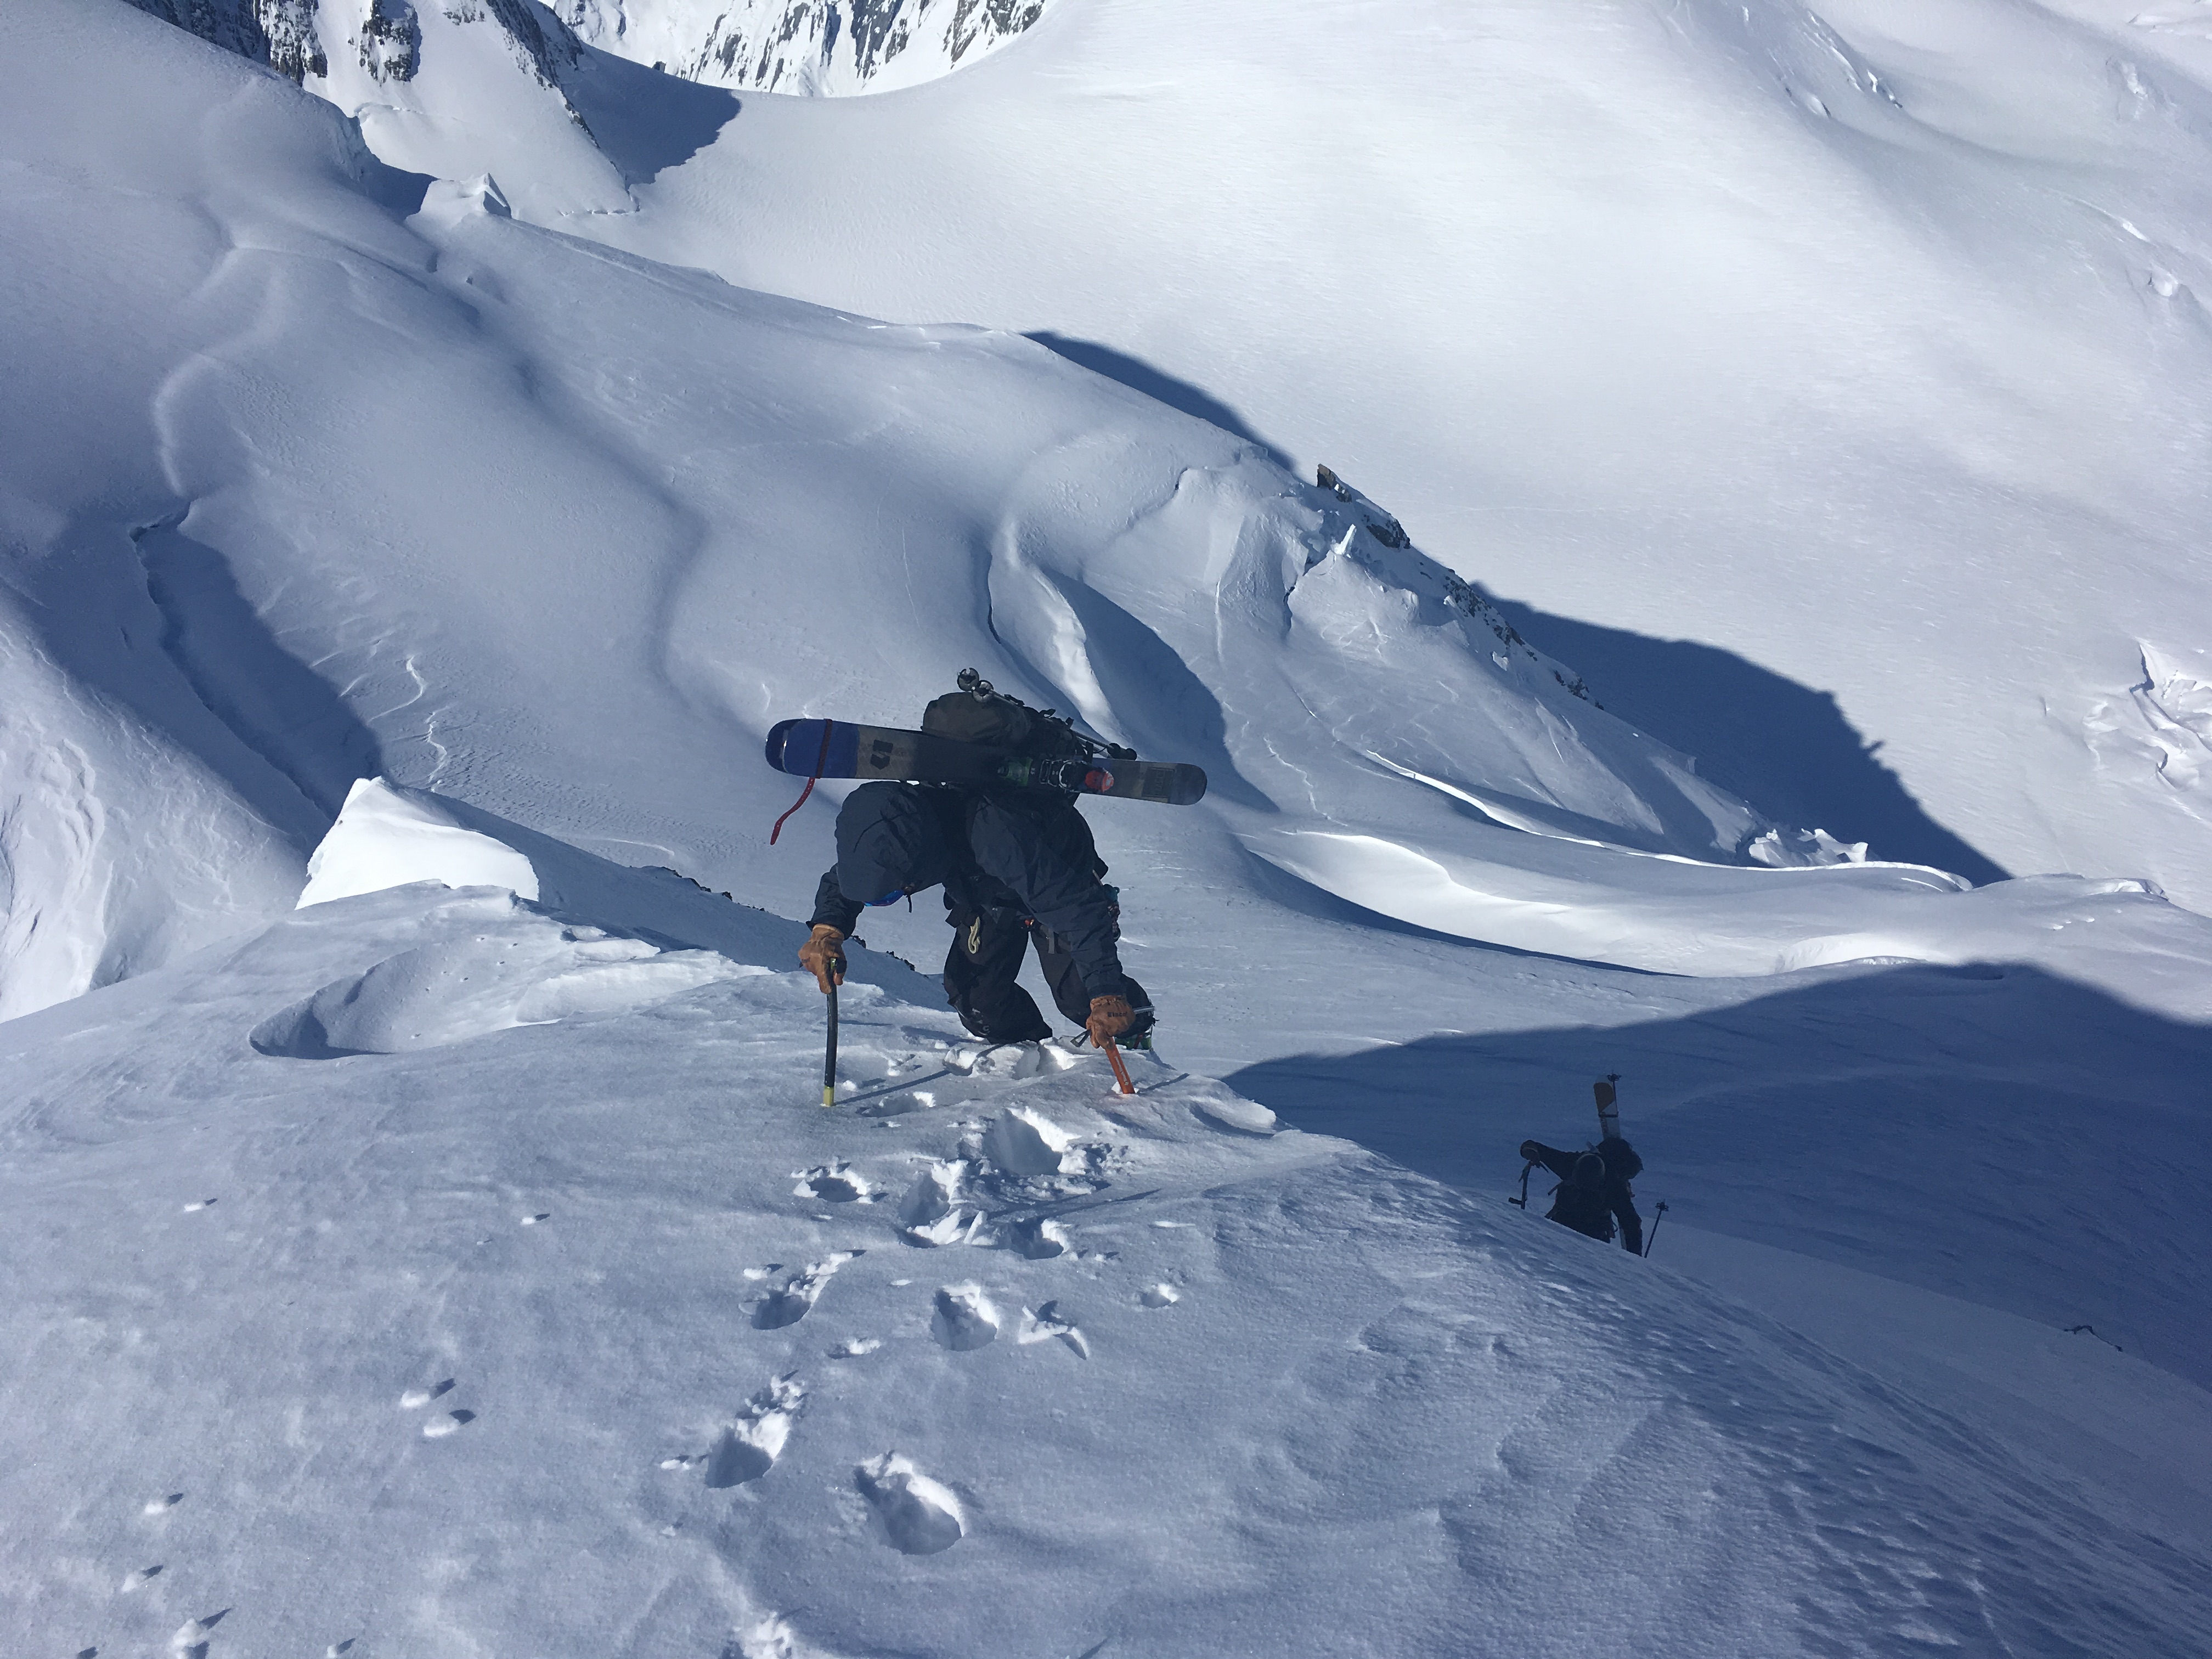
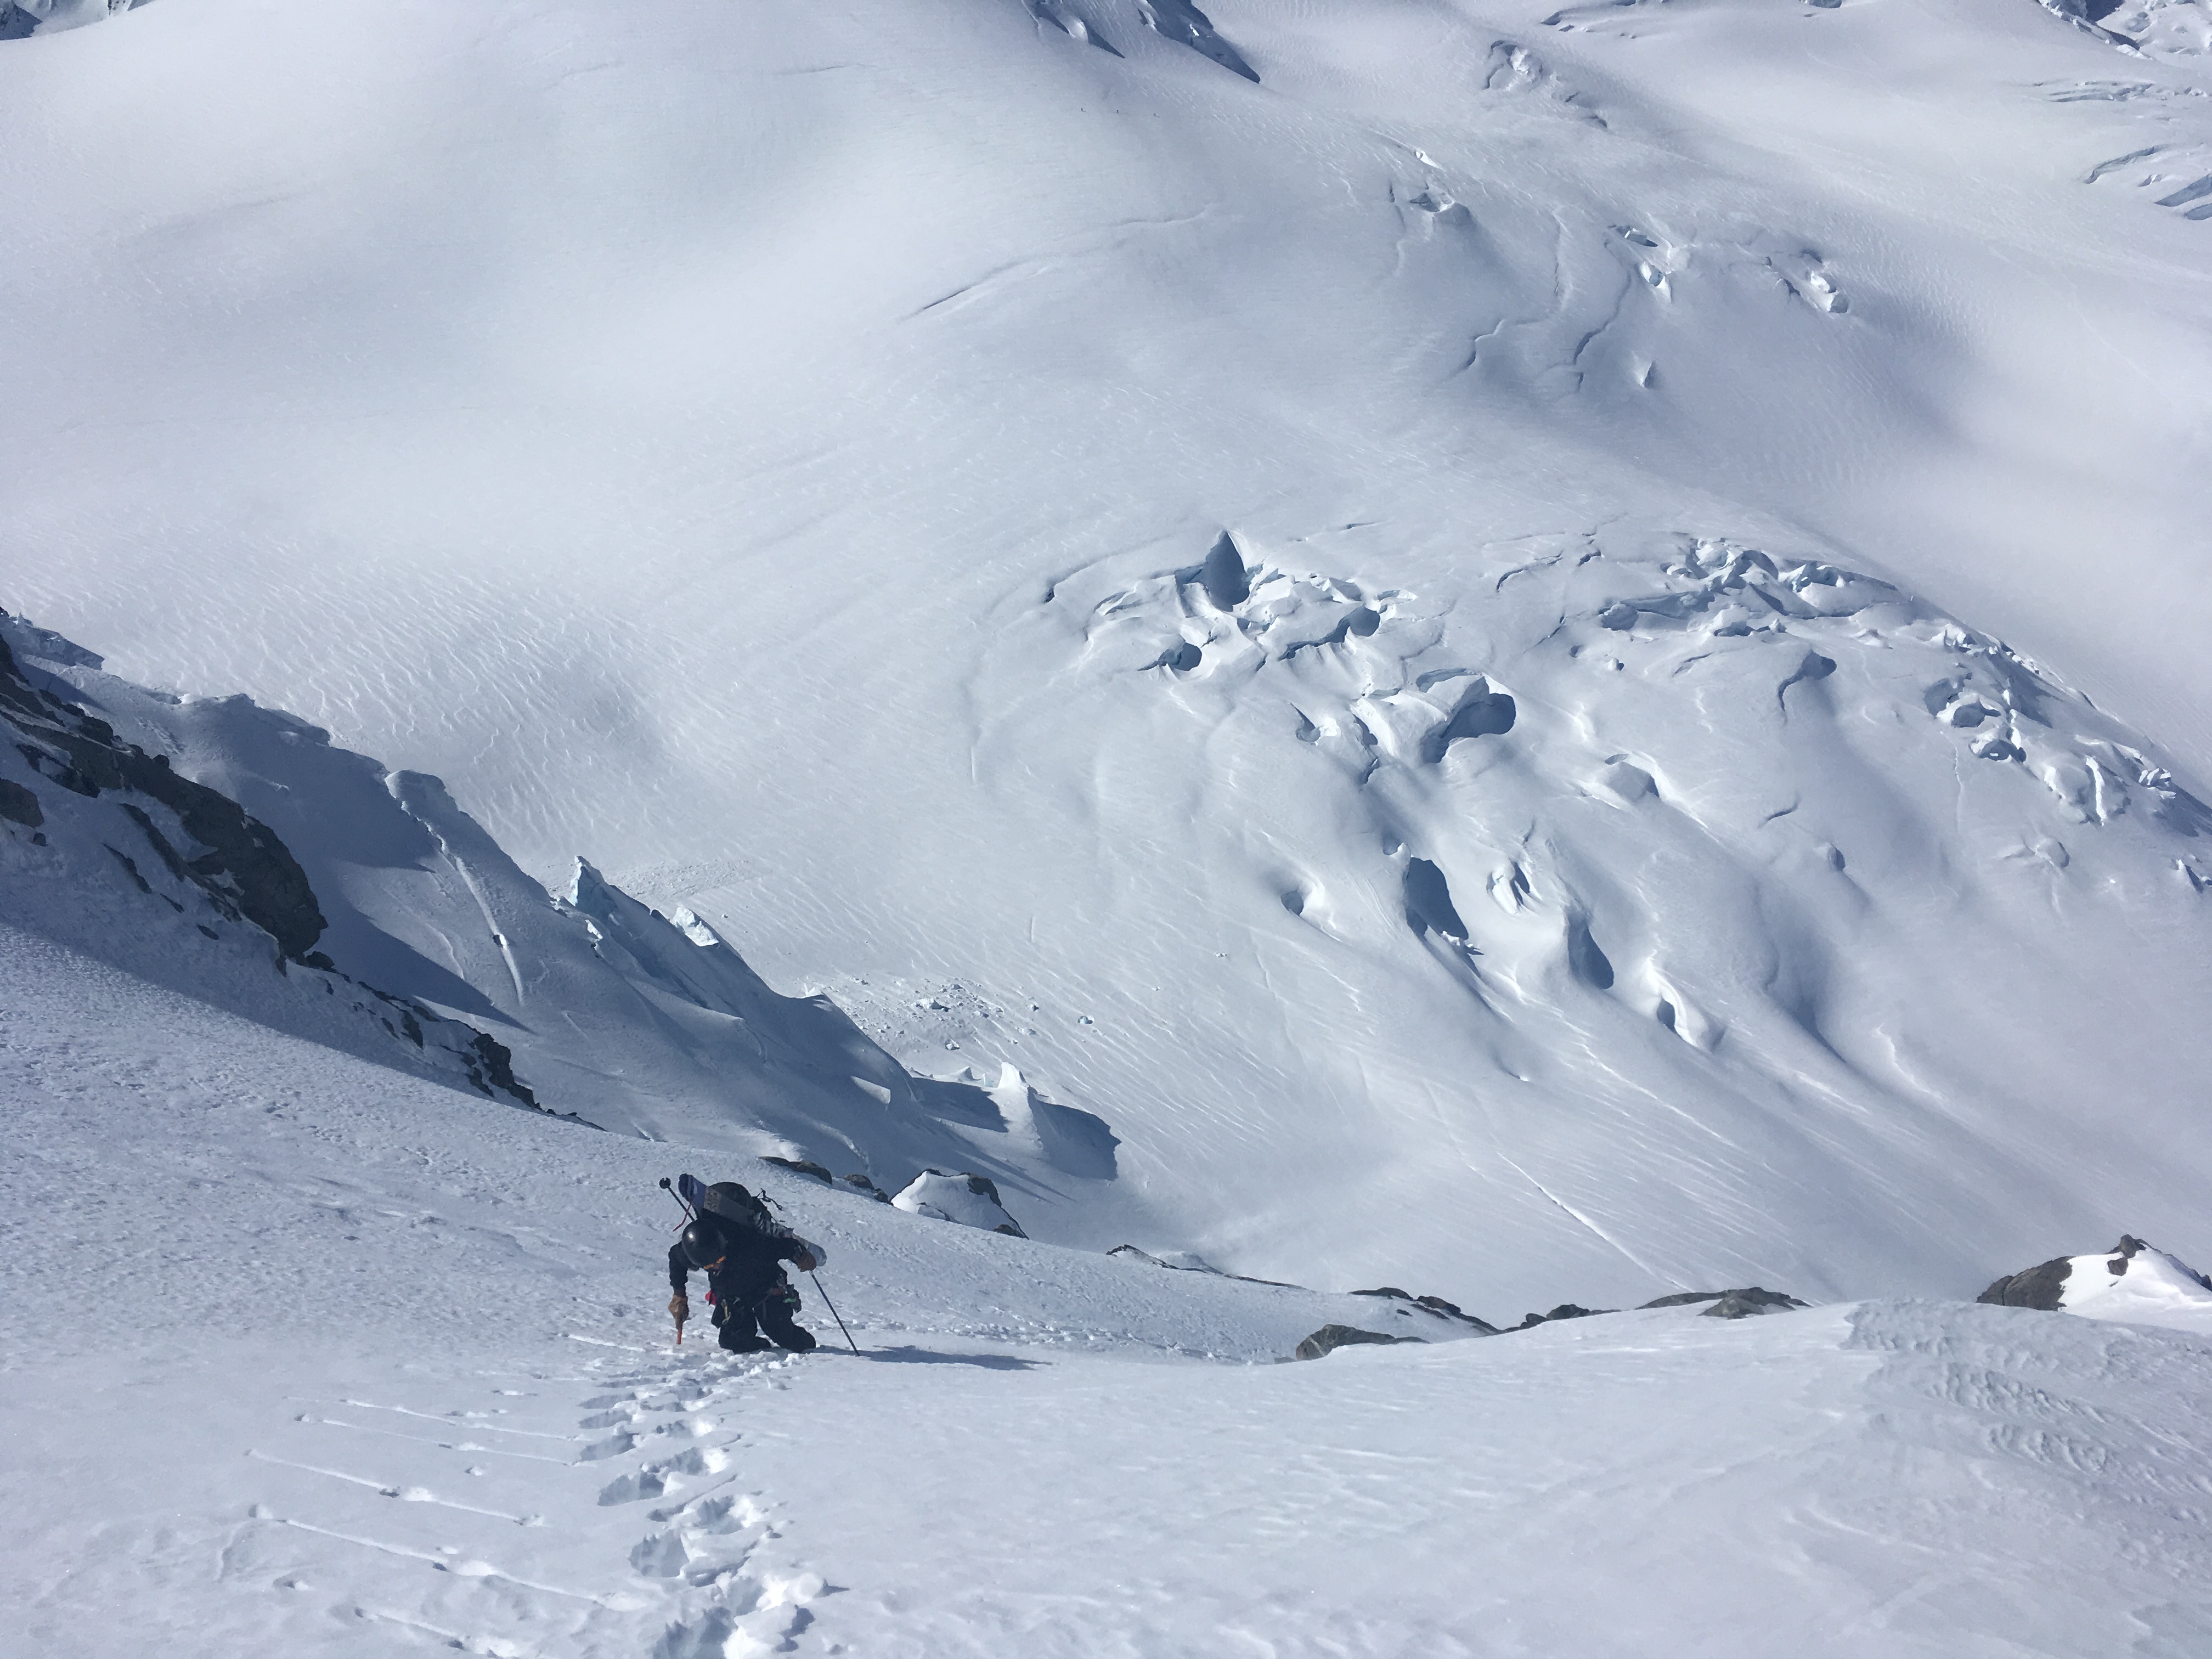
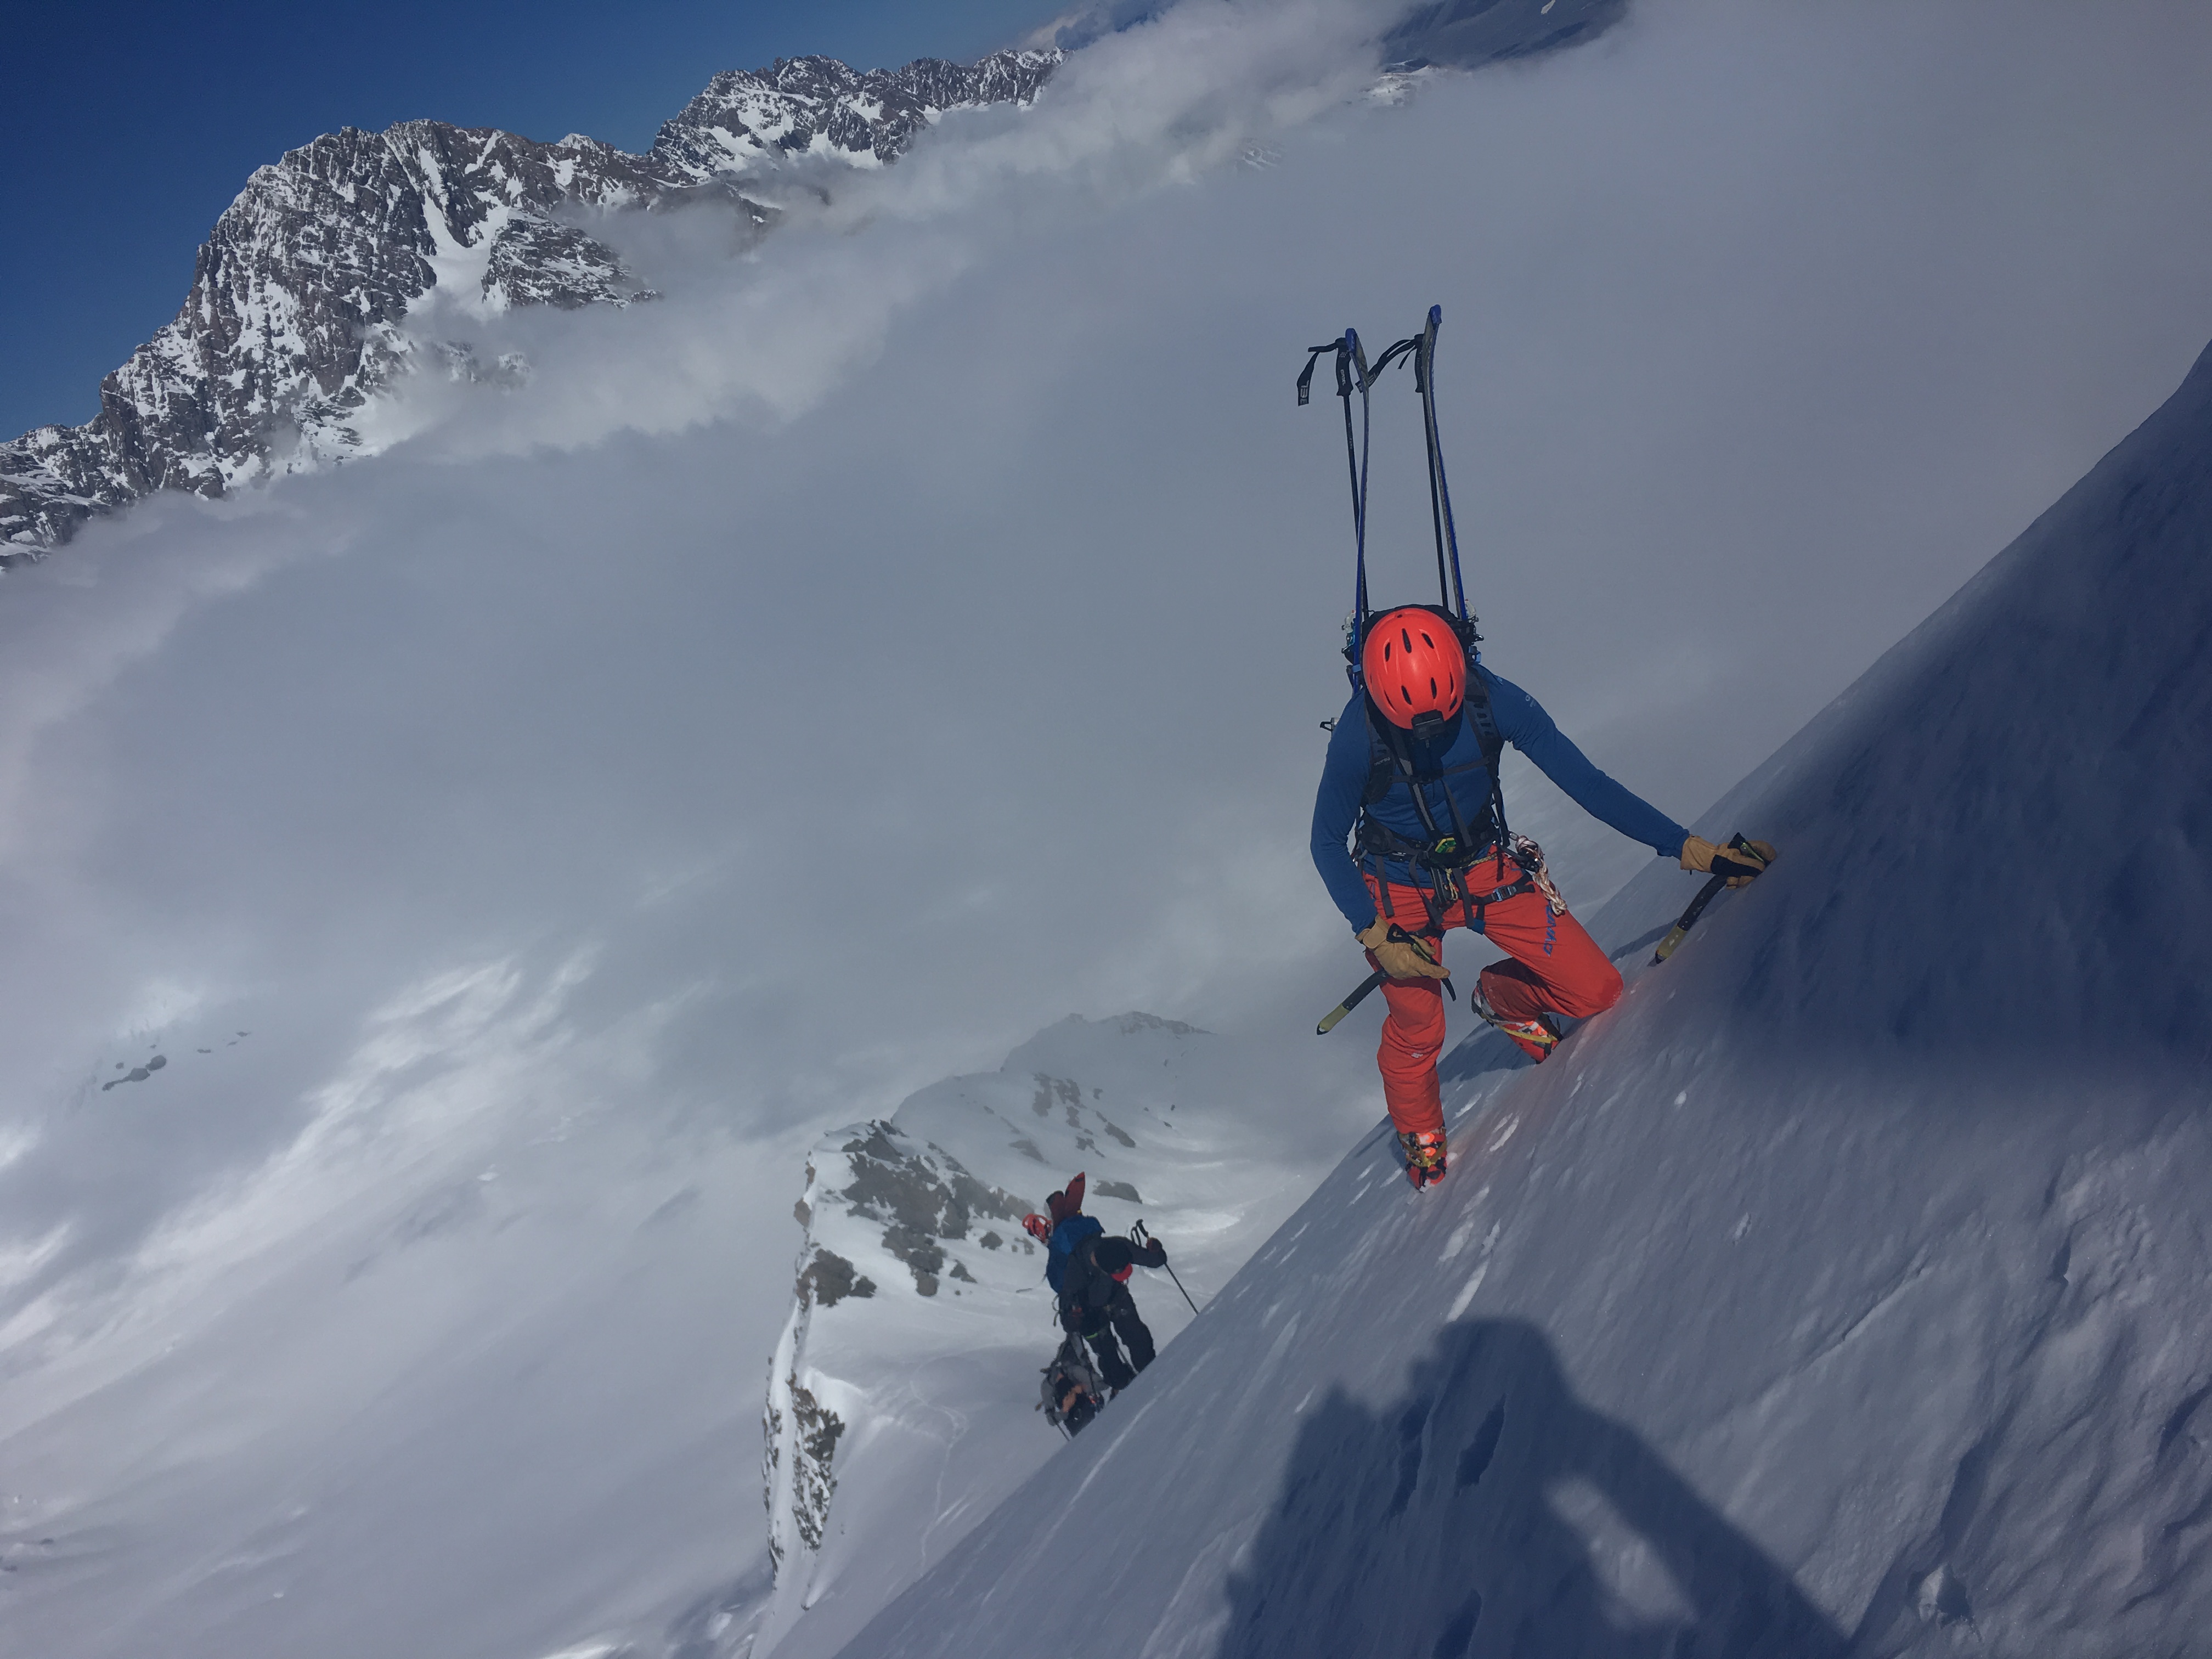
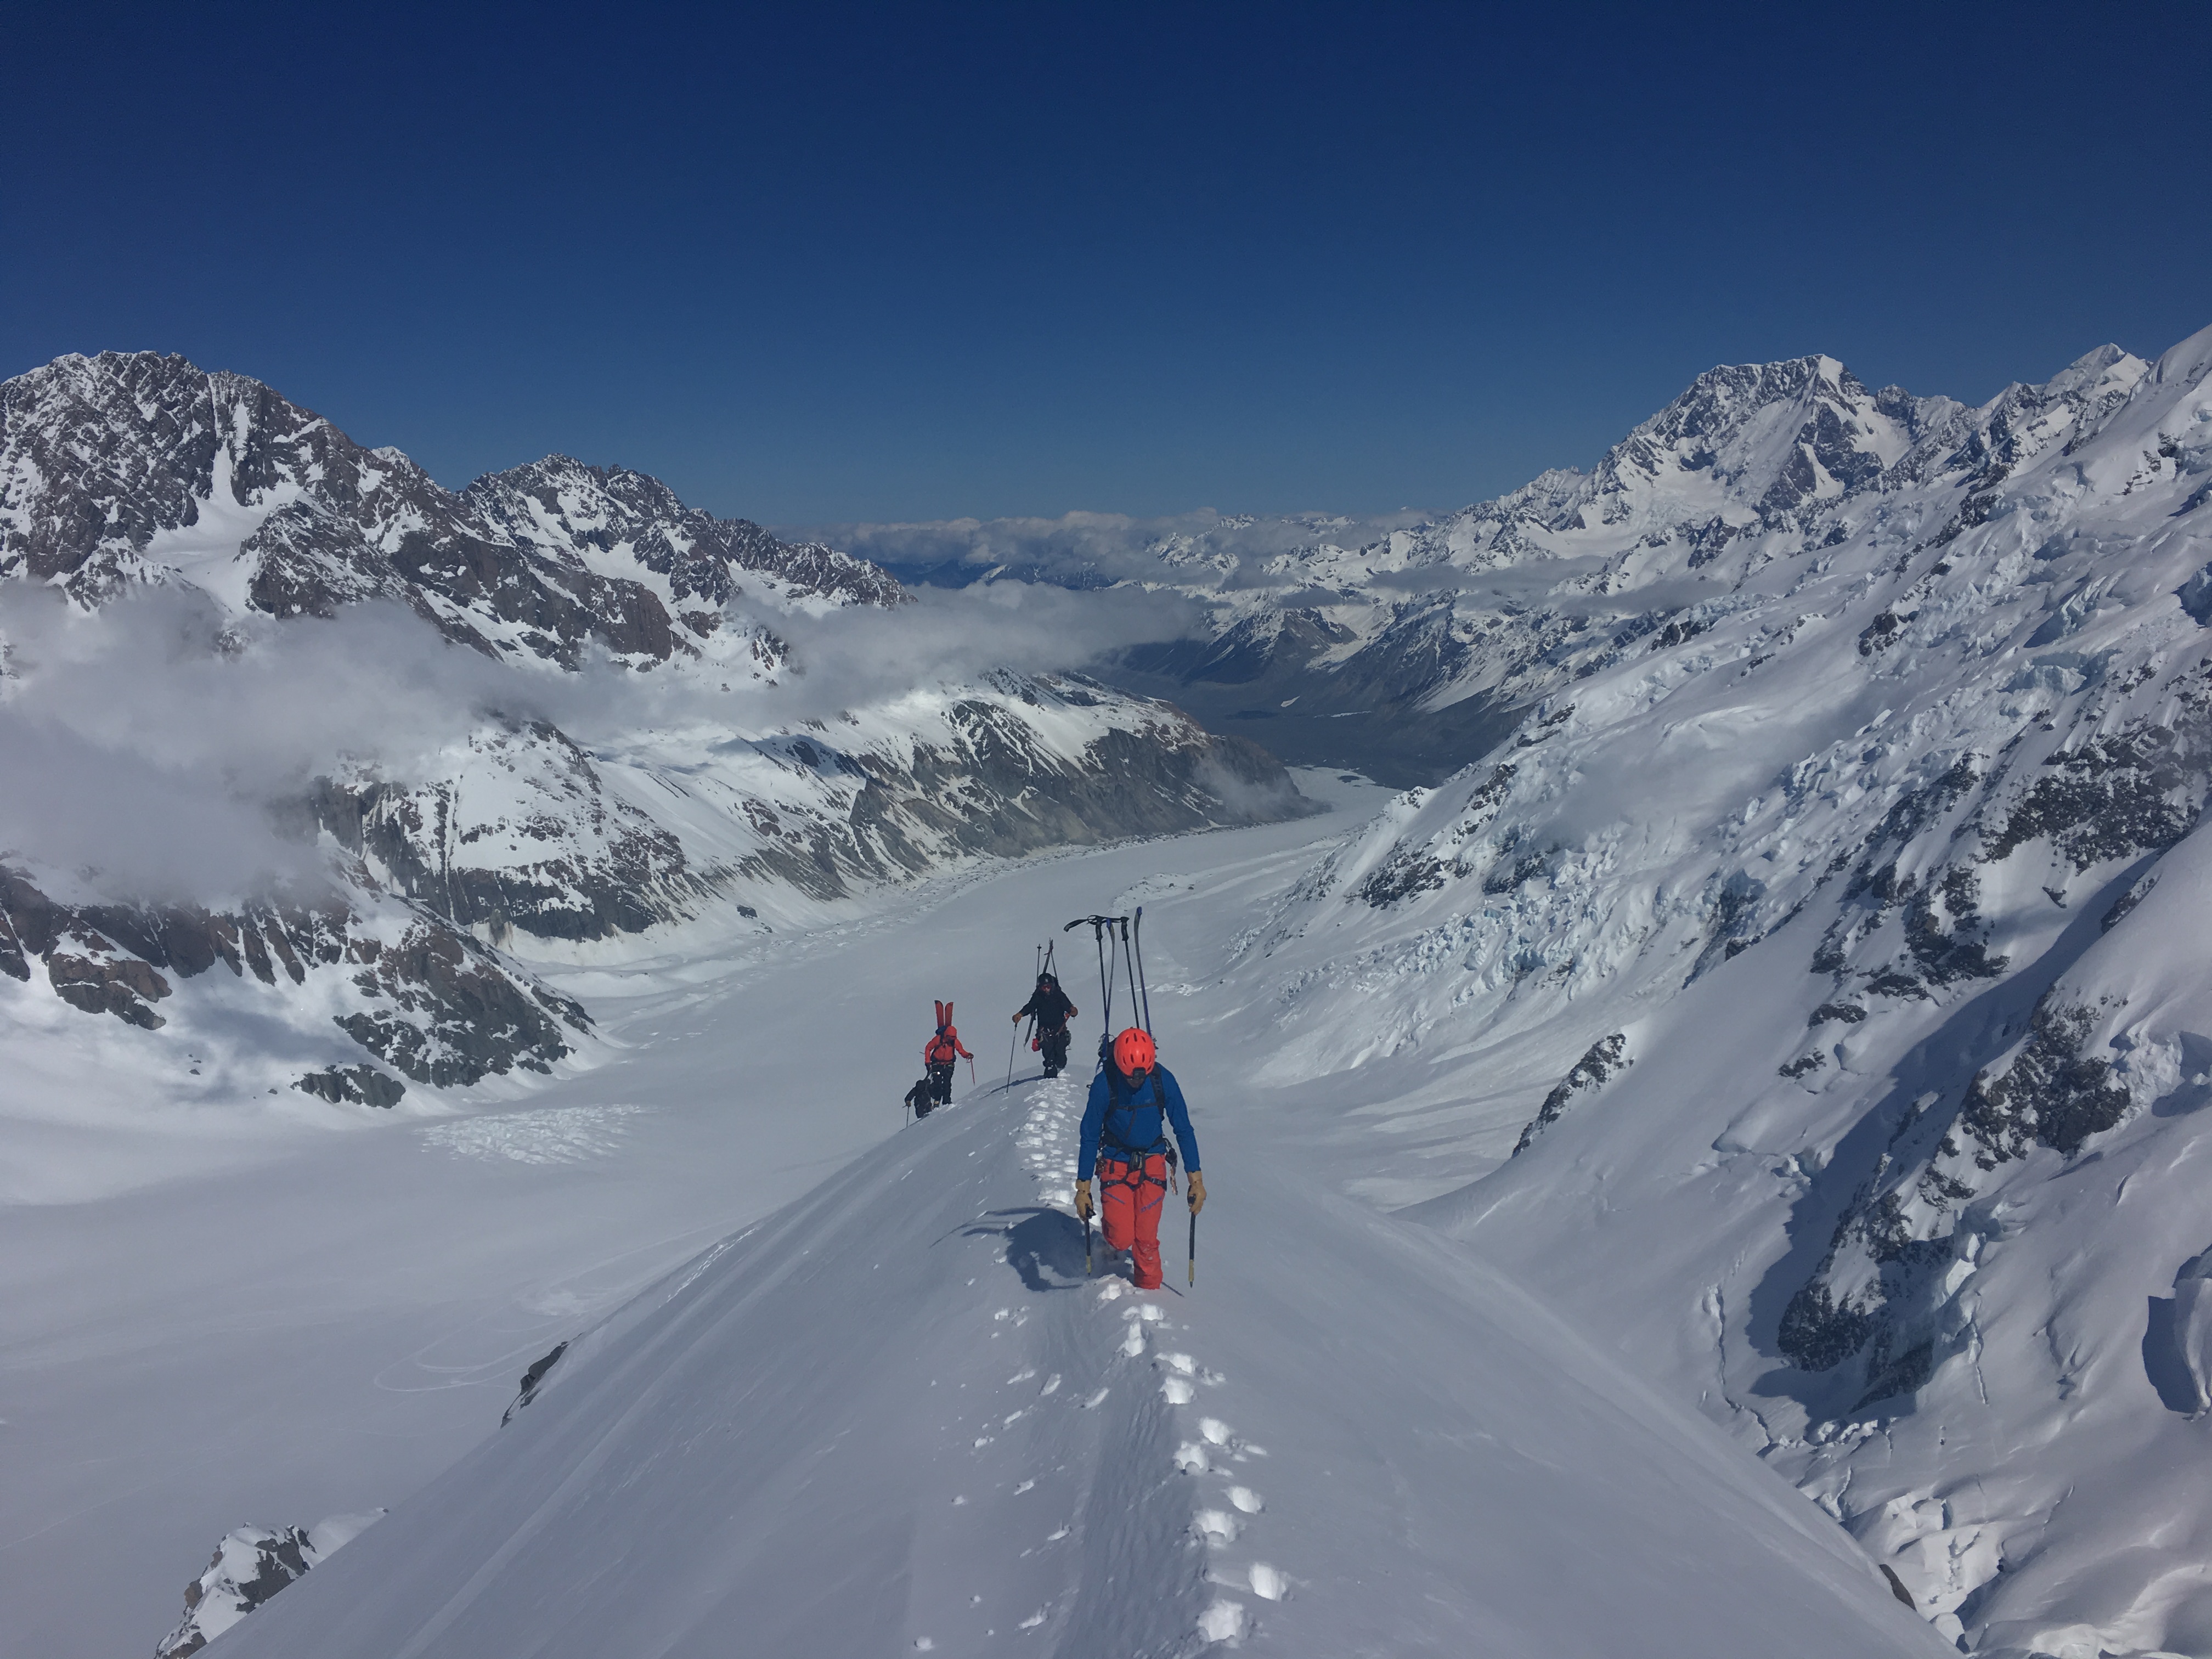
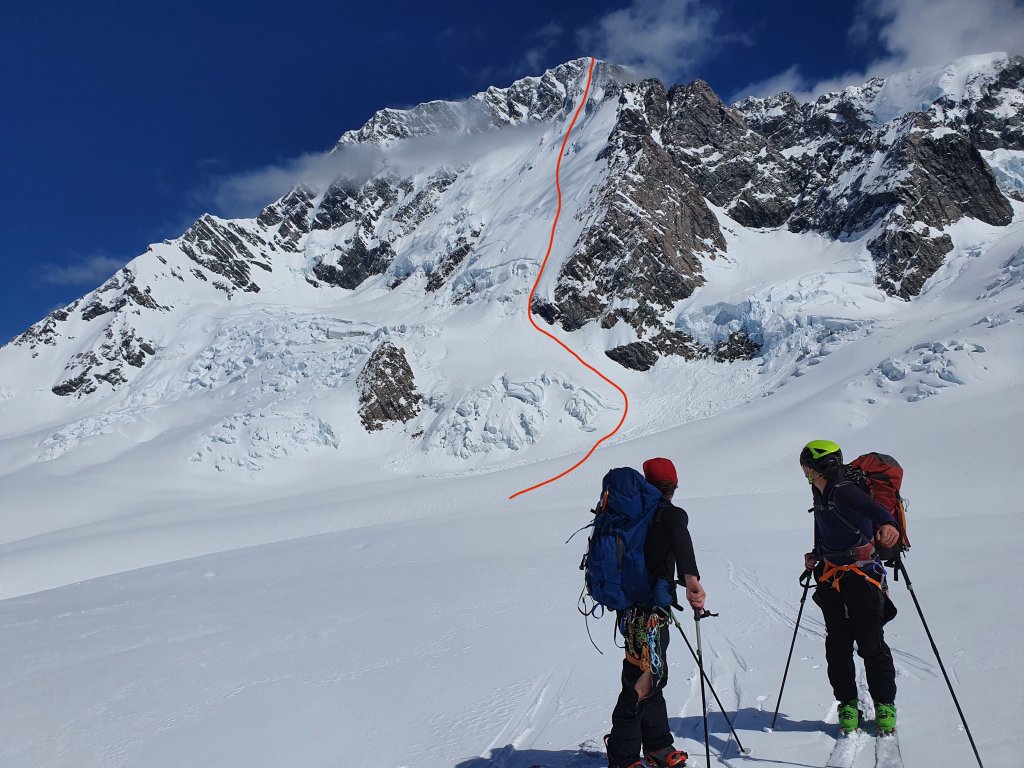
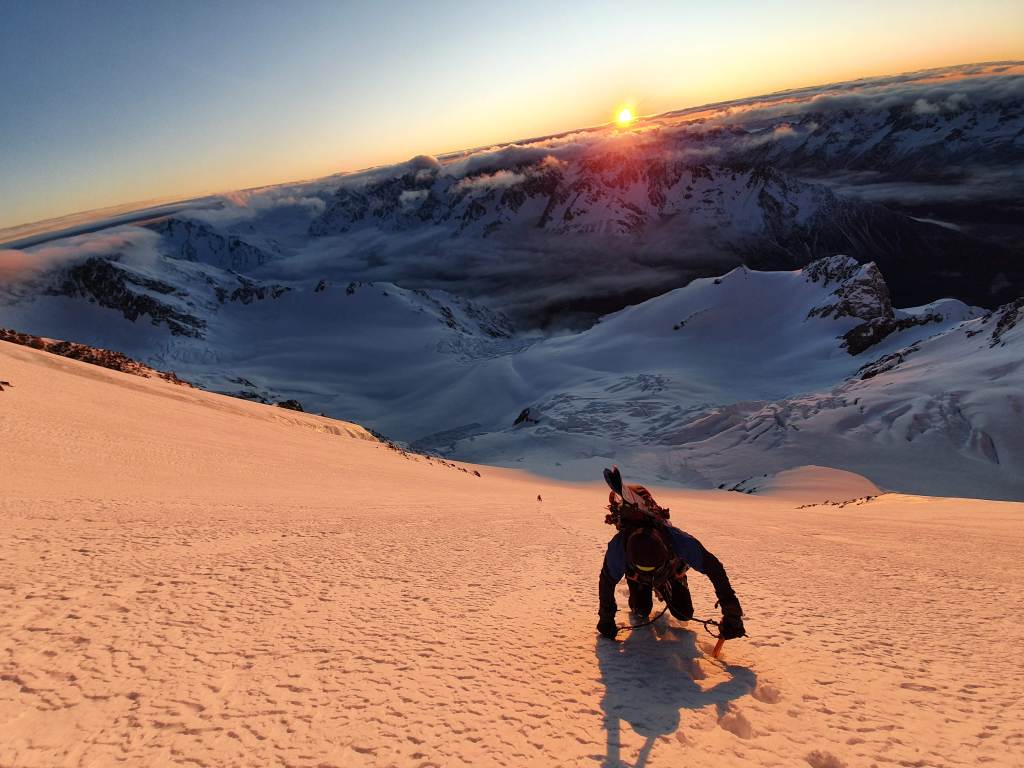
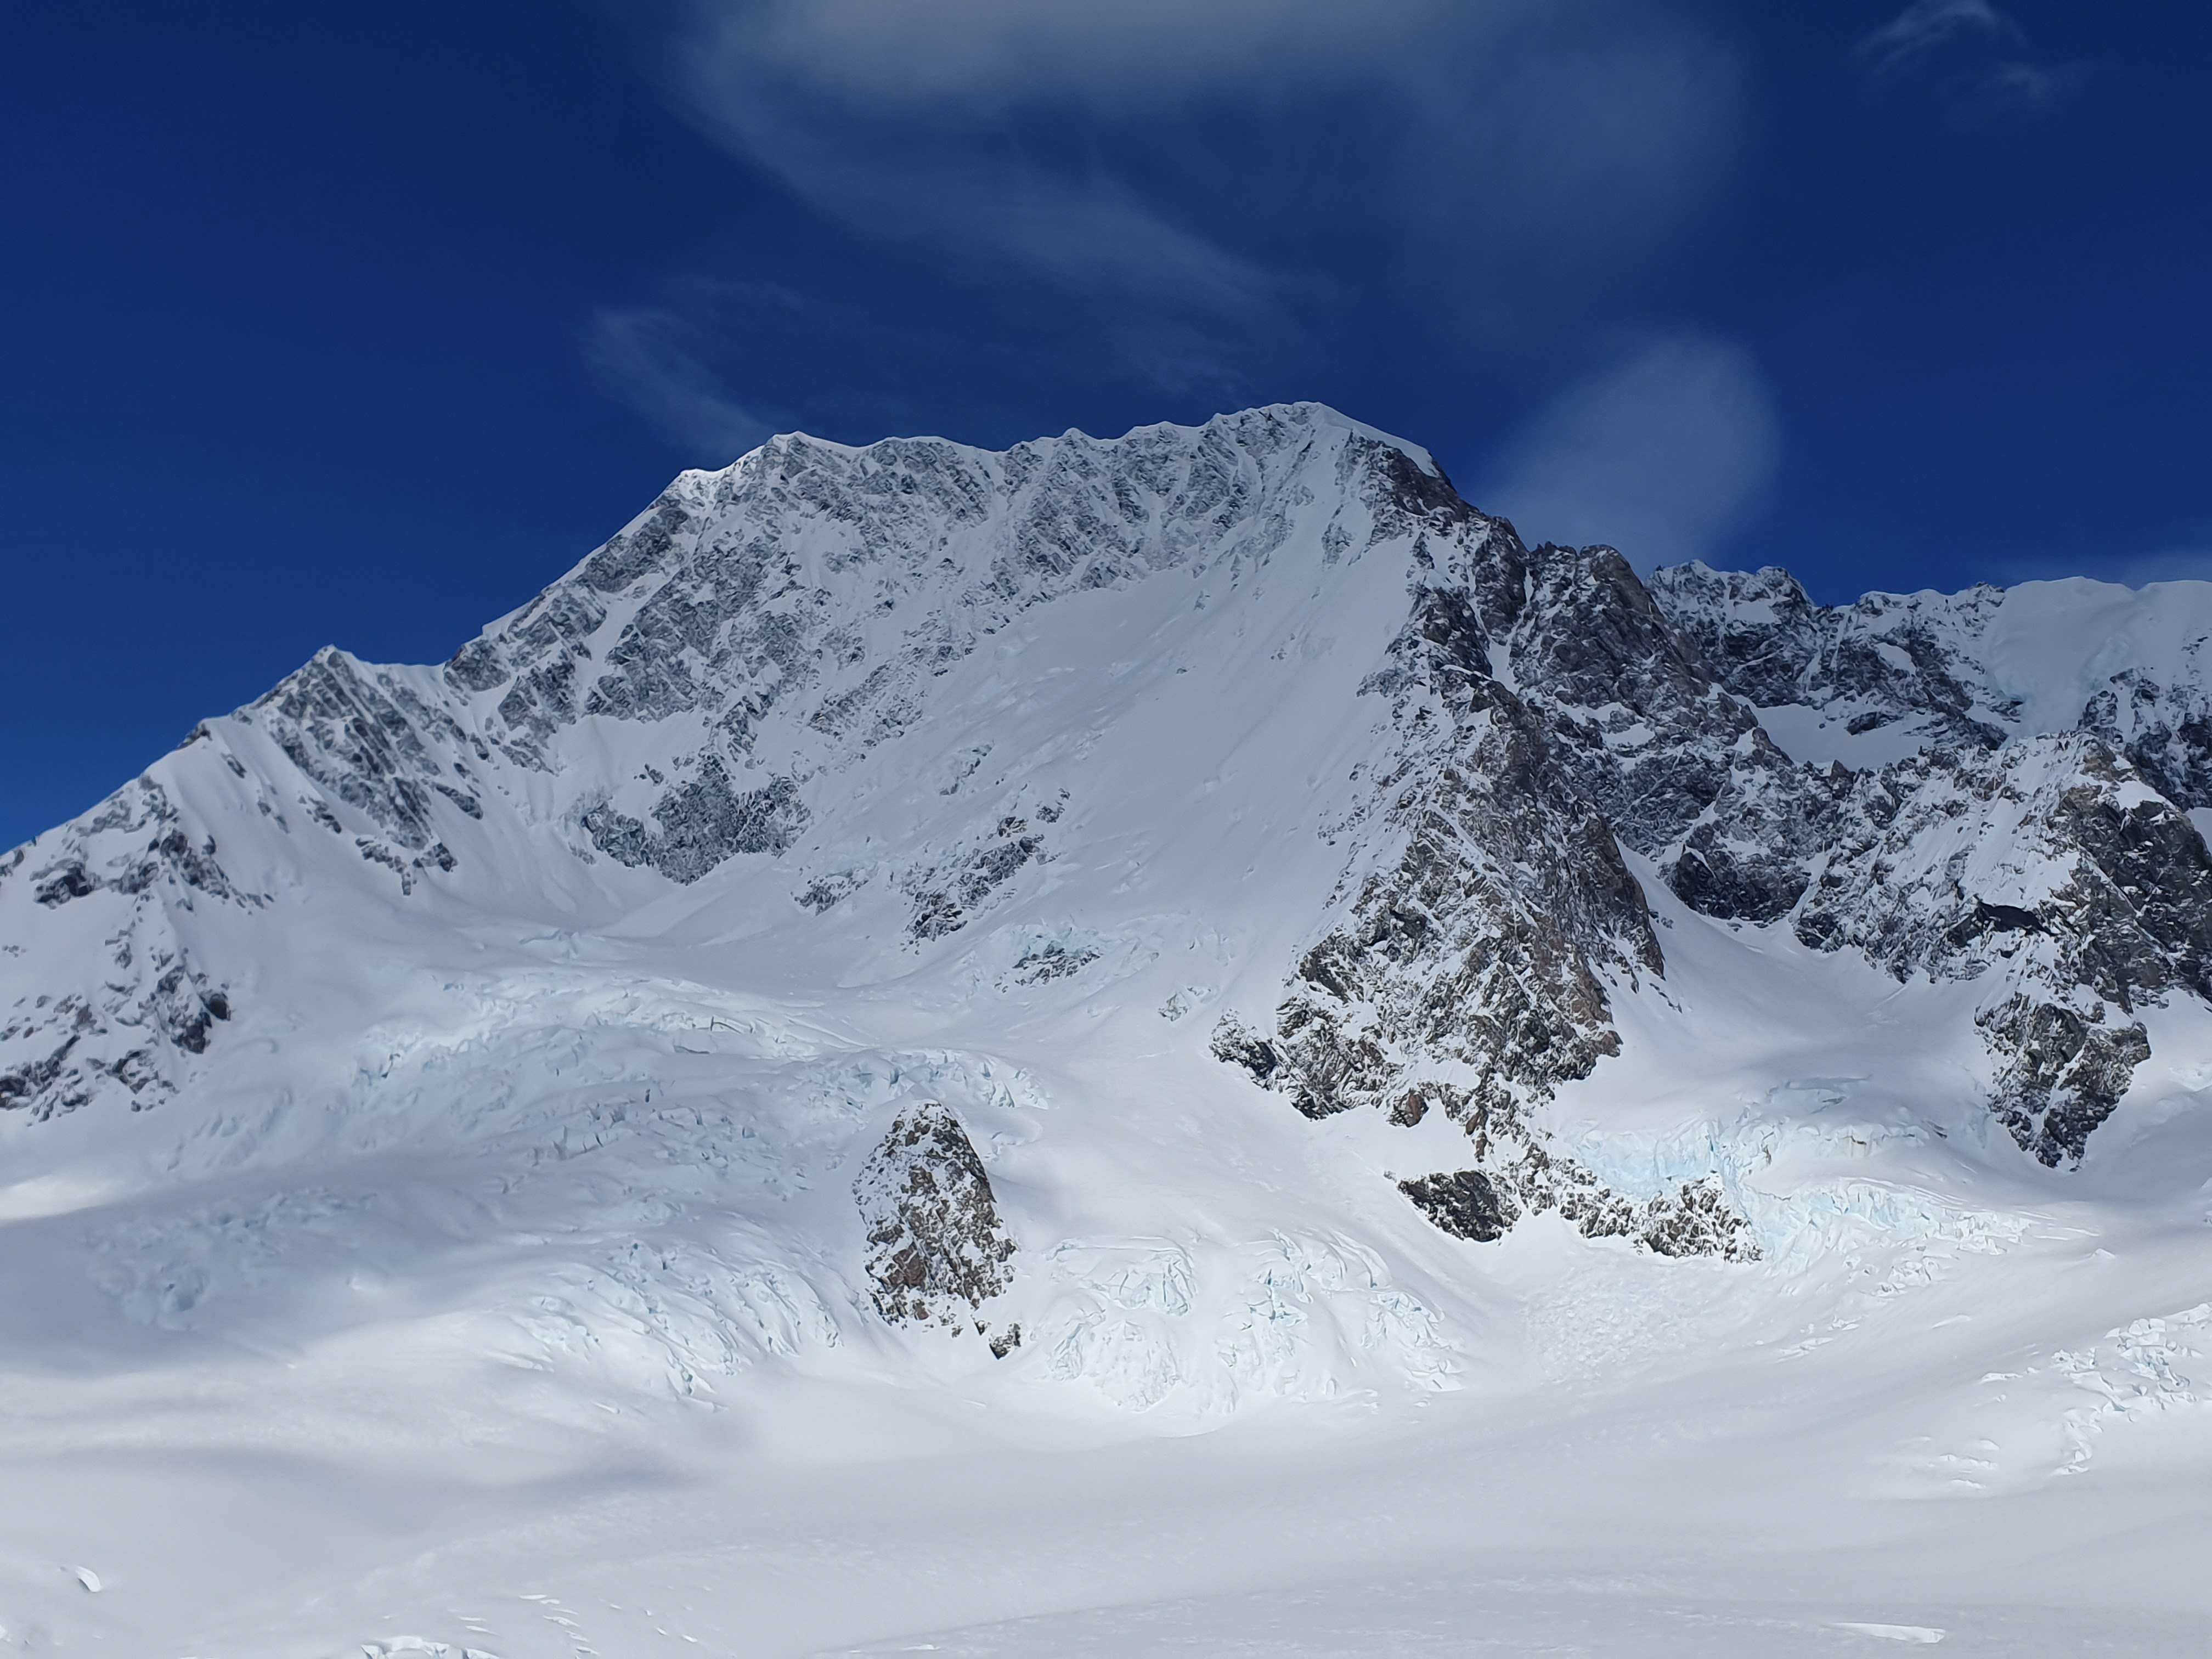
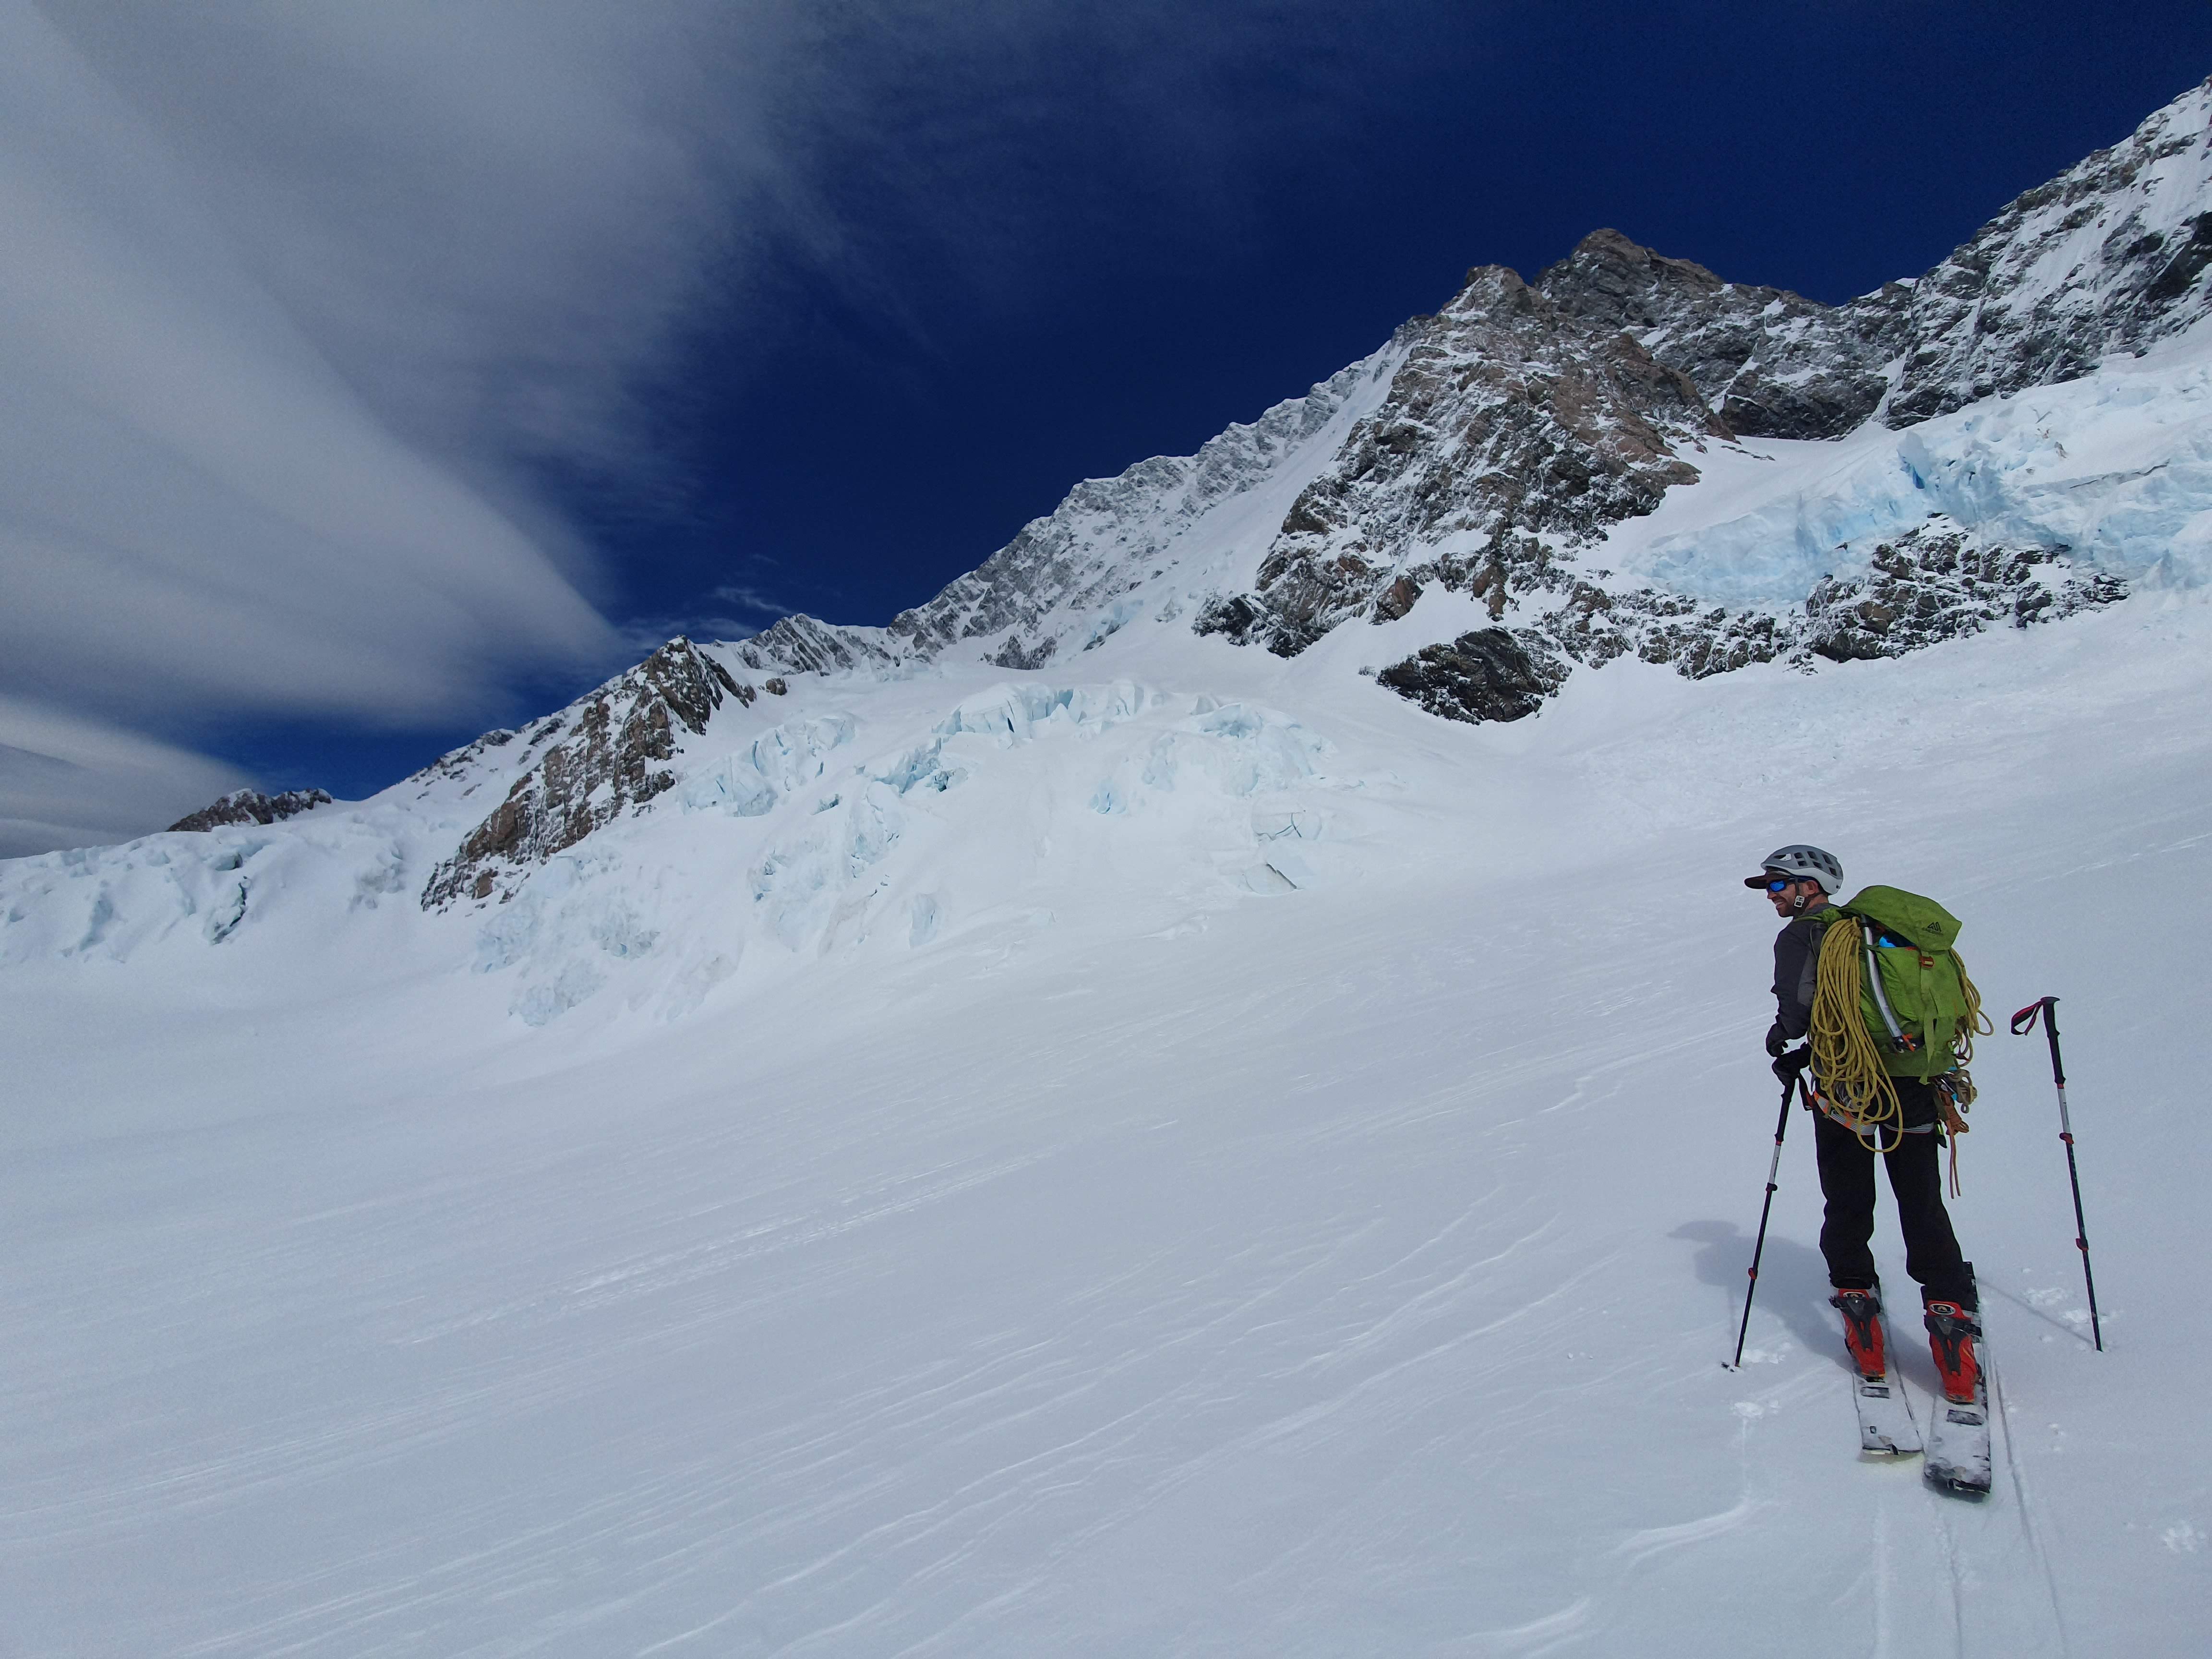
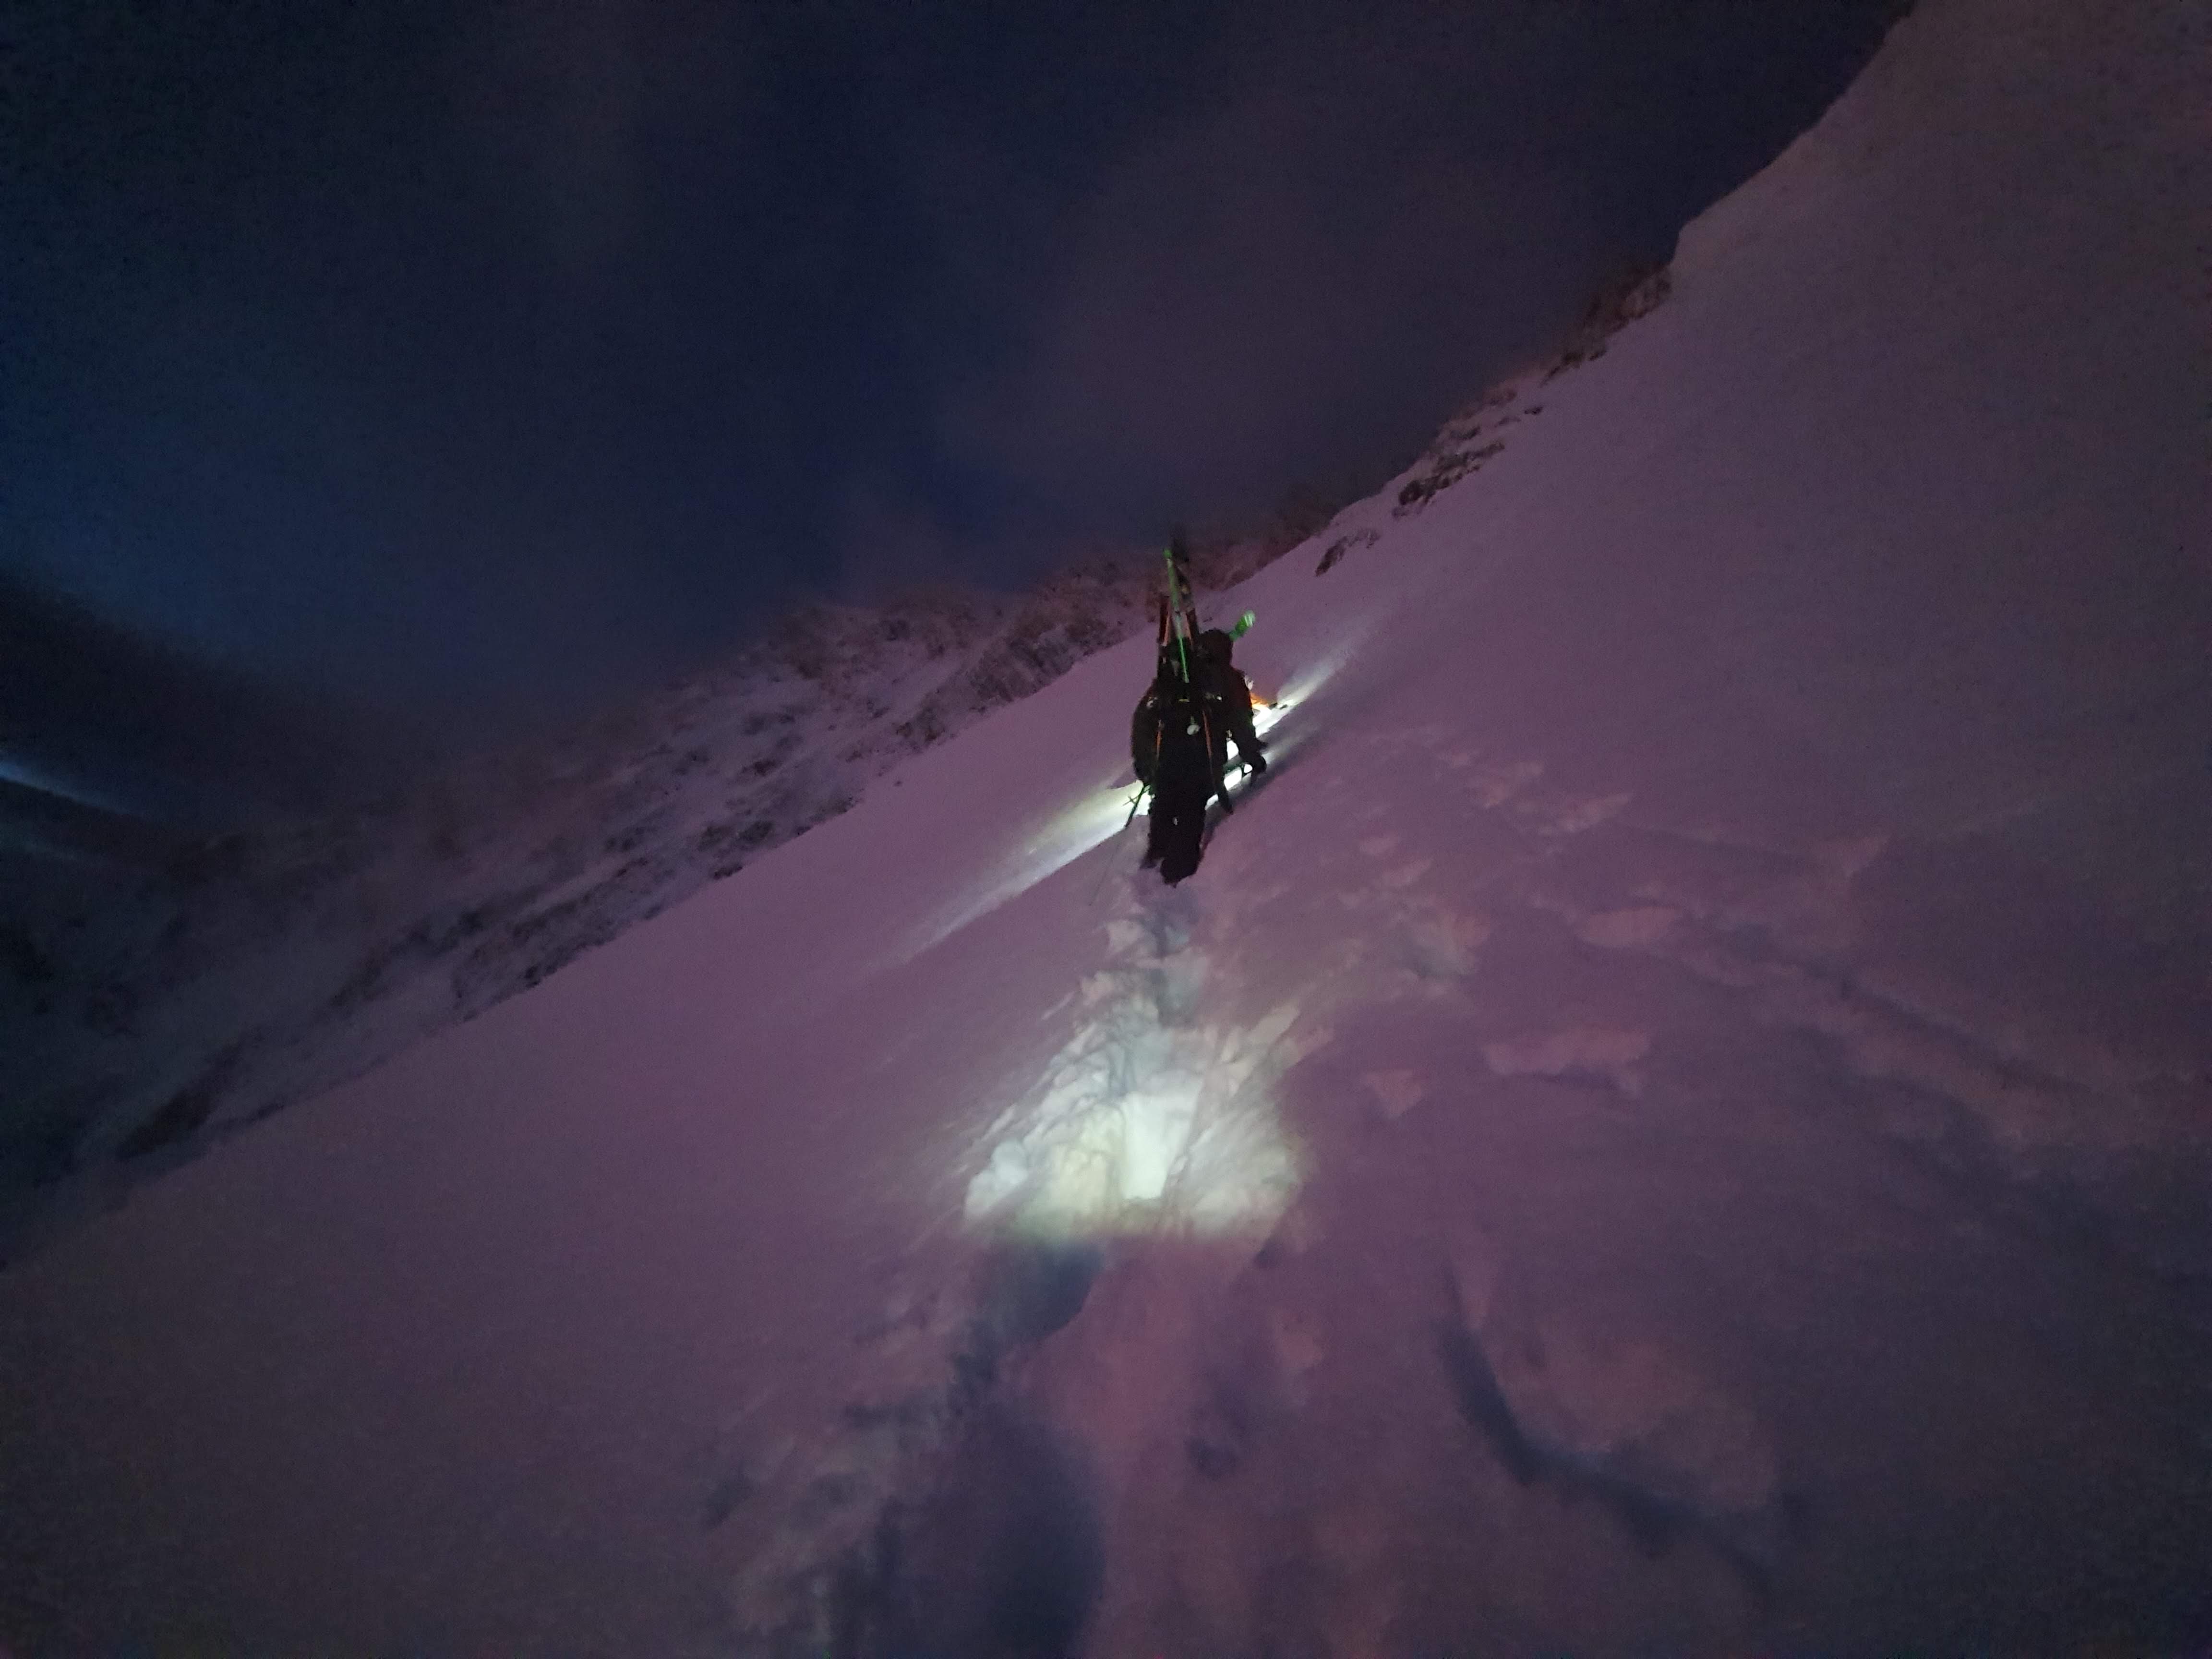
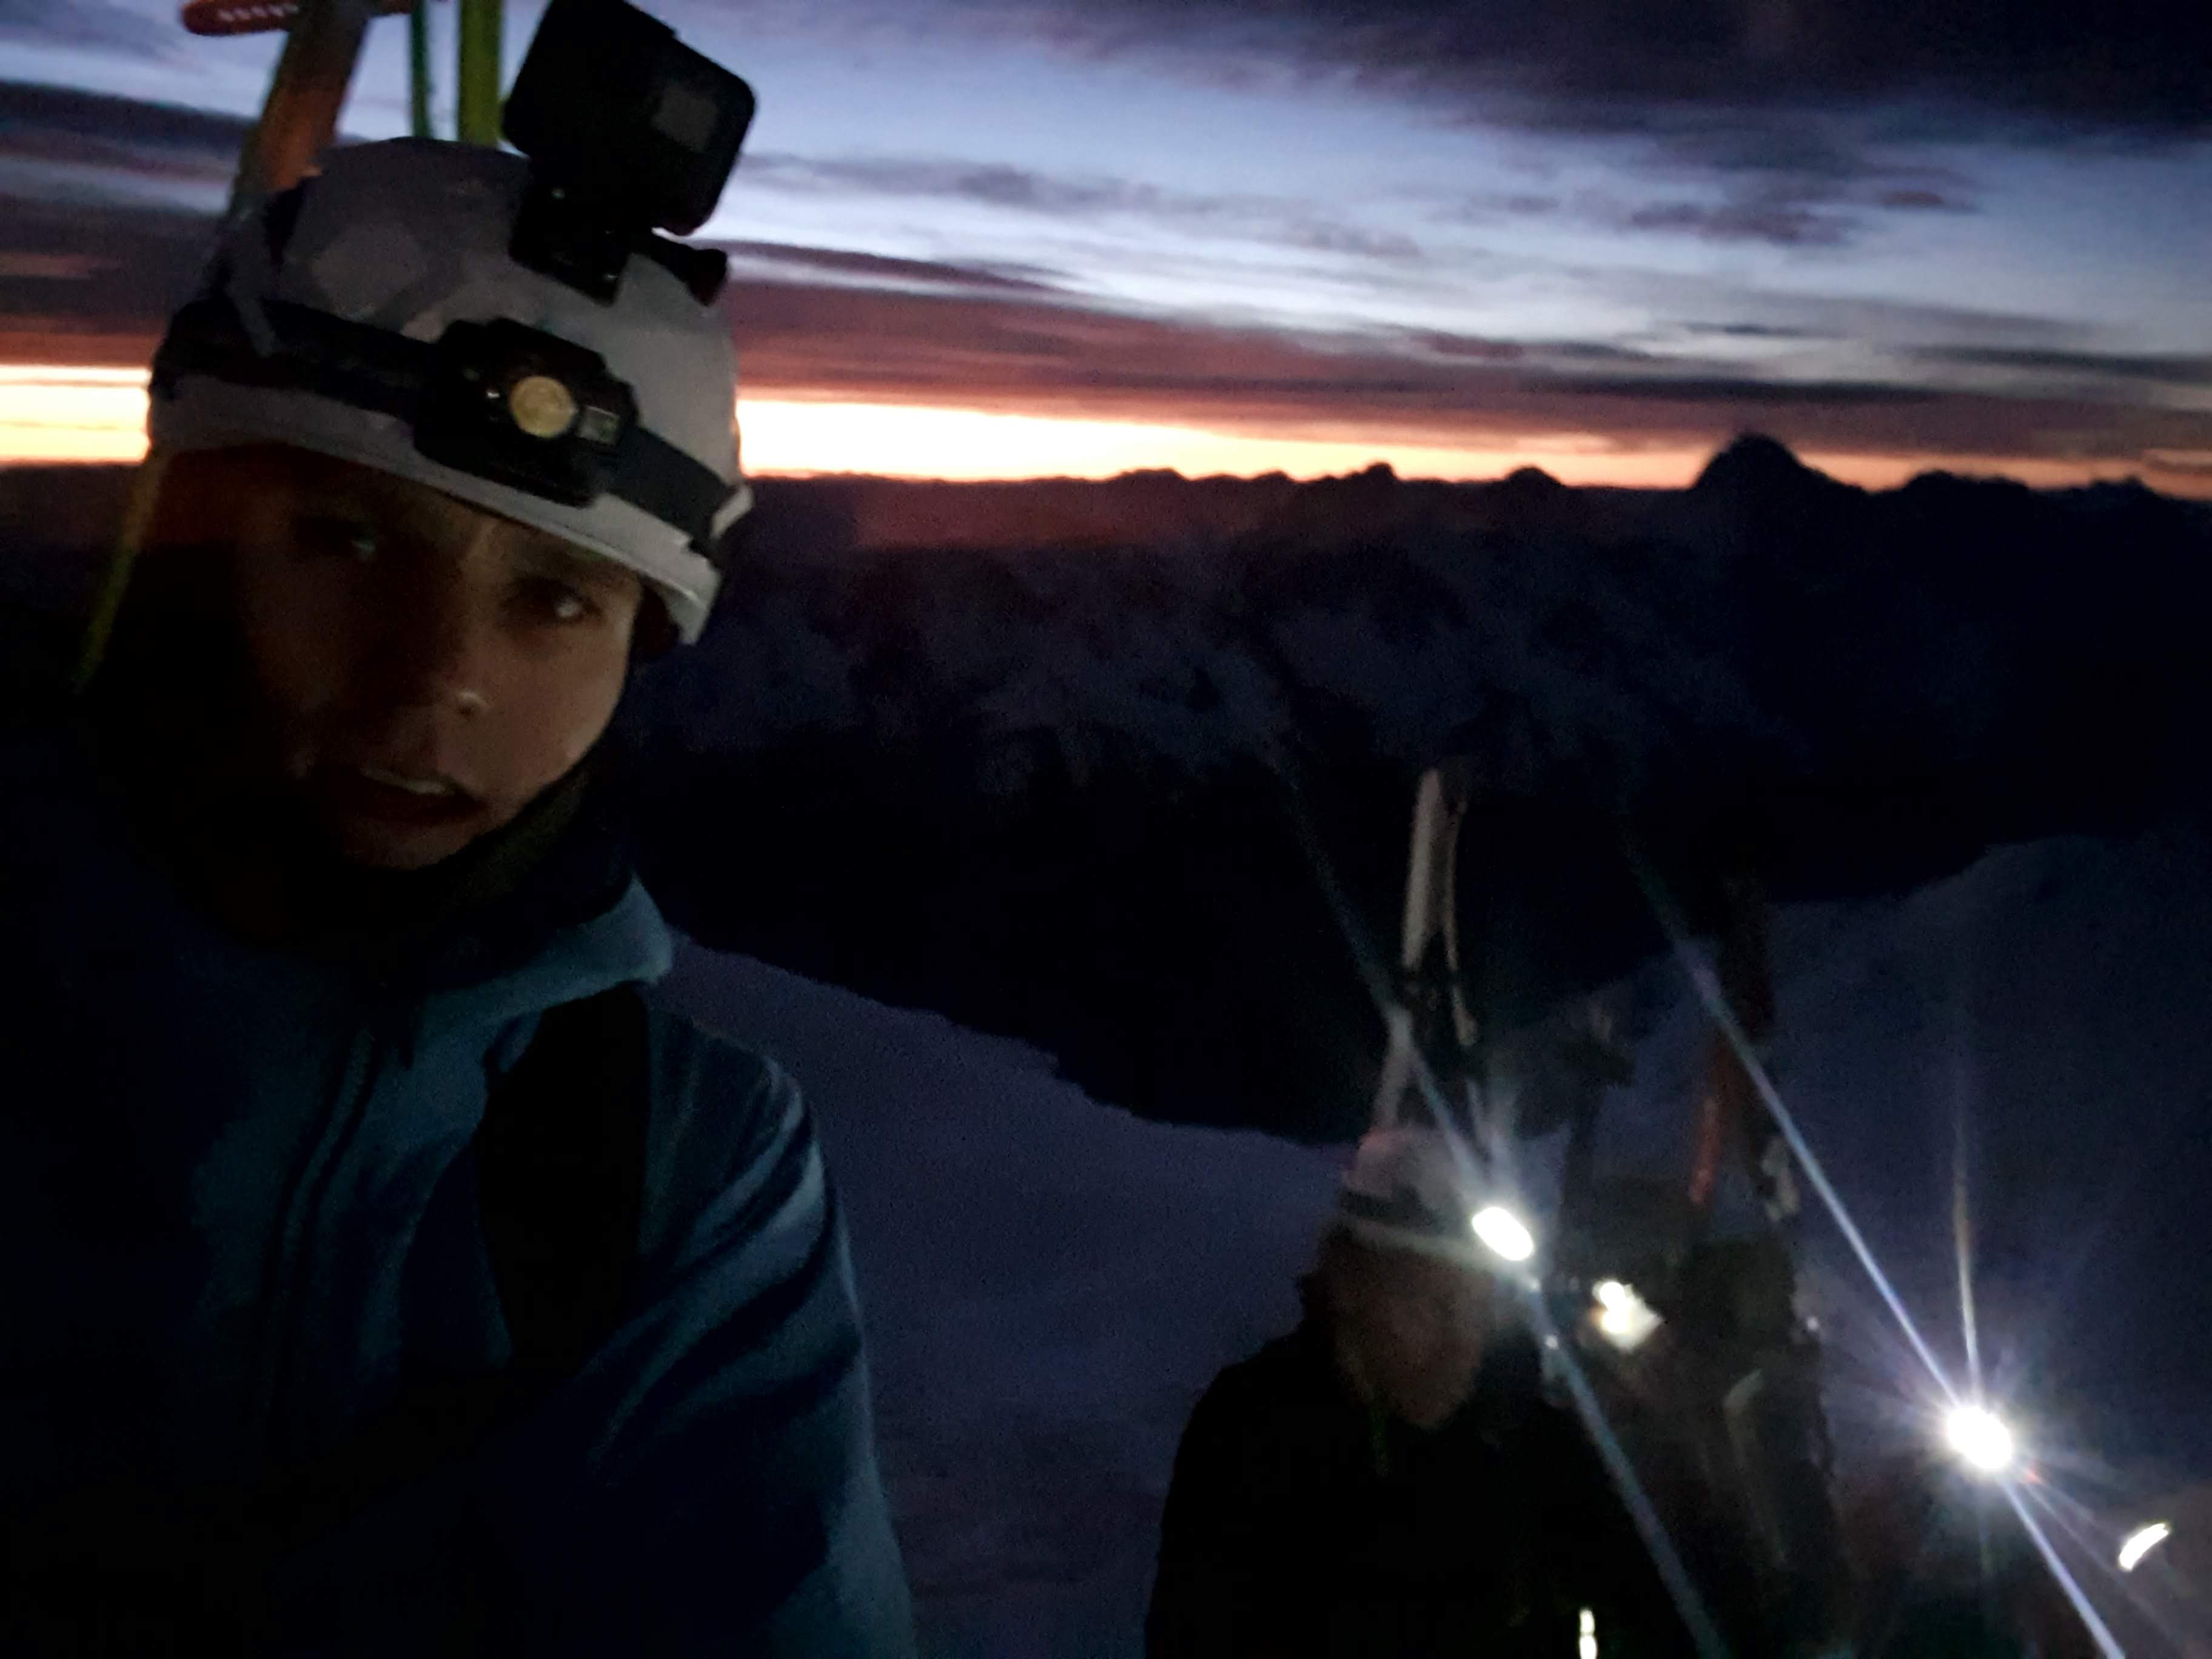
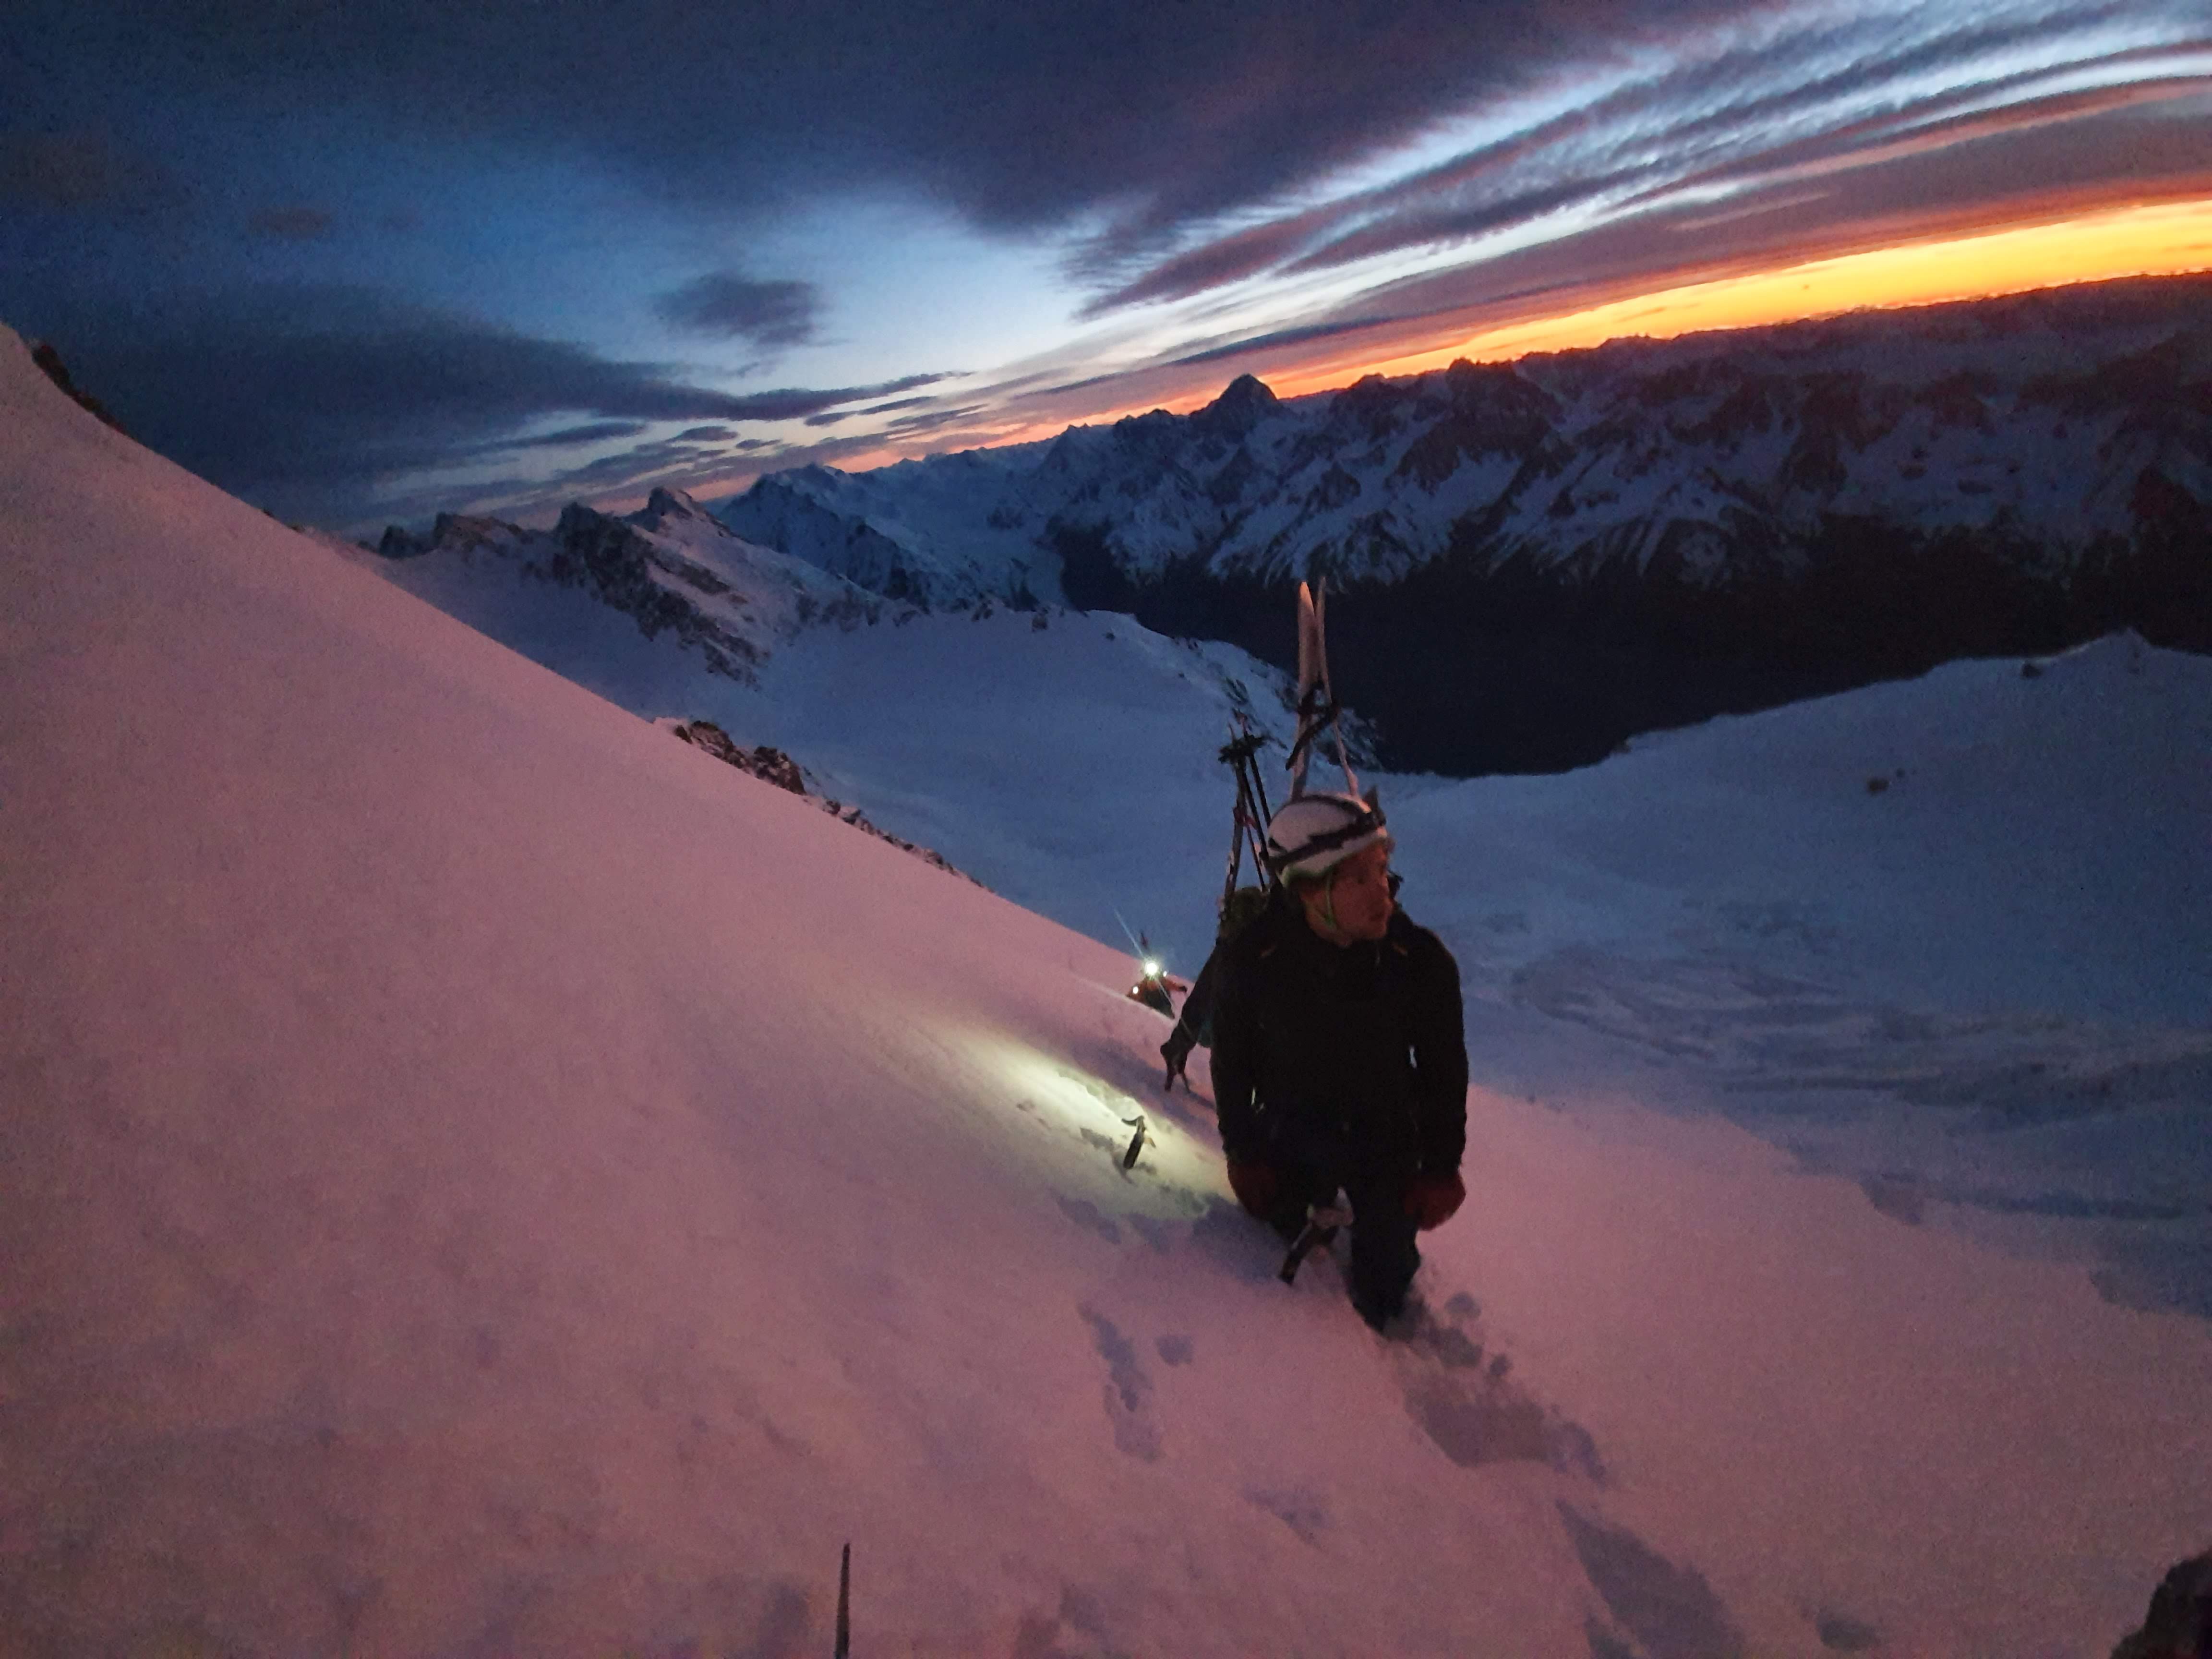
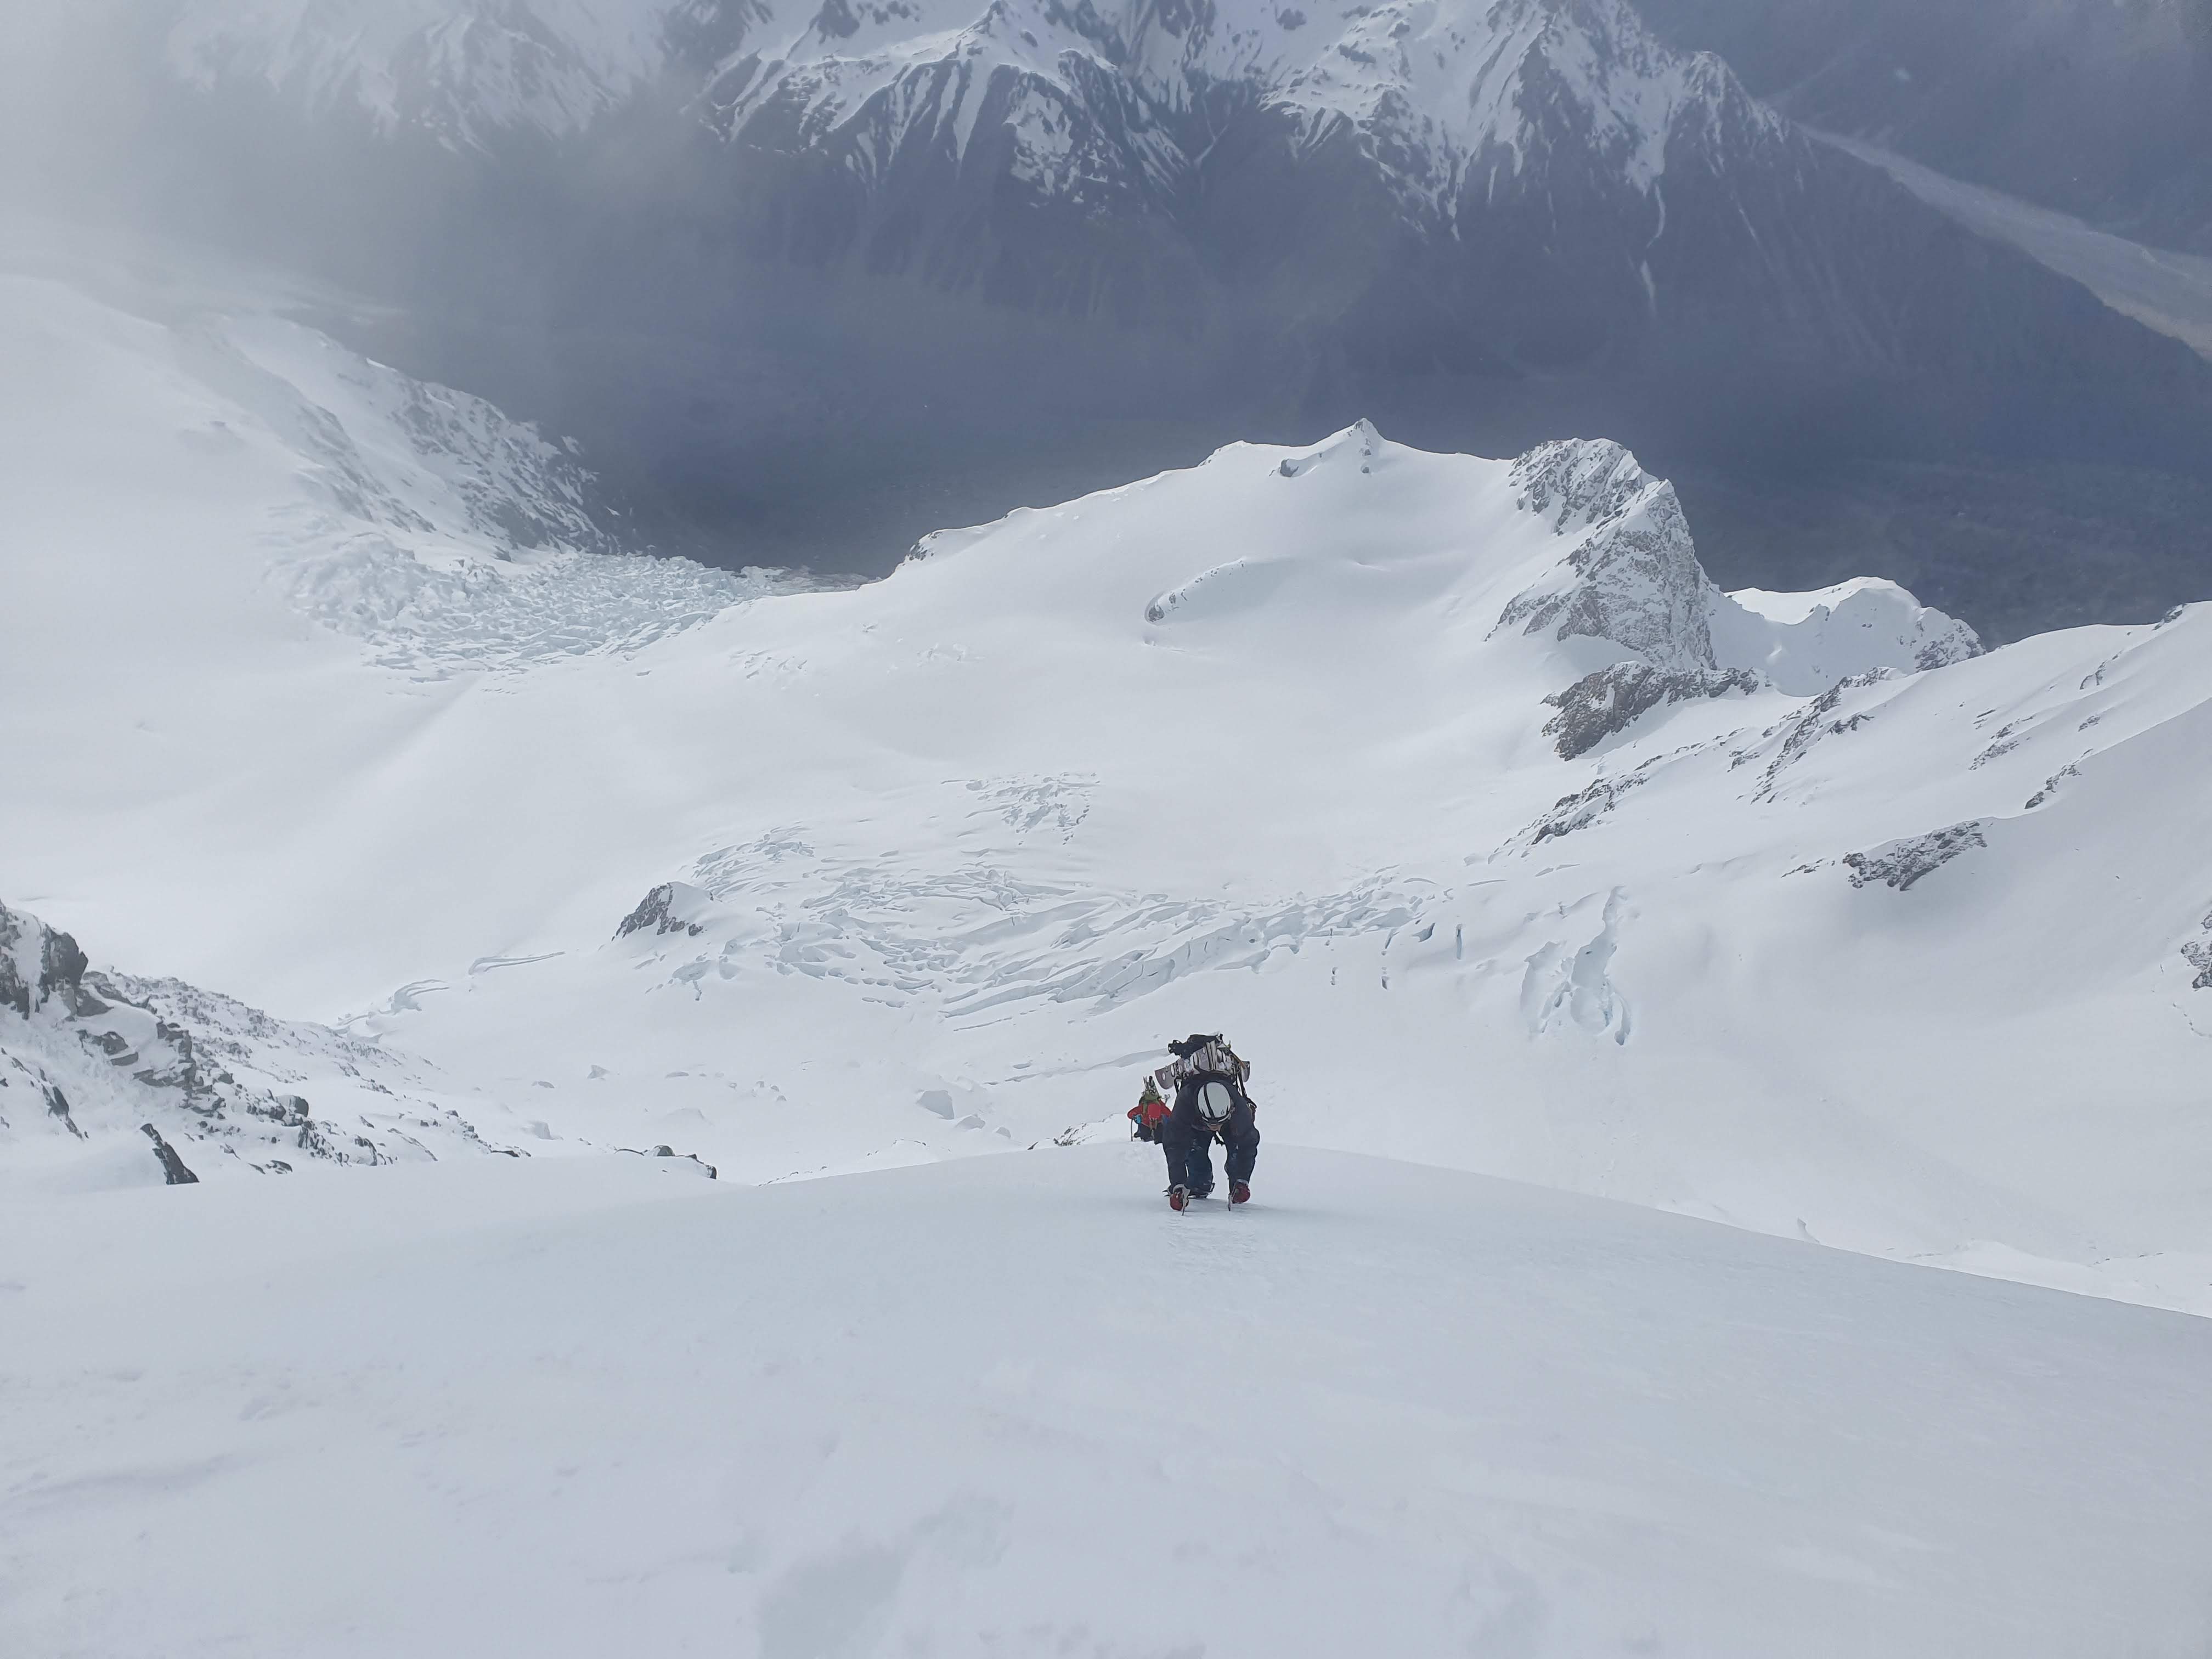
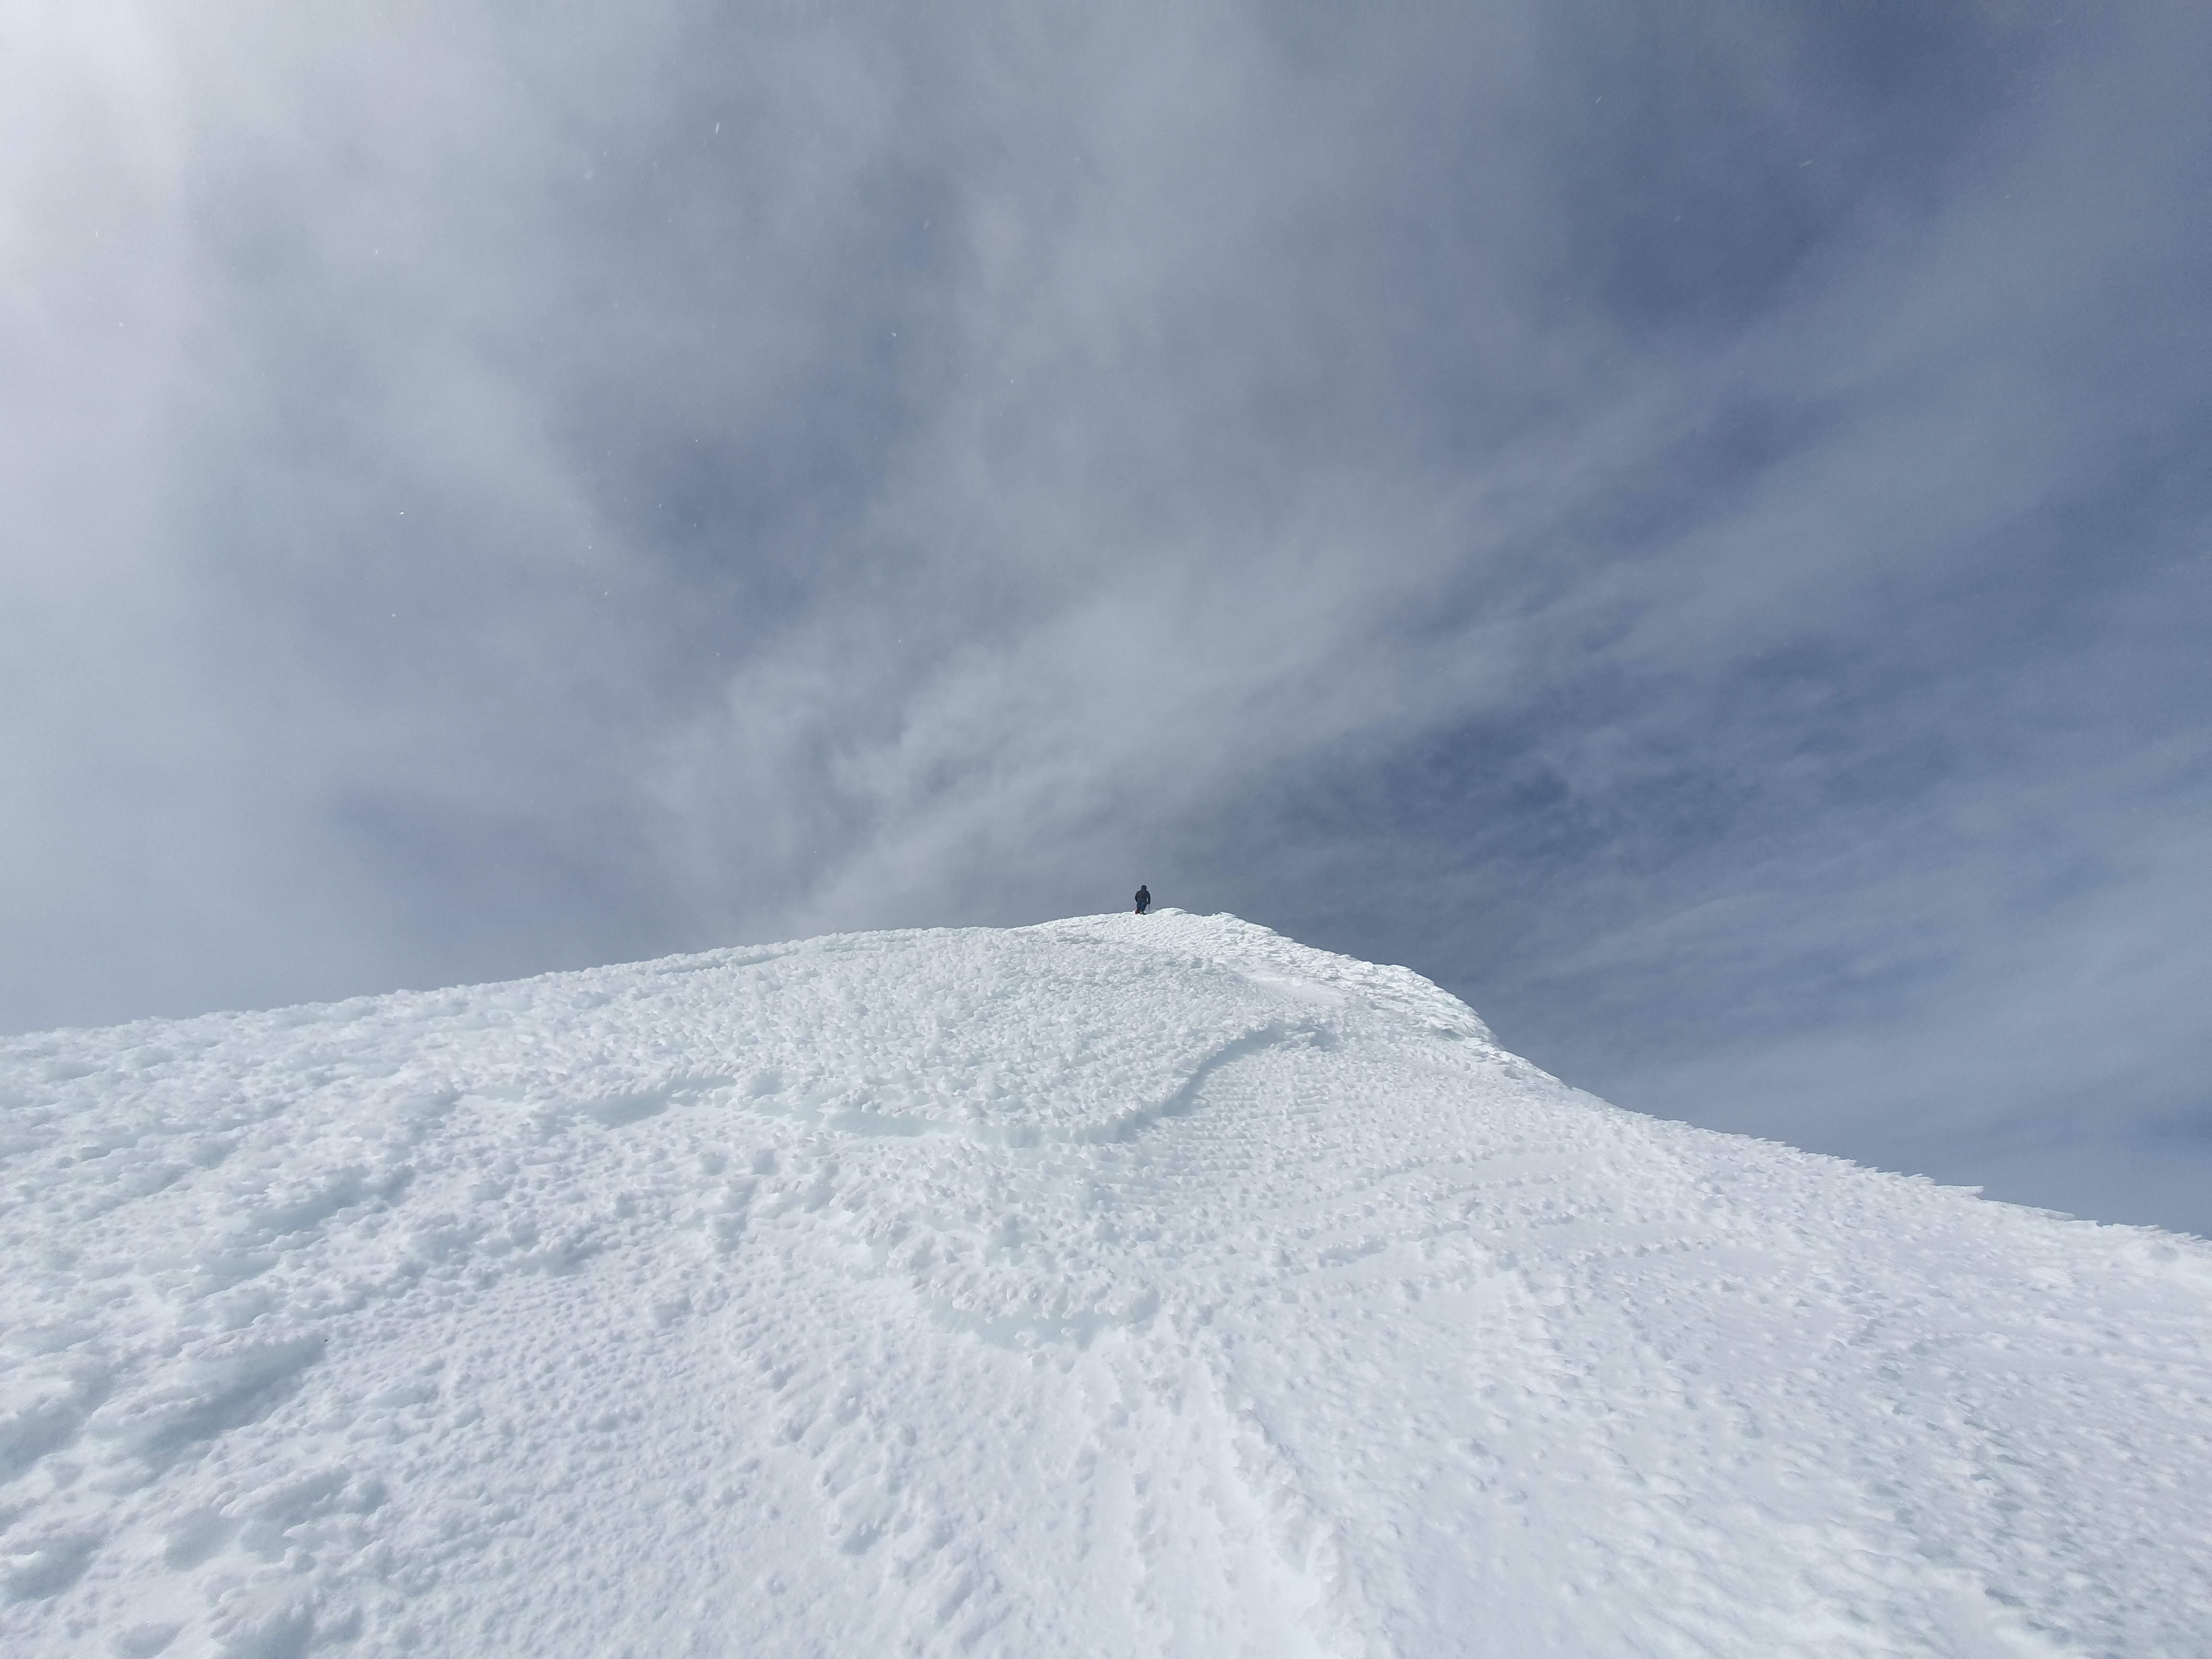
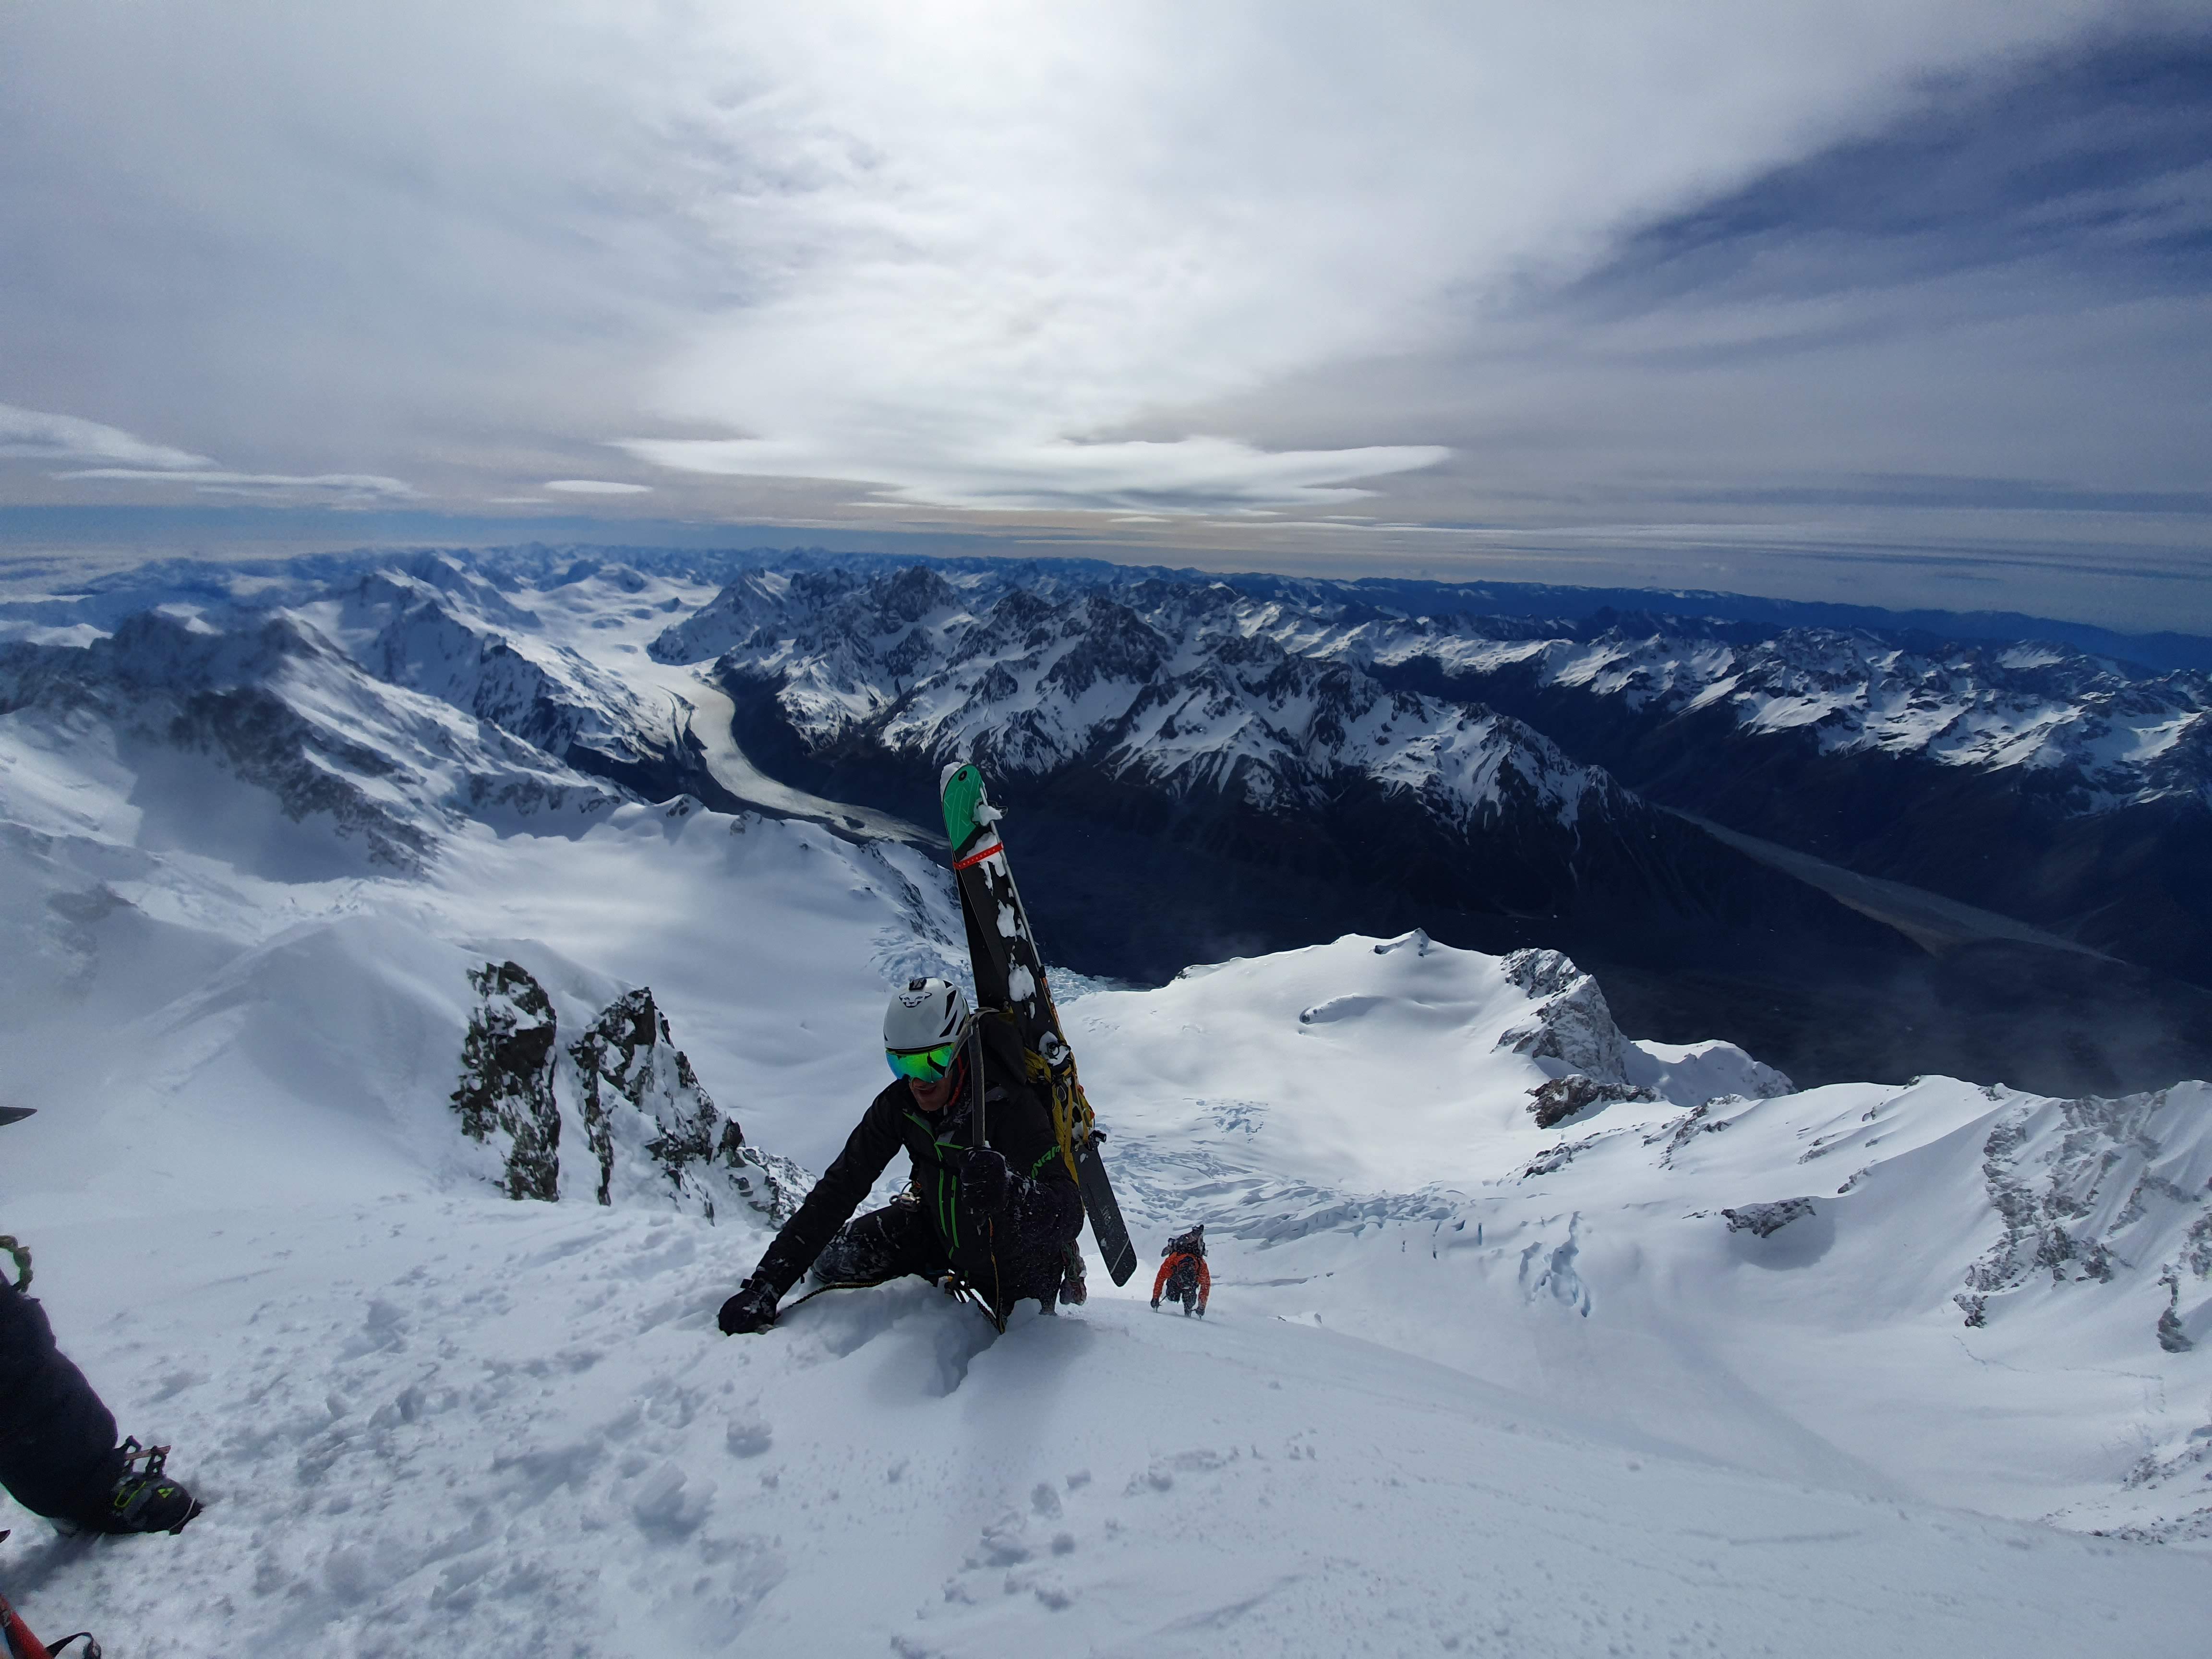
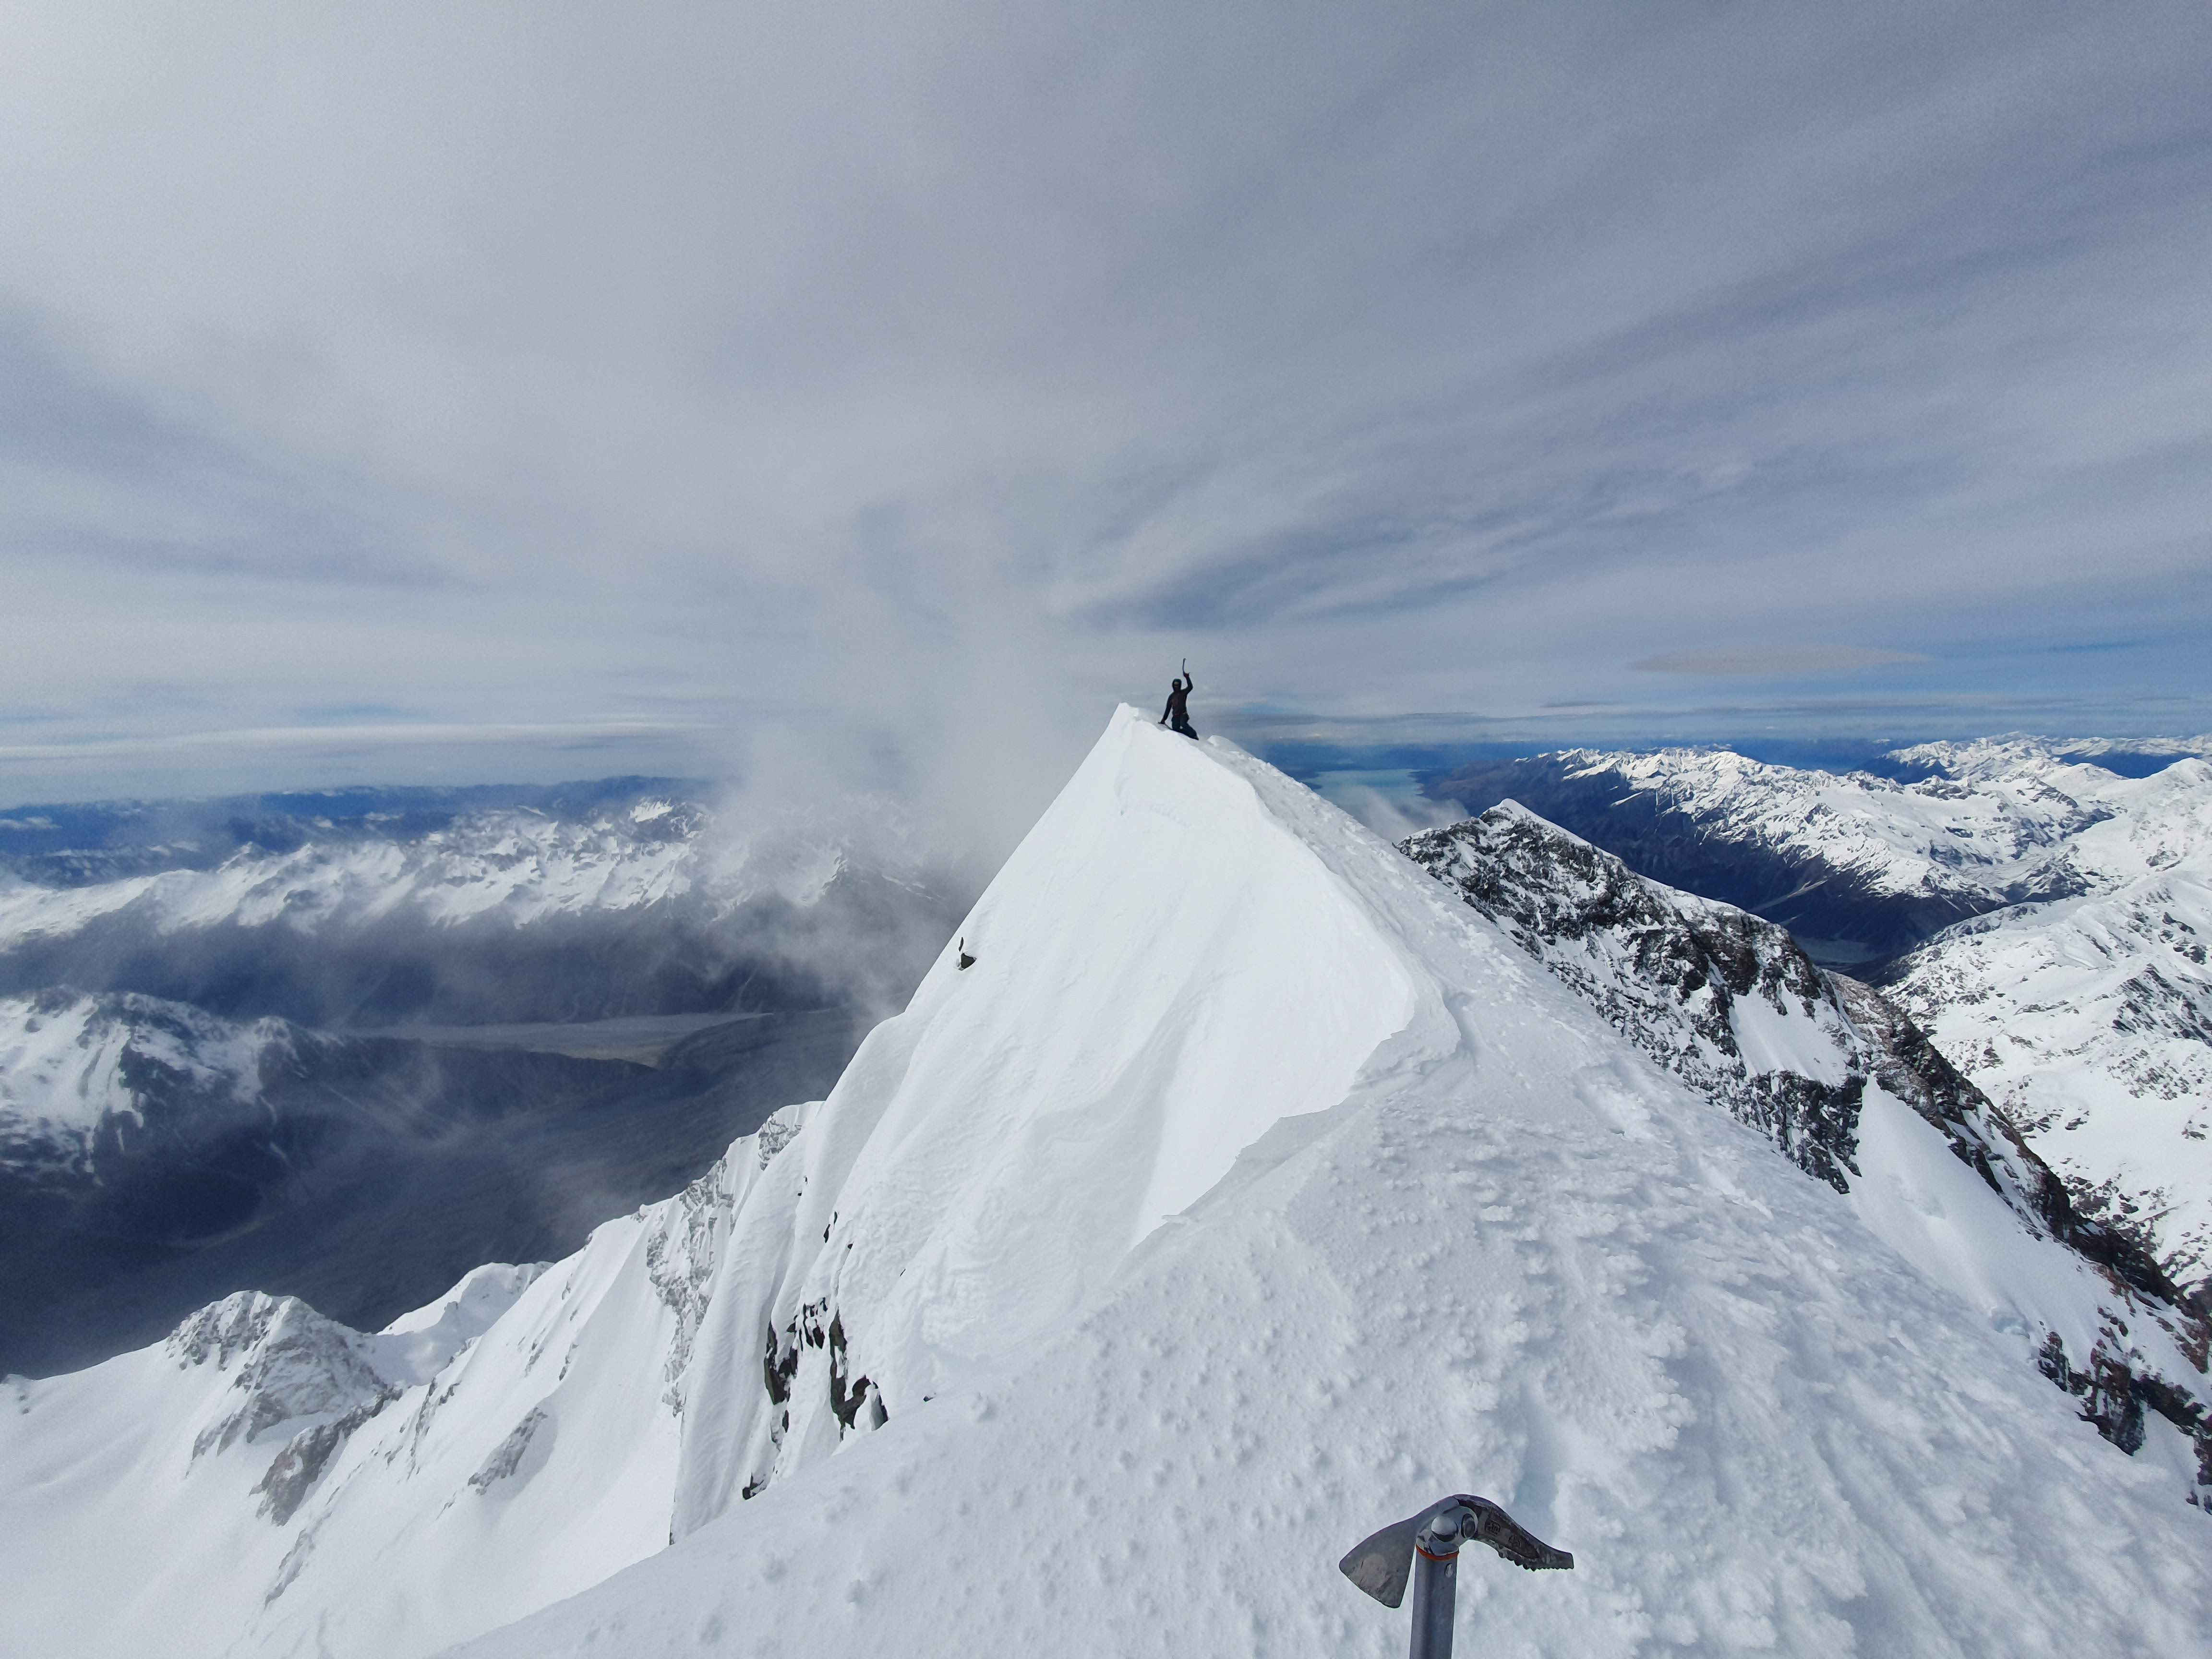
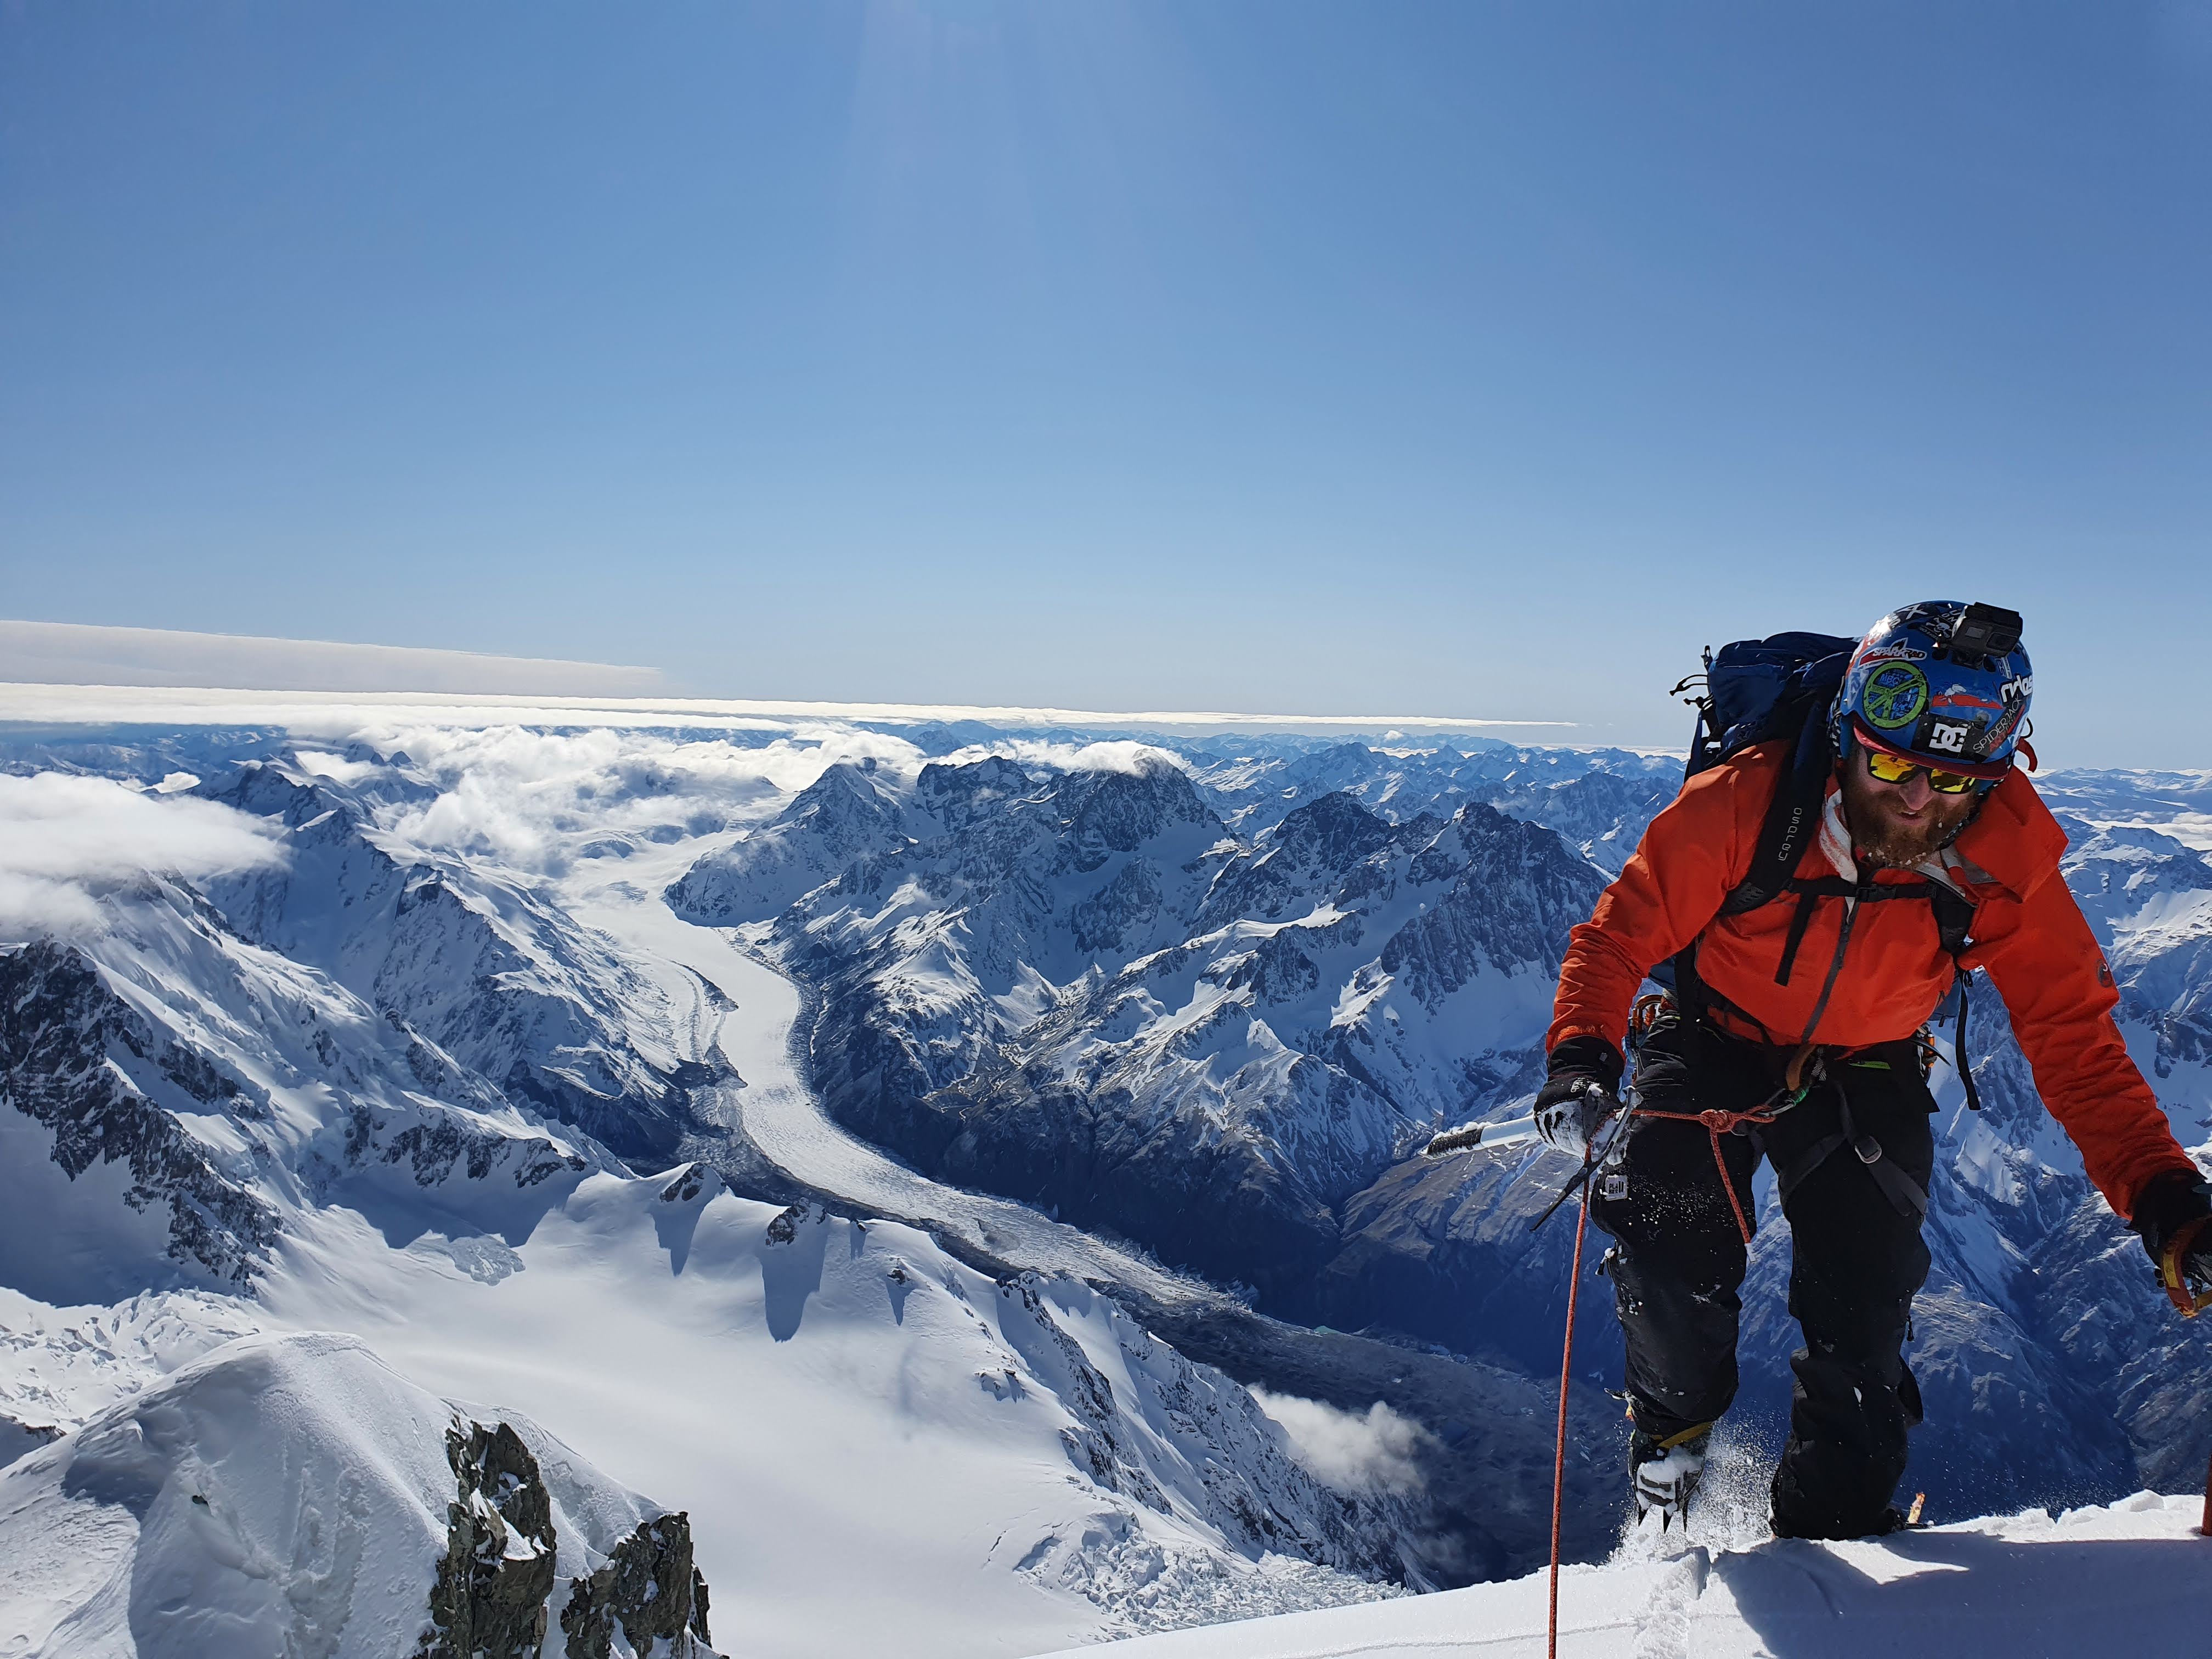
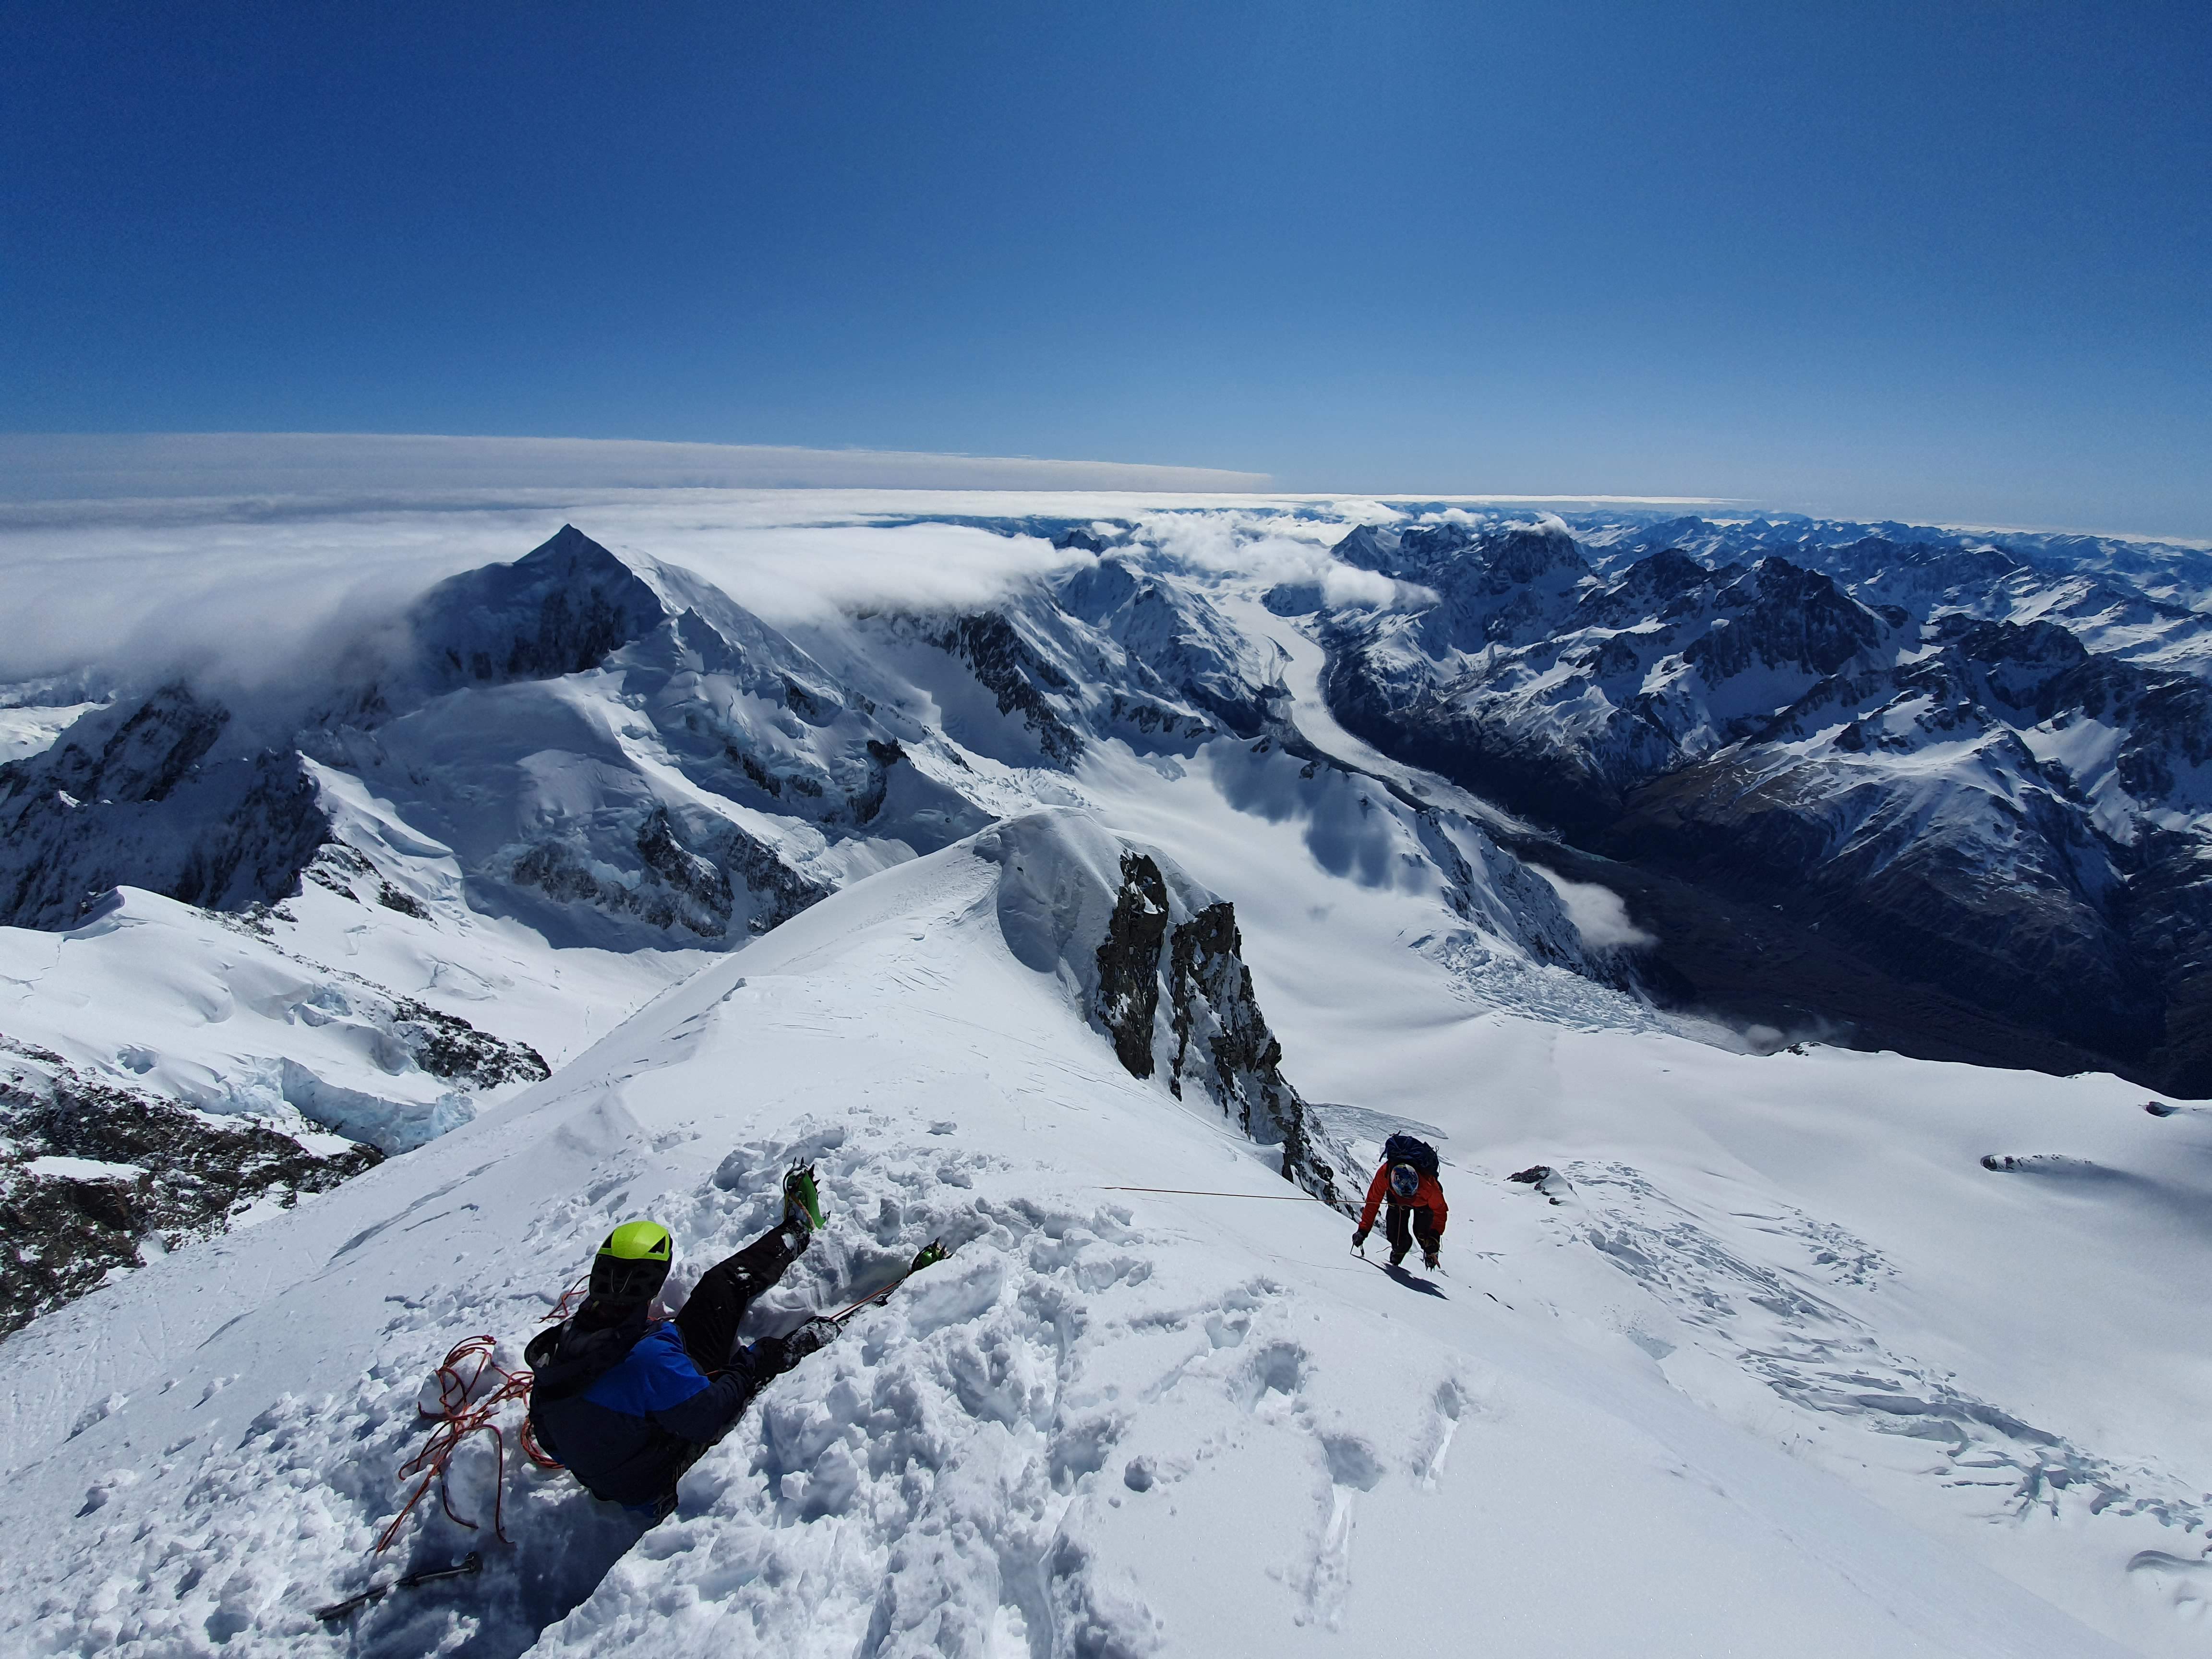
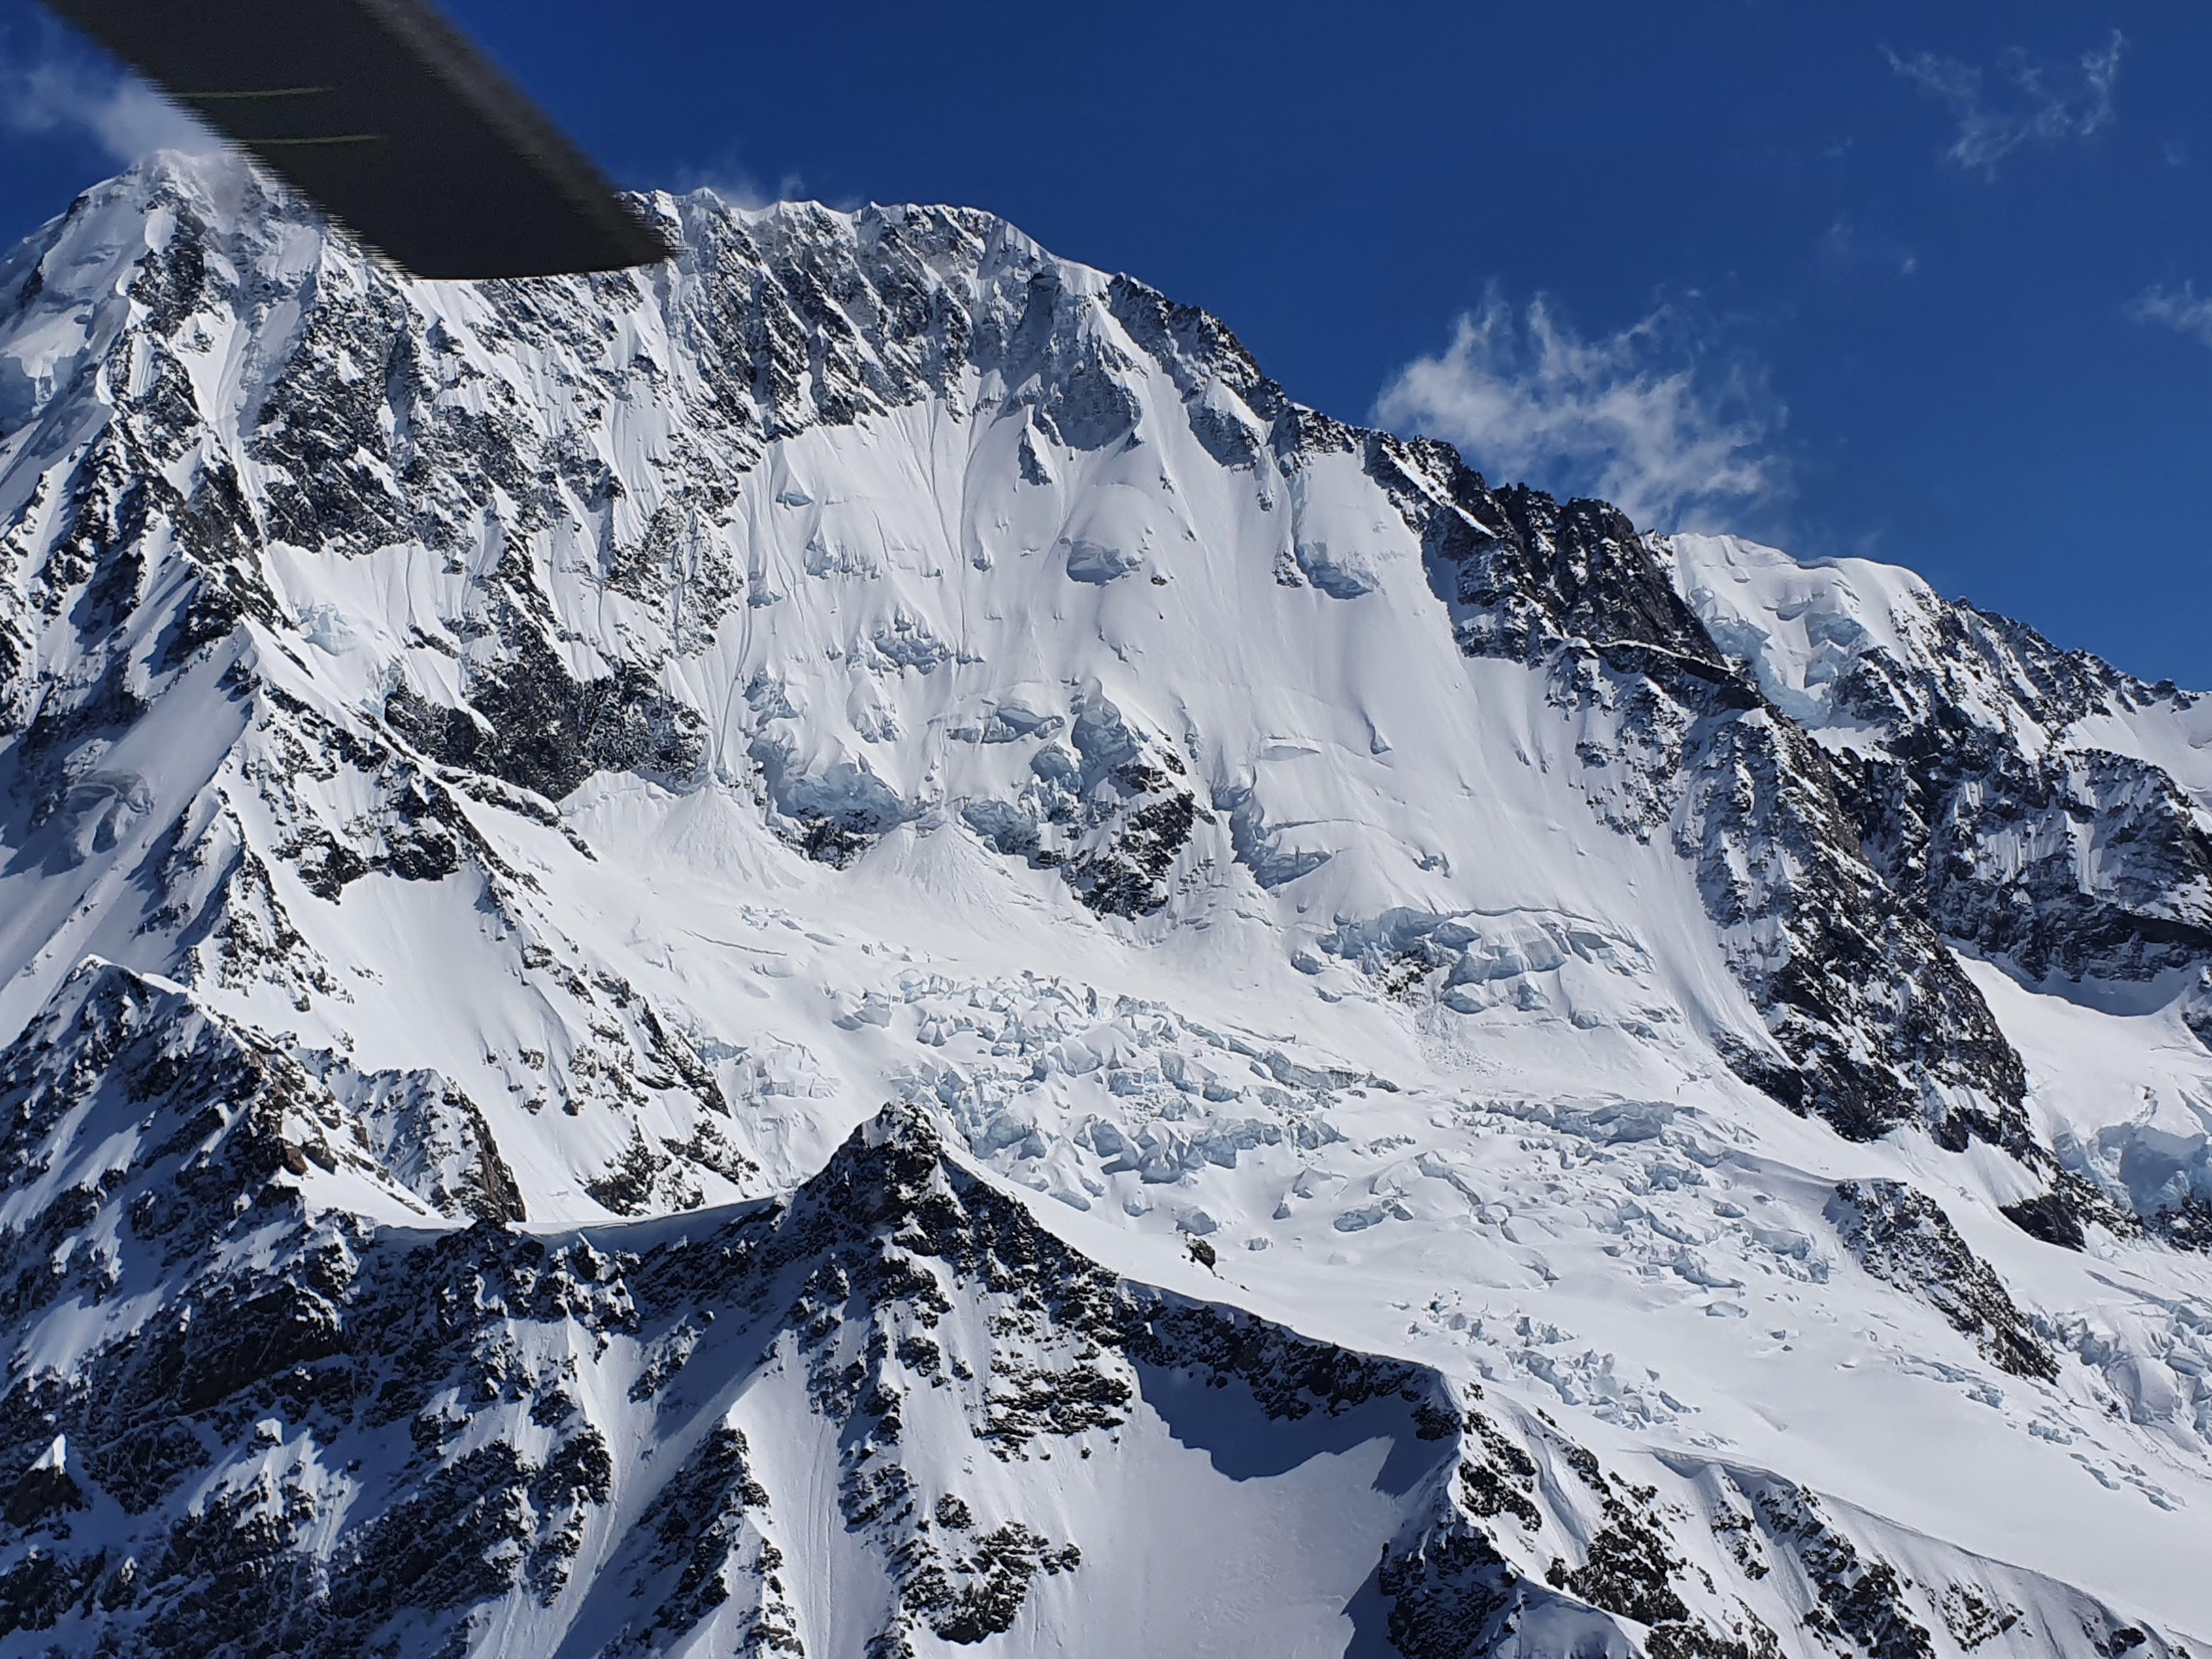
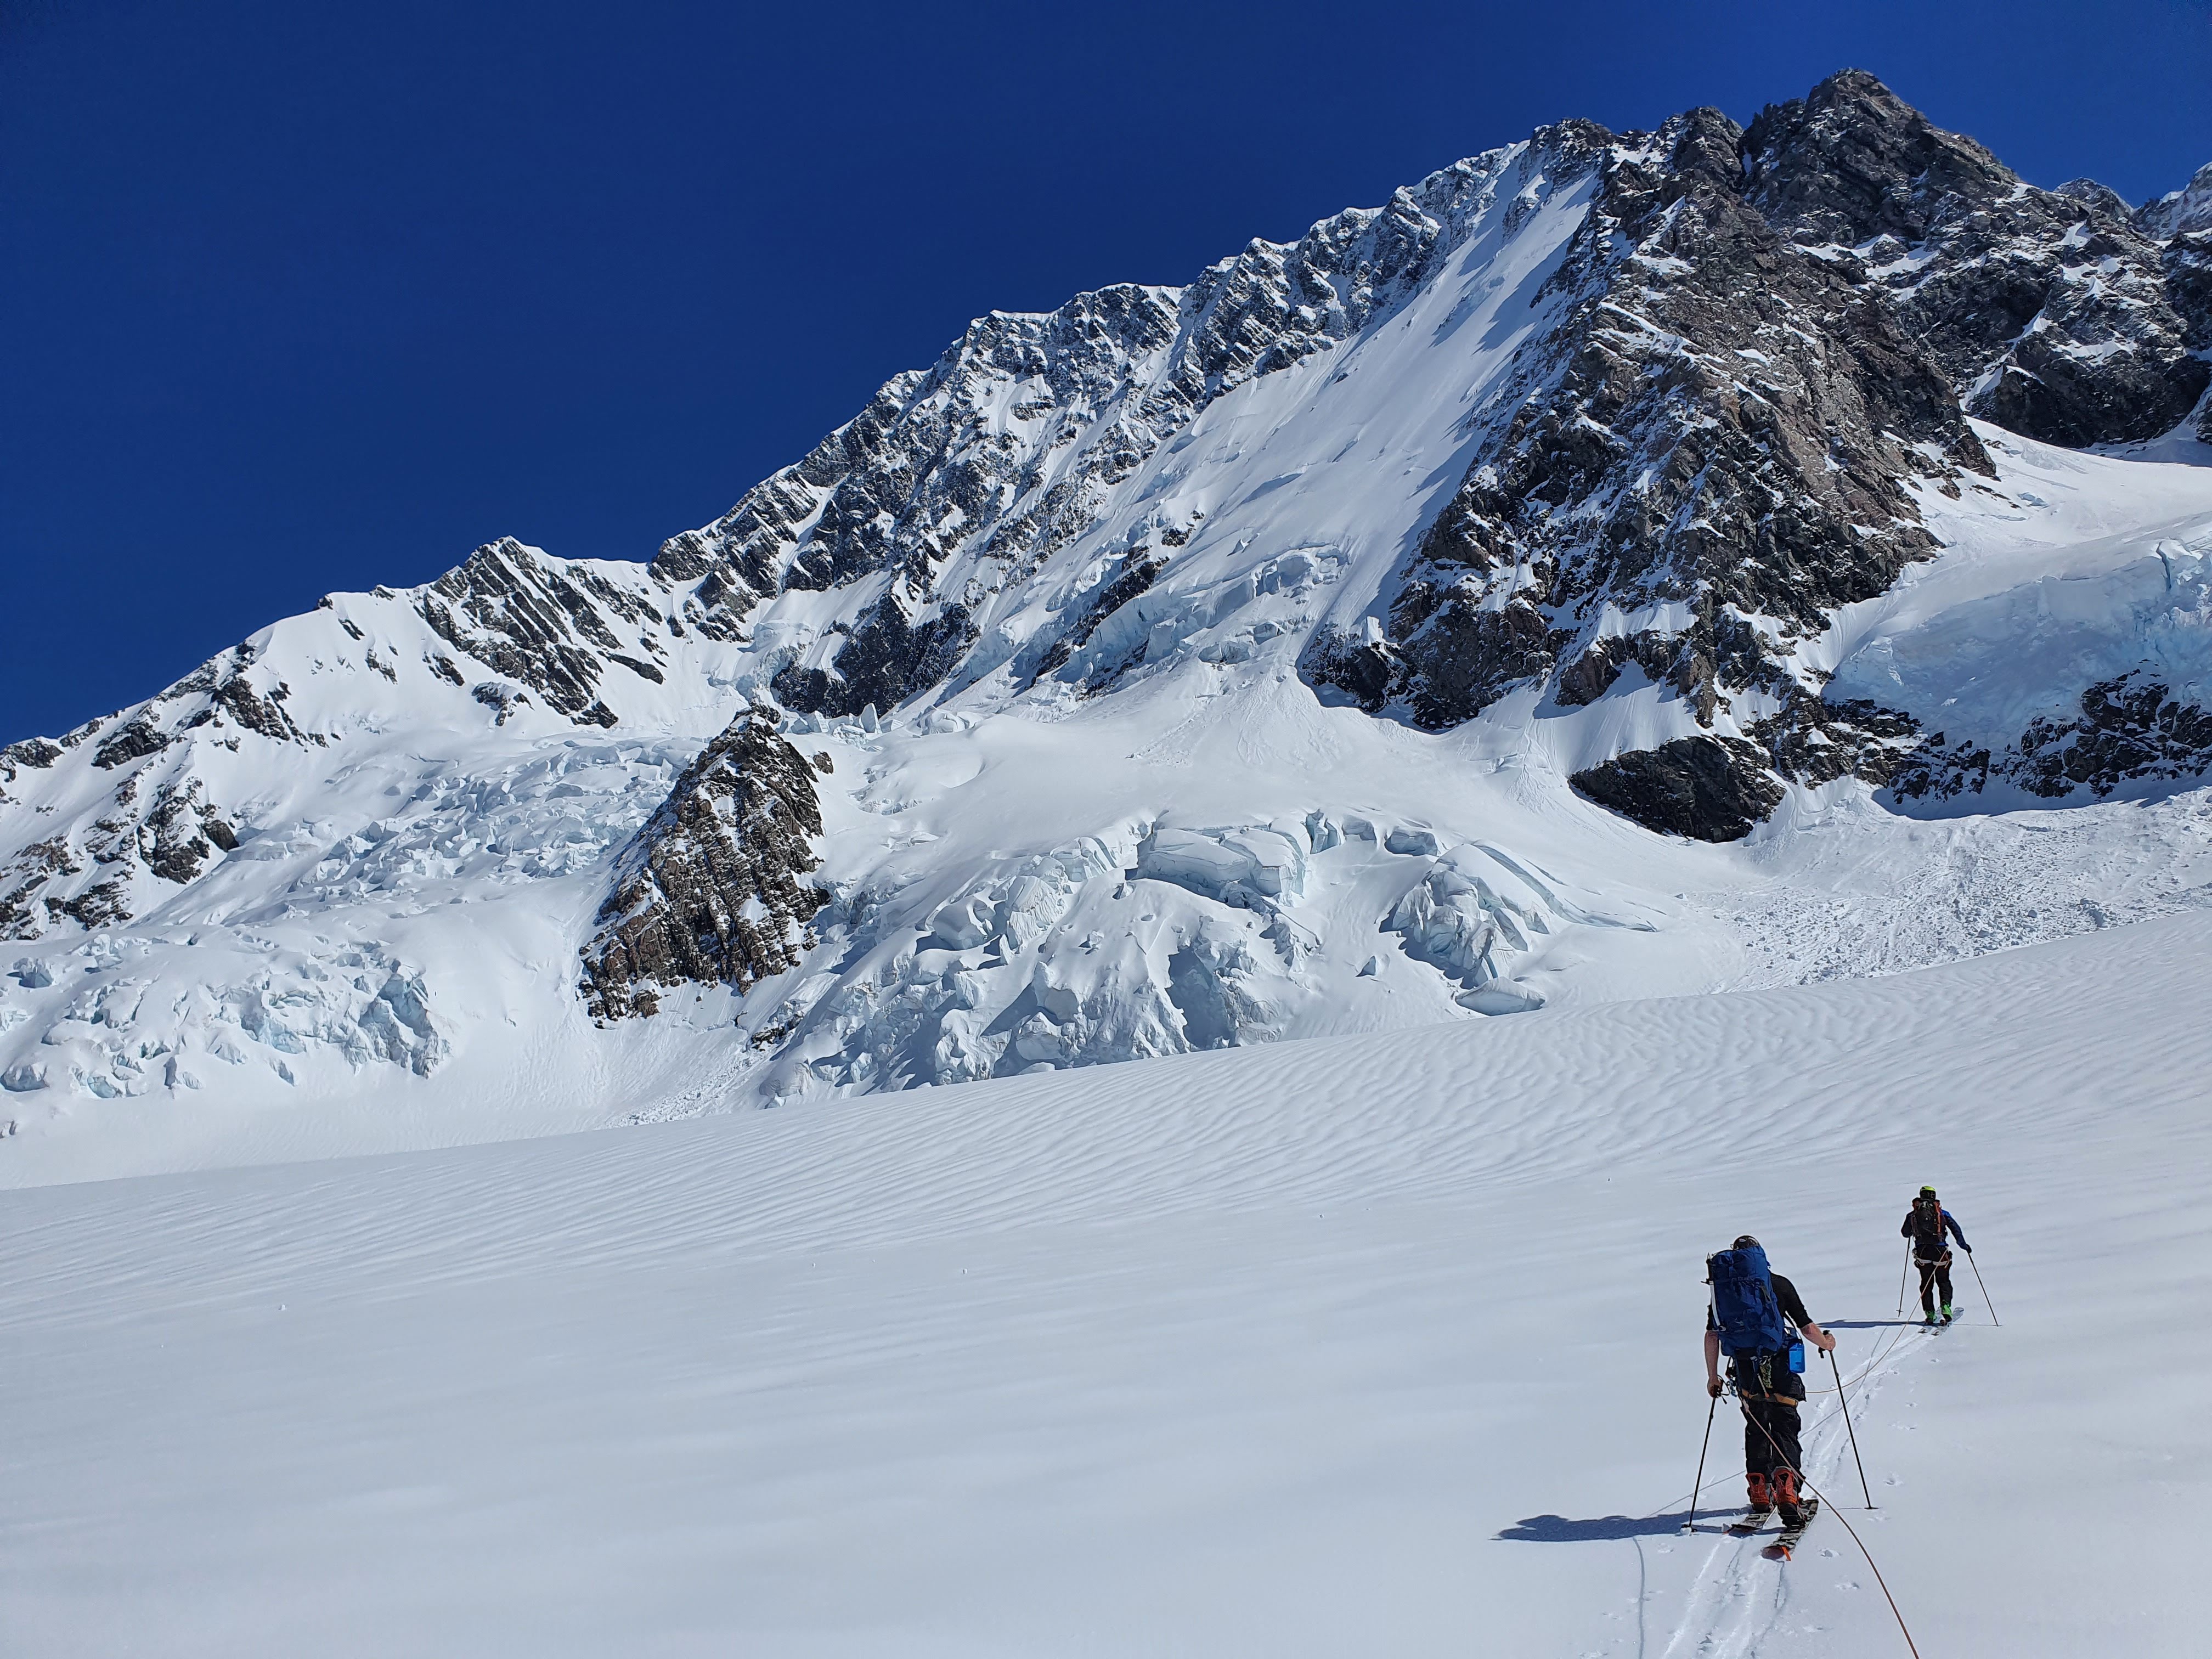
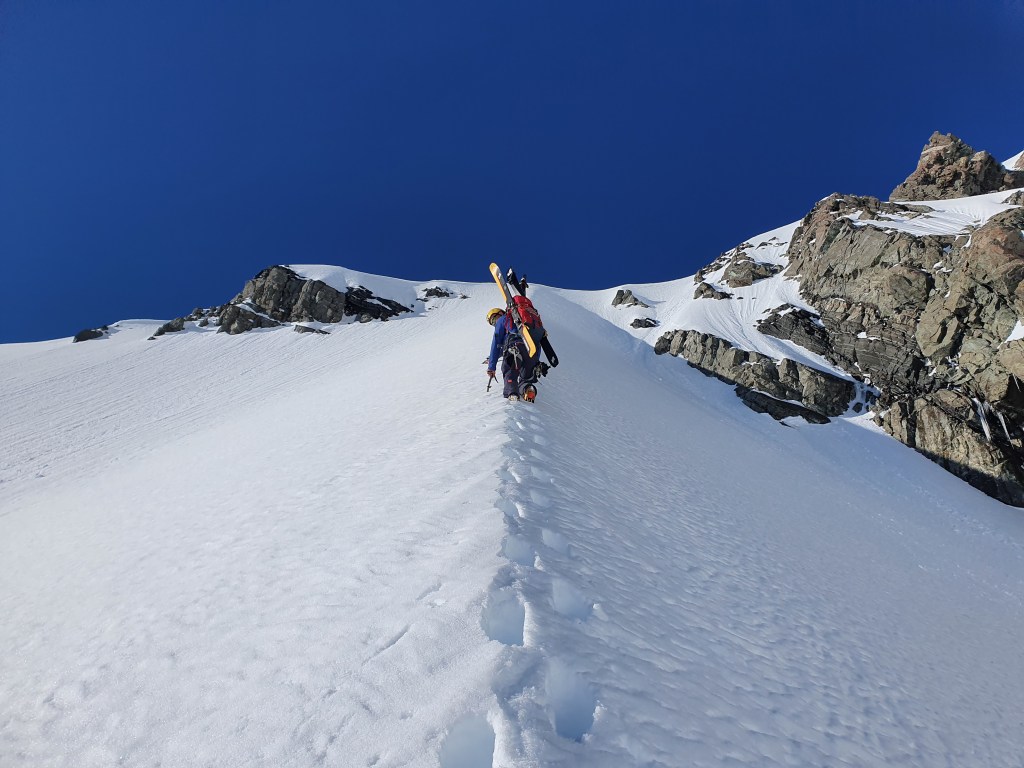
From Plateau, it’s really quick and easy to get to the start of the line. Ski across the plateau towards the base of the East face and skin up and along the shelf under the East face to the East ridge. The ice falls at the base of Zubriggens and the East face are active so don’t hang around. From here boot up the snow ramp, staying on the spine until you reach the ridge. There is a large obvious rock band that splits the E ridge in two, just to the right of our line above. This puts you at our start point marked with the red arrow on the pic below. Harder and easier variations are possible. For a harder variation, you could climb up to the right of the big cliff, as if you were headed up to ski the full Caroline. This would put you on top of the yellow line – a steep and technical looking couloir which the joins up to the normal line. As of writing hasn’t yet been skied! An easier option is to climb up even further left of our line putting you right at the edge of the E ridge. This would miss the first section of the descent which involves some skiing above exposure and puts you straight onto the fall line section.

Caroline face baby ski line
Red arrow is where we dropped in. Other options would be staying further left on the way up with a mellower line starting to the right of the big rock right of the red arrow, or on the climb staying right of the big cliff band putting you at the top of the yellow line, which is a steep technical couloir

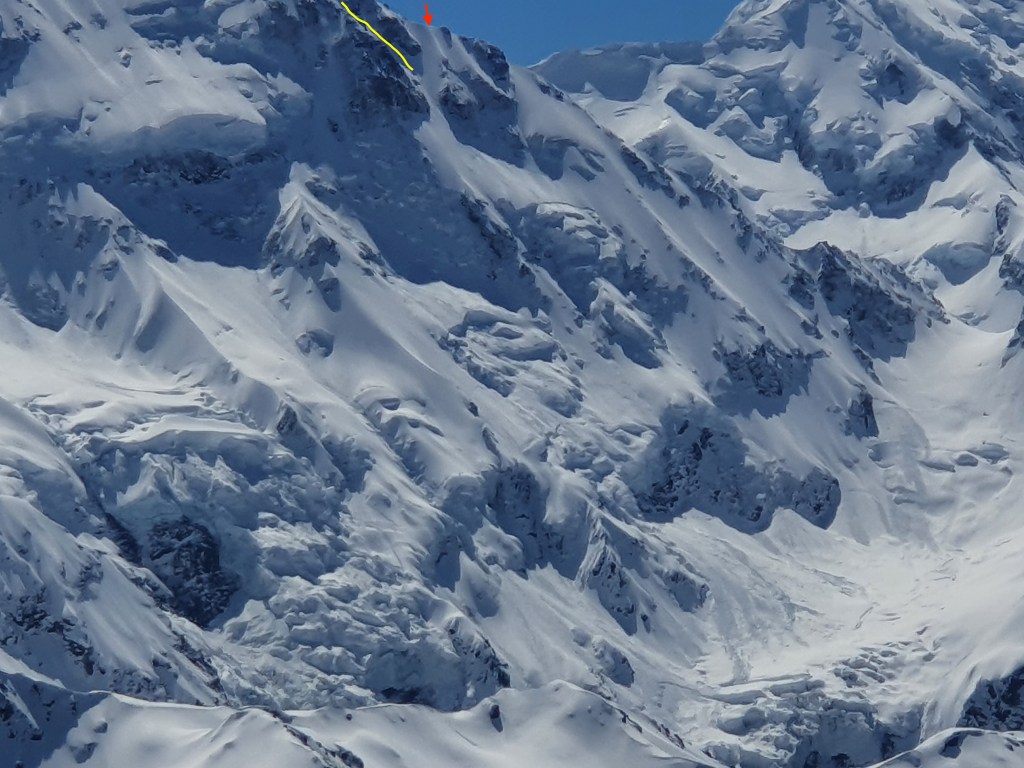
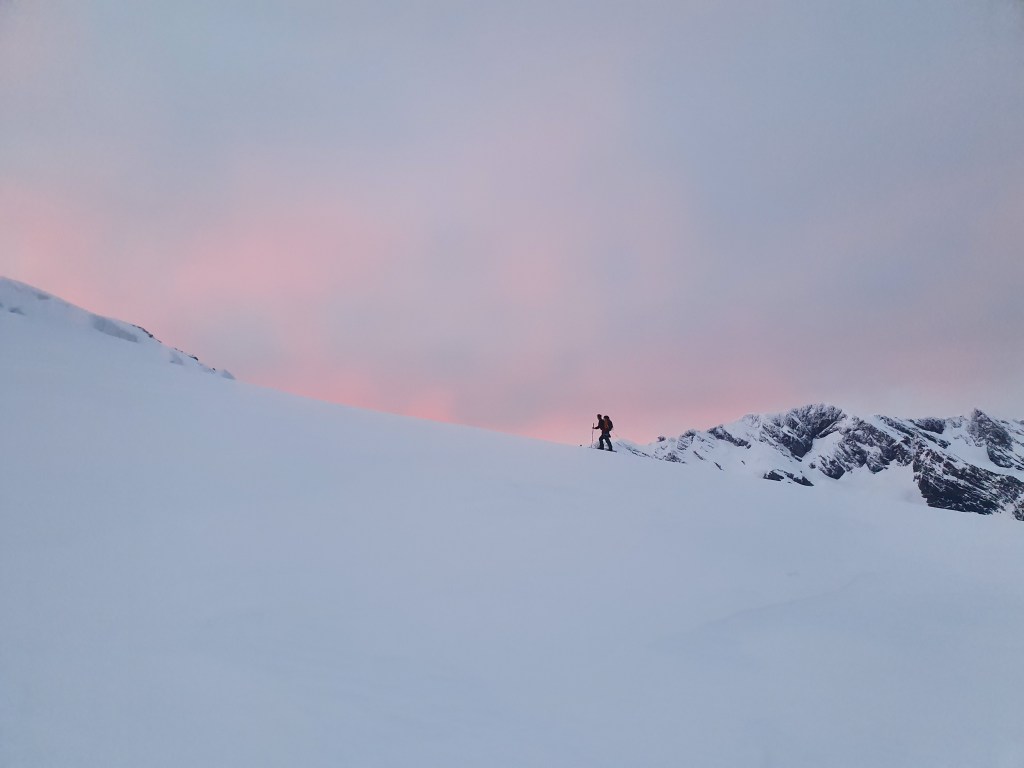
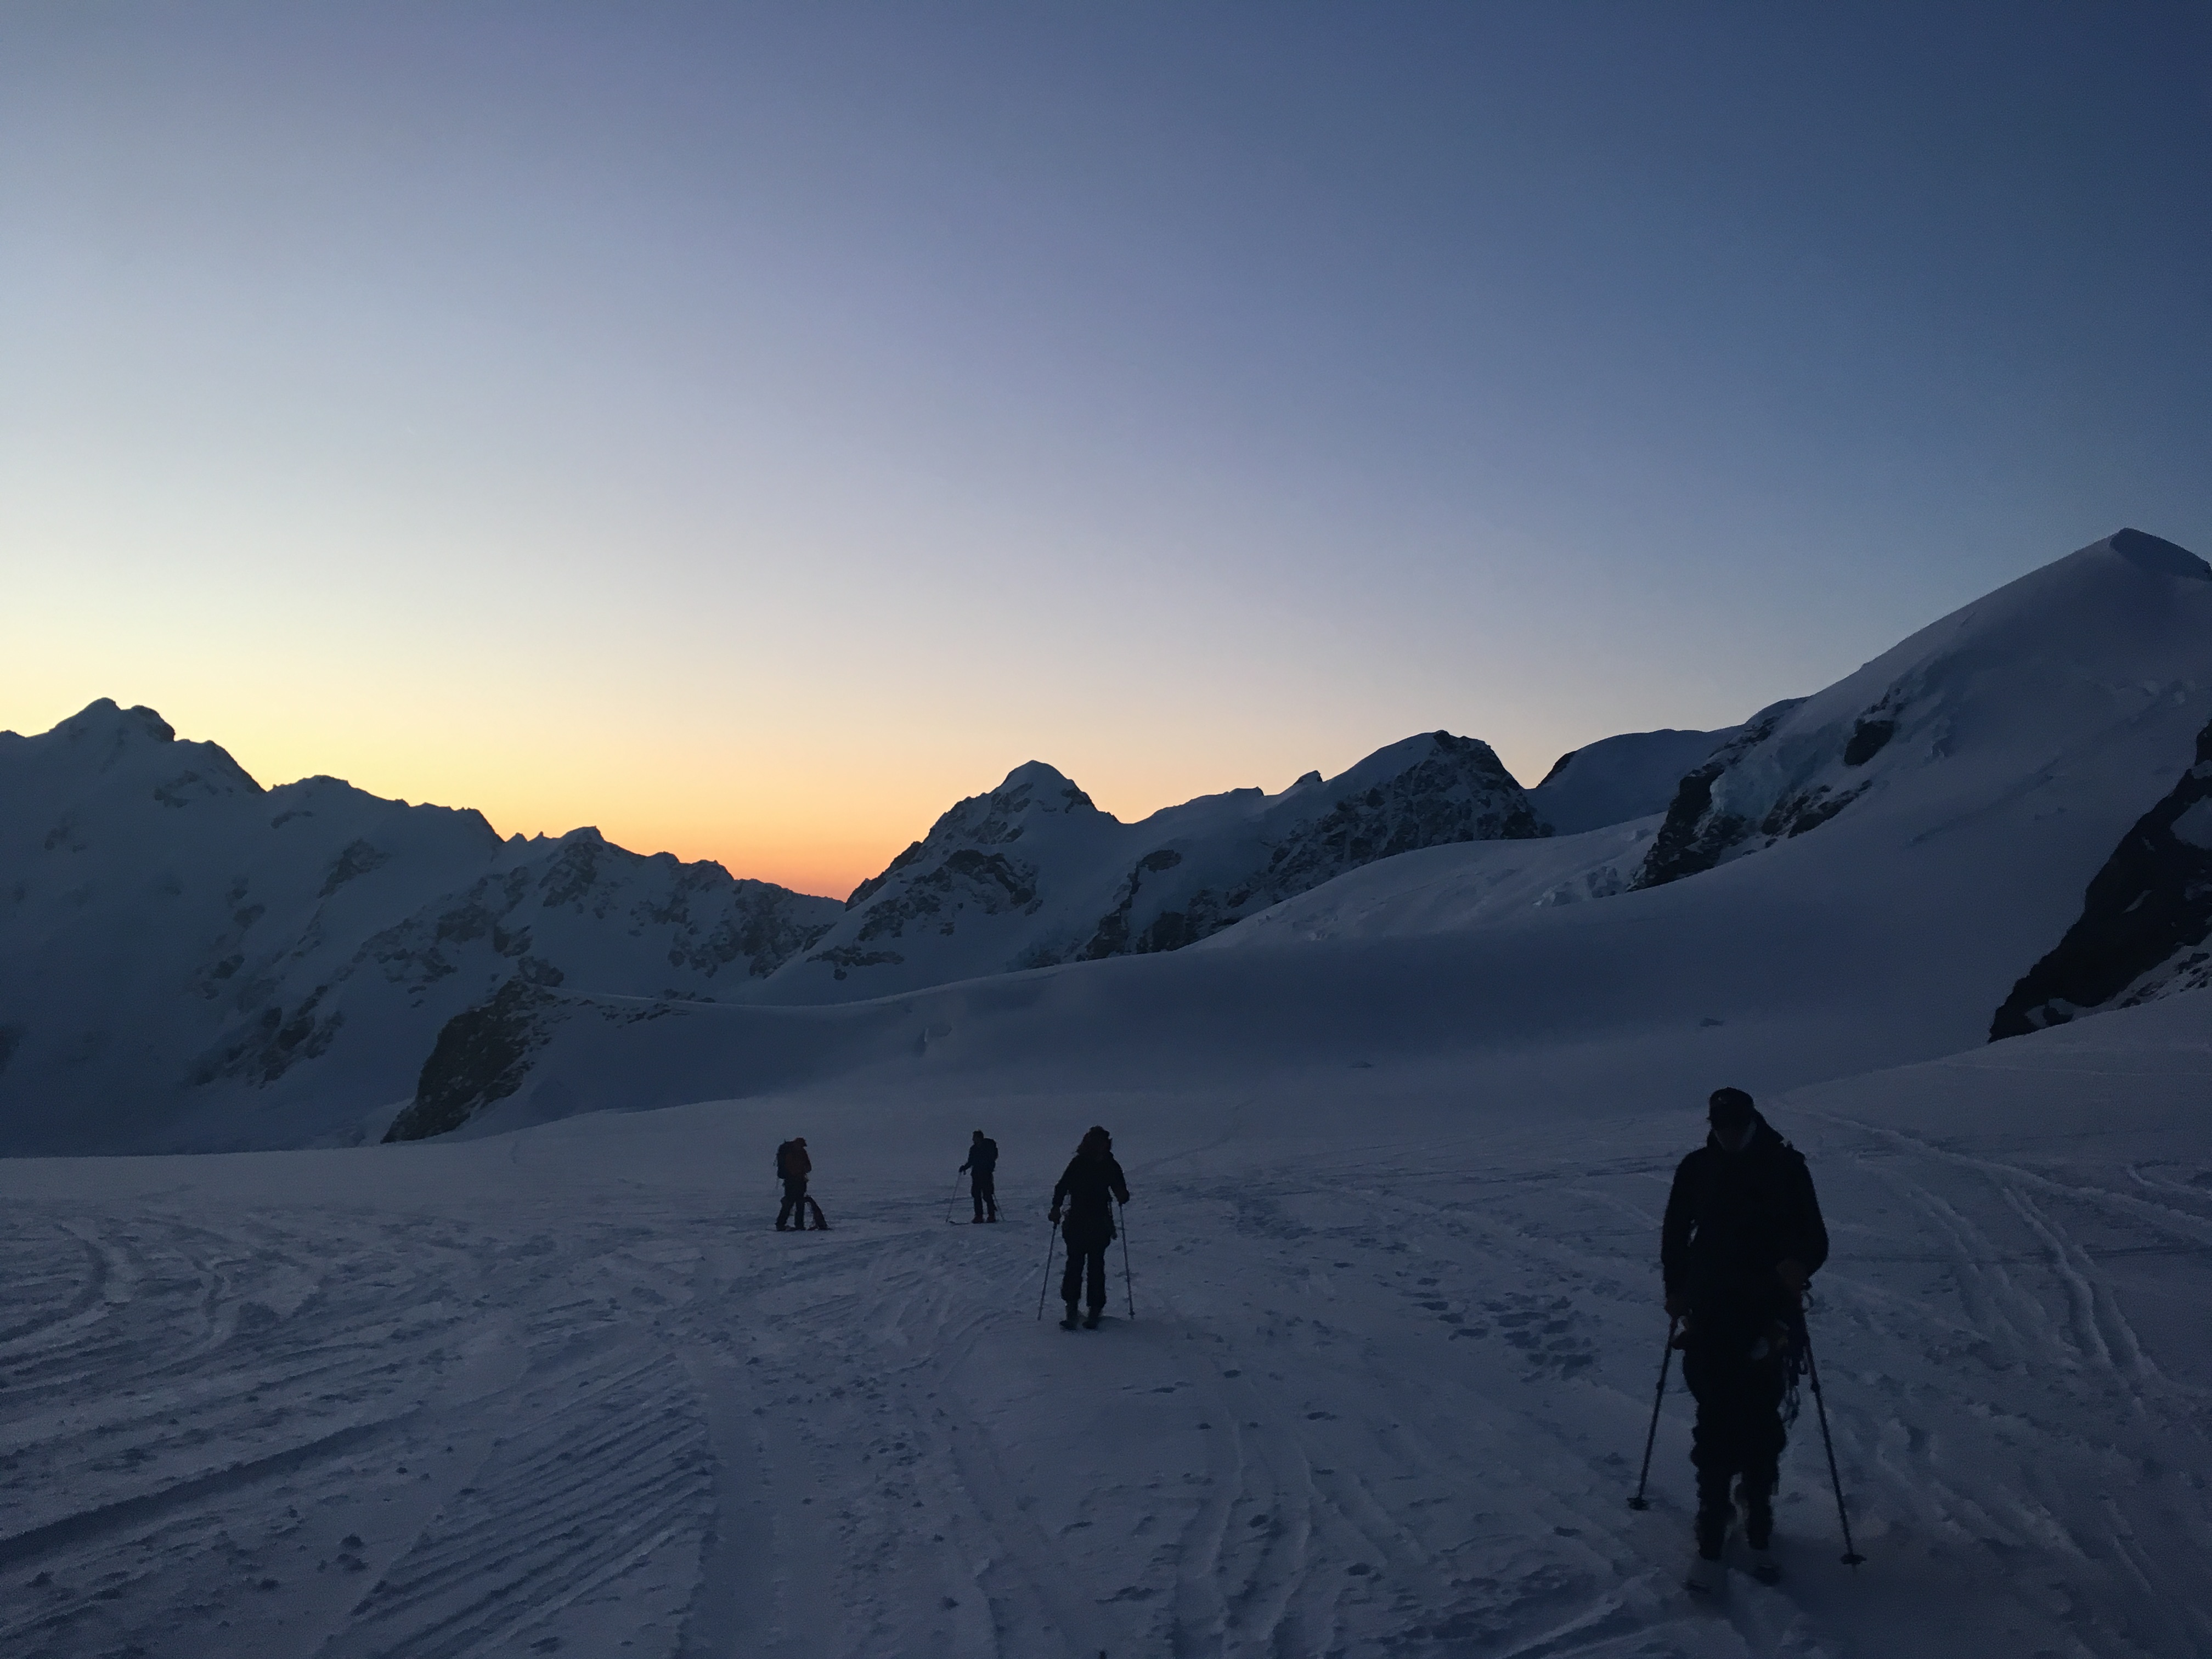
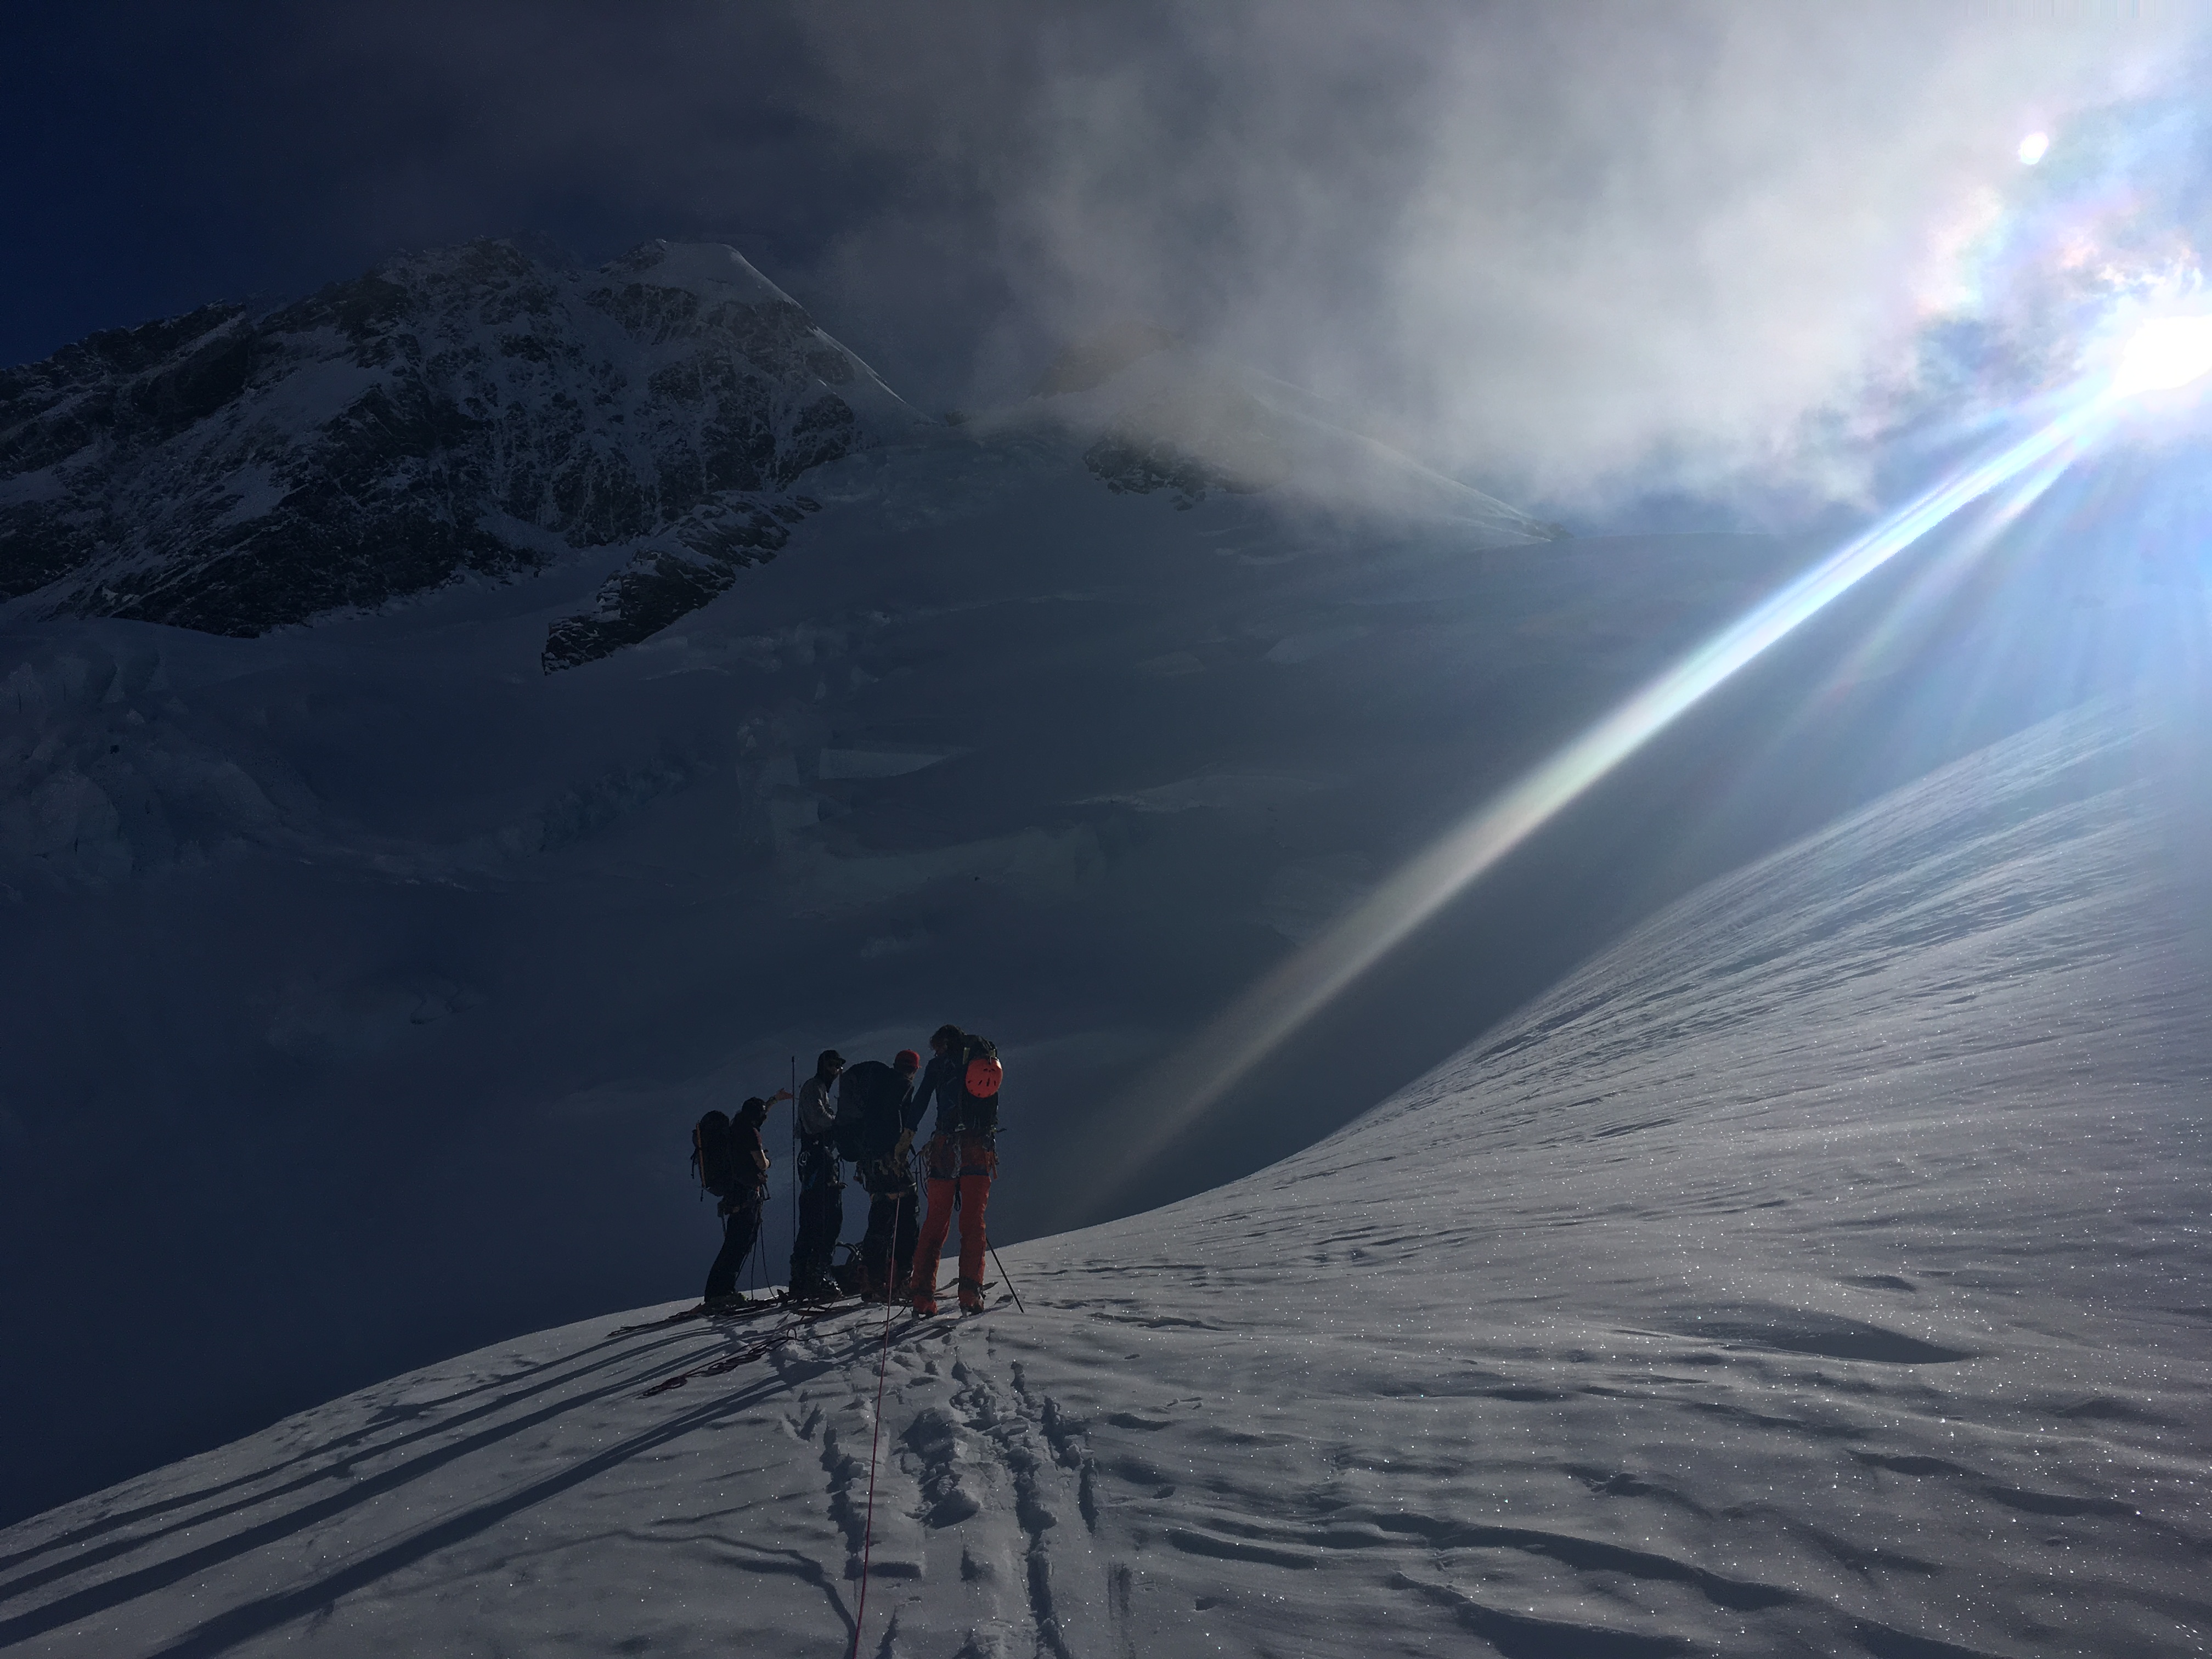
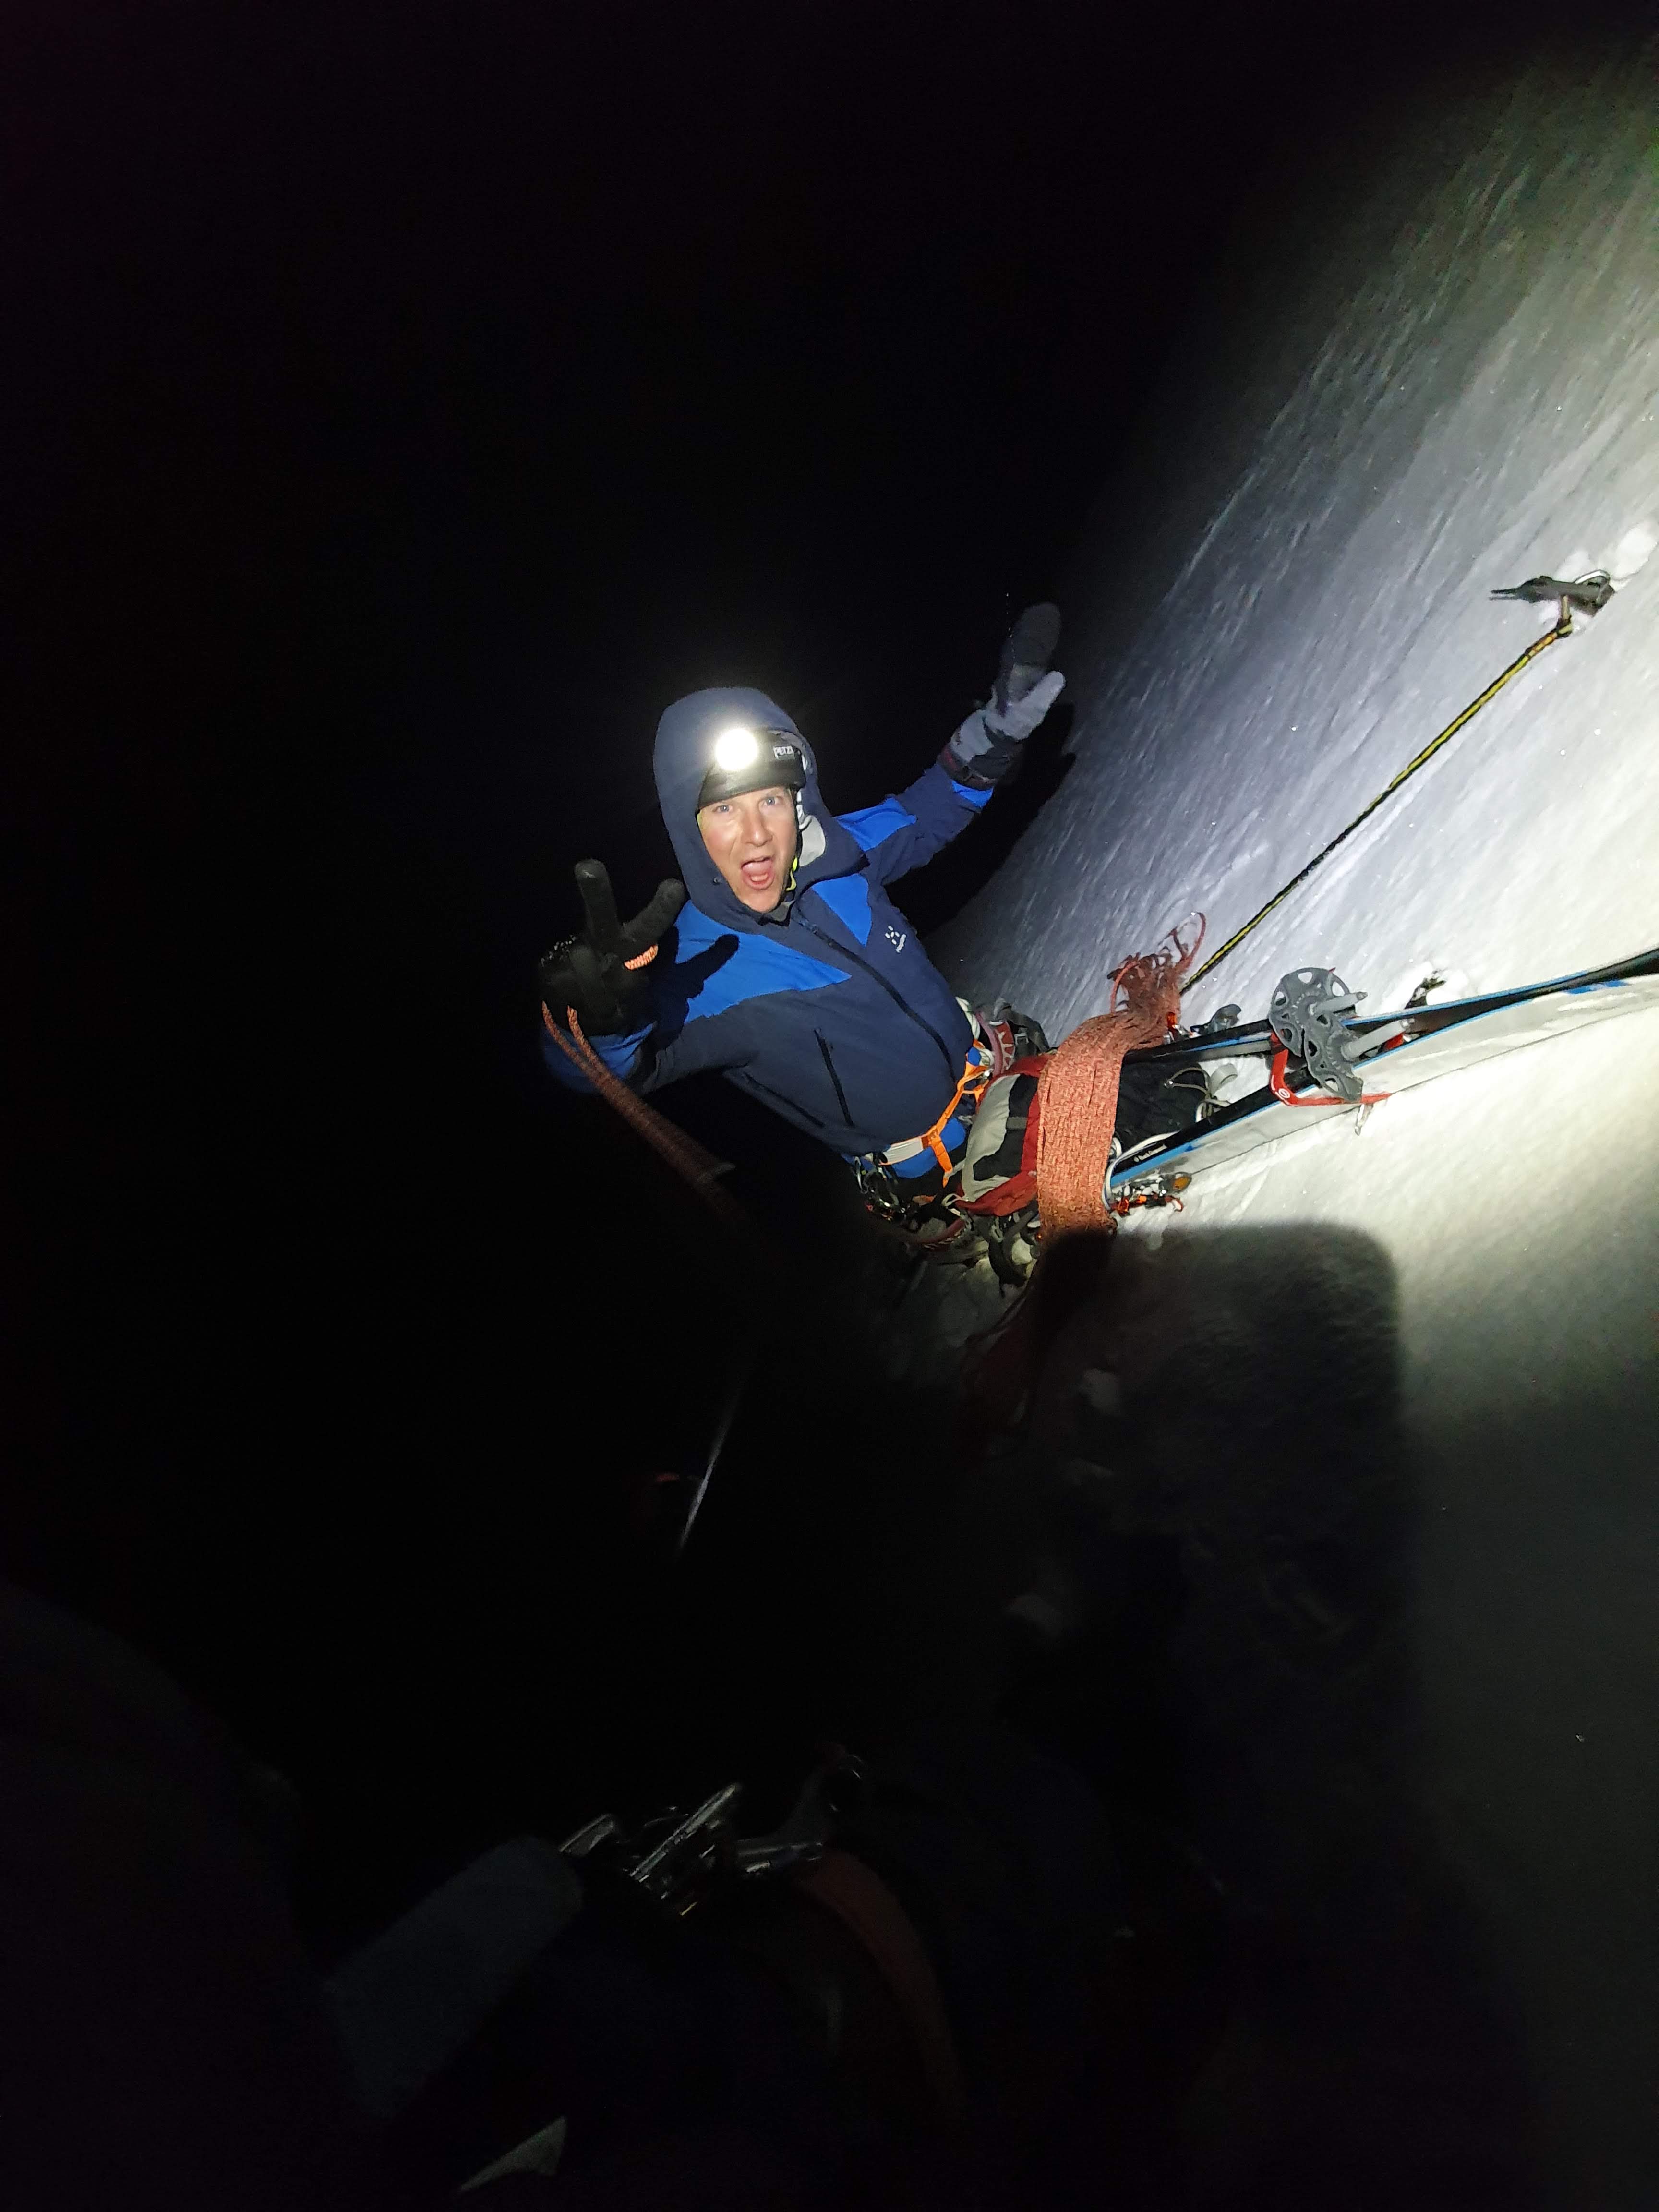
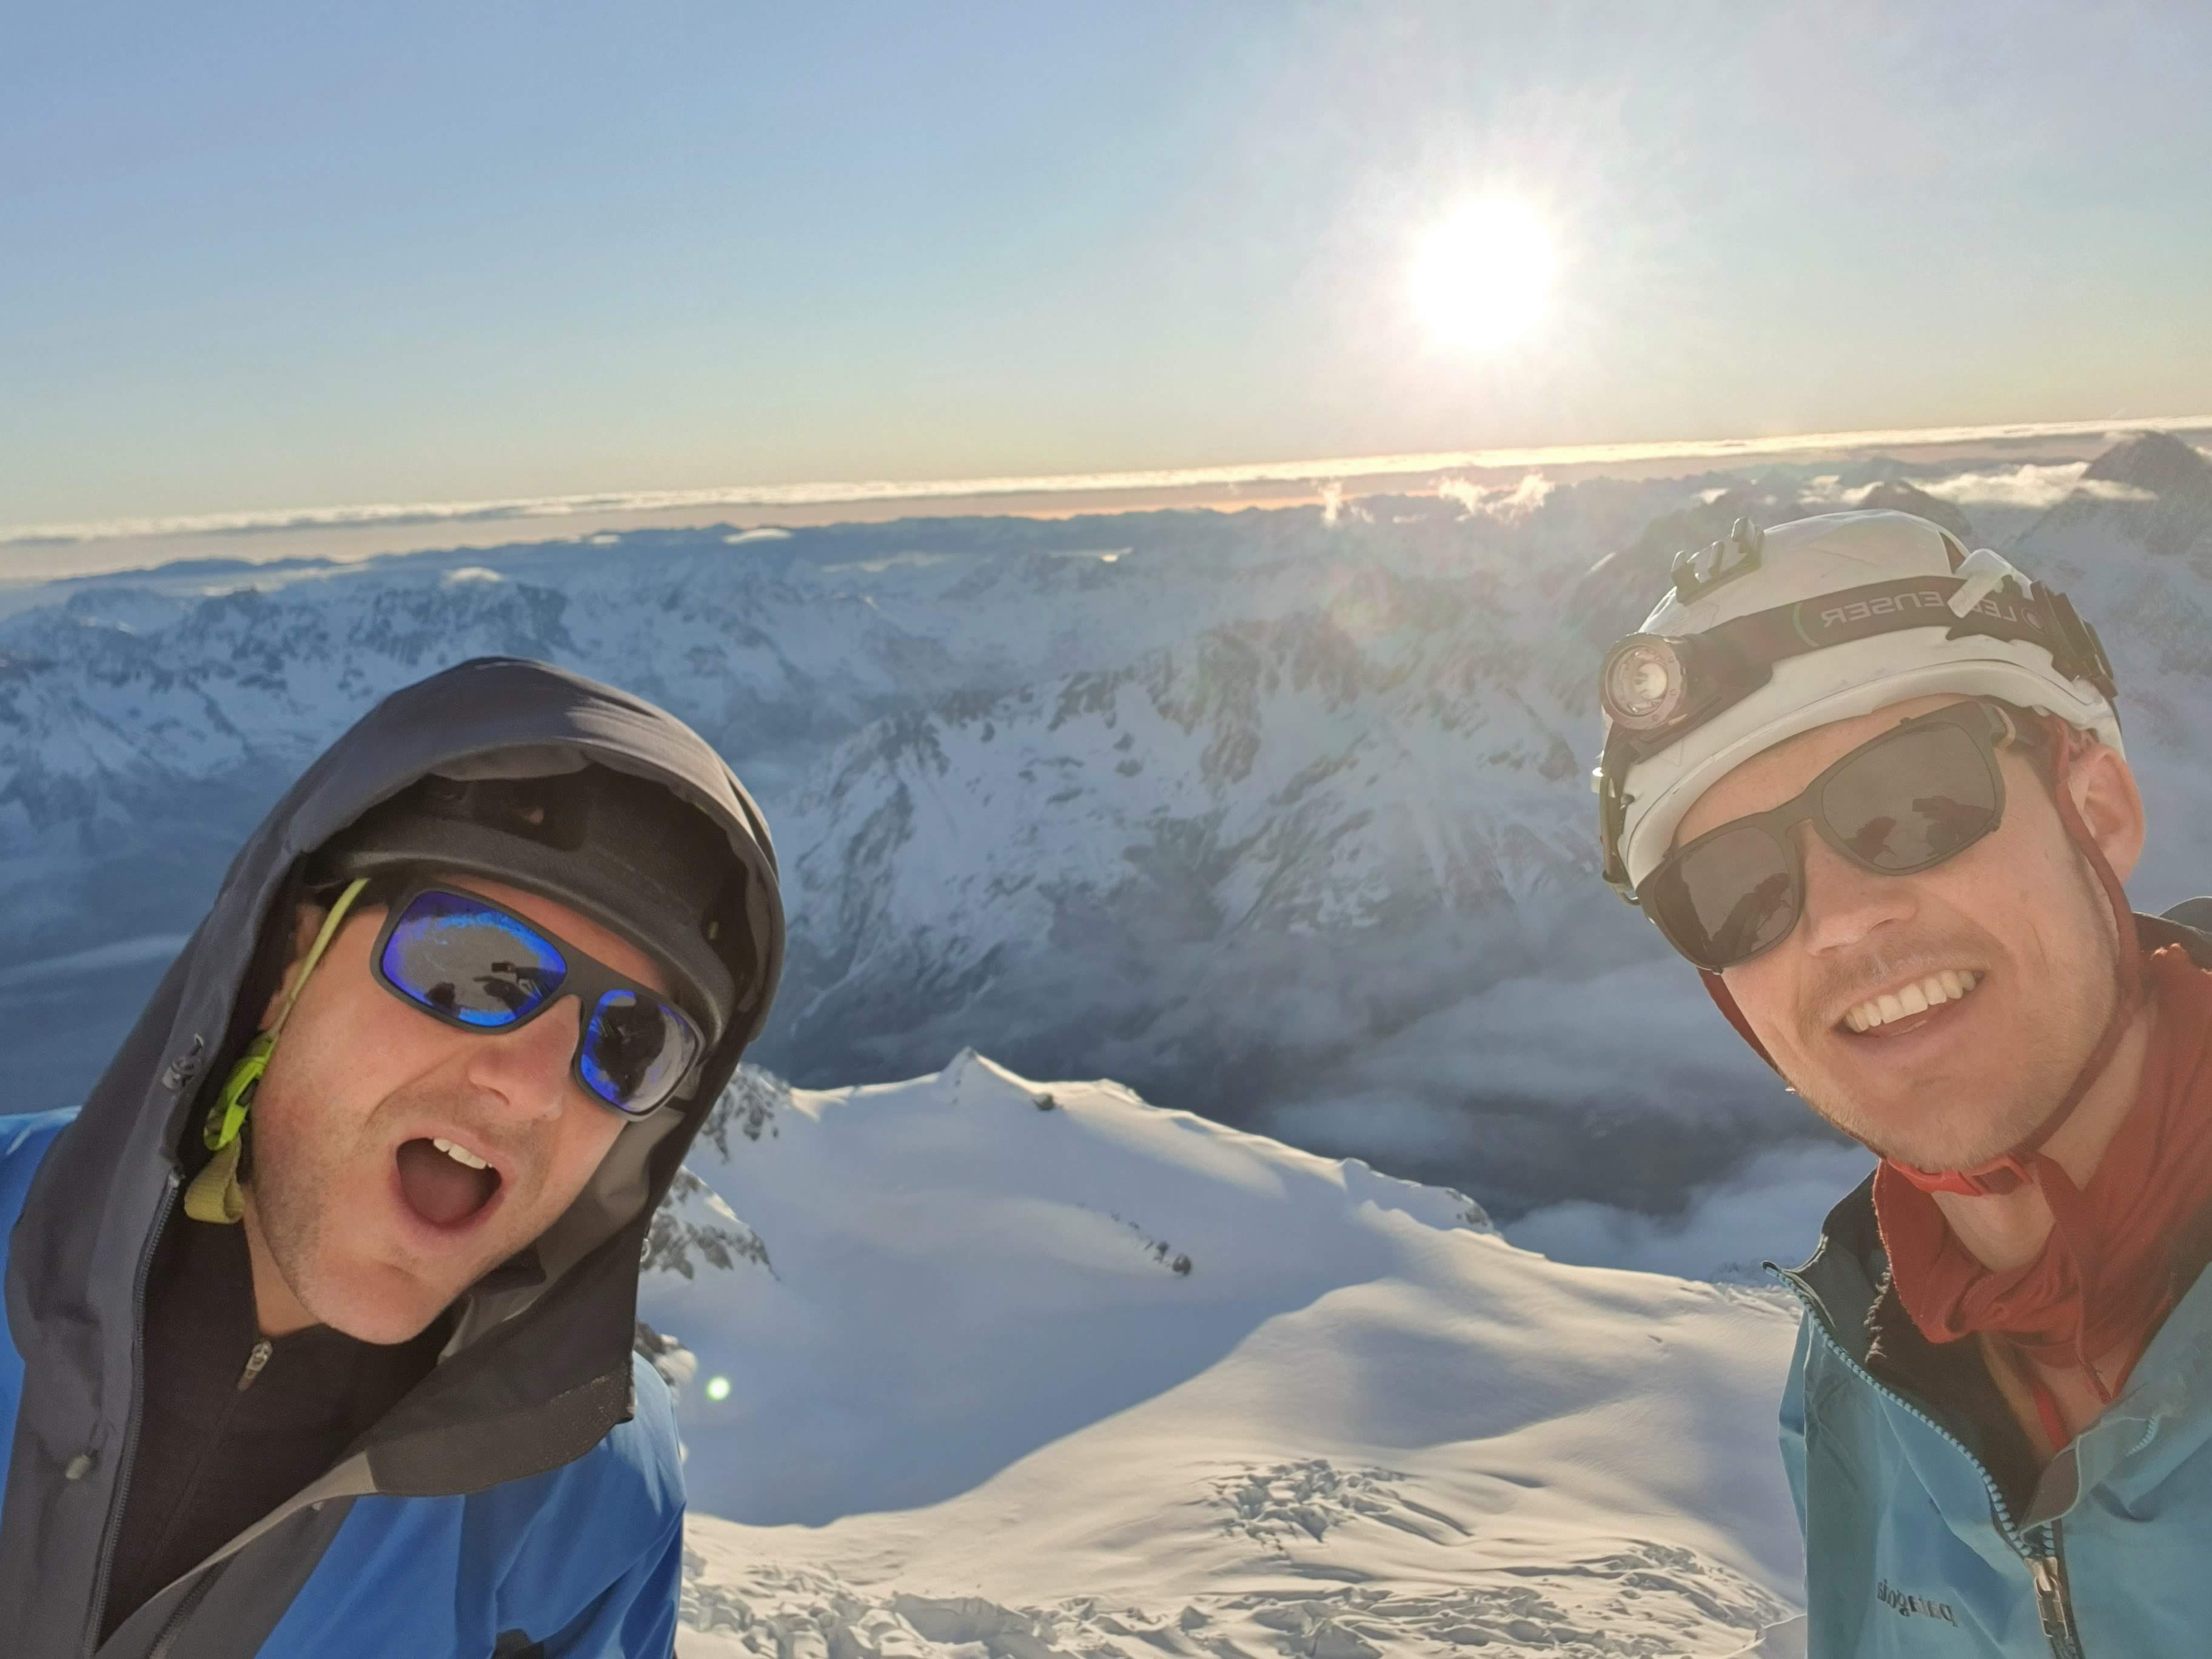
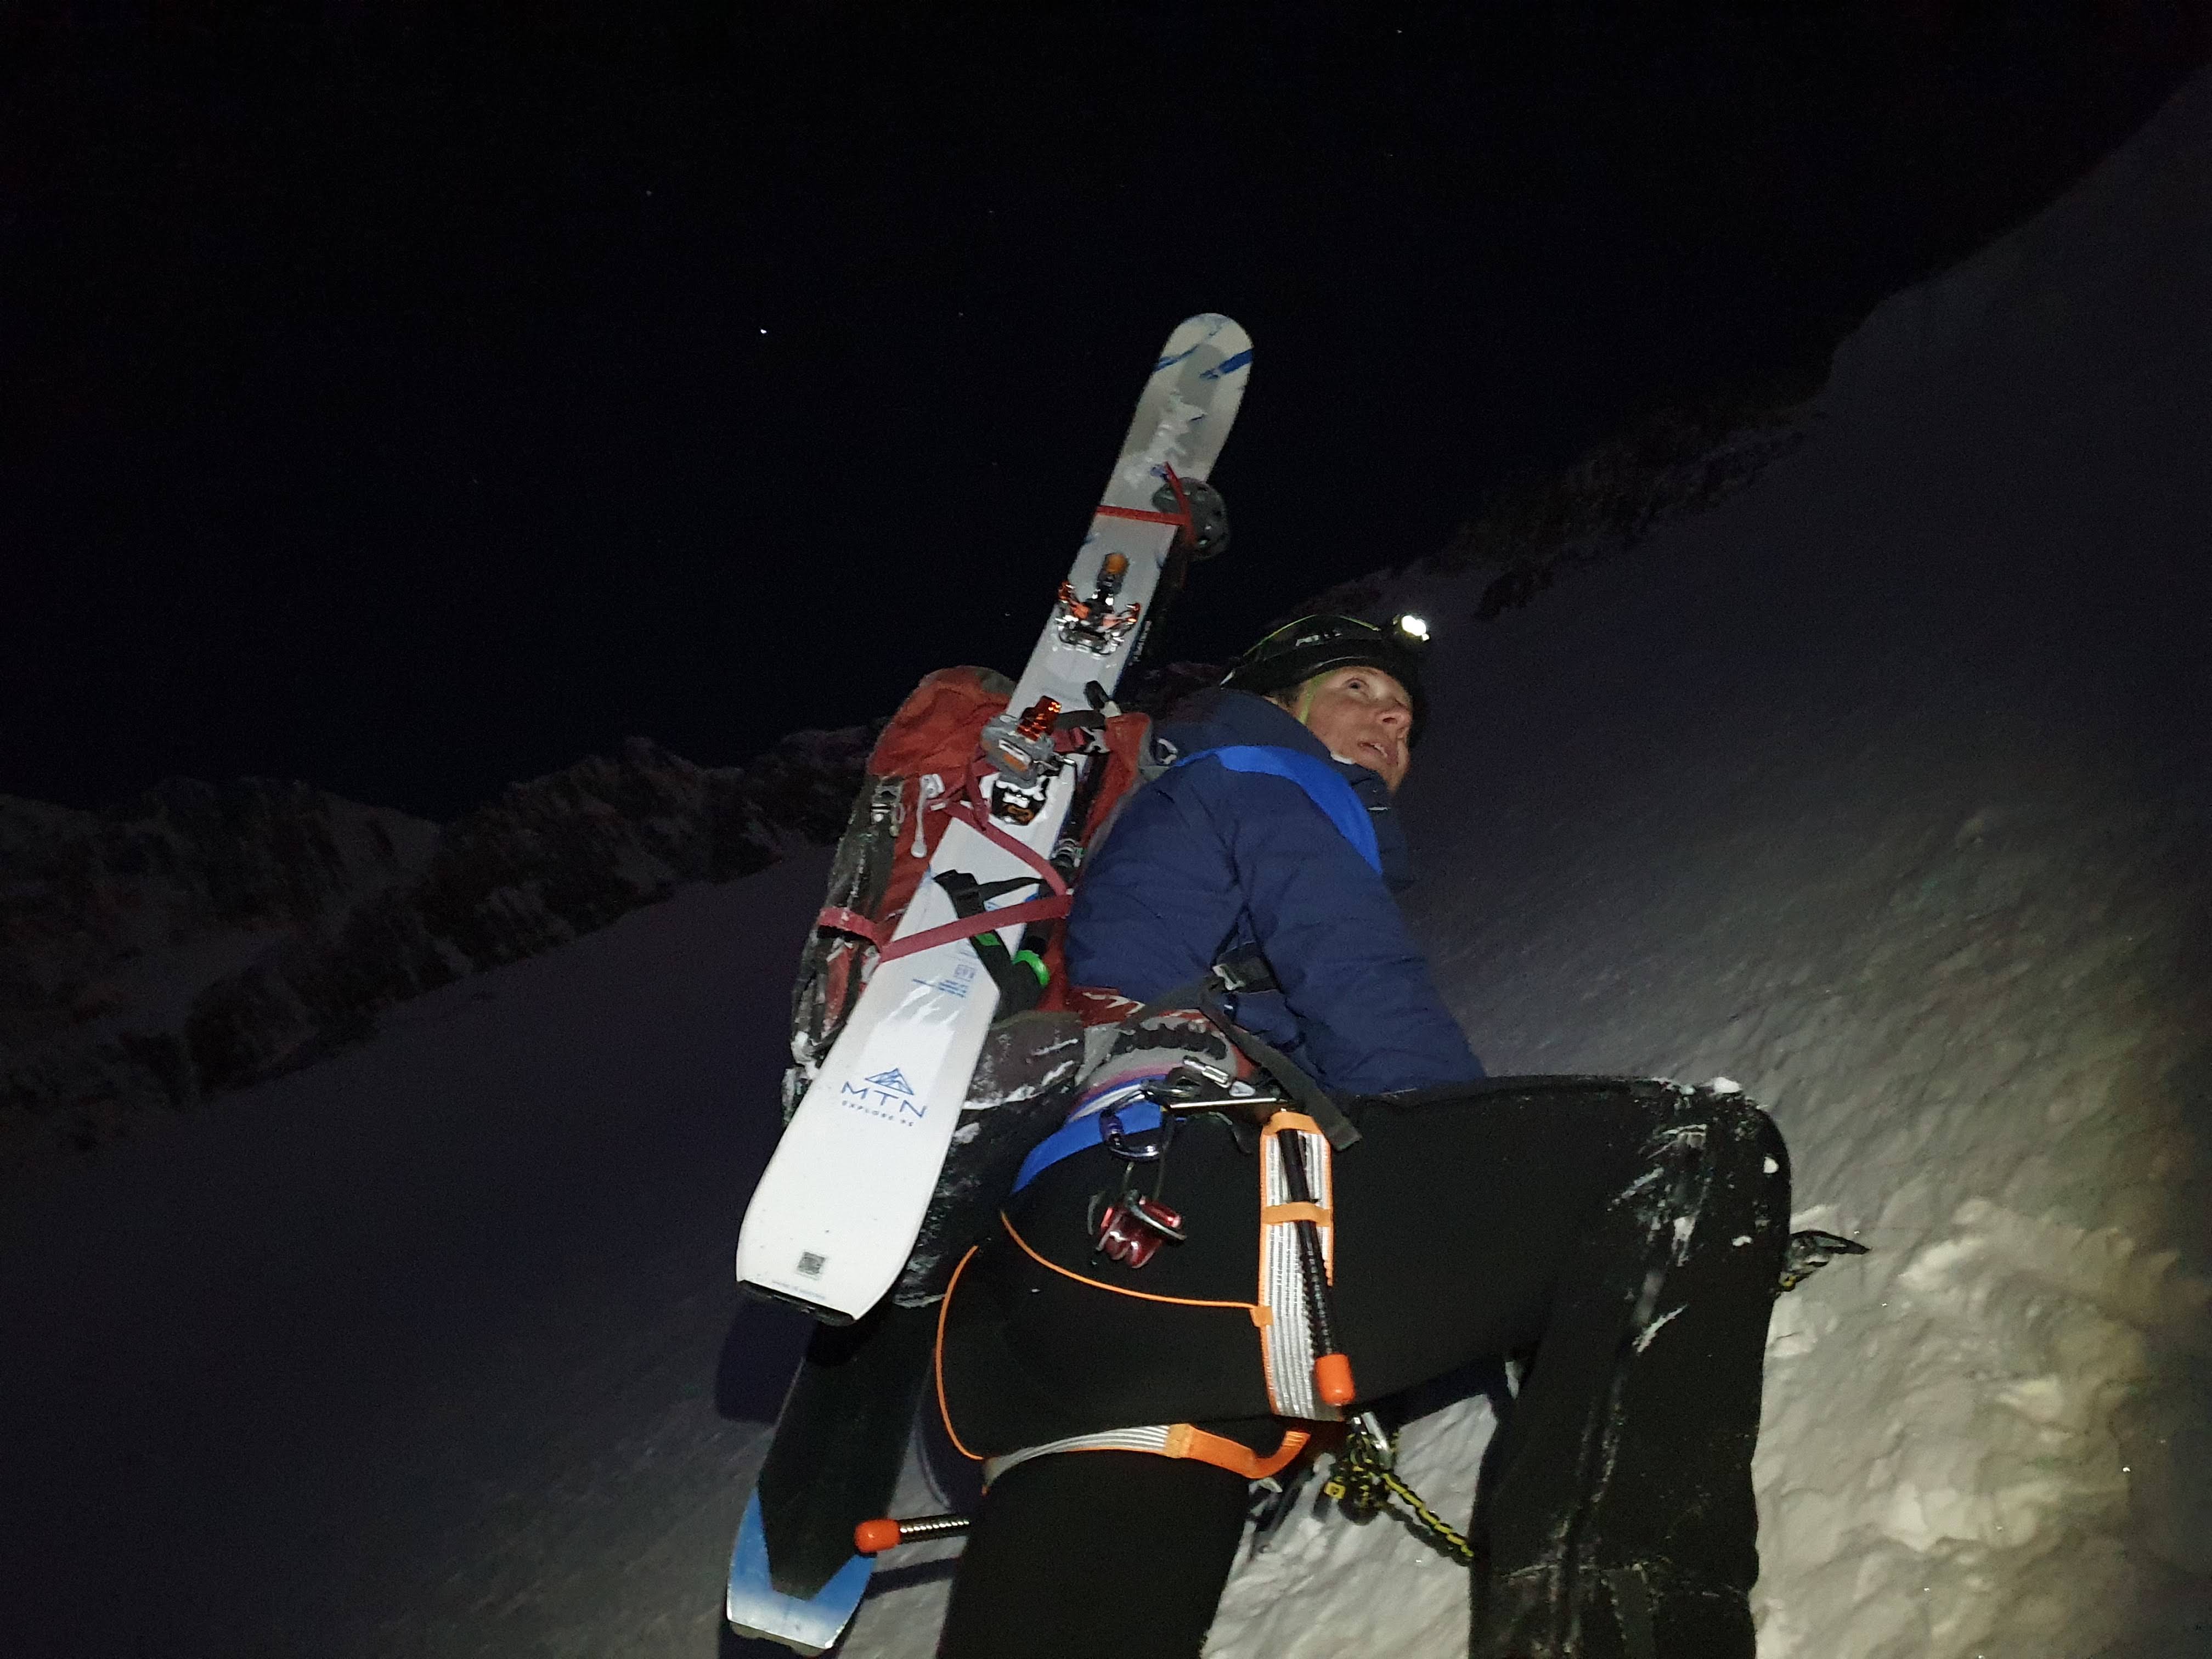
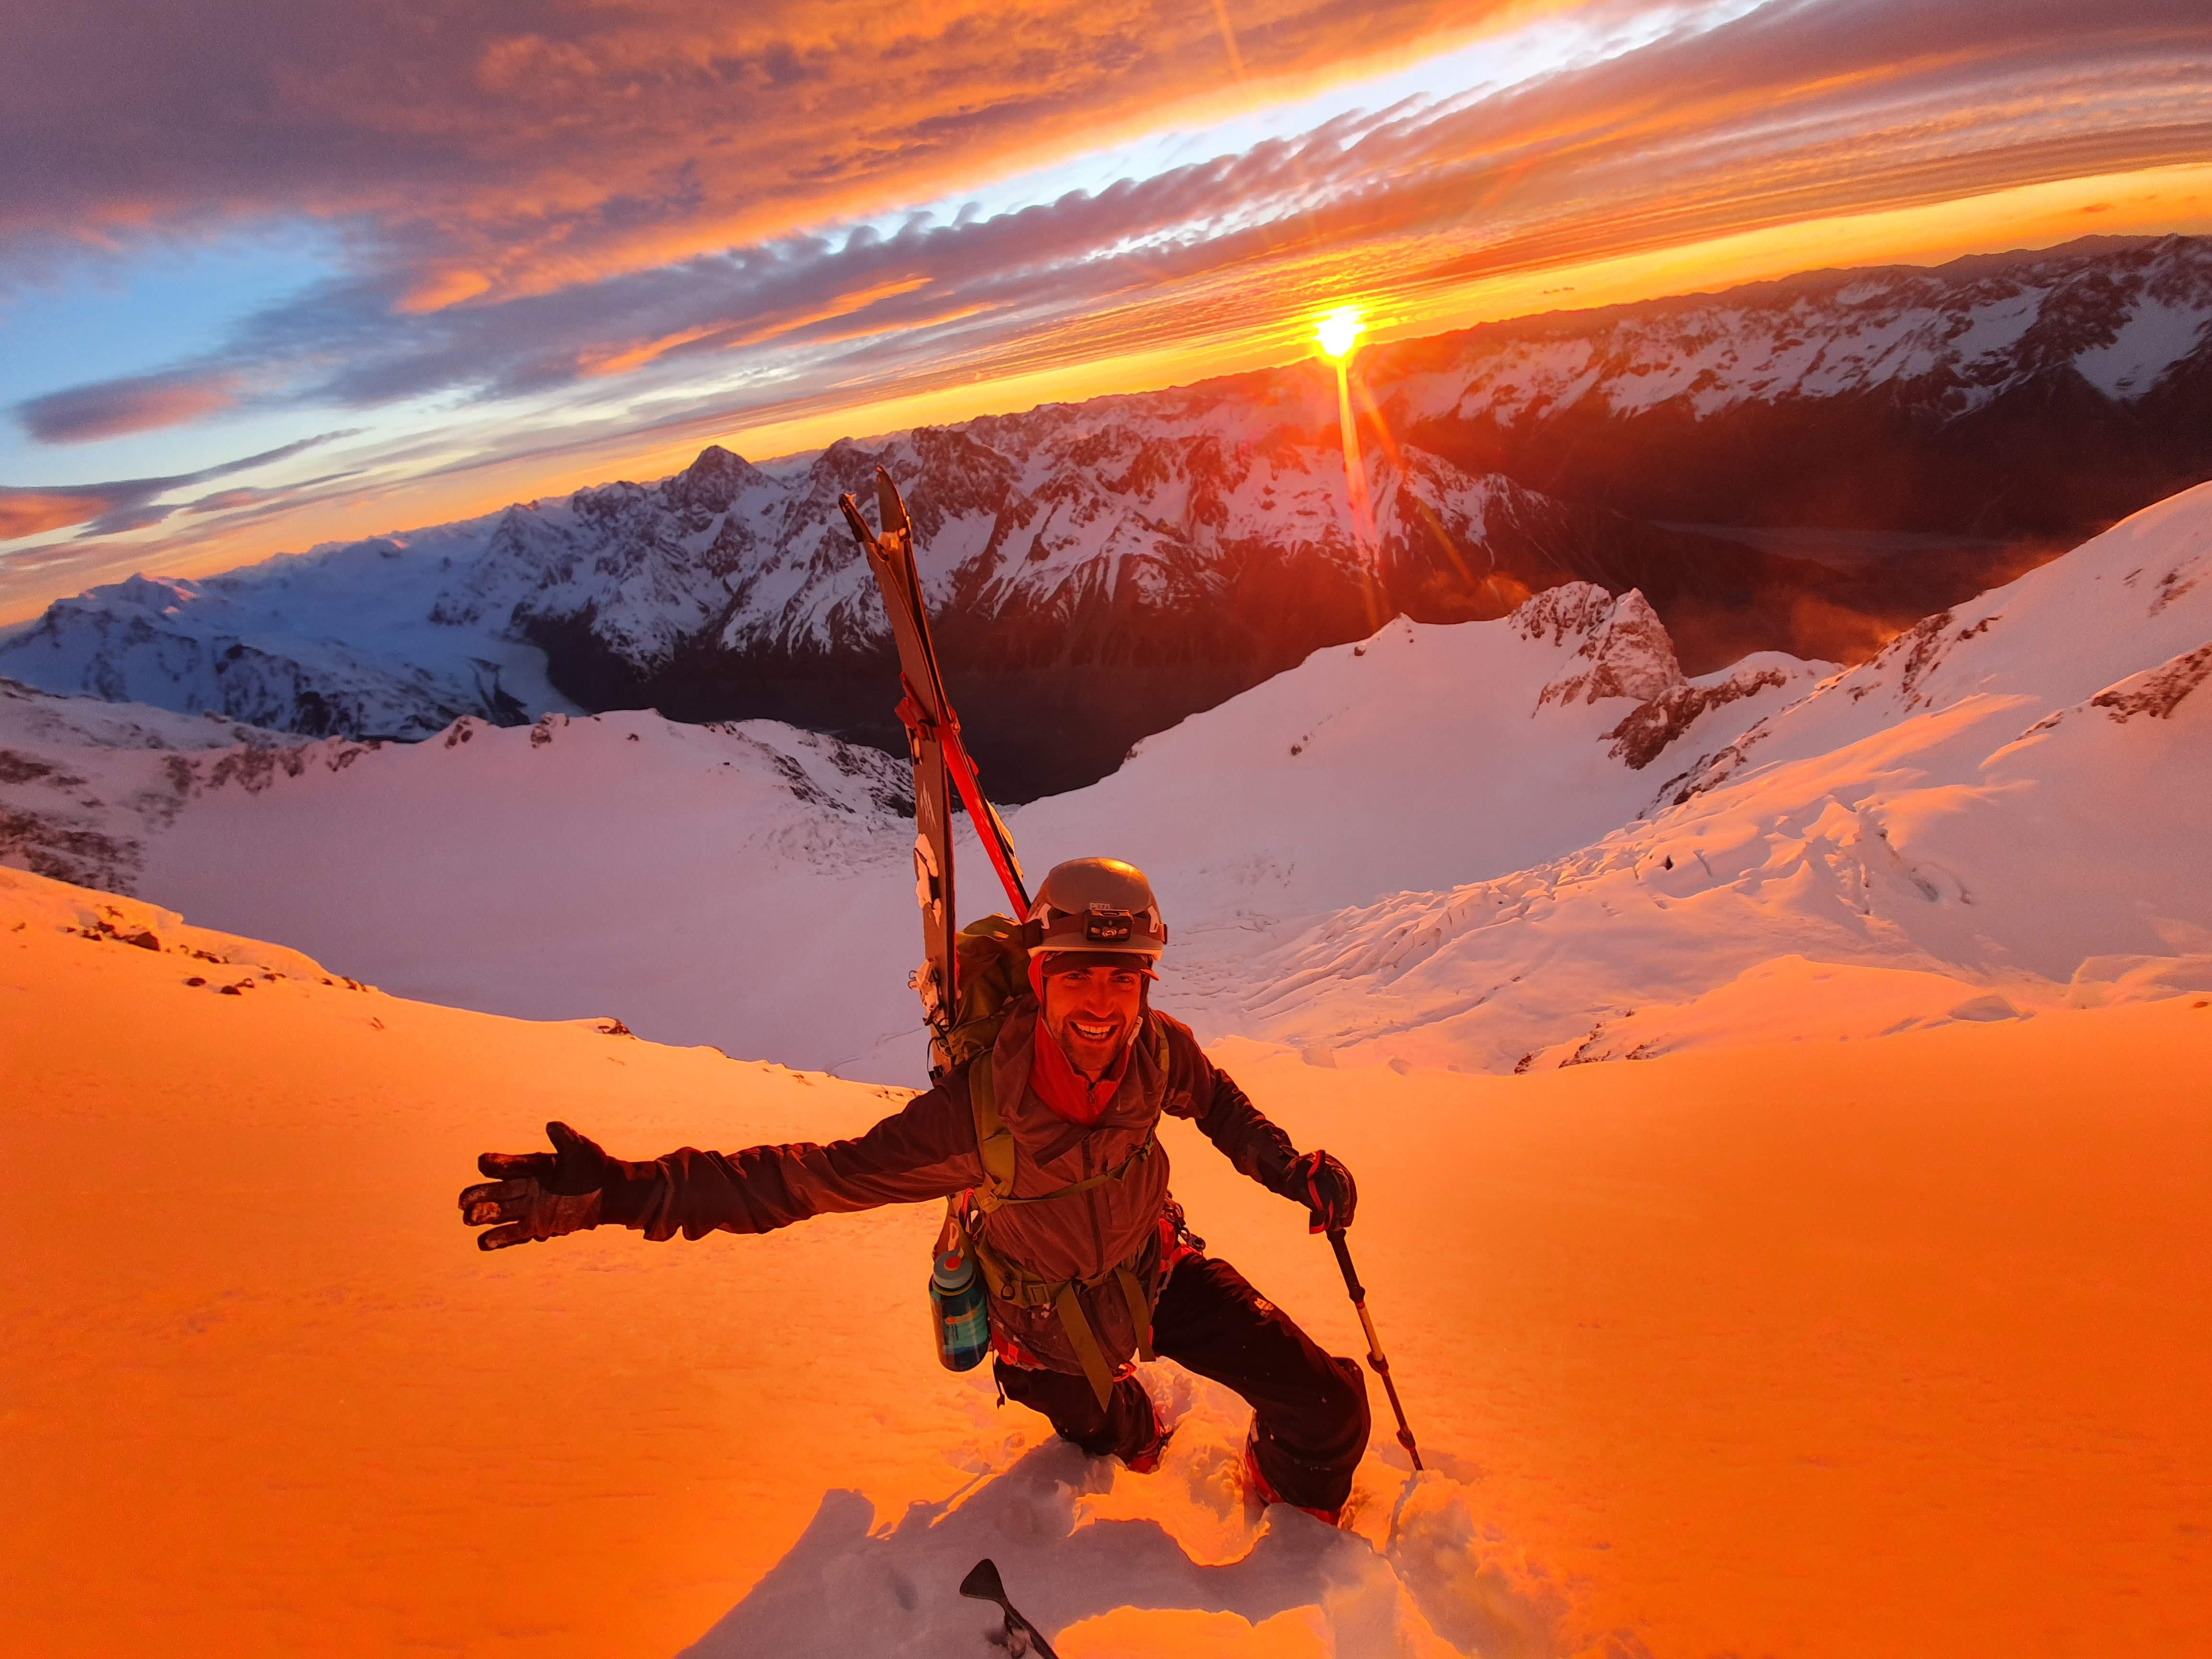
Take a look on the flight in at which route will go best. When we were there the line in yellow was looking a bit thin with some patches of ice and rock to negotiate, and after the previous days antics on the Caroline / post celebration goon head we were wanting something a bit more chilled. We left the hut at 0600 and were dropping in at 08:30.
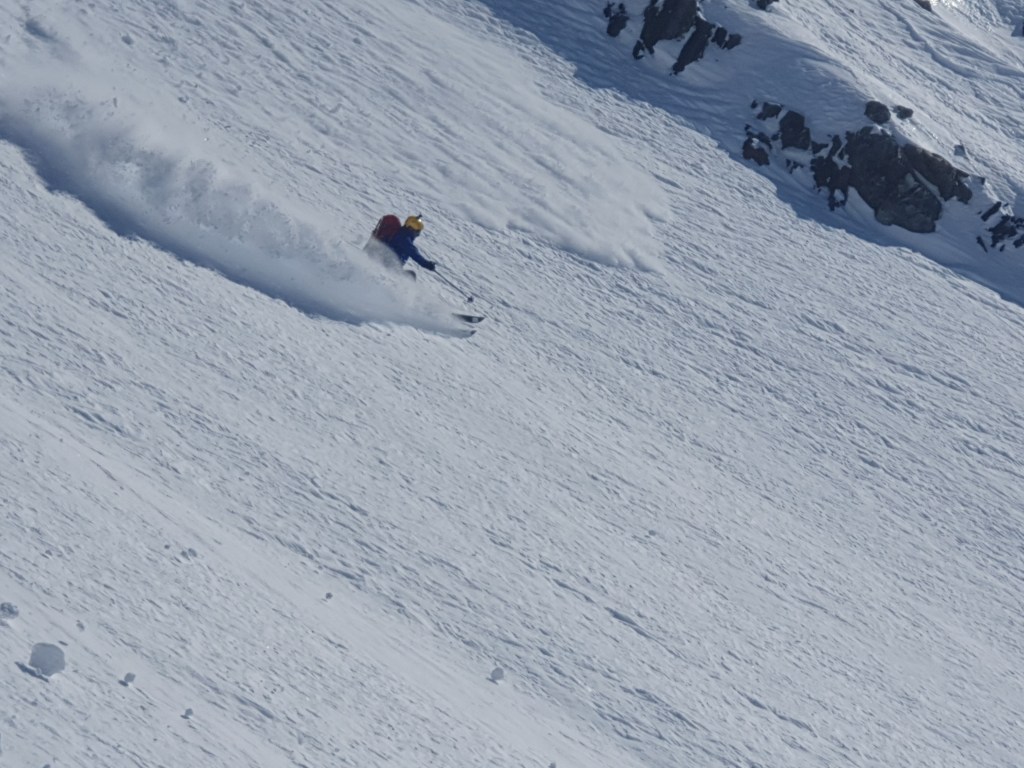
Caroline face Aoraki Mount Cook climb to east ridge
The spine up to the ridge.

Ski
Ski Caroline face Aoraki mount cook
Will sending it down the top section, cutting left from the red arrow. It look narrow in the top pic but you can see here its actually super wide

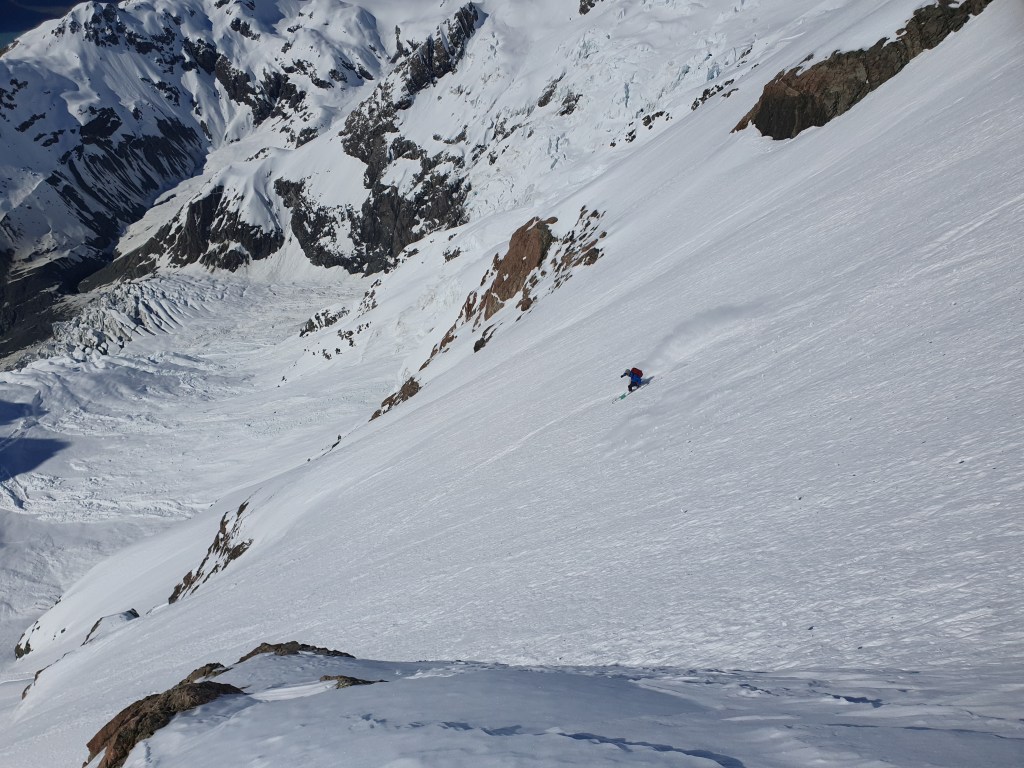
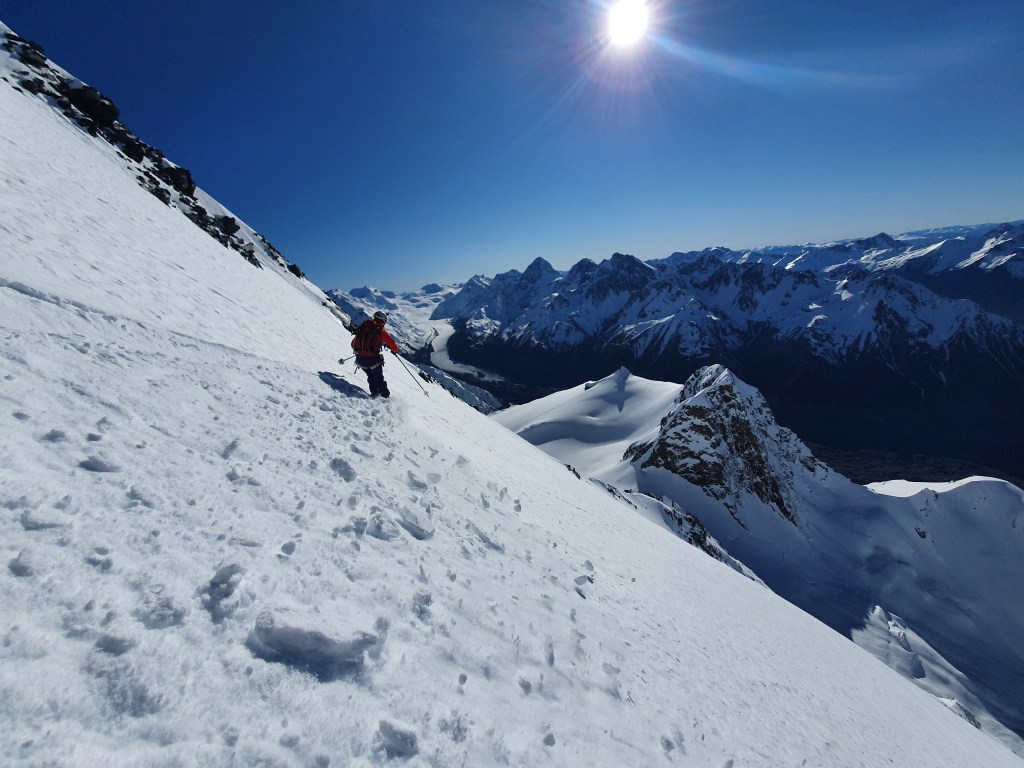
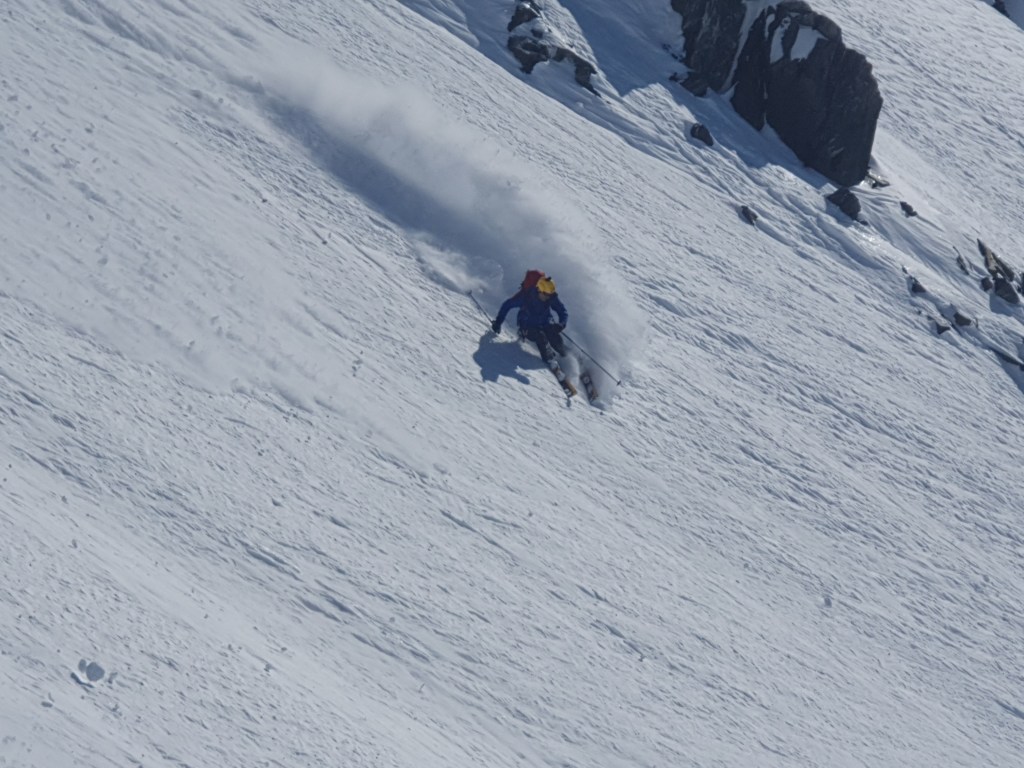
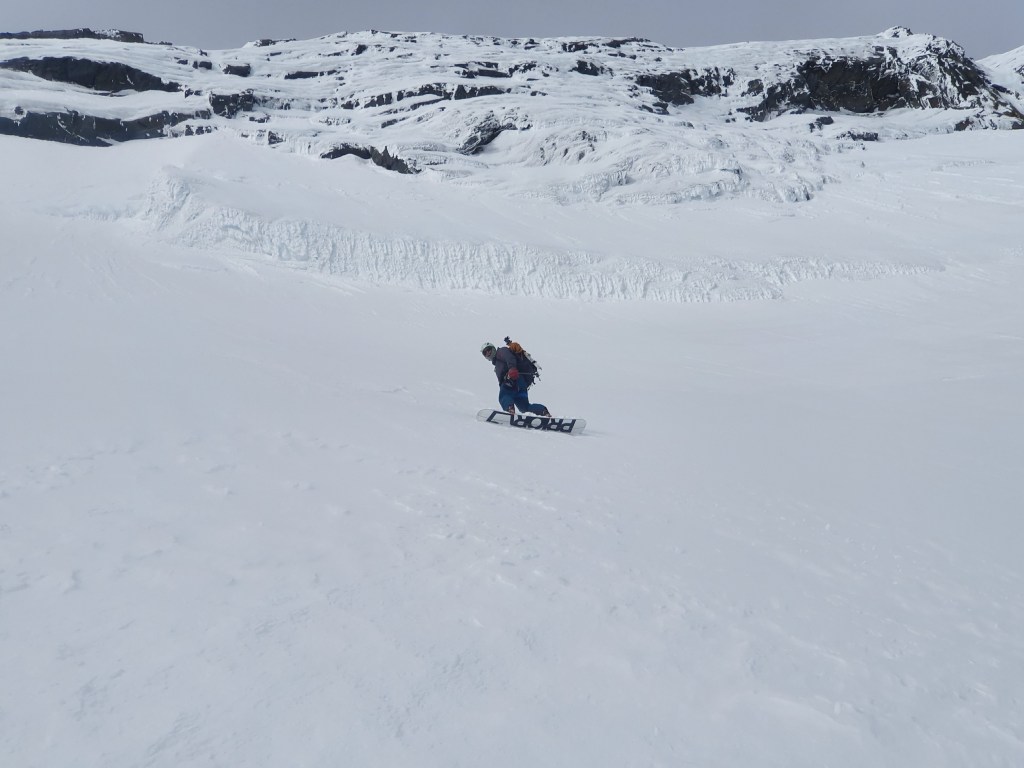
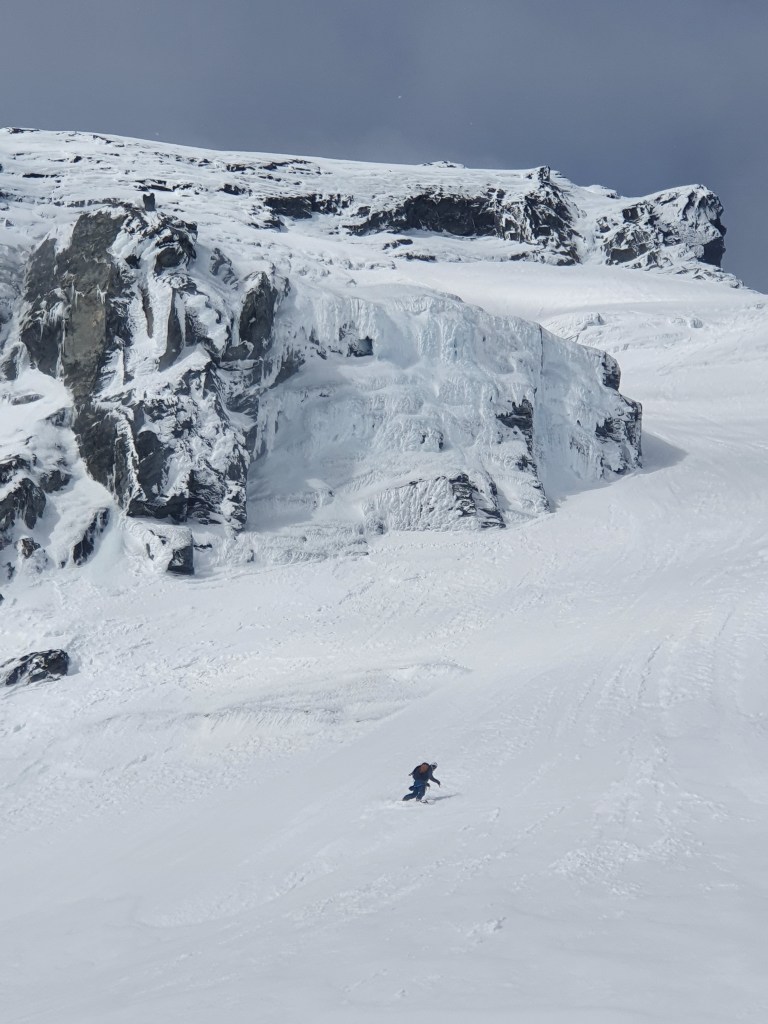
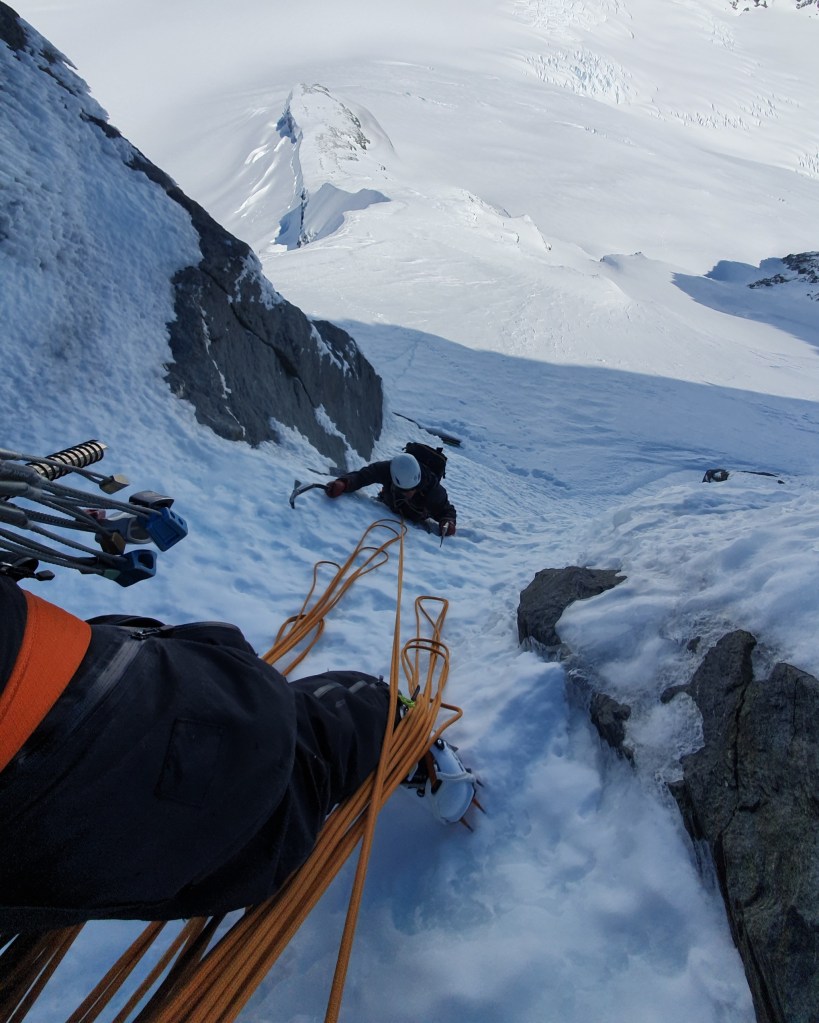
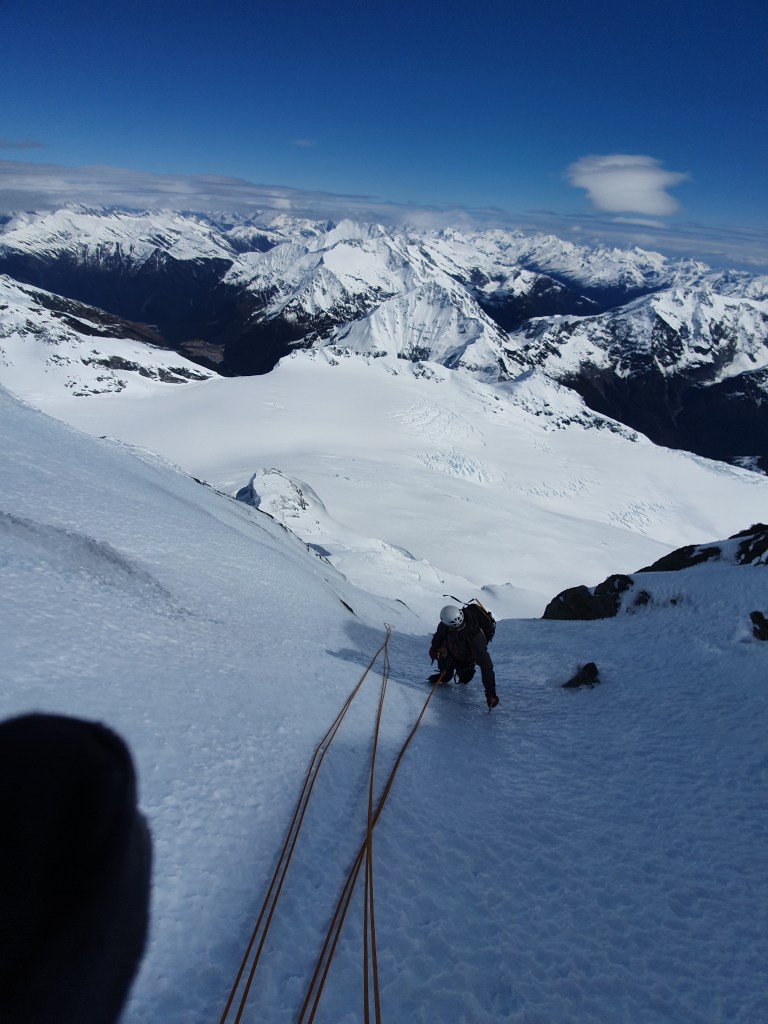
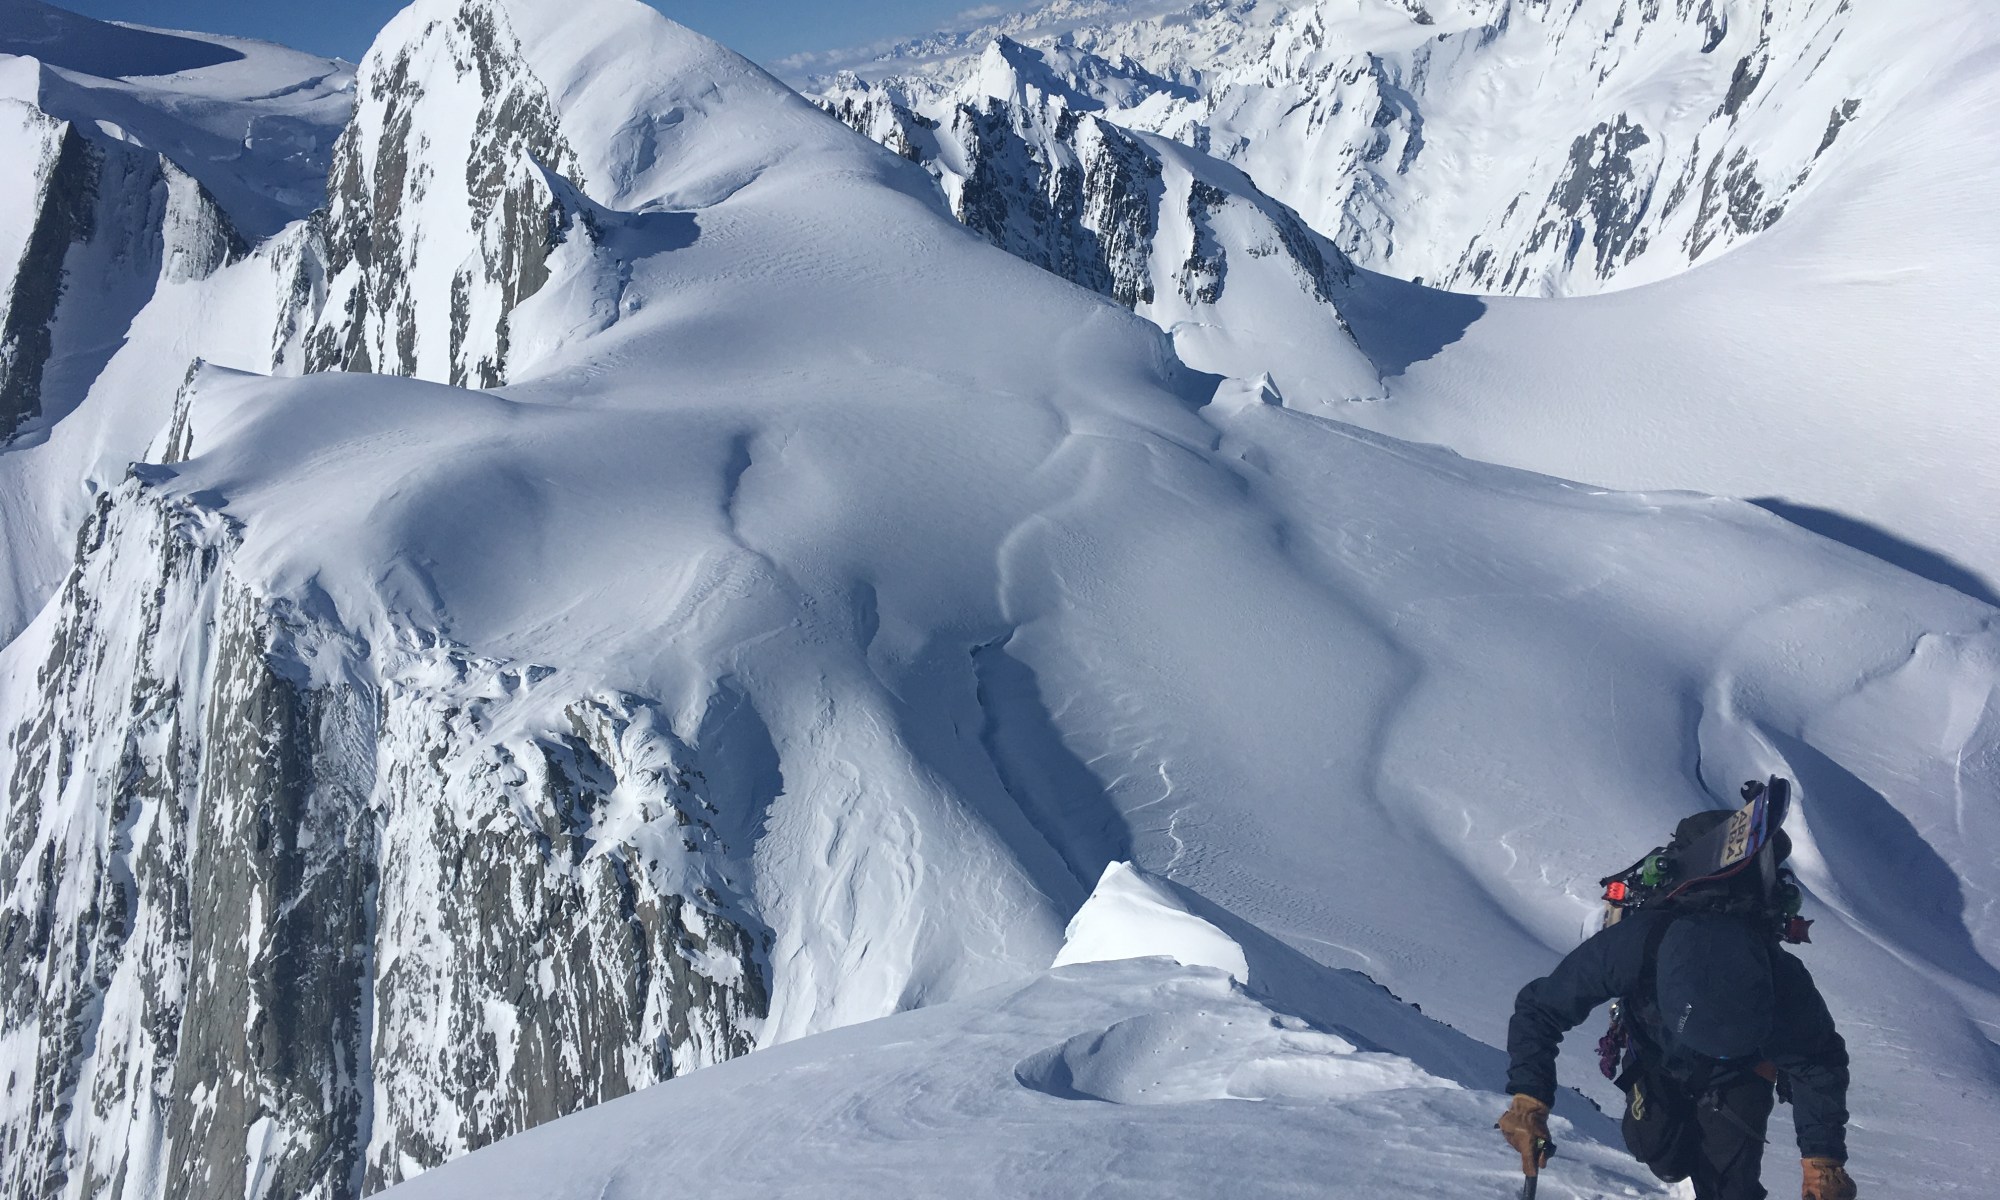
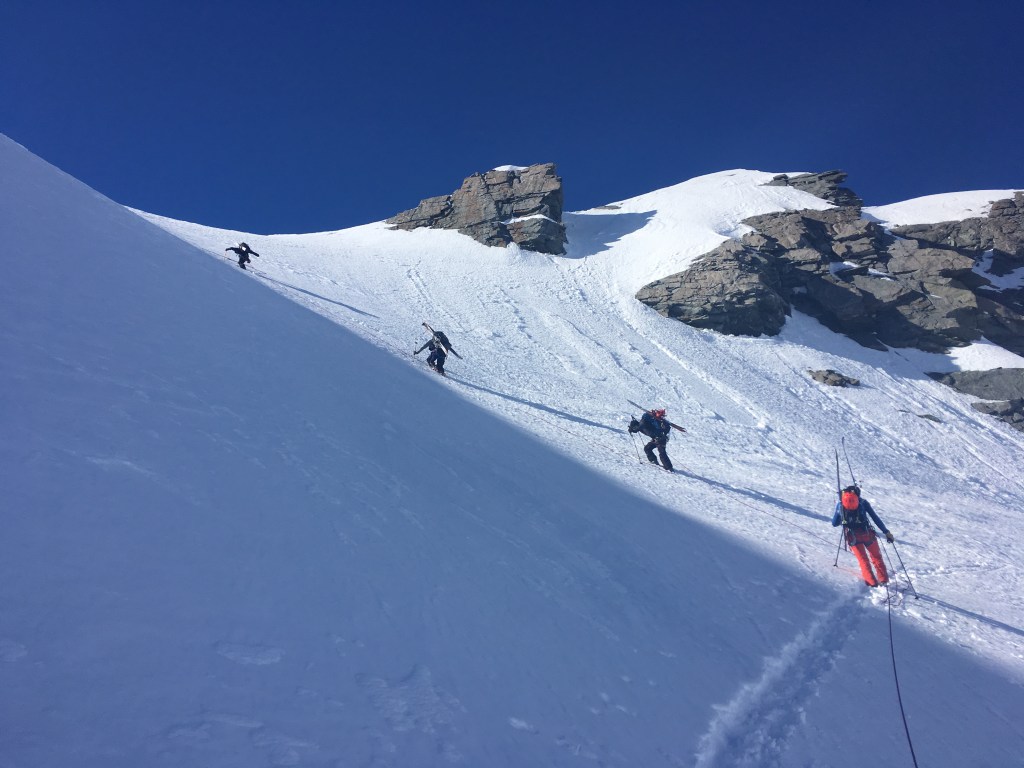
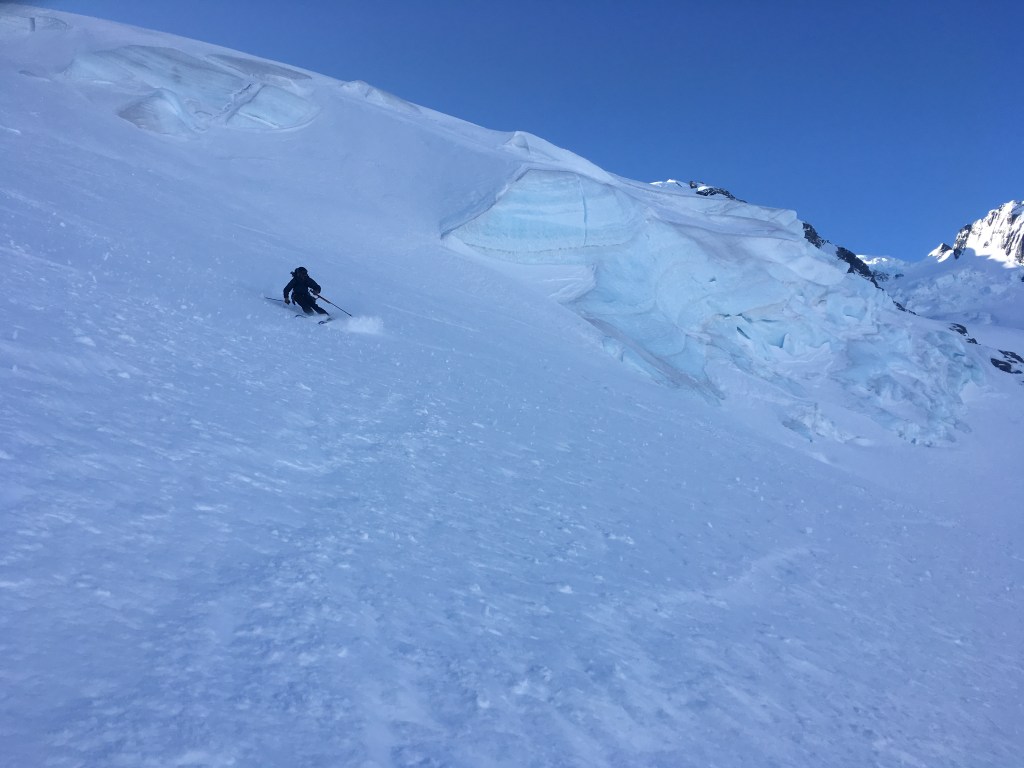
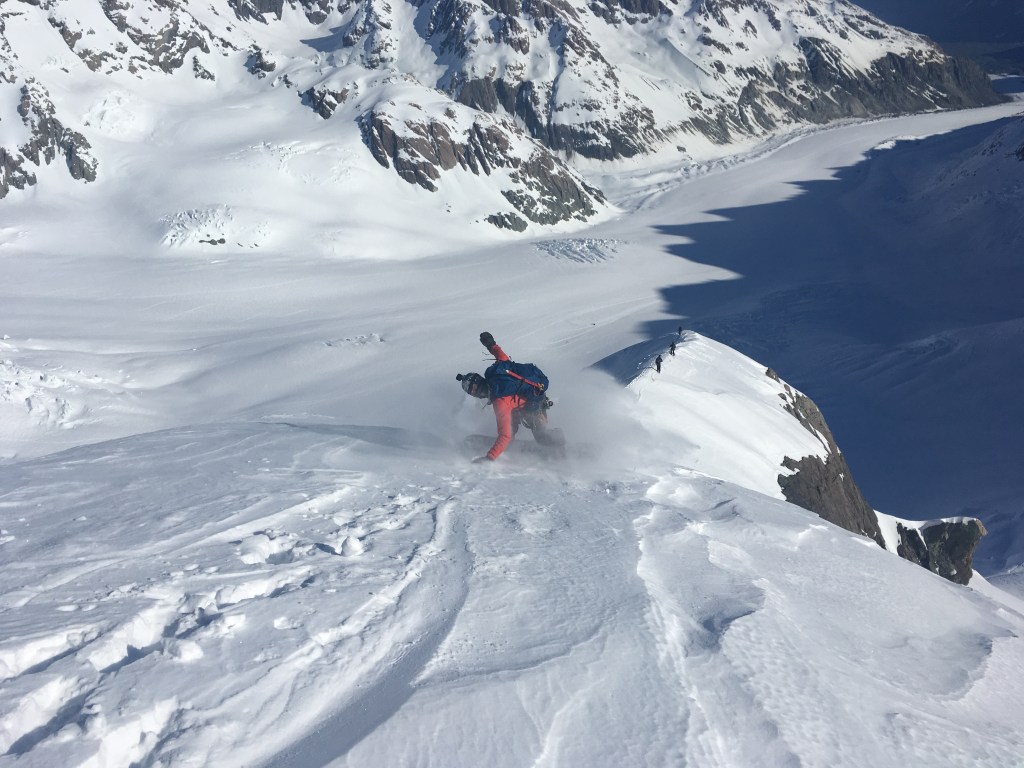
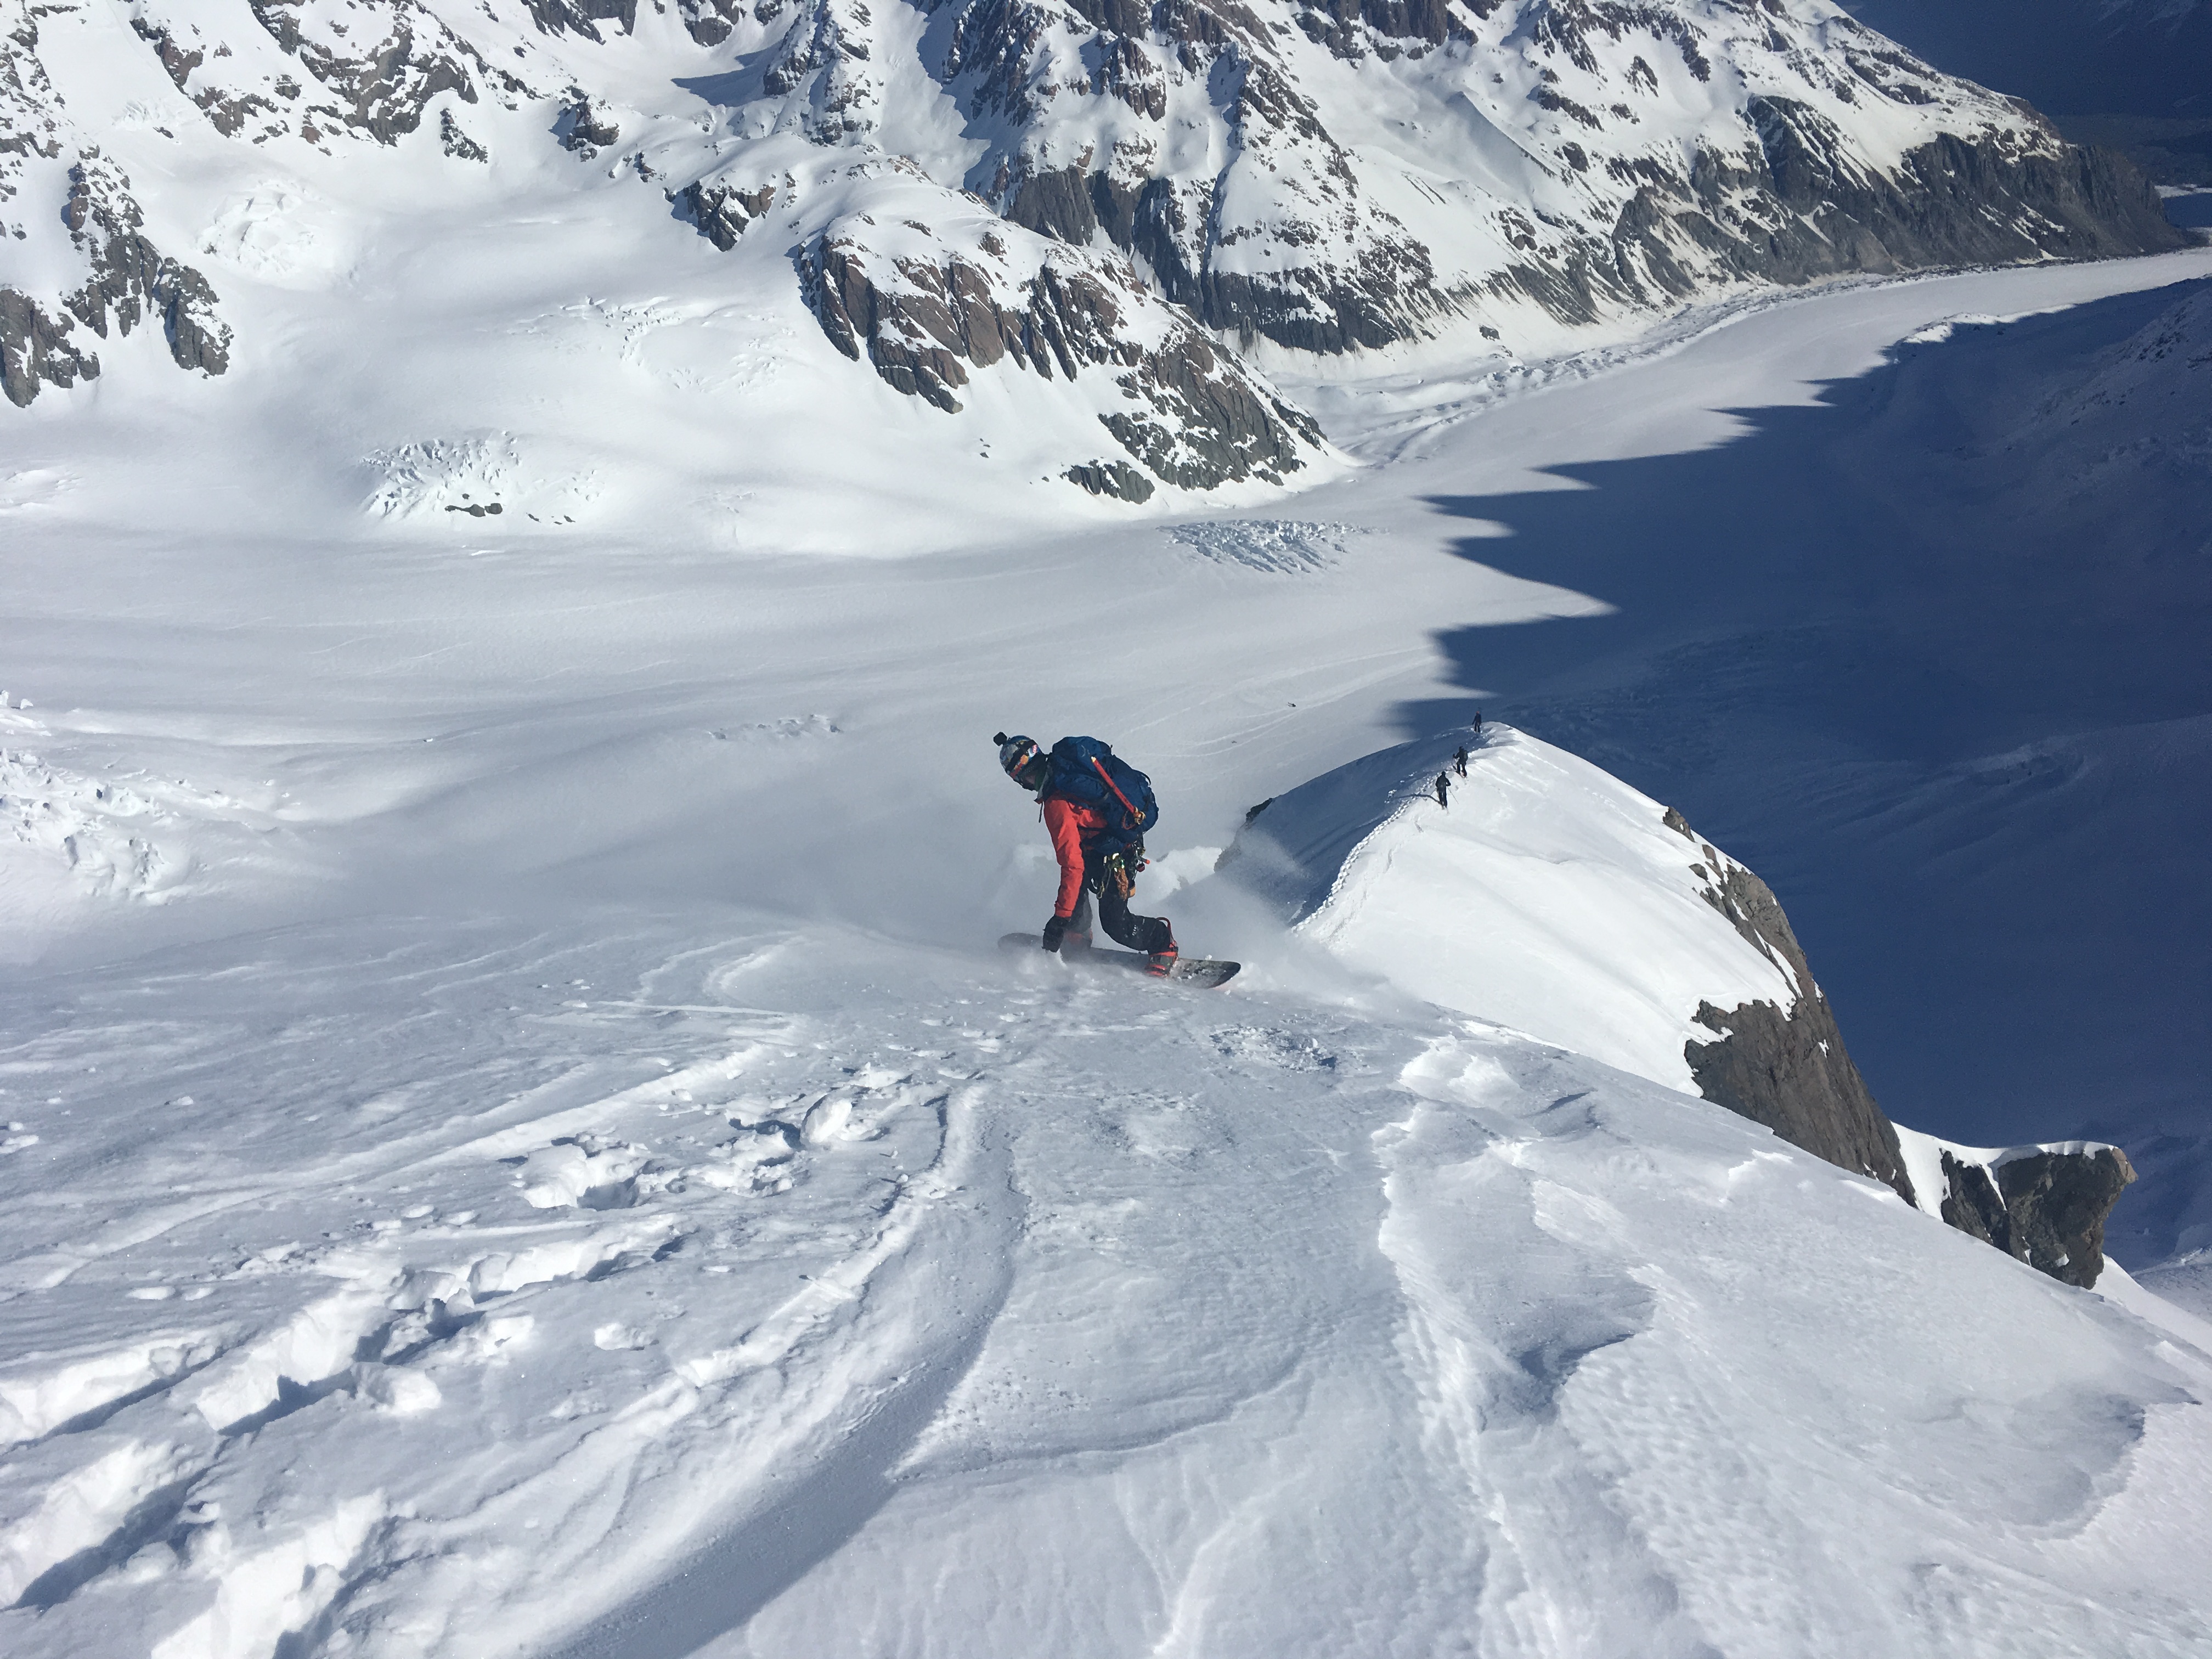
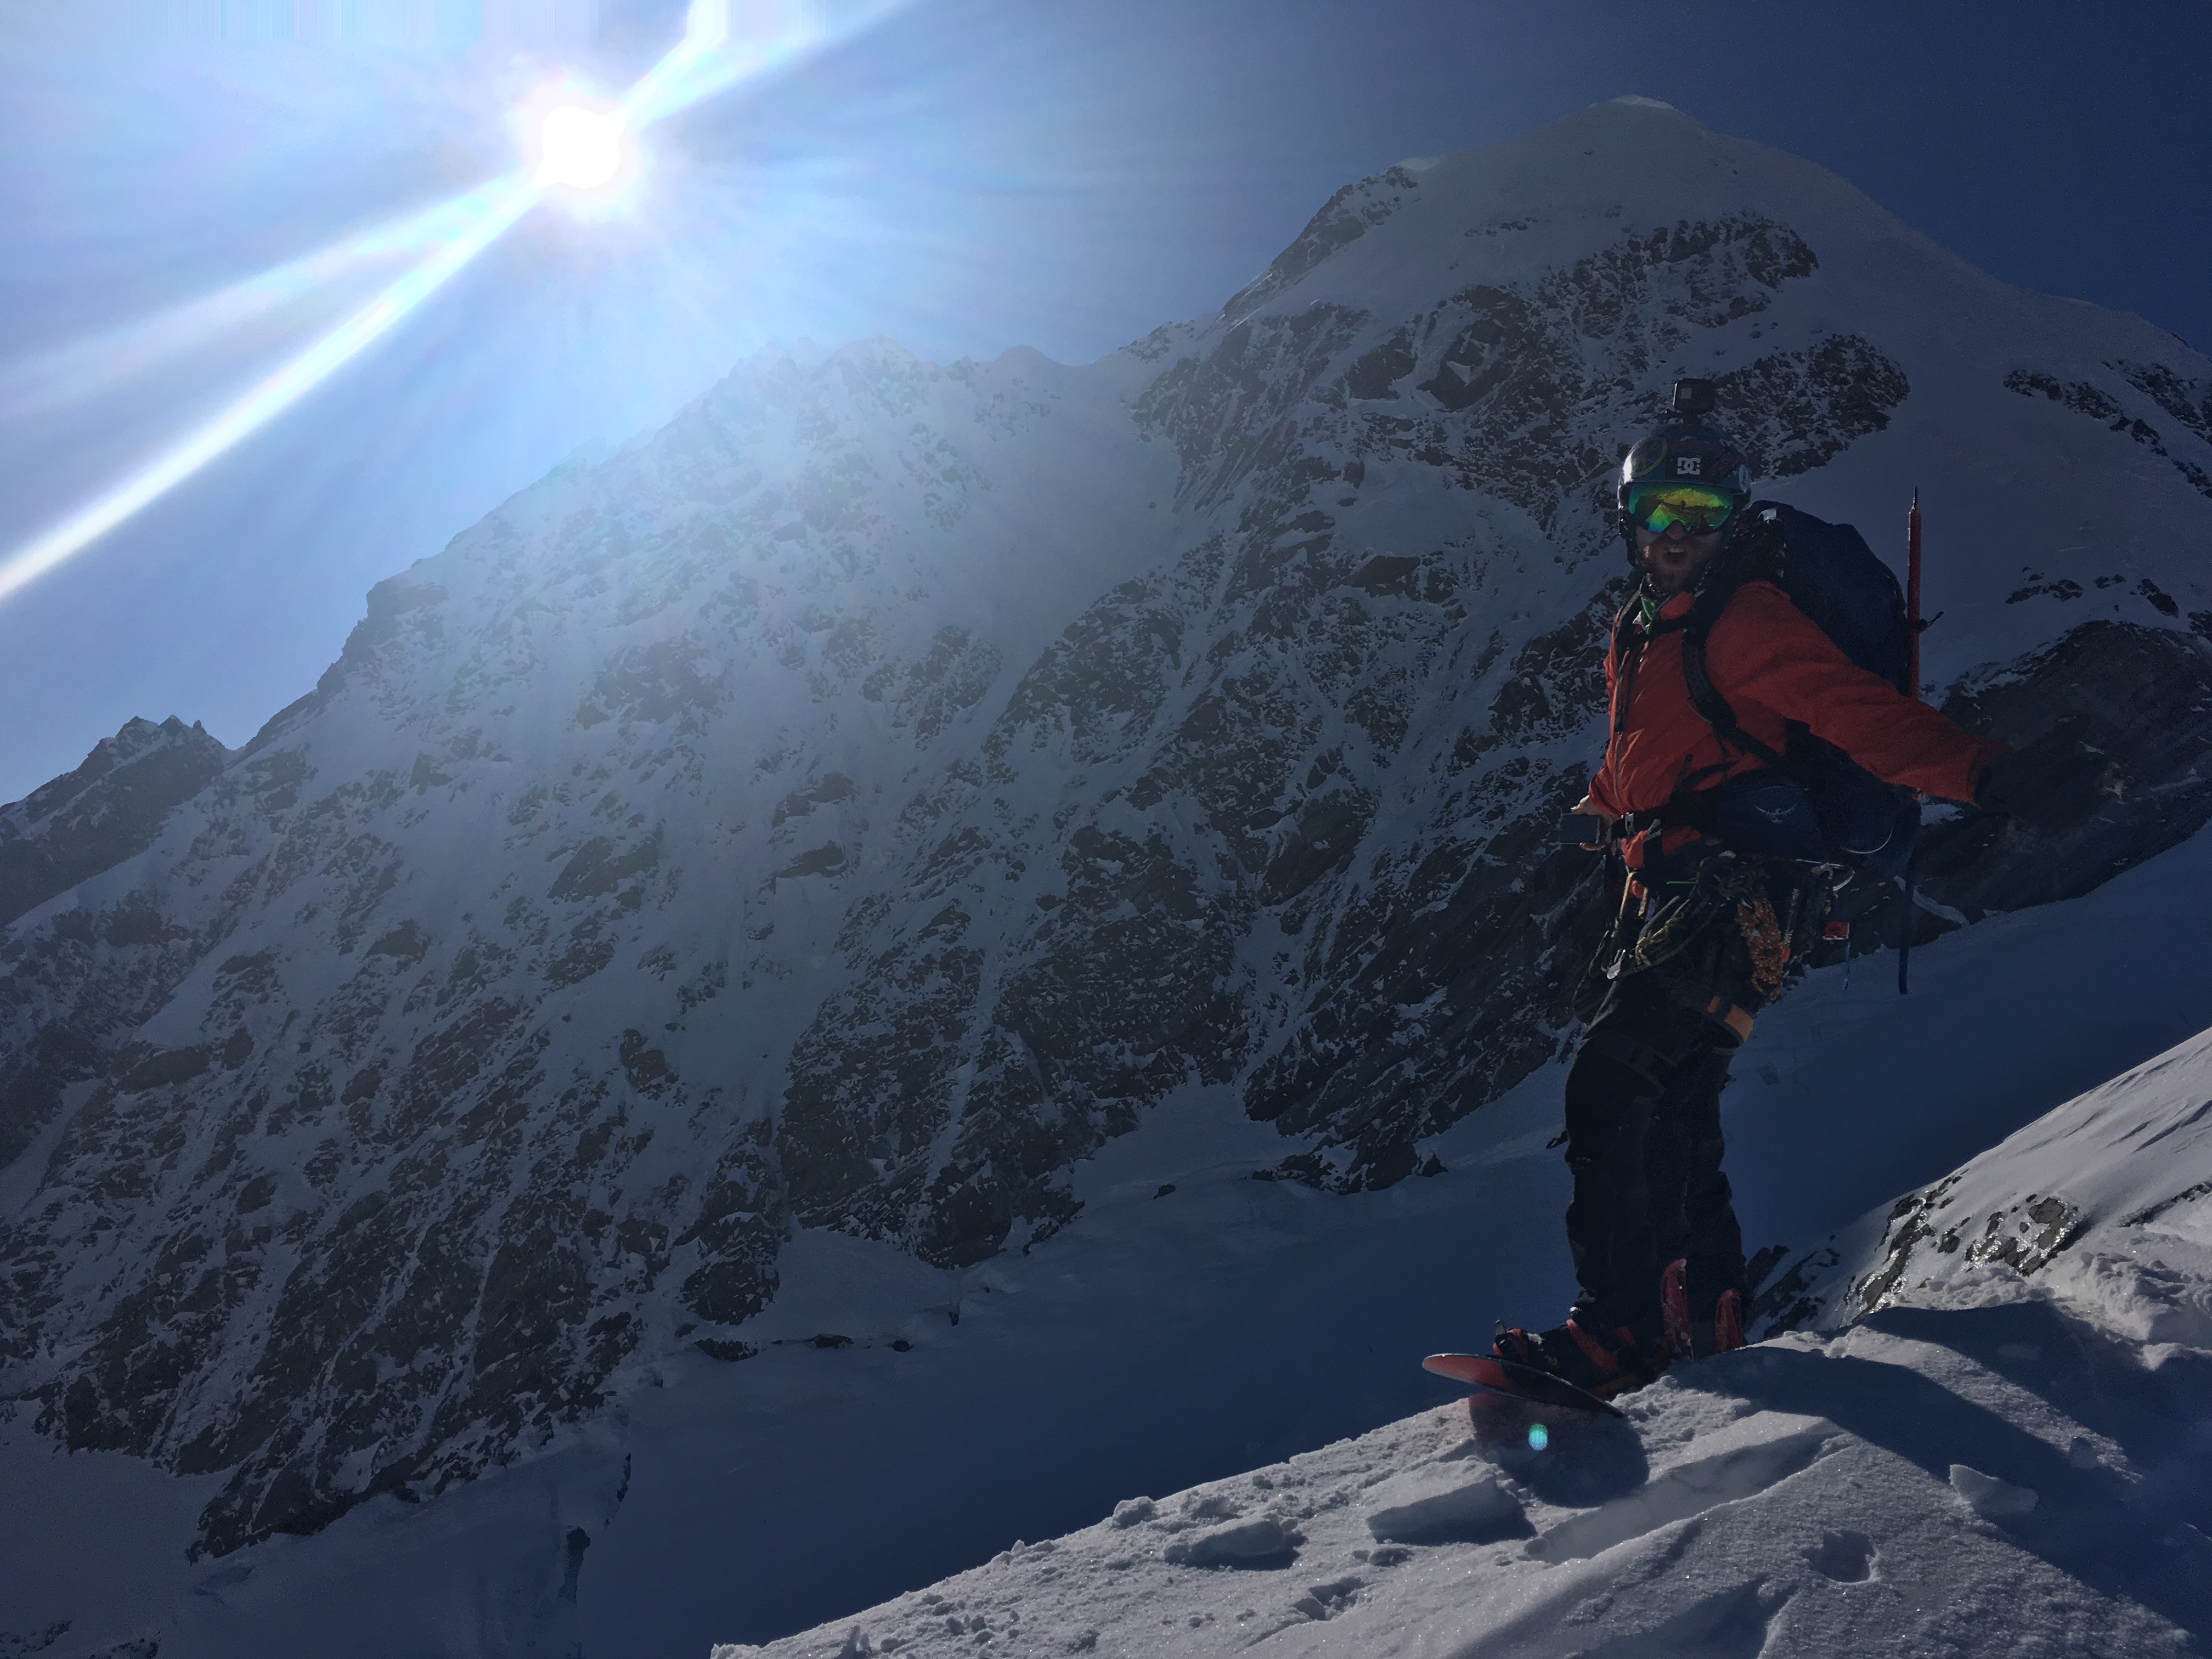
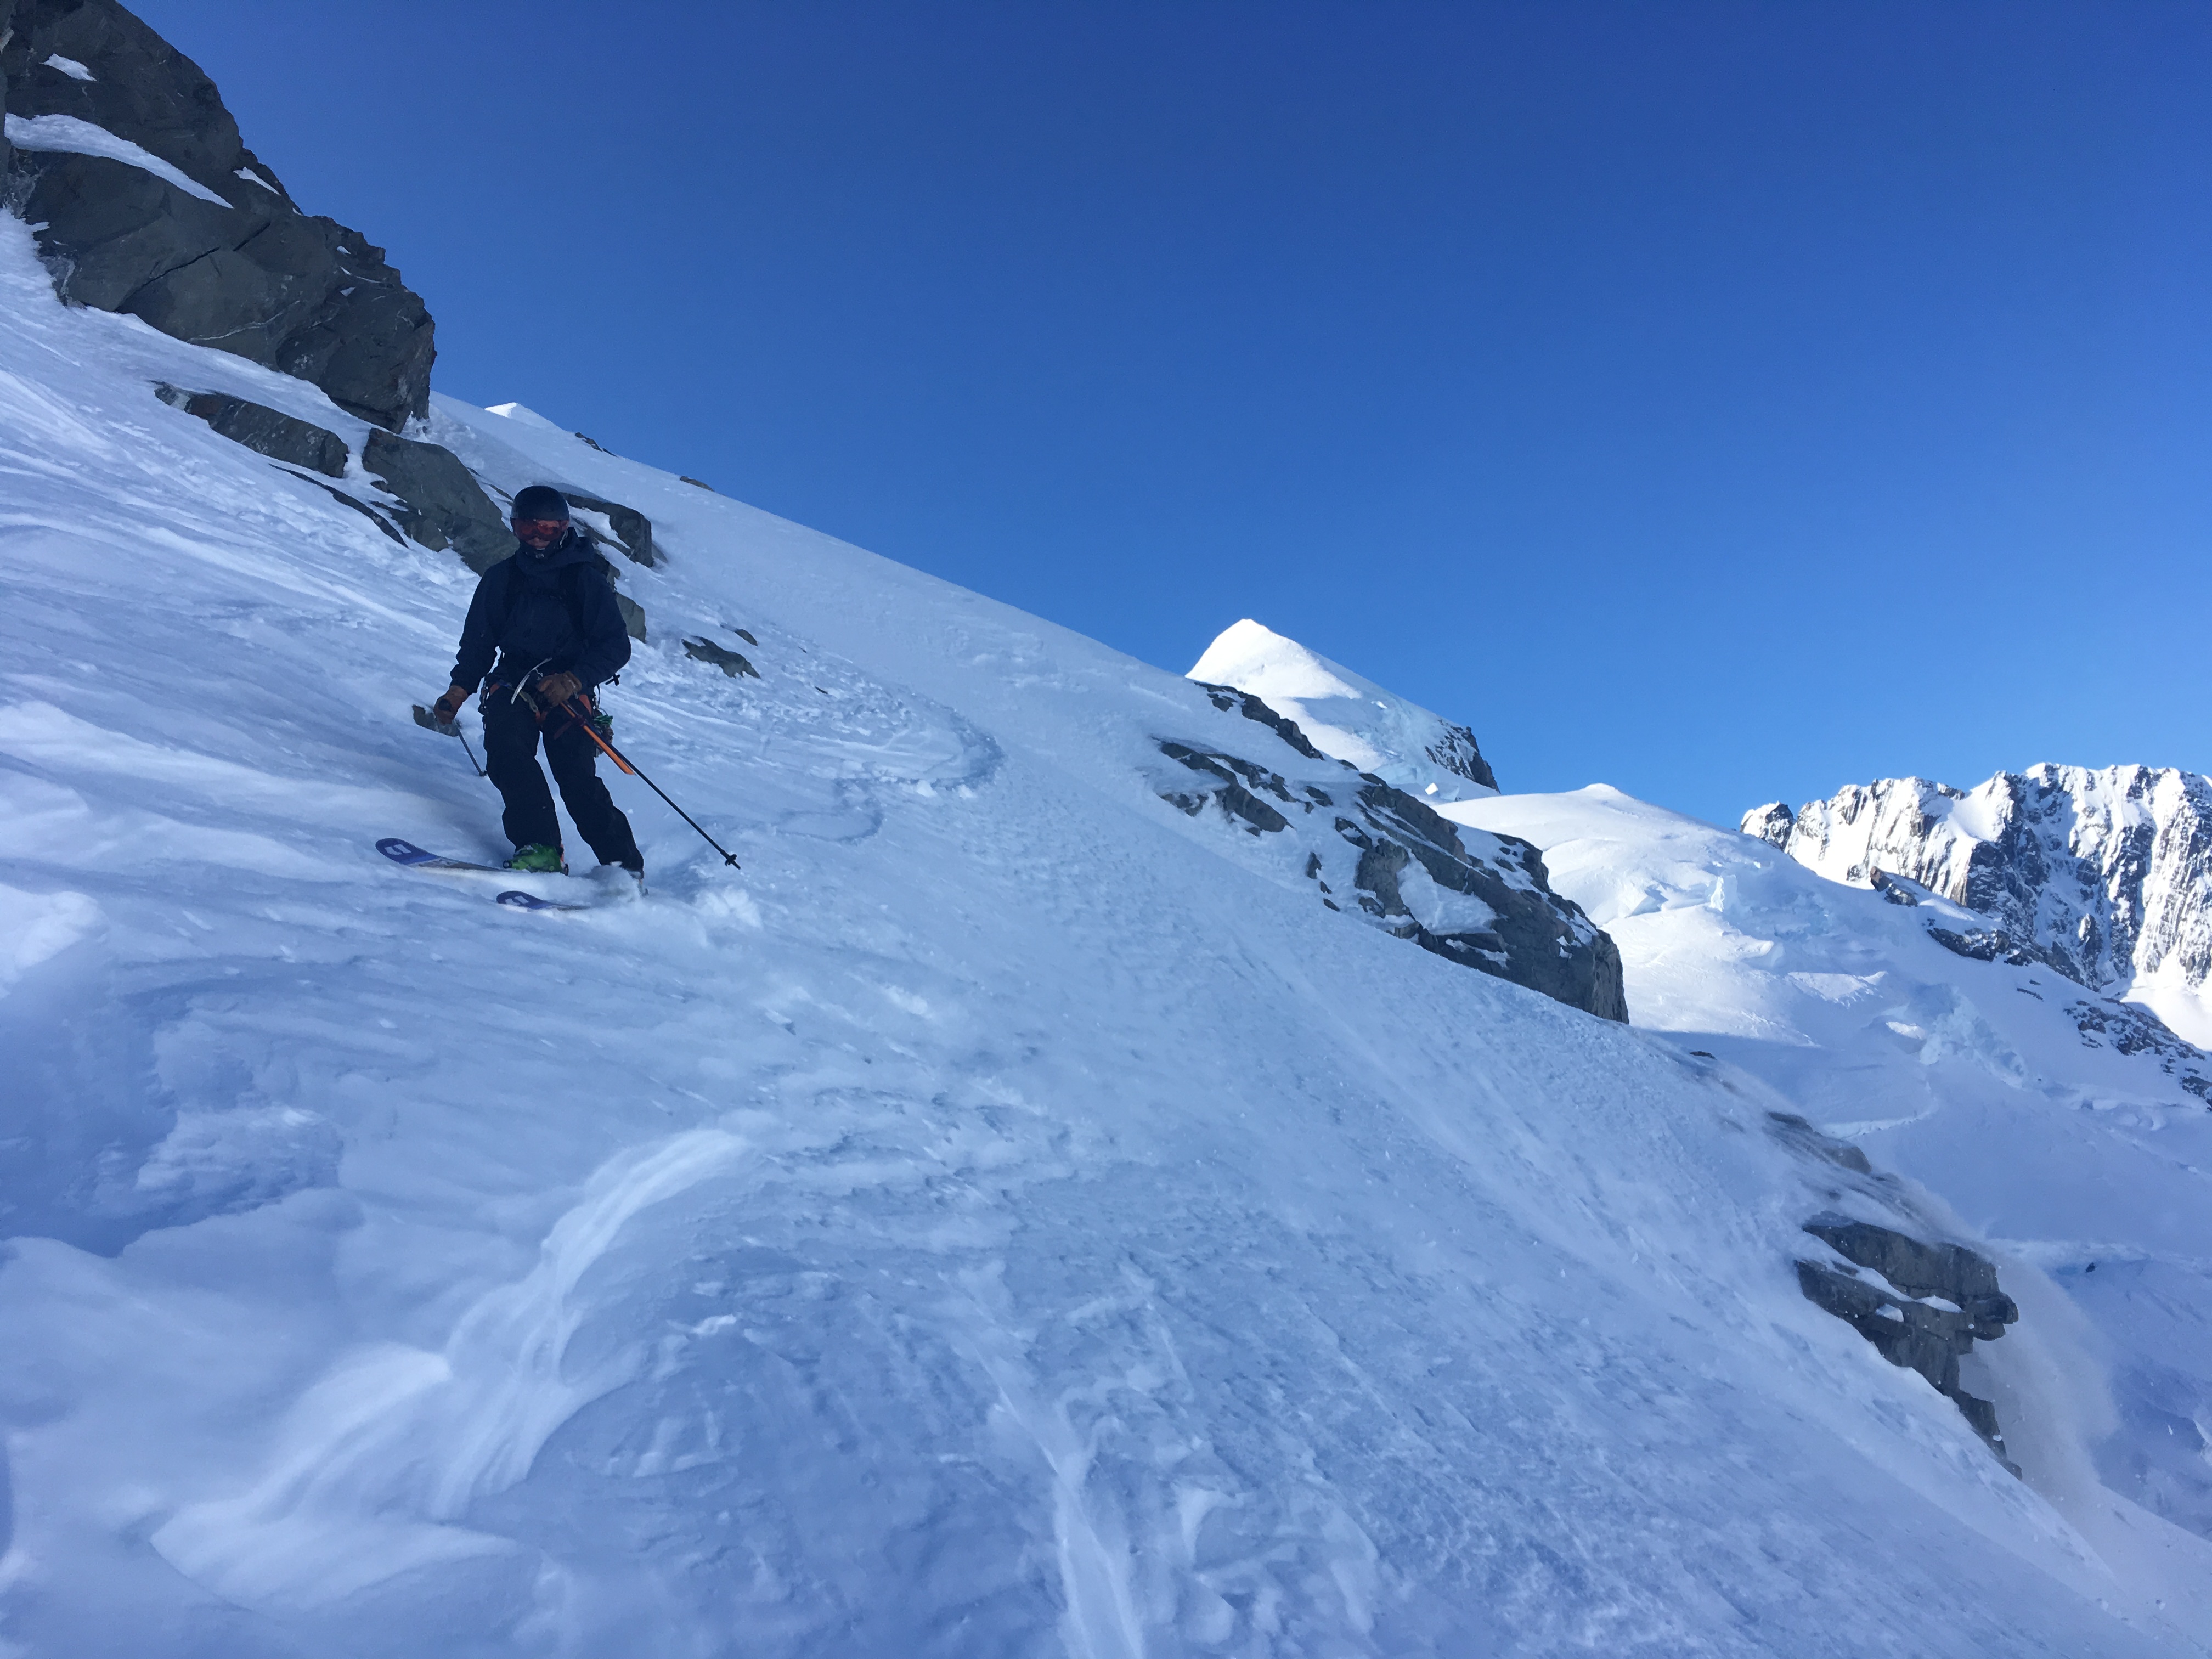
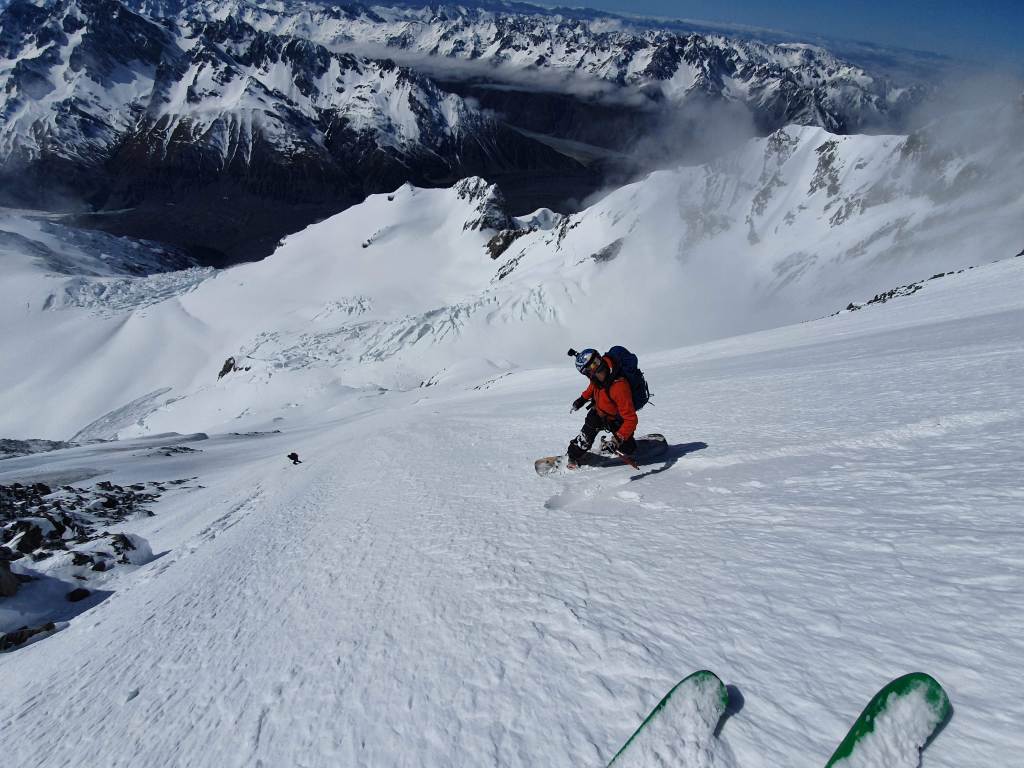
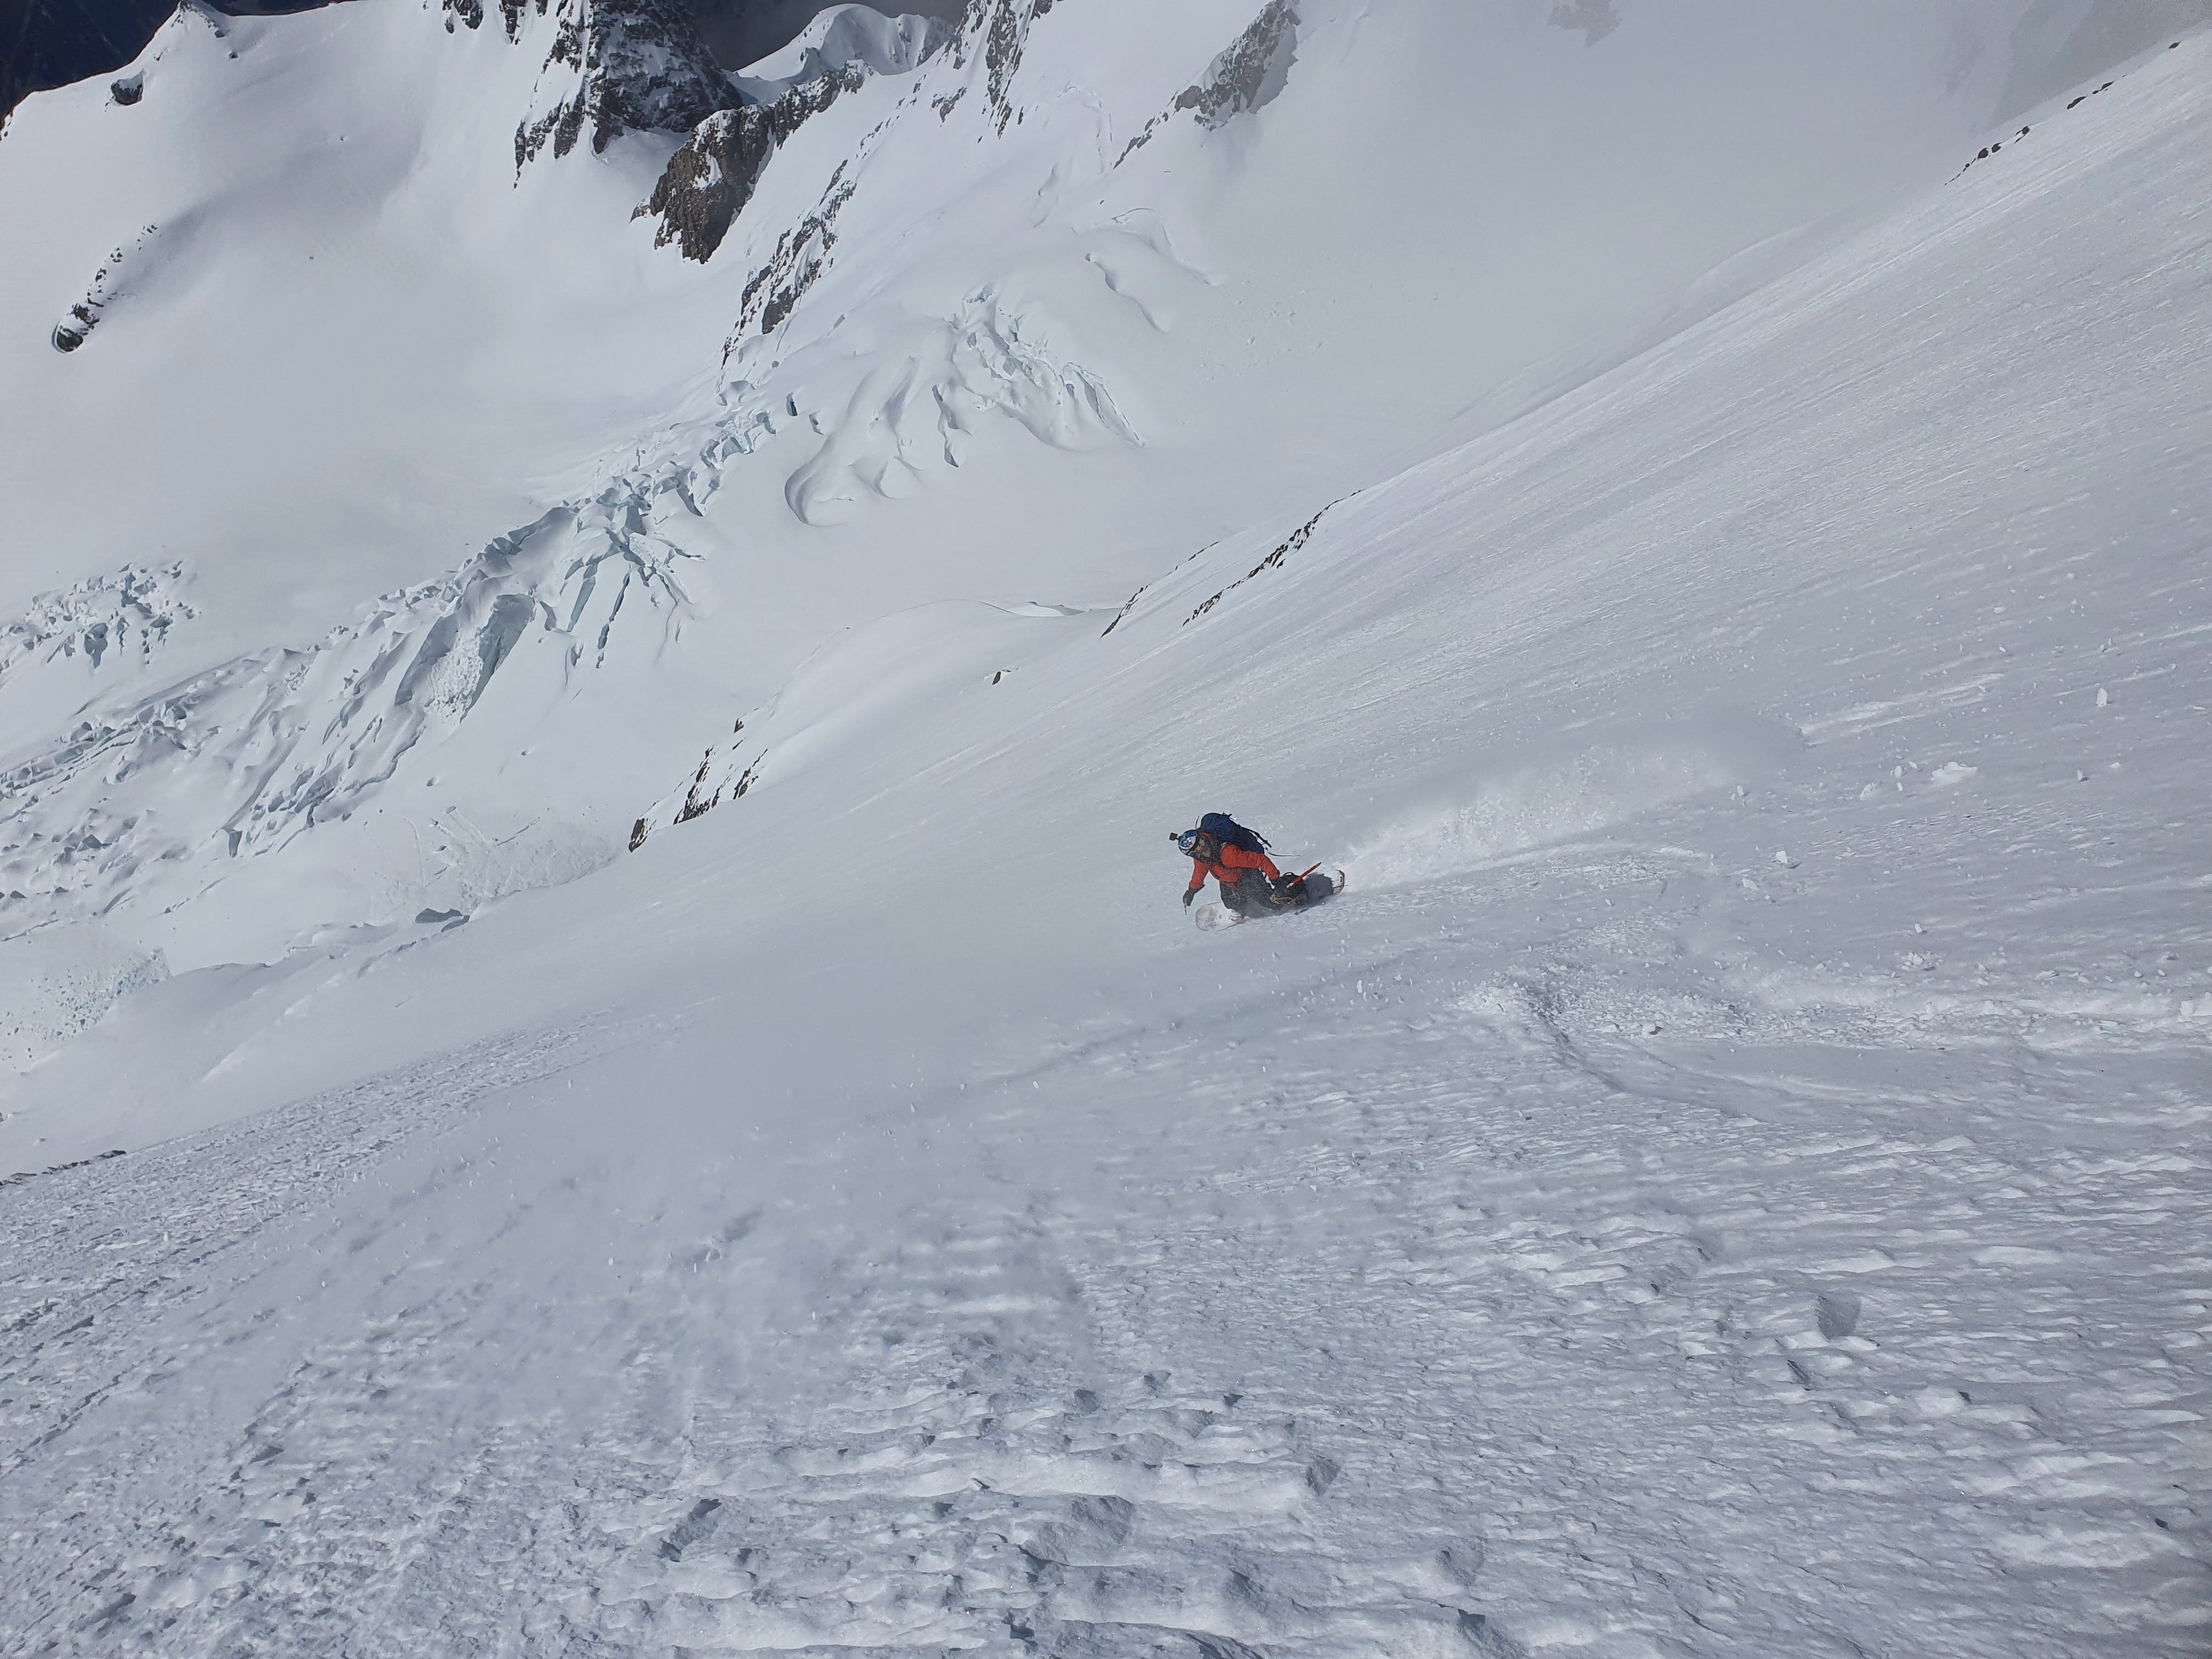
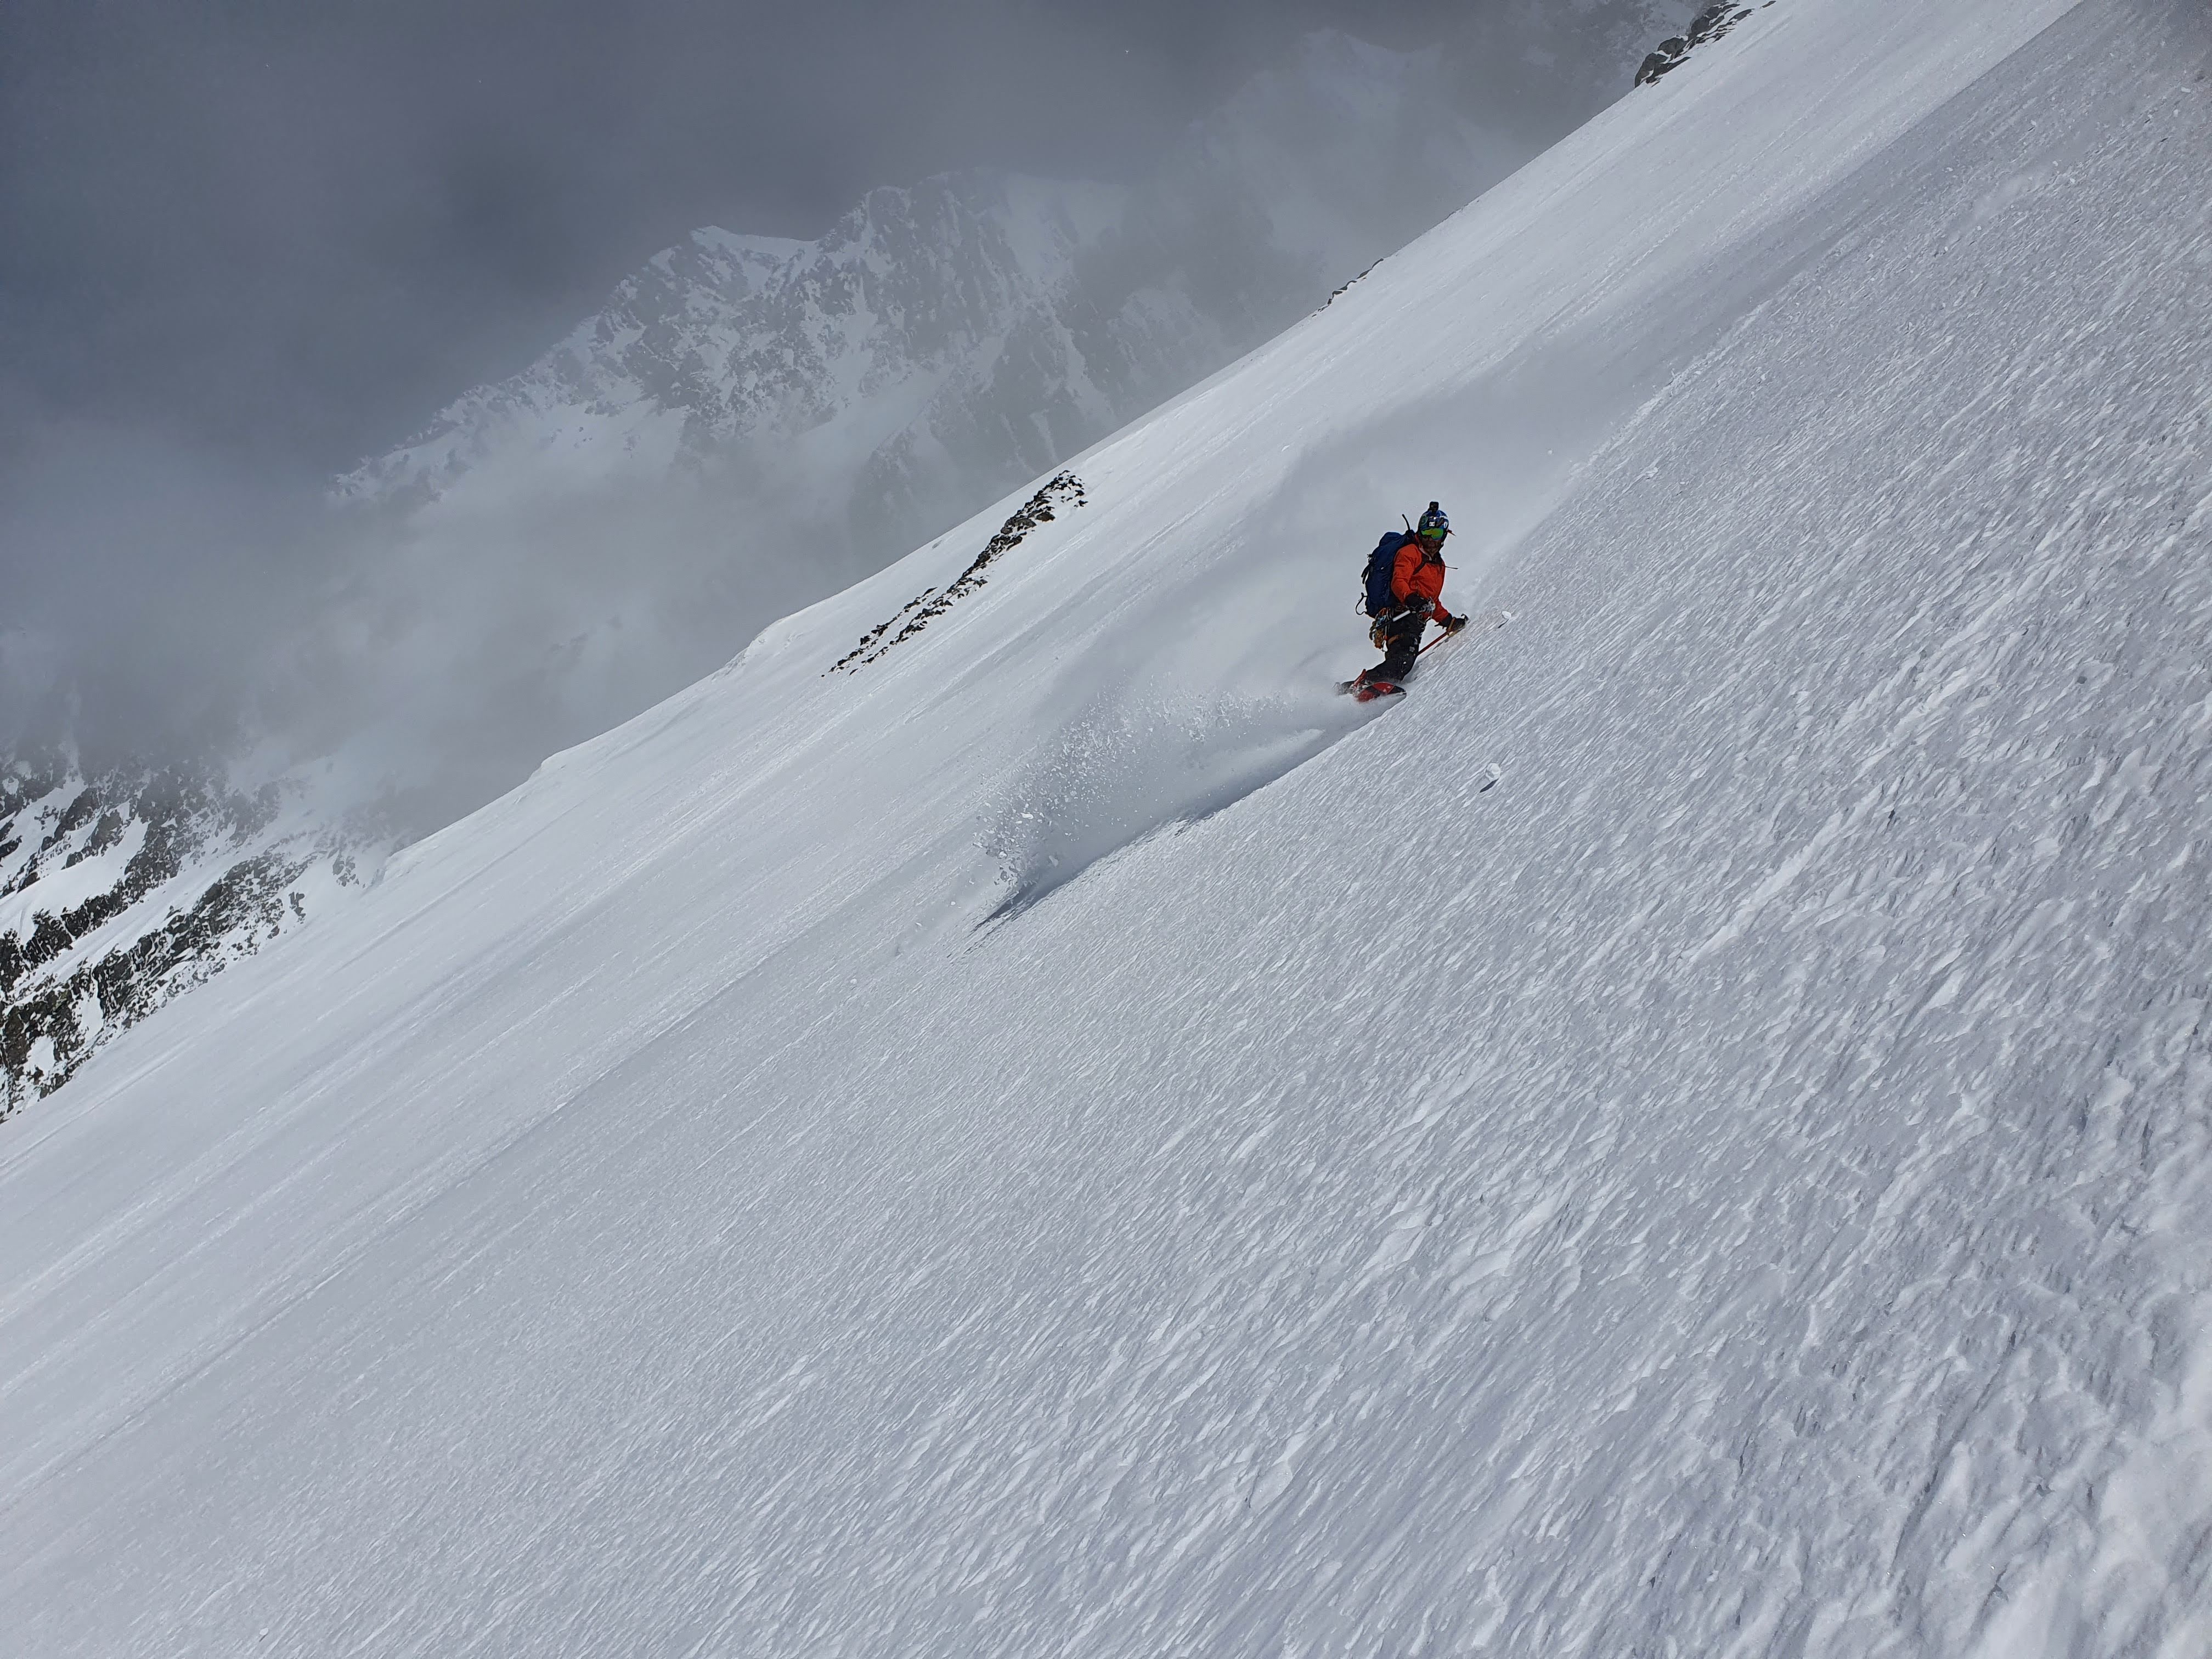
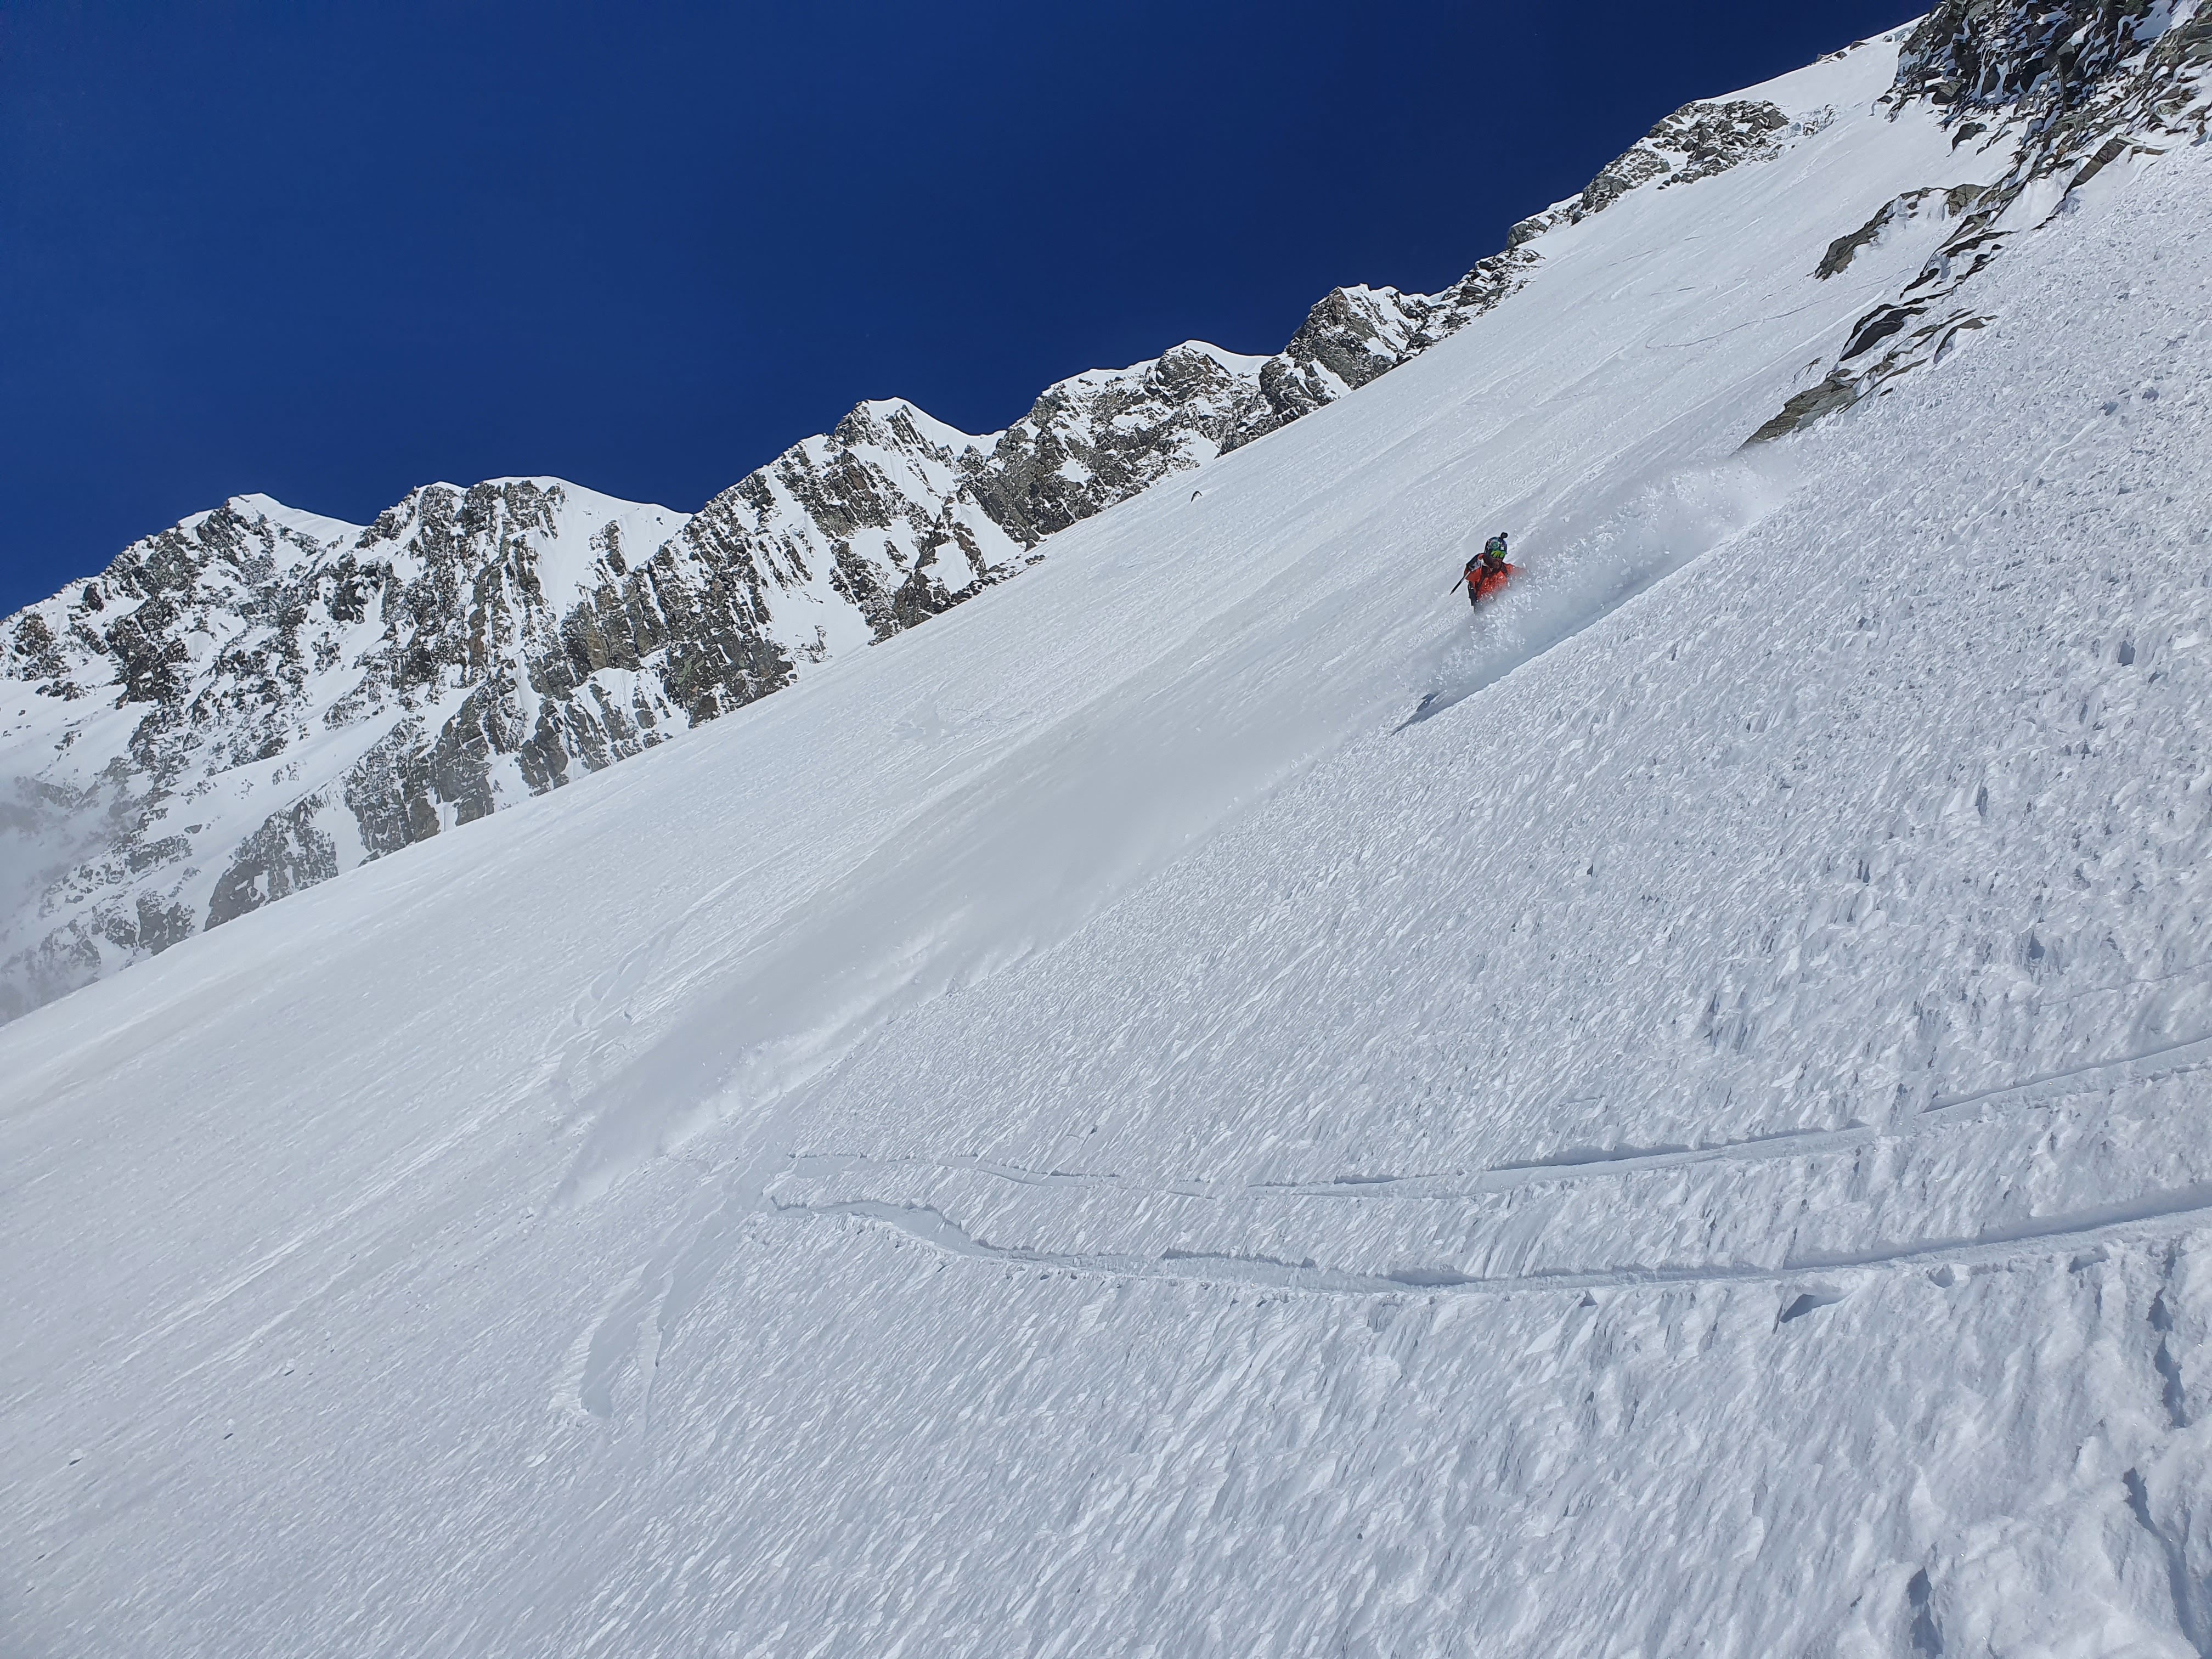
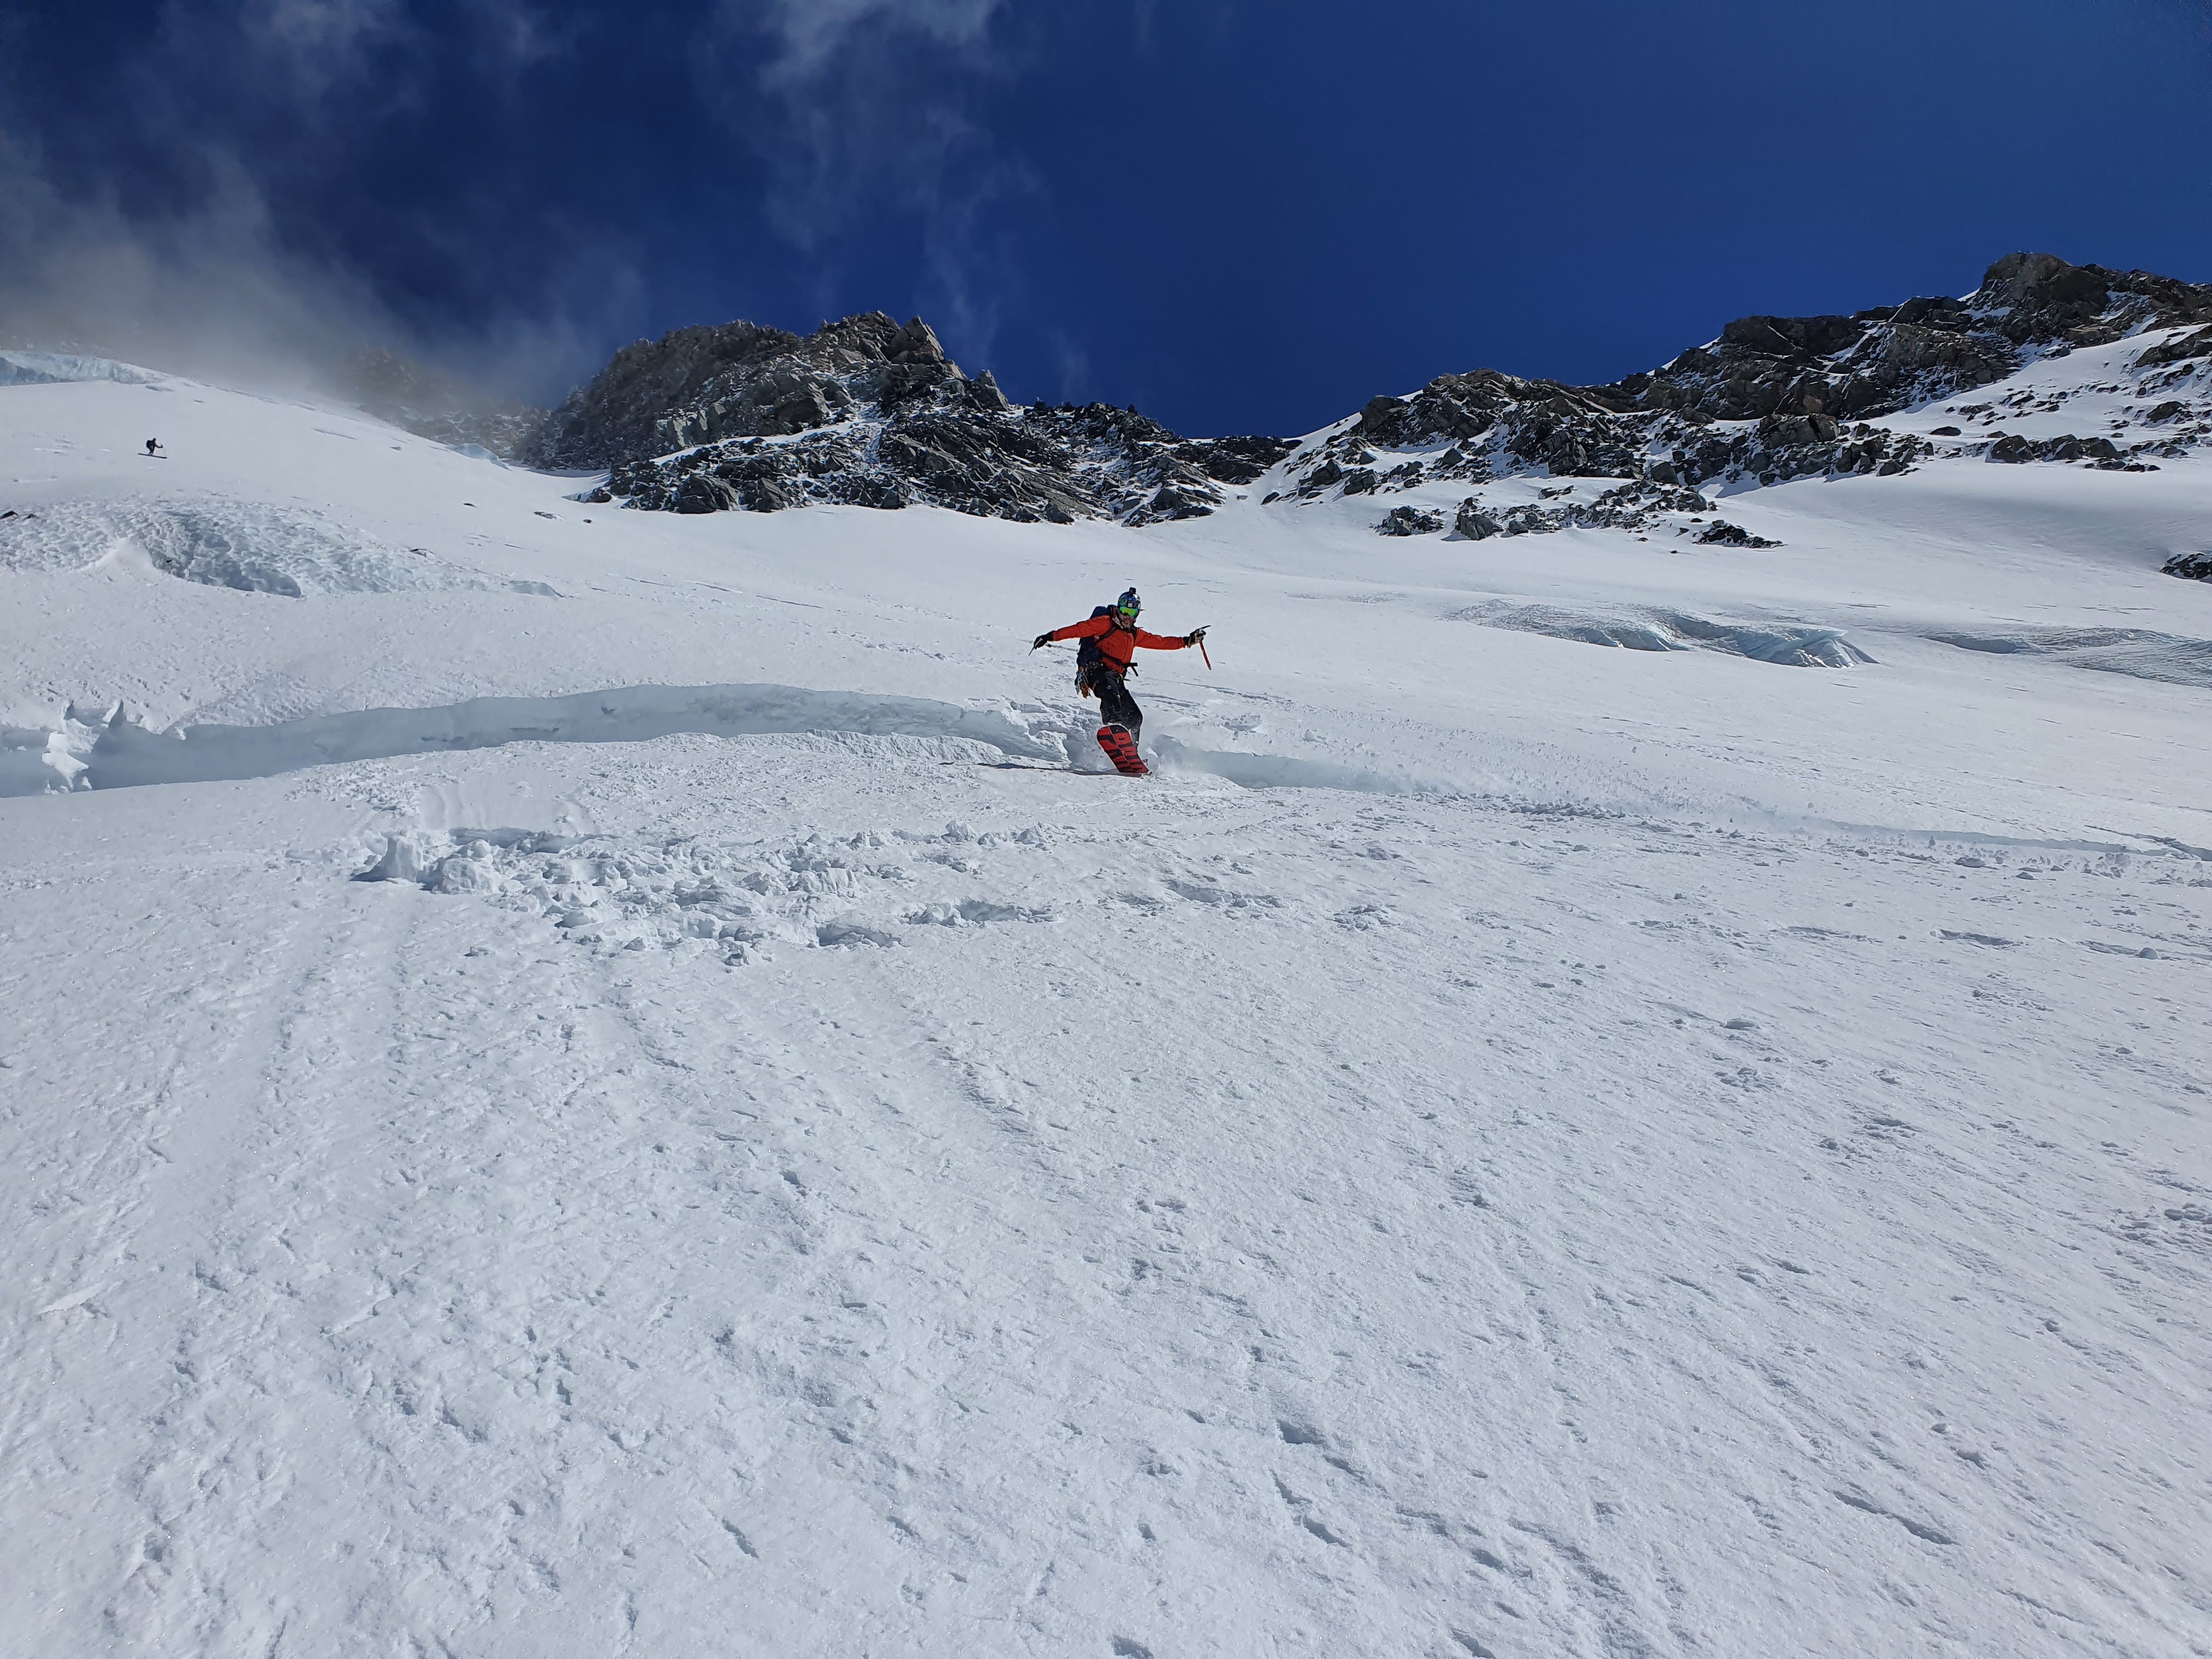
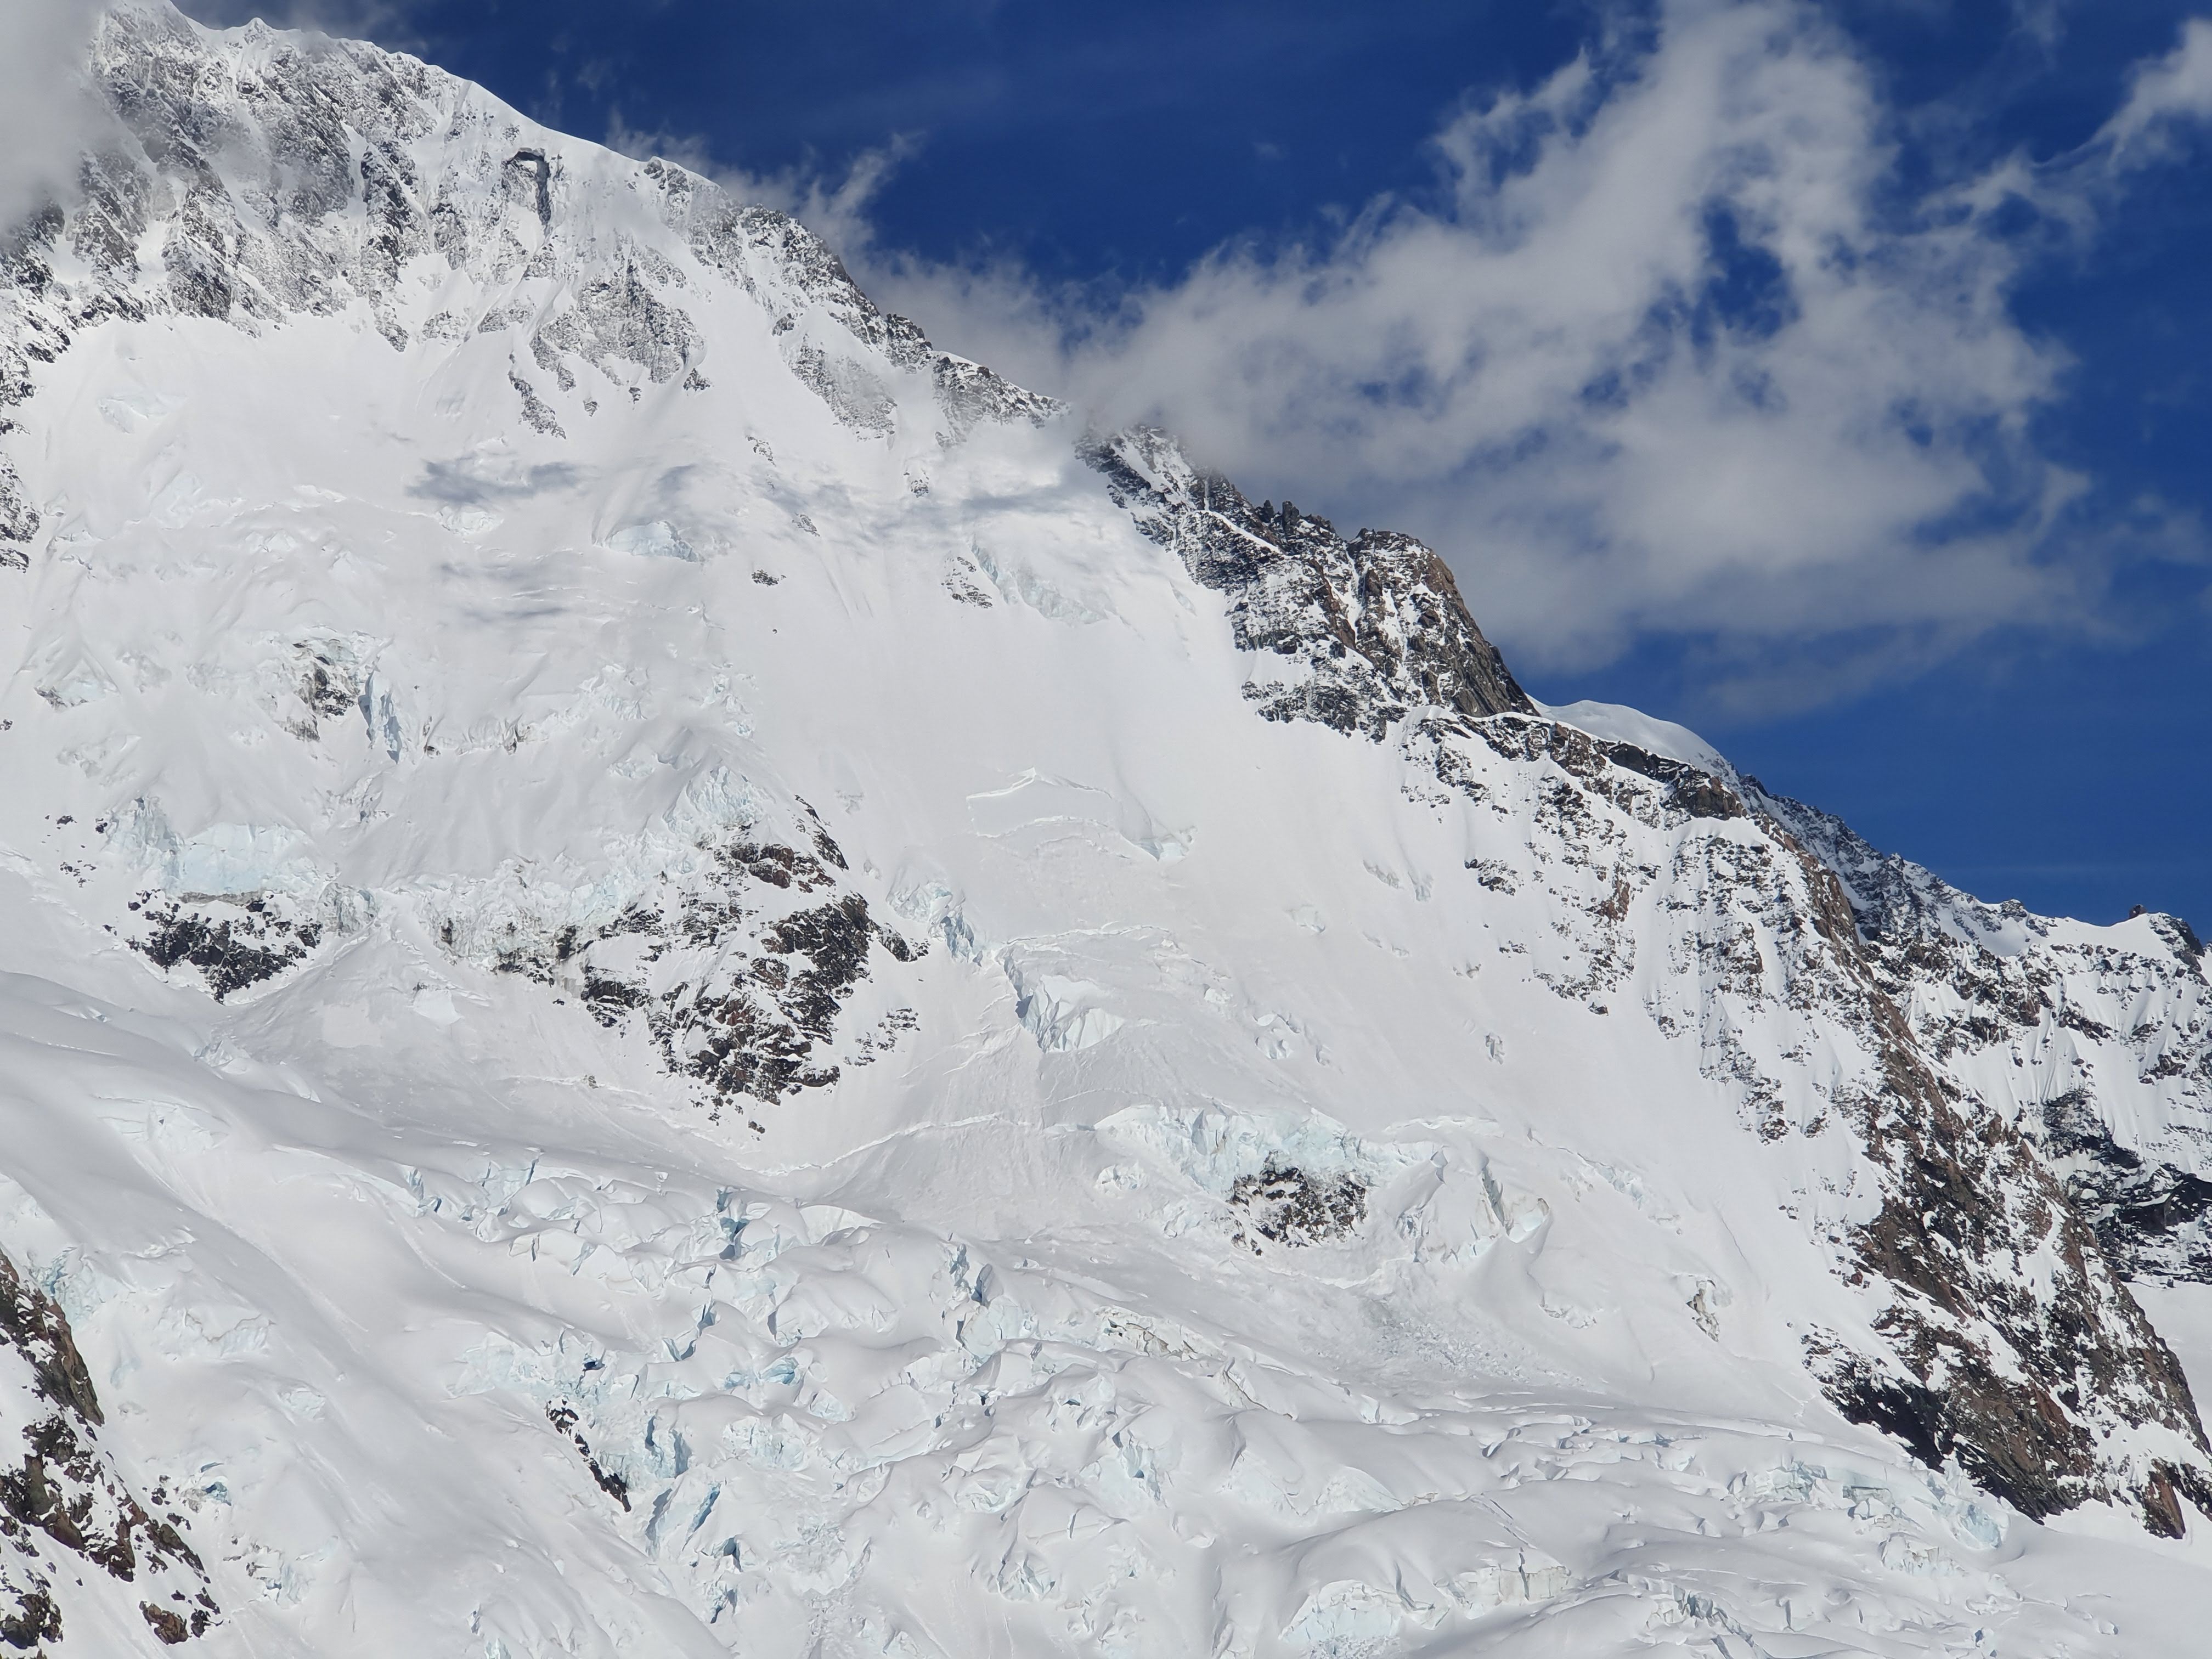
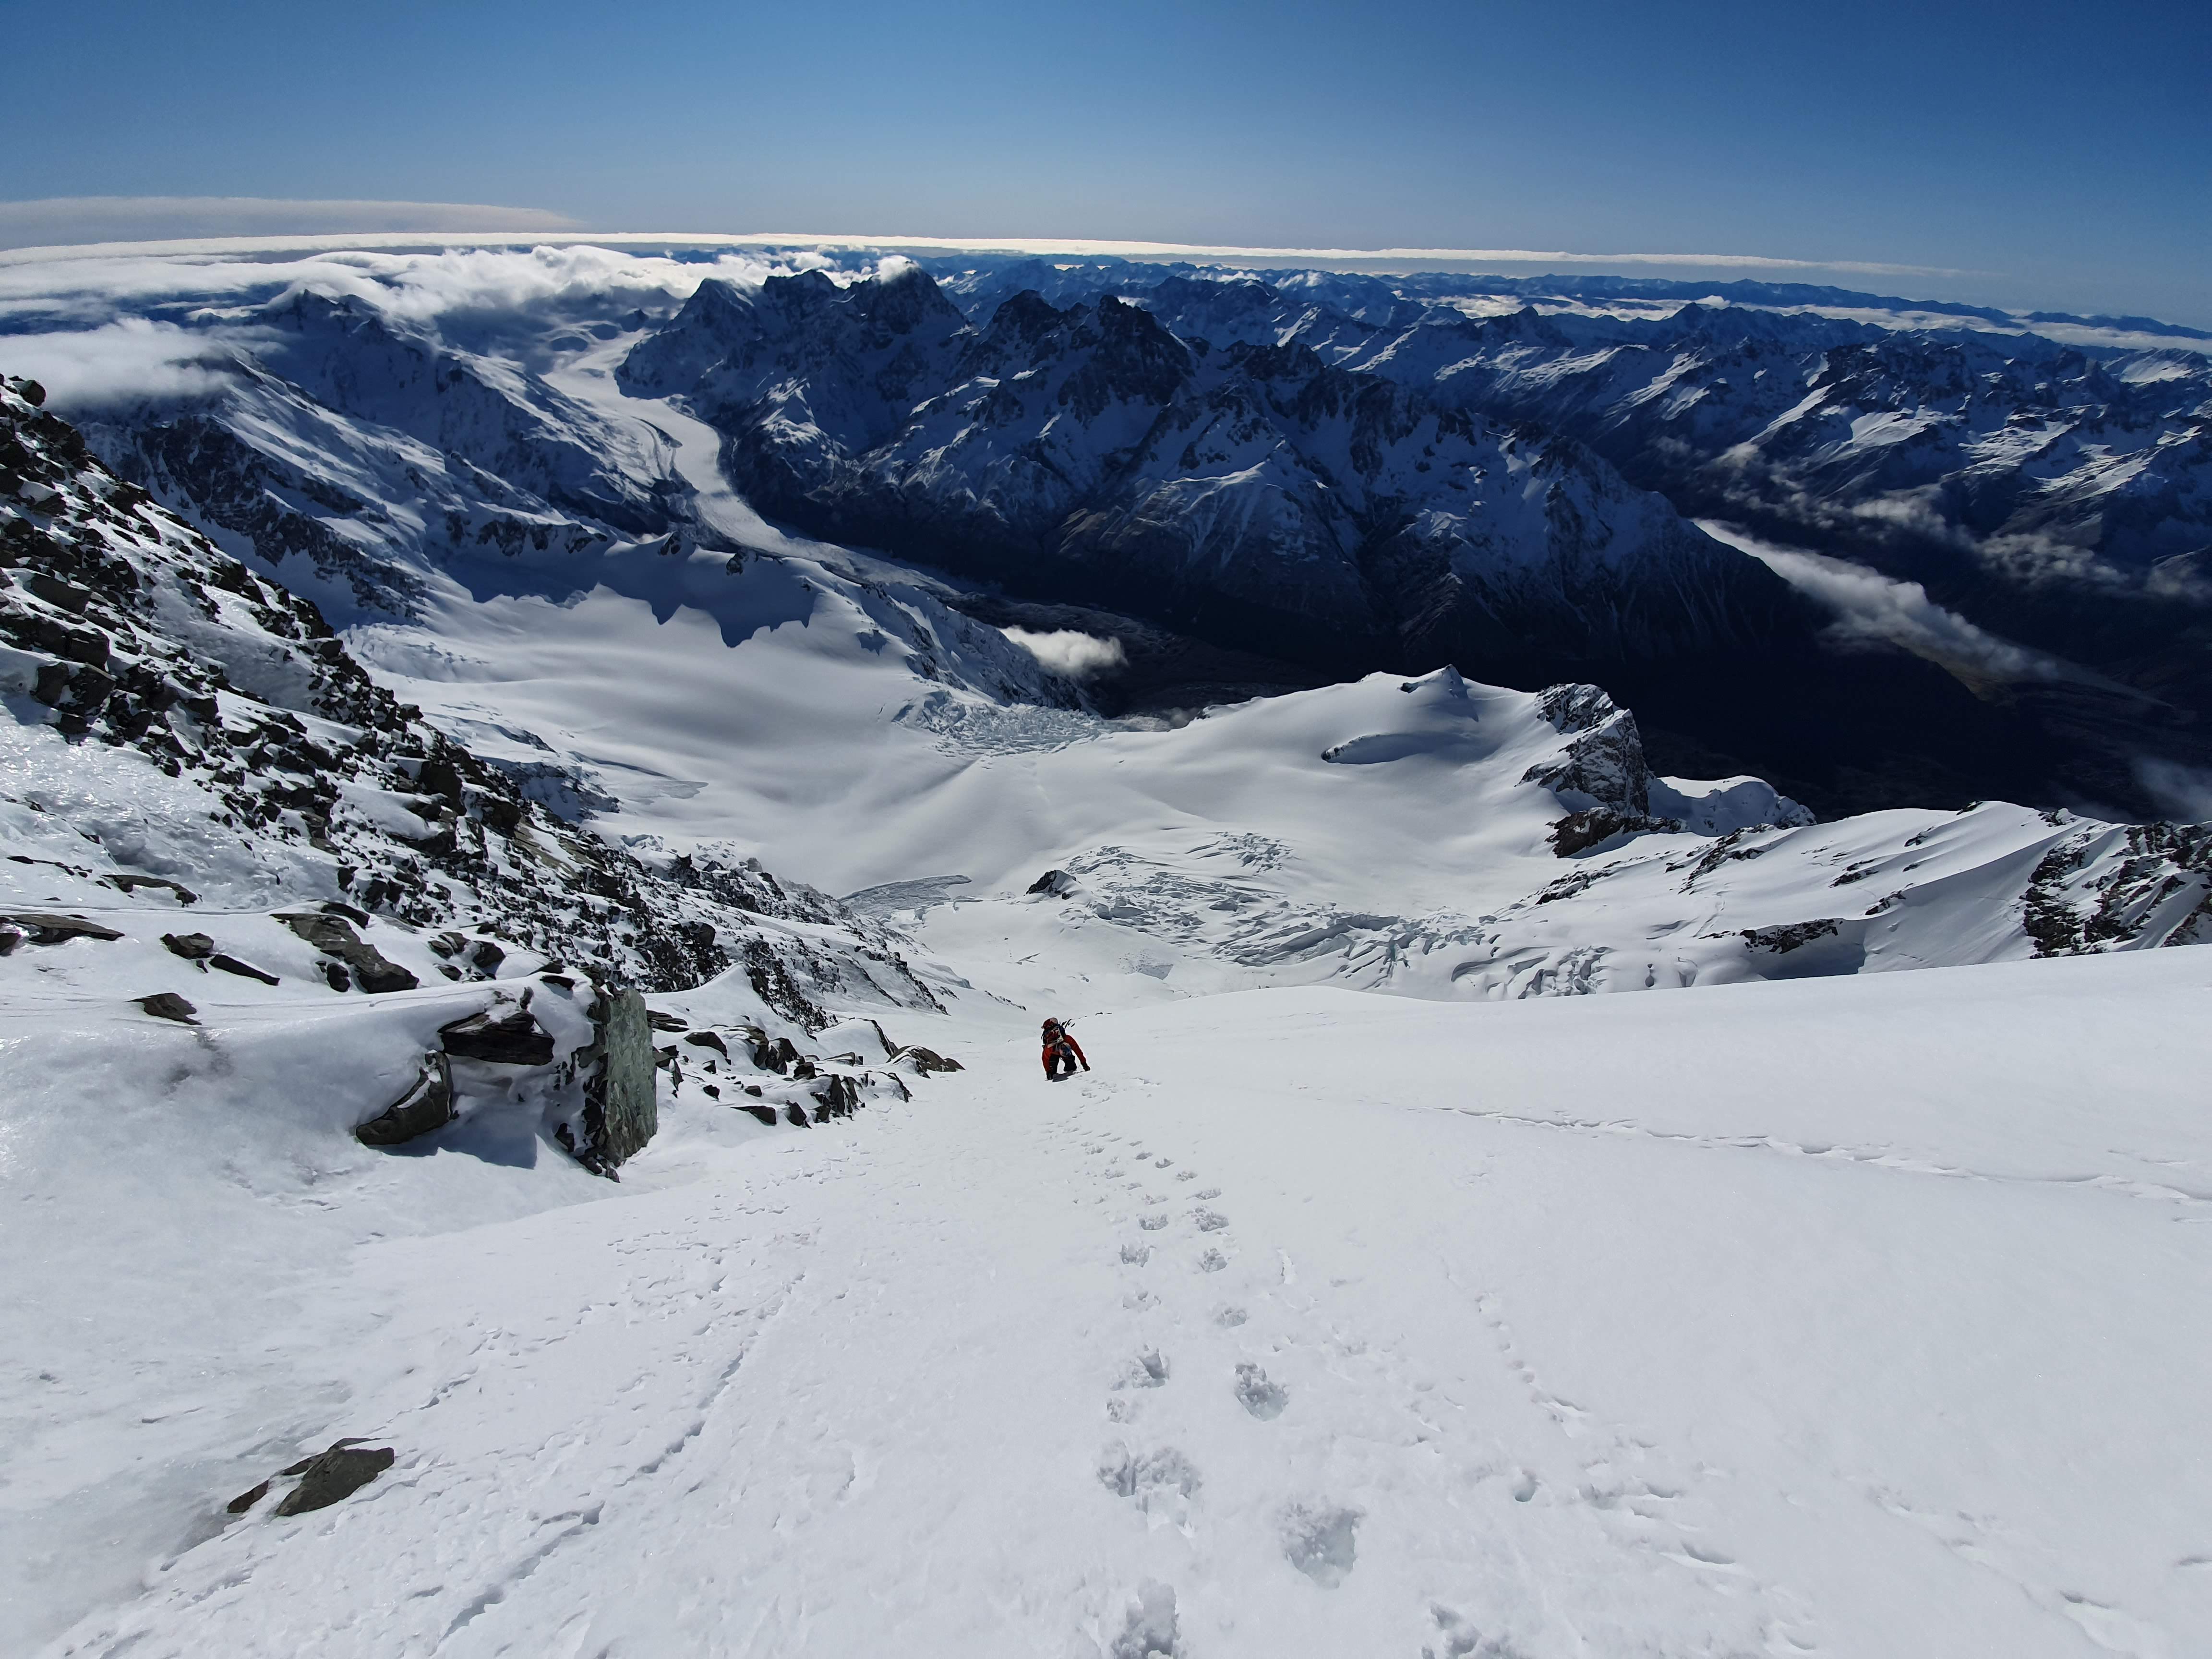
Really incredible skiing. We had perfect shin deep cold powder the whole 800m down the line, and we opened it up cutting big fast turns getting face shots from top to bottom! From our starting point there was an initial super fun spine which was holding great snow. You are over some exposure on this top section. From there, we cut left between two rock bands to get onto the fall line section down that takes you down to the glacier. From here its consistent 40-45 degree skiing, with a selection of small spines and plenty of good safe spots to wait for each other. The angle steepens up a little for the final pitch down to the bottom and the shrund send.

Ski Caroline face Aoraki mount cook baby ski line
Clem with the Tasman in the background

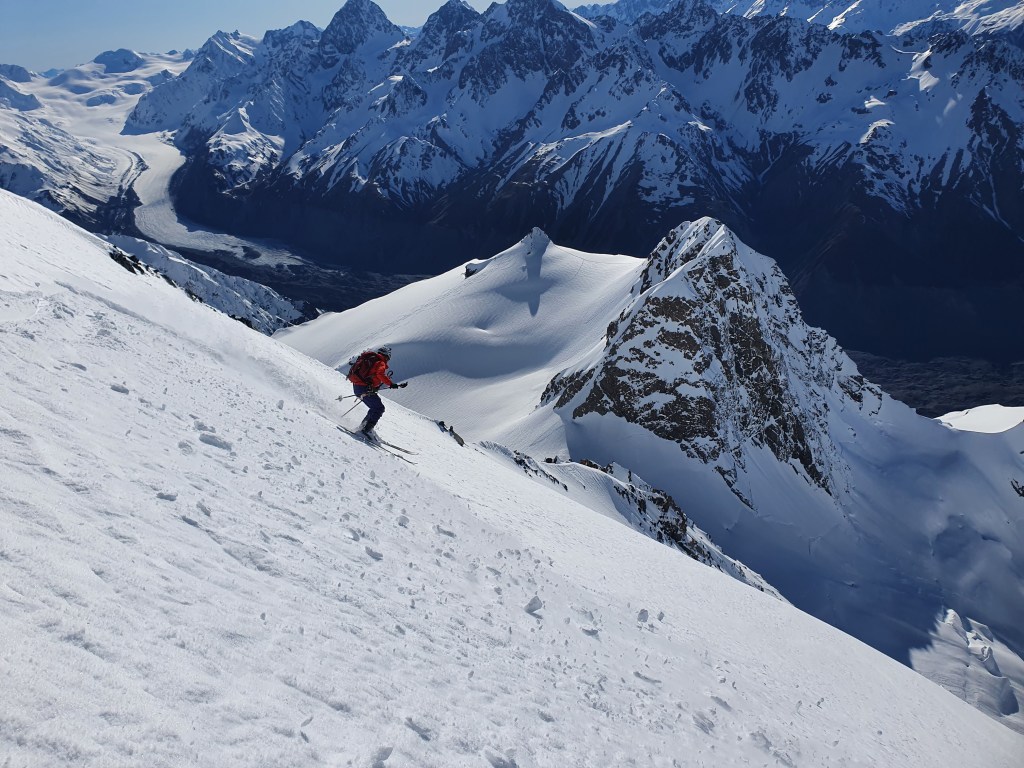
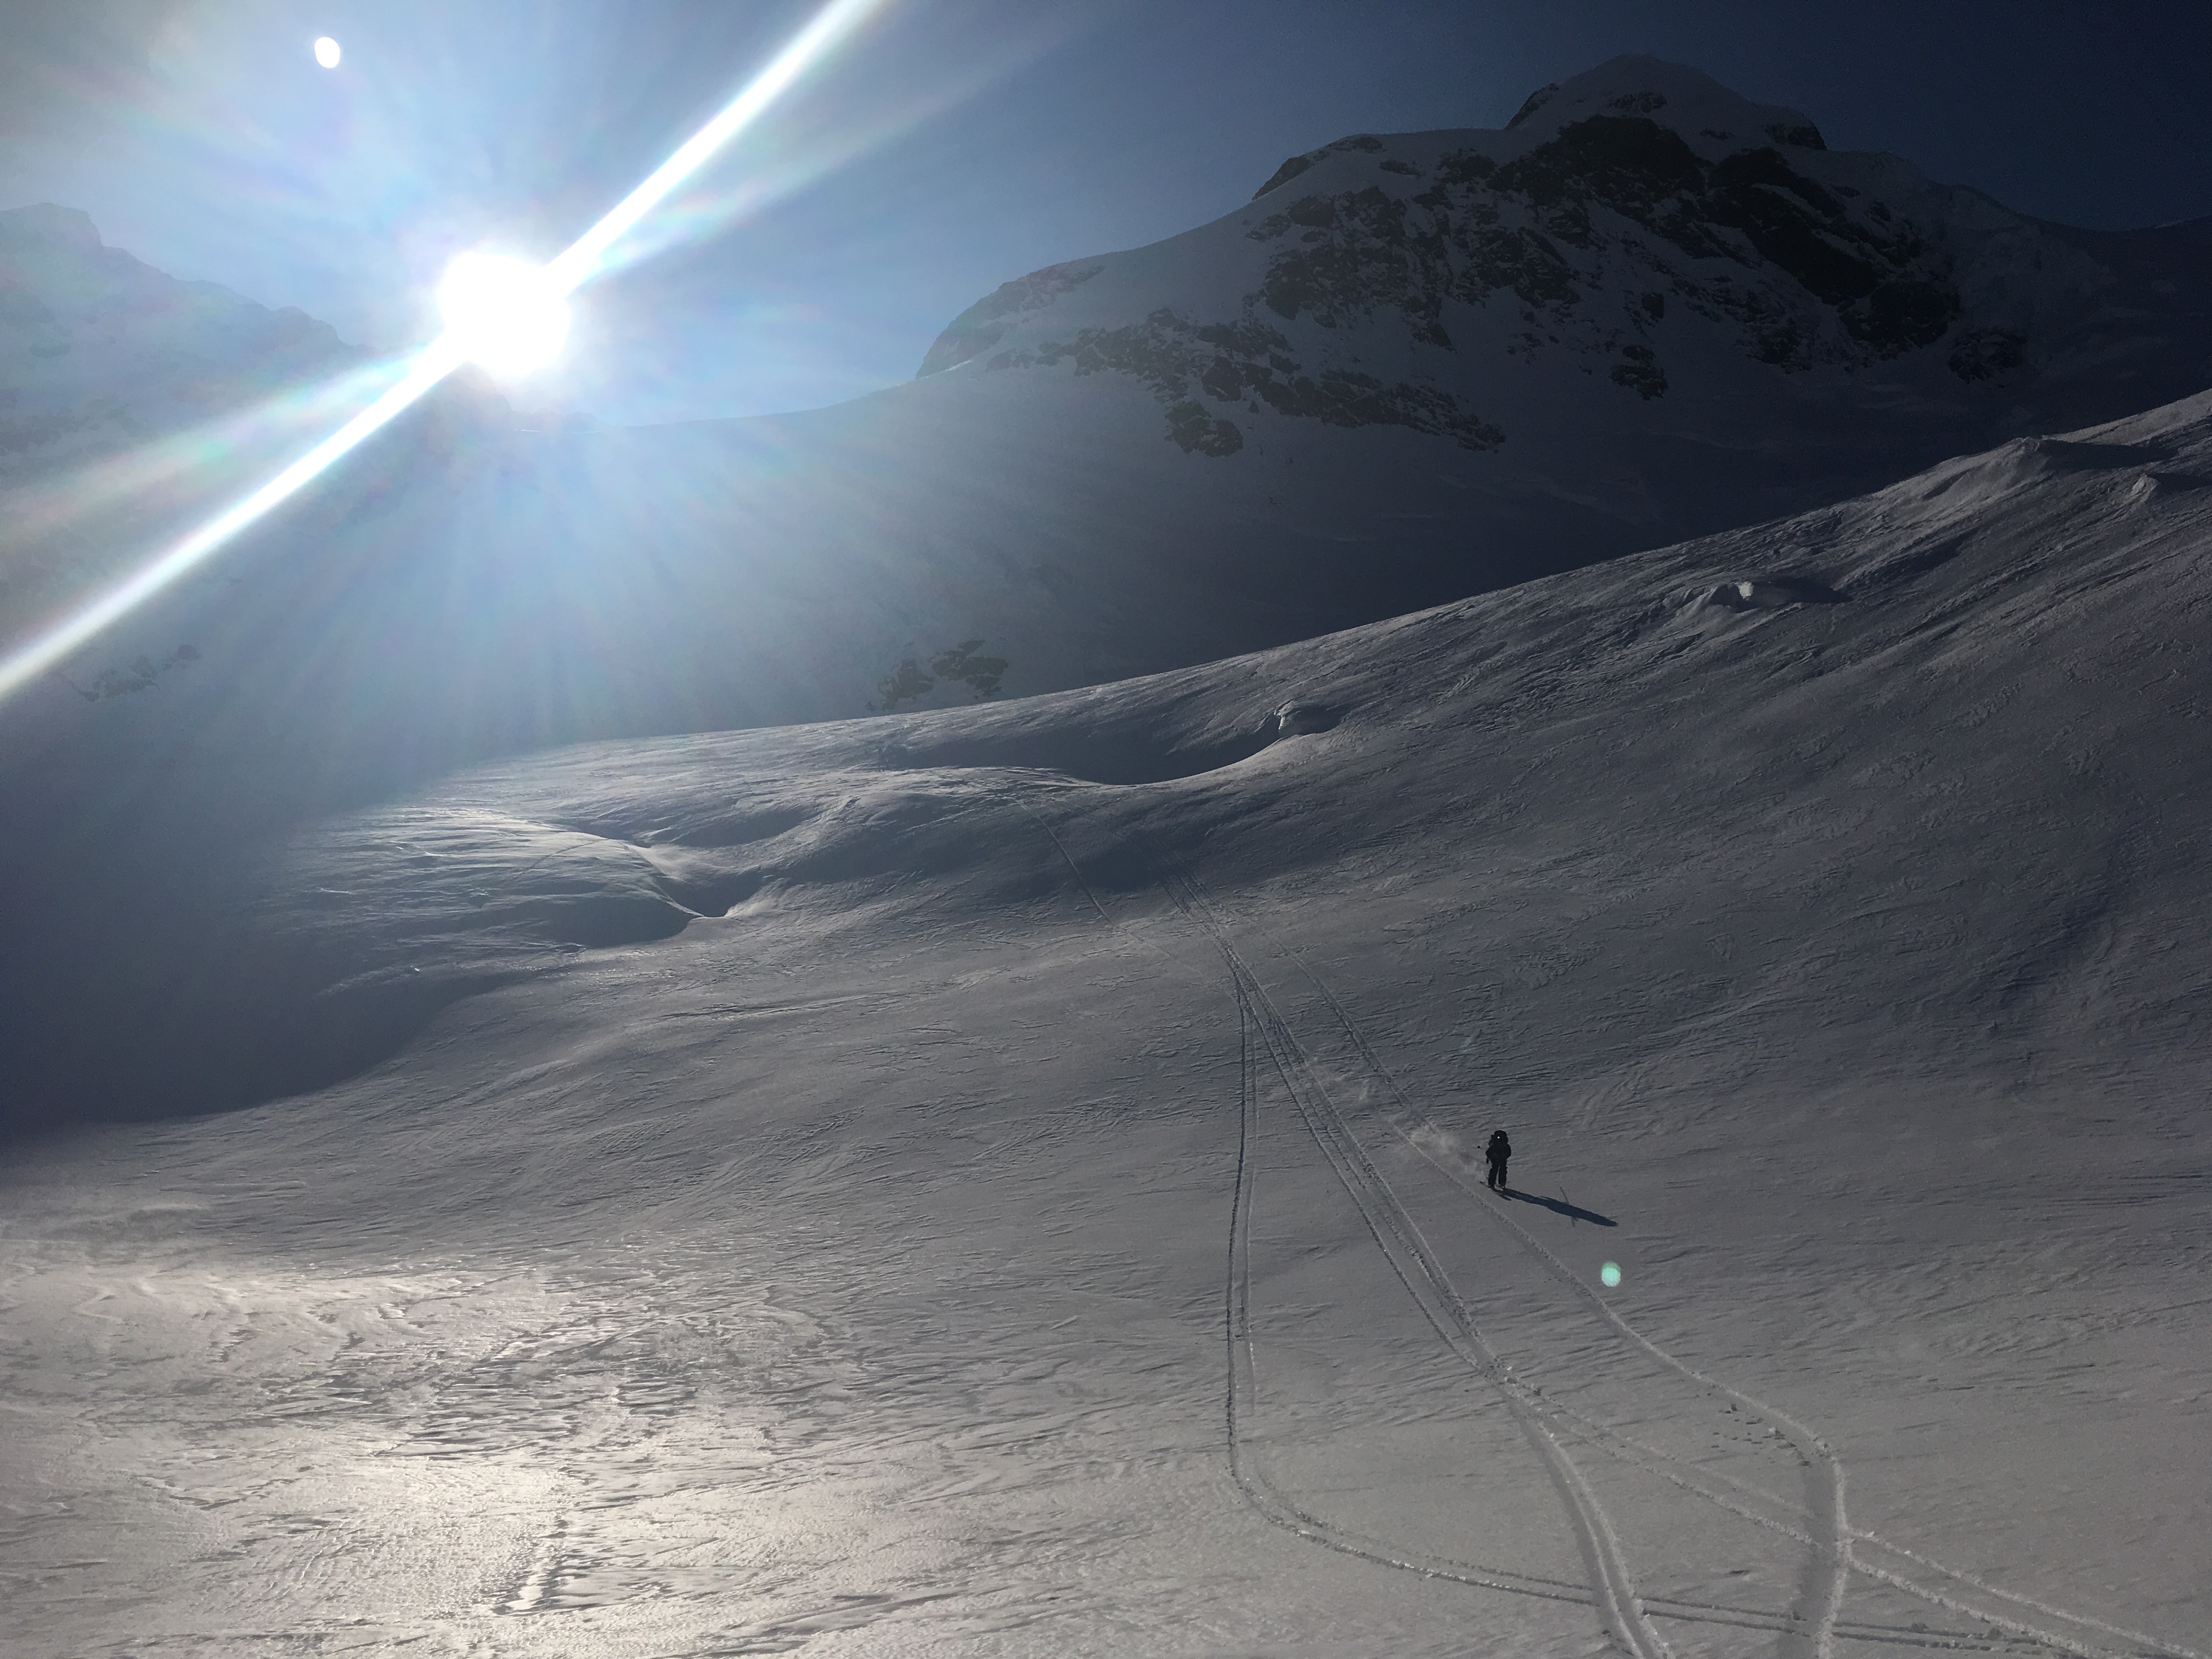
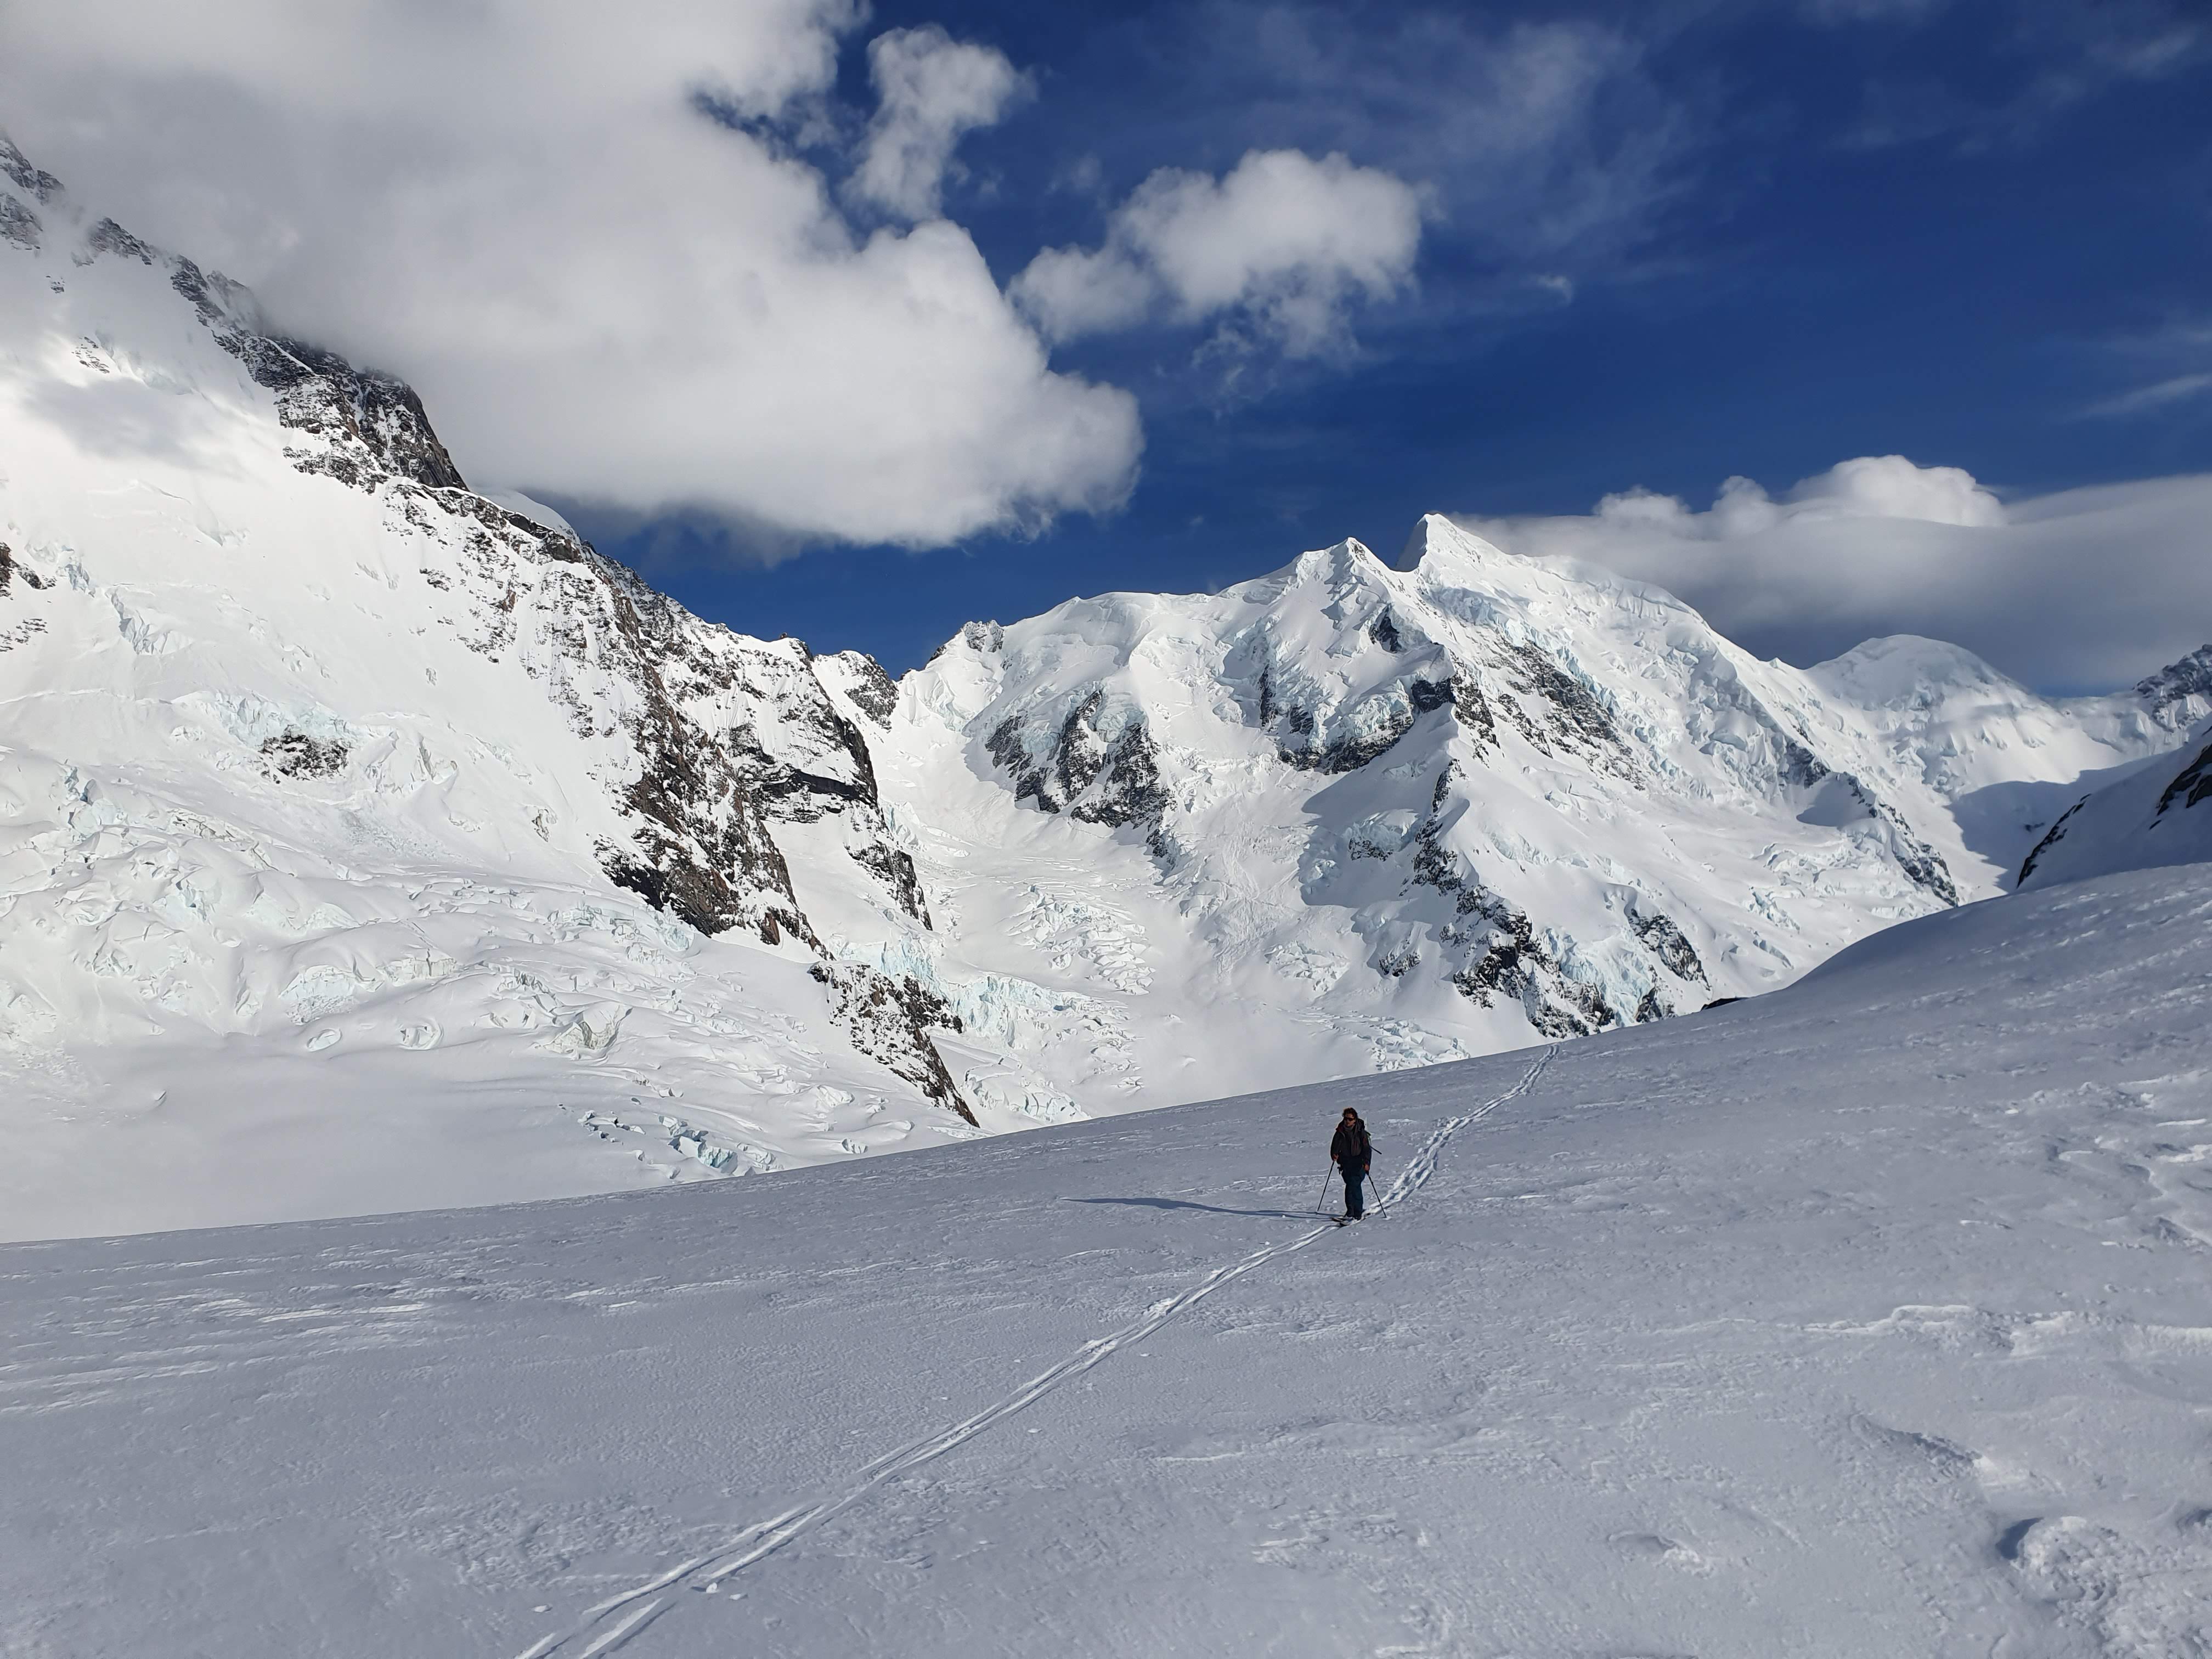
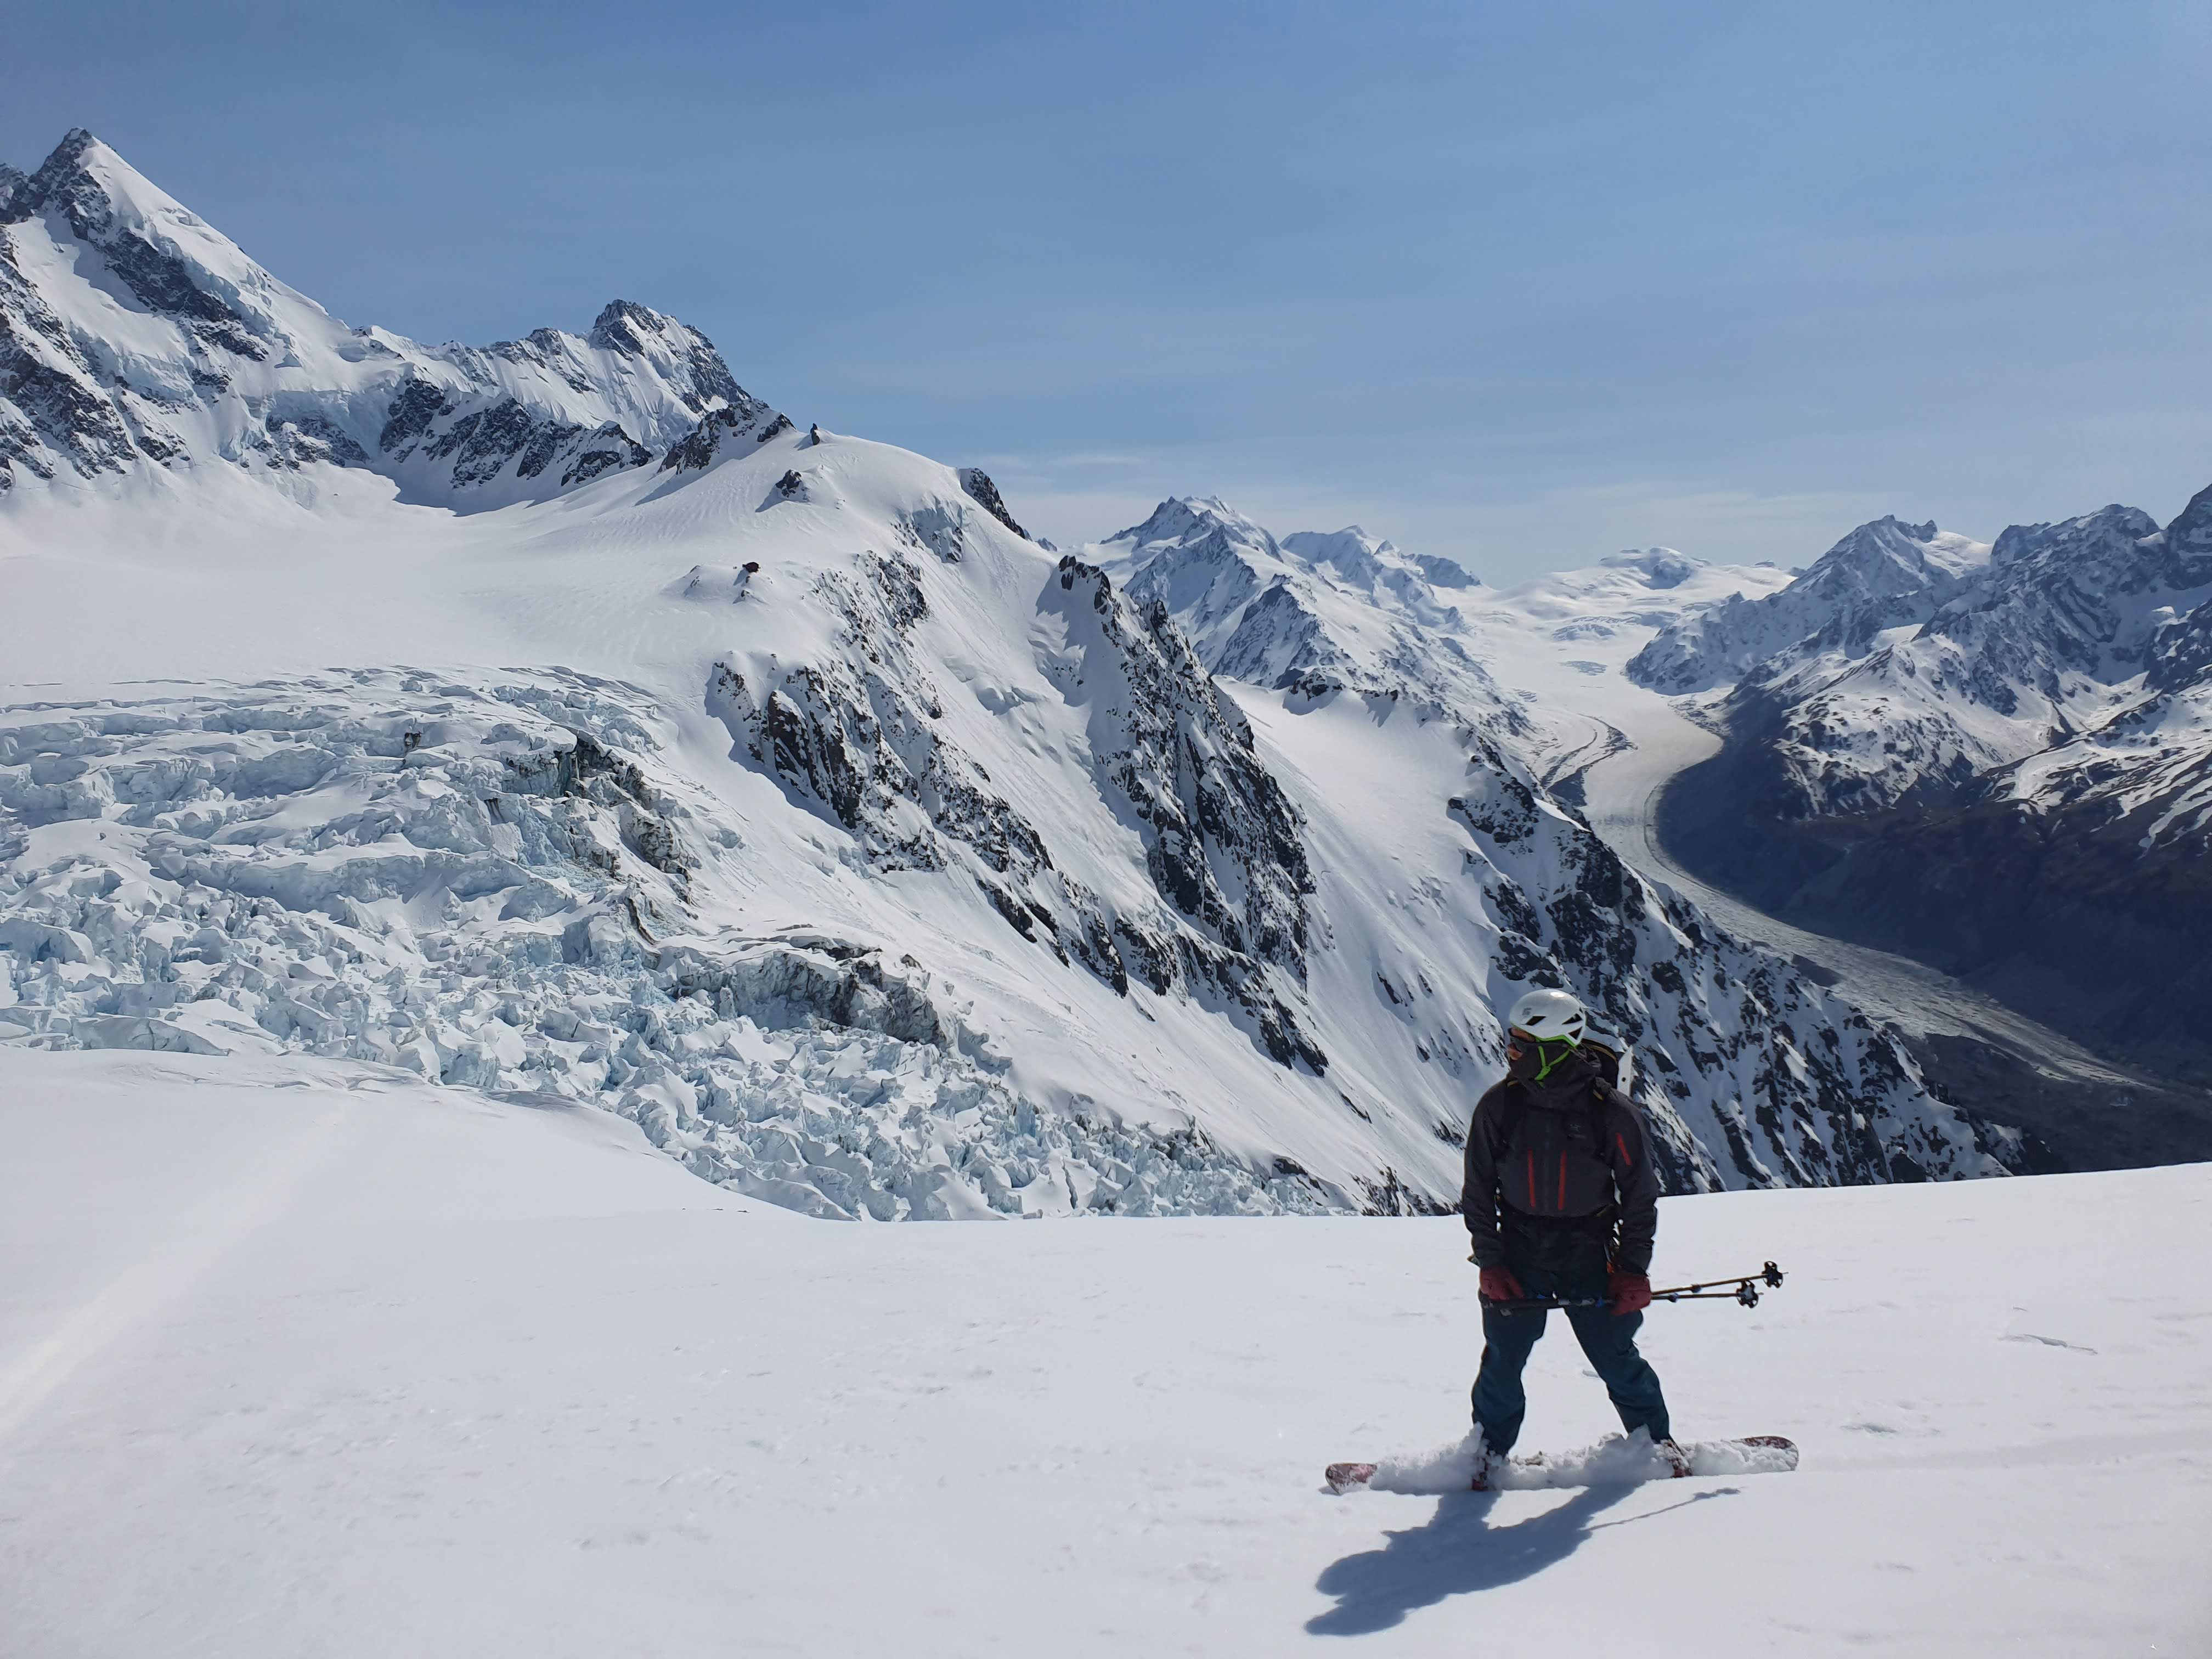
Routefinding is easy and by staying high on the face you avoid all the ice cliffs and objective serac hazard. The spot you get to on the Caroline glacier is above the large crevasses so the skin back up to Cinerama col is cruisy and straightforward

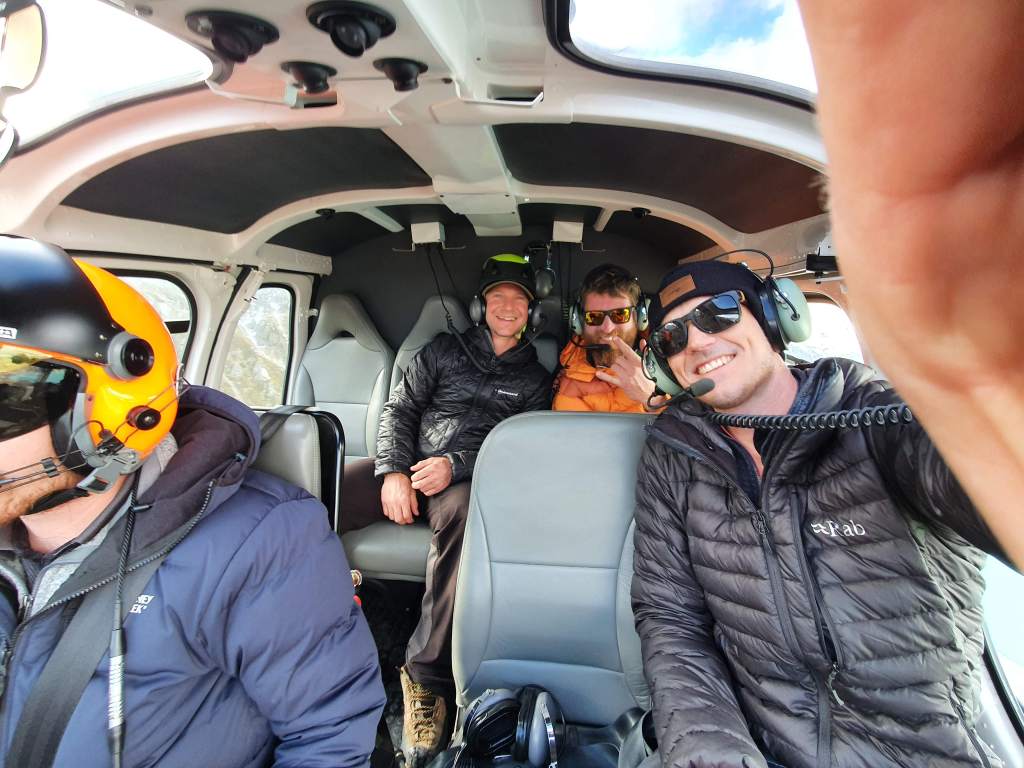
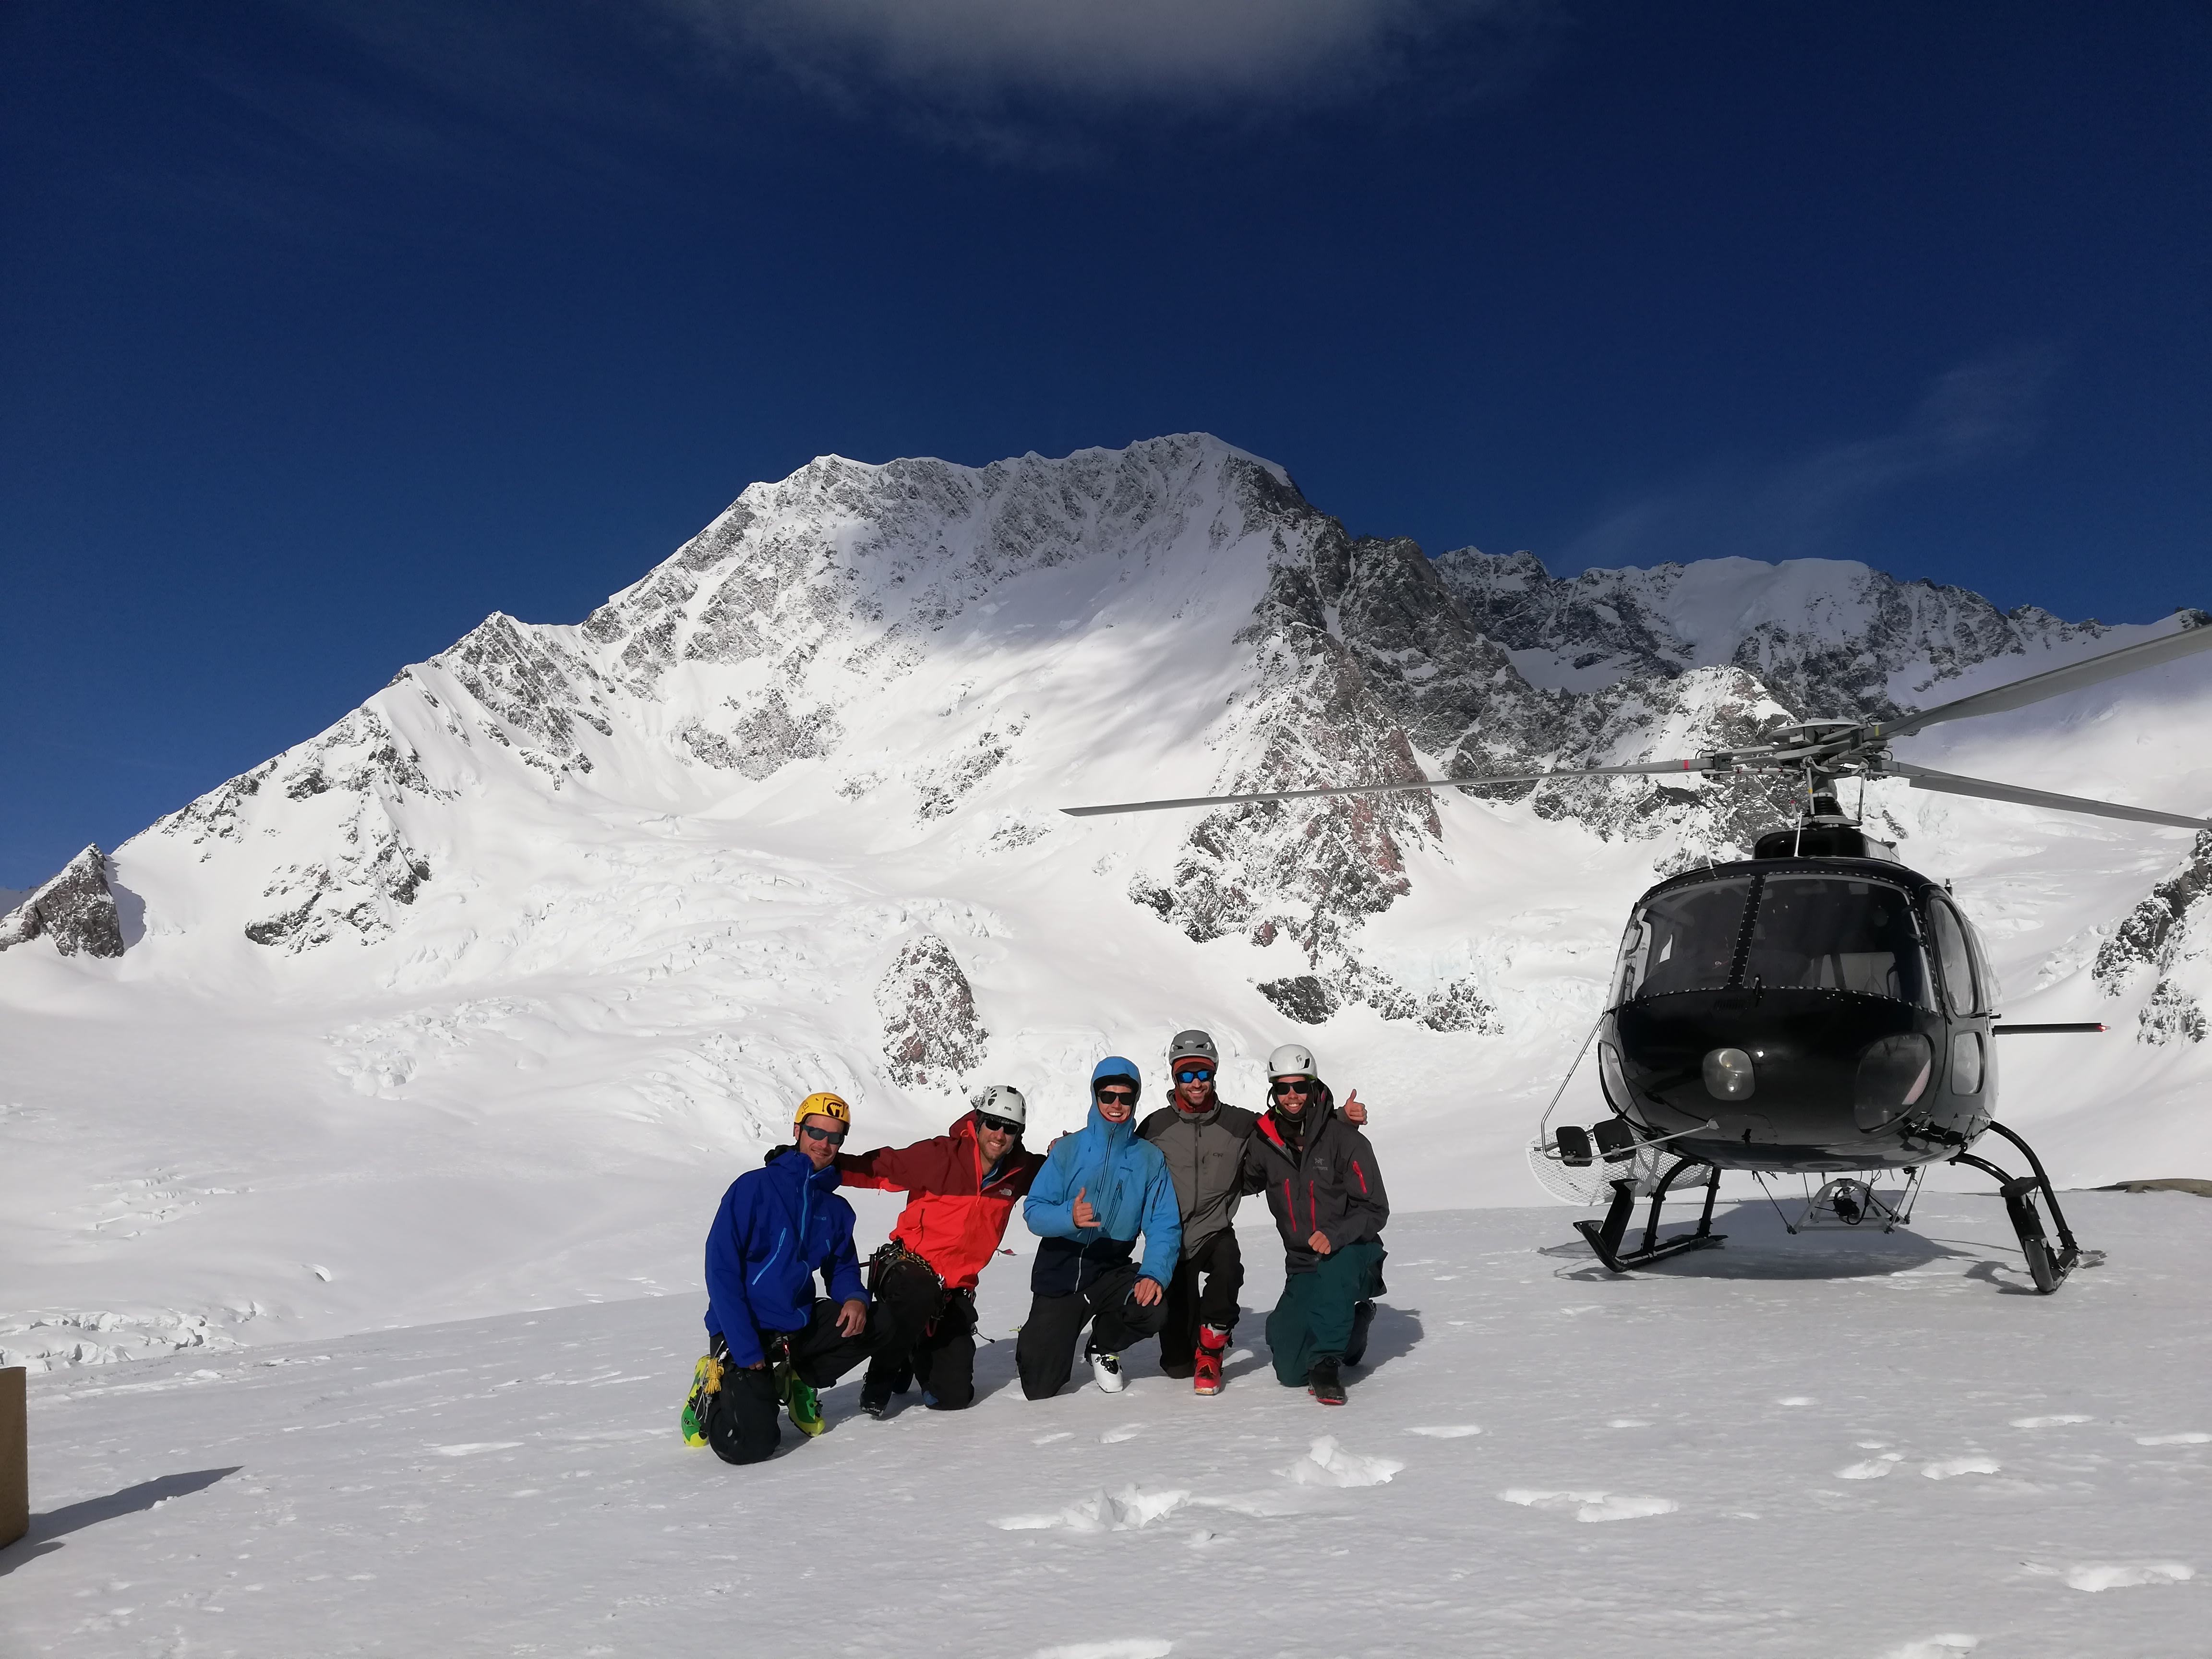
It took us around 45 min to ski the line and another half hour skin back up to Cinerama col, and we were back at the hut by 11:30. Clem and George then nipped up Mt Dixon and speed flew back down to land at Plateau in time for an afternoon heli pickup – pretty heroic stuff.

Tititea / Mt Aspiring, West face

Climb in red, descent in blue

Fuck yeah! Ski mountaineering at its finest. Climb the SW ridge, a 3 star grade 3+ mountaineering route to the summit, rap the ice and then tear it up for 600m down the West face before cruising the mellow slopes down to the Bonar. I skiied this line with Sam McGrath in October 2019, and it’s one of the most fun trips in the mountains I’ve had.

We headed in 3 days after 30cms of fresh snow and cold temps aiming to ski the line in powder. But being West facing it’s also a great line to get some afternoon corn on.

Approach

I’ve talked about the approch to the SW ridge in my post on climbing the SW ridge. If you can get through to the land owners and they give permission then driving to Cascade hut makes a biiiiiggg difference! When you’re on skis I think it’s a total no brainer to stay at French Ridge hut rather than camp up high. You cover the distance so quickly on skis that the advantages of staying at the hut (unlimited water, good nights sleep, dry gear, way lighter packs) far outweigh getting a slight lie in. We left the hut at 0600 and were on the Bonar by 0800 and climbing the ridge by 0900.

Skinning up French Ridge towards Quaterdeck at sunrise
Climb

The snow from the hut to the Quarterdeck was in full melt freeze mode, and pretty bulletproof. It’s never particuarly steep but often quite narrow with some big exposure off to the east. Ski crampons are a must! Unfortunately one of mine snapped in half about 20 minutes in so I was walking behind Sam in crampons and axe with my skis on my back.

Mt Aspiring west face ski snowboard climb
Climbing the ridge leading to the crux

The schrund before the Quarterdeck can be an issue and becomes impassable late season

generally the further climbers right the easier it is to cross. We were lucky and everything was fat, with no signs of anything opening up.

After skinning across the Bonnar, aim for the base of the SW ridge and find the best / easiest spot to gain the ridge. Generally the easiest way is to cut round to the West of the ridge and head up the snowfield running paralell to the ridge towards the West face, then cut up the snowfields from there to gain the ridge part way along. This means you miss out the rocky first section of the ridge and speed things up significantly. You’re also on a long low angle west facing slope to make stability assessments before reaching the main face, and the smaller slopes leading up to the SW ridge make for lower consequence test slopes. Once on the main ridge, the gradient is a consistent 40-45 degrees all the way up to the crux. We had chalky pressed powder on the face, but with sastrugi and windswept ice on the ridge itself. By soloing this section up to the crux we could move quickly and were at the crux just after 11:30.

Mt Aspiring west face crux
The crux

We decided to leave skis / board at the bottom of the crux as we didn’t think the snow looked particuarly great on the summit, and not worth lugging up through the crux pitches. So after stashing the gear we headed up the crux with nice light packs.

We had brought one 70m half rope to save on weight, and doubled this over for pitching the crux with me leading tied into the two ends and Sam tied into a figure 8 at the halfway point. This let us climb the crux in 2x 30m pitches. The ice was in great condition, fat and taking confidence inspiring screws. There were a couple of less than body height vertical sections / bulges with generally 70-80 degree ice. It’s pretty similar to Altered States at the Remarkables. As we were planning on rapping back down to our gear, we scoped out spots for threads / anchors on the way up.

Aspiring west face climb crux
1st pitch of the crux

After pitching this steep section the angle eases right off and you cruise up to the summit. We got to the top at 13:30. We were glad of our decision to leave the skis/board – would have been less than 50m of skiiable snow from the summit before hitting ice above the crux.

Descent
Aspiring west face ski snowboard descent
Sam on the top part of the face

After a brief break to take in the views and refuel, we down climbed back down to the start of the ice and then made 2x 35m raps down to the skis on V-threads. Be prepared to leave a snow stake behind as often the ice at the very top is not good enough for threads. There are also some options on in the rock on skiiers right for knife blade pitons or small rock gear. We were back at the skis and ready to drop in at 14:30. The ski line is pretty straightforward – essentially fall line from the crux. However there are some big cliff bands to negotiate, so you generally have to trend right initially, before cutting left and then right again towards the bottom to get through these.

Aspiring west face snowboarding
Descending the second half of the face

Also, you’re going to be skiing a different line to the climbing line so it’s worth taking the time to scope the line from the bottom to try and identify any areas of poor snow or ice that may trip you up on the way down. It’s steep enough that you probably won’t stop if you fall and its a long way down to the Bonar – there have been several nasty accidents in the past caused by a fall on this face.

Our first few turns were on firm chalky pressed powder, which then turned into boottop powder for the majority of the face down to the Bonar. Cue whooping and high fiving! We were back on the Bonar just 8 minutes after leaving the crux.

A cruisy skin back across the Bonar to the Quaterdeck and then down to French Ridge for goon and dehys! We were back by around 17:30

Mt Green, East Face

Ski line Mt Green East face
Some climbers took this shot from the Tasman, the 4 of us are actually on the summit if you zoom waaaaaay in

A cool line with a few possible variations. A worthwhile climb in its own right with a spectacular summit. From the summit there’s 400m or so of 40-45 degree skiing down to the plateau below divers col, followed by very cool and exposed skiing along the ridge heading south towards point 2258 before dropping back down to the Tasman glacier. I flew in for a week back in September 2018 with Pete Deytrick, Loz Luscombe, Fraser Cambell and Ari Hanna during a period of excellent weather and stability and tick off a few classic lines and drink a whole lot of goon.

Approach
Ski plane tasman Kelman hut
Unloading under Kelman hut. Short skin from here to the hut

We based ourselves at Kelman hut – some people whinge about Kelman (aka the fridge on the ridge) but I think it’s got some advantages over Tasman Saddle. Firstly it has plumbed in gas and cookers so you don’t need to bring as much gear and melting as much snow as you need is no issue. Secondly it has seperate rooms from the sleeping area – in Tasman saddle your bed is right next to the cooking bench and so any climbers getting alpine starts will be firing up their jetboil half a metre from your head at 2am.

But it is colder up at Kelman and getting progressively leakier….

Climbing and ski line on Mt Green
The we took up in red, descent line in blue. Other option is to climb the ski line but your exposed to some seracs you can see on the right

It’s a no brainer to fly in – for Tas saddle you get dropped right by the hut so can be lax with your packing / bring cardboard boxes, but for Kelman you need to skin up a steep slope for 30 min so need to pack properly.

Climb

From Kelman or Tas Saddle blast down the Tasman towards point 2258. Your two options are:

Mt Green climb
Final section up to the flat plateau under Mt Green

1) Cut south around the bottom of point 2258 and into the bowl under climbers col / Mt Green South face. From here skin up the glacier to the West of the ridge, delivering you onto the Divers Col plateau. This gets steep towards the top and you might have to bootpack the top section. This way is slightly longer and gets cut off later in the season.

2) Stay high on the Tasman and go above point 2258, skinning across up onto the ridge joining 2258 to the plateau. You then climb up ridge to the plateau, which is a low angle exposed snow arete. You may have to climb down onto the East face to bypass some of the rock bands.

This way is faster but more exposed to serac fall.

We chose option 1 as we could see the route went from the plane, and the ice cliffs over option 2 were particualy active. Either way the area at the base of 2258 has some massive crevasses so take care.

Mt Green ridge climb ski
The ridge under Mt Green

From the plateau, just boost straight up the snowfields to the summit ridge. There is a large schrund at the bottom, and the spot you cross will be determined by this. The further East you go, the less serious the exposure is and the less steep the route is, funnelling down onto the plateau. To the west it steepens up and also funnels down onto the south face and major cliffs so a fall would likely be fatal.

We had to cross the schrund on the far West of the face as it opened up significantly to the East. But the West side was bare ice so we traversed across the rock band to hit the good snow on the East side. We hit the summit ridge about 50m East of the summit, then cruised up the low angle slopes to the top.

The views from the summit are pretty incredible, with a panorama of the whole of the Tasman but also into the West side of Ellie and down to the West coast

Mt Green climb and ski line
The only spot we could cross the shrund on the way up was the red line on the left, but was icy and shitty snow so we traversed over to ski the blue line
Ski
Mt Green ski descent
Fraser on the lower section getting down to the Tasman

Cruise down the summit ridge to your chosen drop in point. Scope out where the best snow is on the climb to decide where your going to ski. As above, the line is more serious and consequential on the West side of the face. Send the shrund and cruise down to the plateau. From here its a fun ski down the apex of the ridge – its easy ground but tres exposed.

Mt green snowboard descent
Pete dropping into the ridge above 2258 after descending the East face

Again the best way down will depend on the conditions at the time, but we cruised down about half way down the ridge and then dropped down the face to the East just by the ice fall to take us down onto the Tasman. Then enjoy the skin back to the hut and some well earned goon!

We left the hut at 08:00 and had finished the skiing by 16:30. It was another hour and a half to skin back up to Kelman.

Aoraki/Mt Cook, East Face

What a line! A huge alpine face, with 1200m of continuous 45 degree skiing that regularly holds good snow just half an hour from Plateau Hut. It’s really a testament to how New Zealand ski mountaineering has developed over the last decade that this line, which only saw its first descent in 2011 and at the time was viewed as the domain of only the top skiers in the world, now sees multiple descents per year and is a classic right of passage. The first time I skied it there were 14 people in total on the face! It felt more like being in Chamonix than in the Southern Alps. But don’t underestimate this line – it is serious alpine terrain and deserves to be taken seriously.

Pretty straightforward route finding. Note the ice cliff on the right at the bottom – this is very active and you want to stay out from under this as much as possible

I’ve skied this line twice, first on 3rd November 2019 with Sam McGrath and Zack Wentz, and again on 11th October 2020 with Pete Deytrick and Graham Dawson. It seems like a waste of a weather window in some ways to ski the exact same line twice, but it’s such a fun line when it’s in condition I would happily ski it a third time (plus me and Pete had been talking about skiing this line together for years… He couldn’t make the 2019 trip so I owed it to him to go up again!). This is definitely the time of year to go for your best chance of good stability and good coverage. Both times I skied the face in powder, which is super fun but means you’ve got to be especially careful with stability.

Approach
Taking the easy way in to Plateau

I’ve always gone for the fly in option – a flight from Cook airport takes about 15 min and there are almost always other climbers or skiers around willing to split the flight to keep the costs down (and a ski plane is cheaper again). If you can get a back flight so customers both coming in and out its even cheaper, you can get it as low as 100ish bucks per person. The hike in is getting progressively more difficult due to the moraine washing out and collapsing along the ball shelter track.

Once you’re past the ball hut, you have to descend to the confluence of the Tasman and ball glaciers and then climb up to boys glacier to Cinerama col. Rock fall and wet slides are common on the boys so don’t be there too late in the day.

Plateau hut is incredible – 33 bunks in 4 different room, with plumbed in gas and cookers in the kitchen plus all the pots / pans / cutlery you could need. The heli drops you about 20m from the hut so bringing food in a big cardboard box or bin bags is a good option. If you take the ski plane it lands about an 45 min skin from the hut so you have to pack properly.

Zack catching some wild sunrise rays half way up the East face
Climb

The East face gets hot fast as soon as the sun hits so you need to be out early. We got up at midnight and out of the hut at 0100. It’s worth skiing over to the base of the route the day before to figure out the best way through the shrund at the bottom because it can be a bit confusing in the dark.

From the hut it’s a quick ski to the flat part at the base of Zurbriggens Ridge. There is a big active ice cliff at the base of the ridge – don’t linger under here and get up to the base of the East face out of the firing line ASAP.

Graham and Peet heading up the East face

We roped up to cross the bottom schrund, quick stability check and then the rope went away and we soloed the majority of the face. It’s a bit of a slog, plugging steps for 1000m, but you’re rewarded with the most epic sunrise you’ll ever see as the first light hits the face. You need to trend left while you’re climbing – a bit more than you might expect. Once you get to the final couloir to the summit ridge, the snow quality generally deteriorates.

While this section was skiable on my first trip, on my second time it was bare ice so we made 1x rappel

When I was there in 2019 it was firm breakable crust overlying ice, just about skiable – we soloed up and we able to ski back down to make a full descent of the E face. But in 2020 it was bare glacier ice, we put the rope on for the final climb (55 deg) and rapped back down to where the snow quality got better. From the top of the E ridge it took us 45 min to the summit. It’s low angle and relatively mellow compared to what you’ve just been climbing, but was wind scoured sastrugi the whole way and we left our skis and the top of the E ridge to get the summit and walked back down.

Descent
Looking down the top section of the face with the plateau 1000m below

From the ridge the top couloir is fairly full on, 50-55 degrees on a narrow spine which is very exposed and often has wind affected snow / ice. Luckily you’re coming up this way and can make a full assessment of whether or not you’re going to ski this part or not. We made cautious jump turns down this top section. About 50m or so down from the summit the line tucks round to skiers left under an ice bulge and the snow generally improves here and you can start opening it up and tearing up the face!. The first few turns here are steep at around 50 degrees, but after another 100m or so it mellows out to 45 degrees and then stays like this all the way down to the plateau.

Sam got this sweet shot of me getting deep
Peet getting into the white room

The snow was unbelievably good for us on both trips, and we made big fast slashes and slarves getting face shots the whole 1200m down to the plateau. You trend left the whole way down the descent which is useful for dodging your stuff. Drop the schrund at the bottom and cruise back to plateau hut for the celebration beer!

If you’re skiing the face in powder be especially careful of the sun warming up the face – on the 2019 trip we had 24 hours of cold still weather after the storm for settlement and then another cold 24 hours to ski the line. The next day the temps went up to a FAFL of 3000m and we sat at the hut watching big avalanches ripping out on the face all day exactly where our tracks had been.

Edit from my trip with Sam and Zach (and 11 other people on the face that day!)
Edit from my trip with Peet and Graham