Mt Dixon East Face

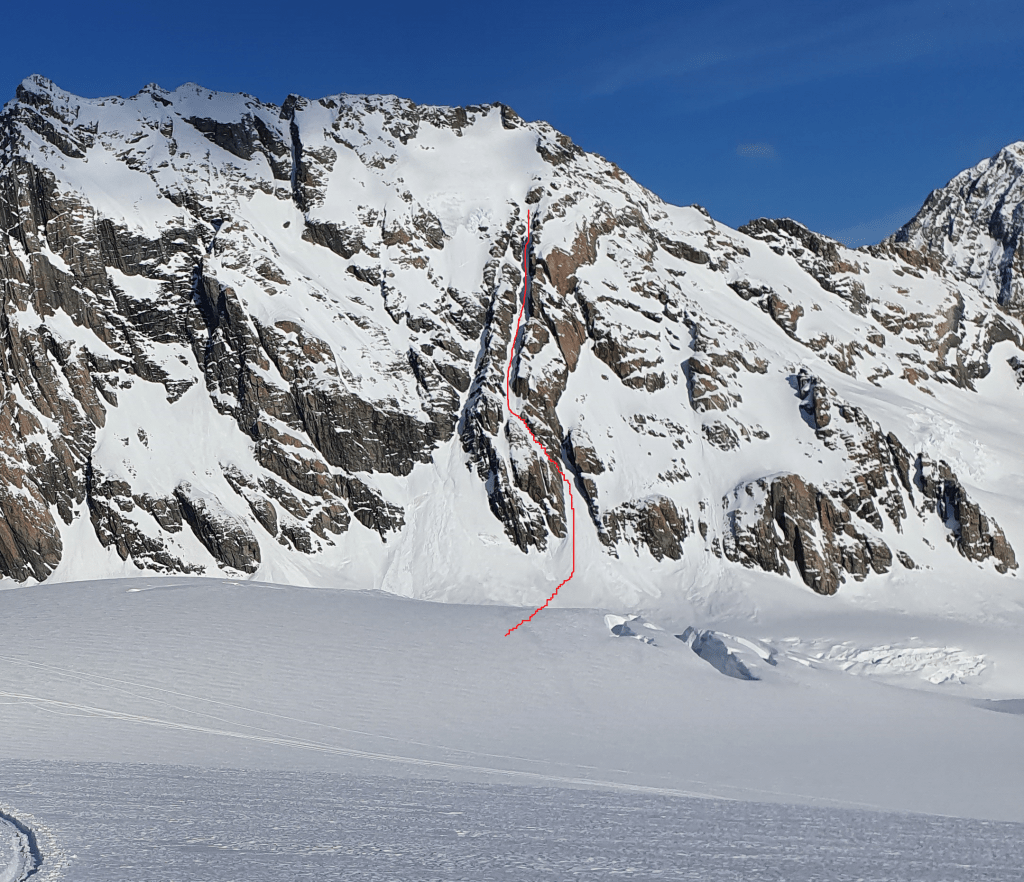
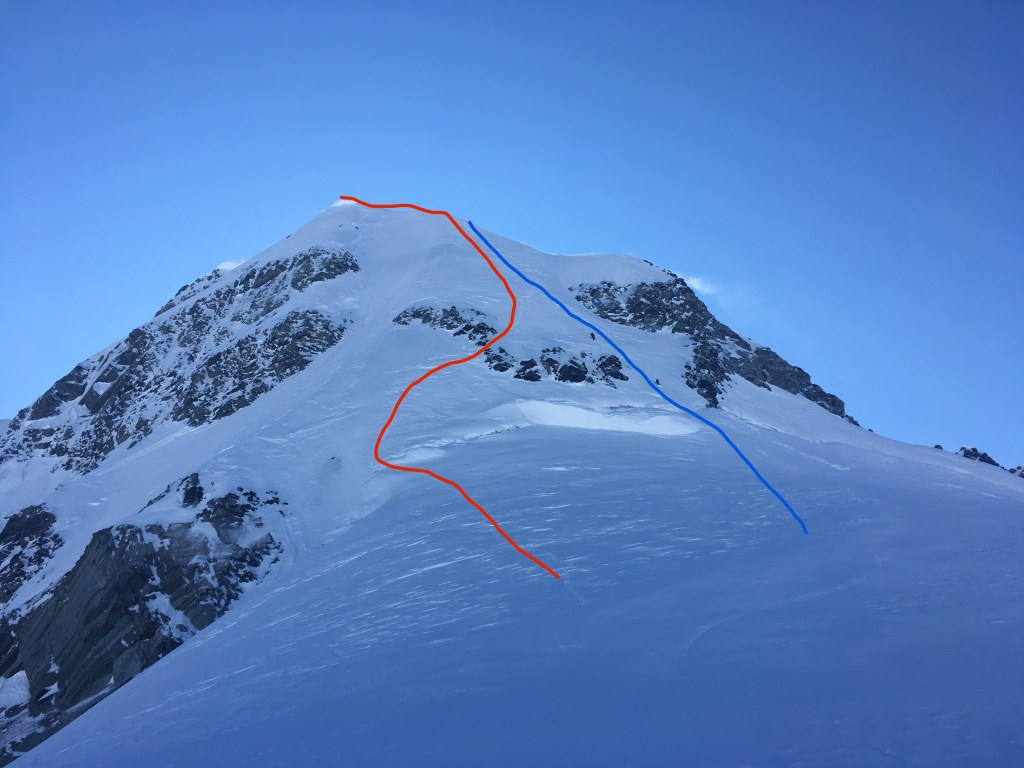
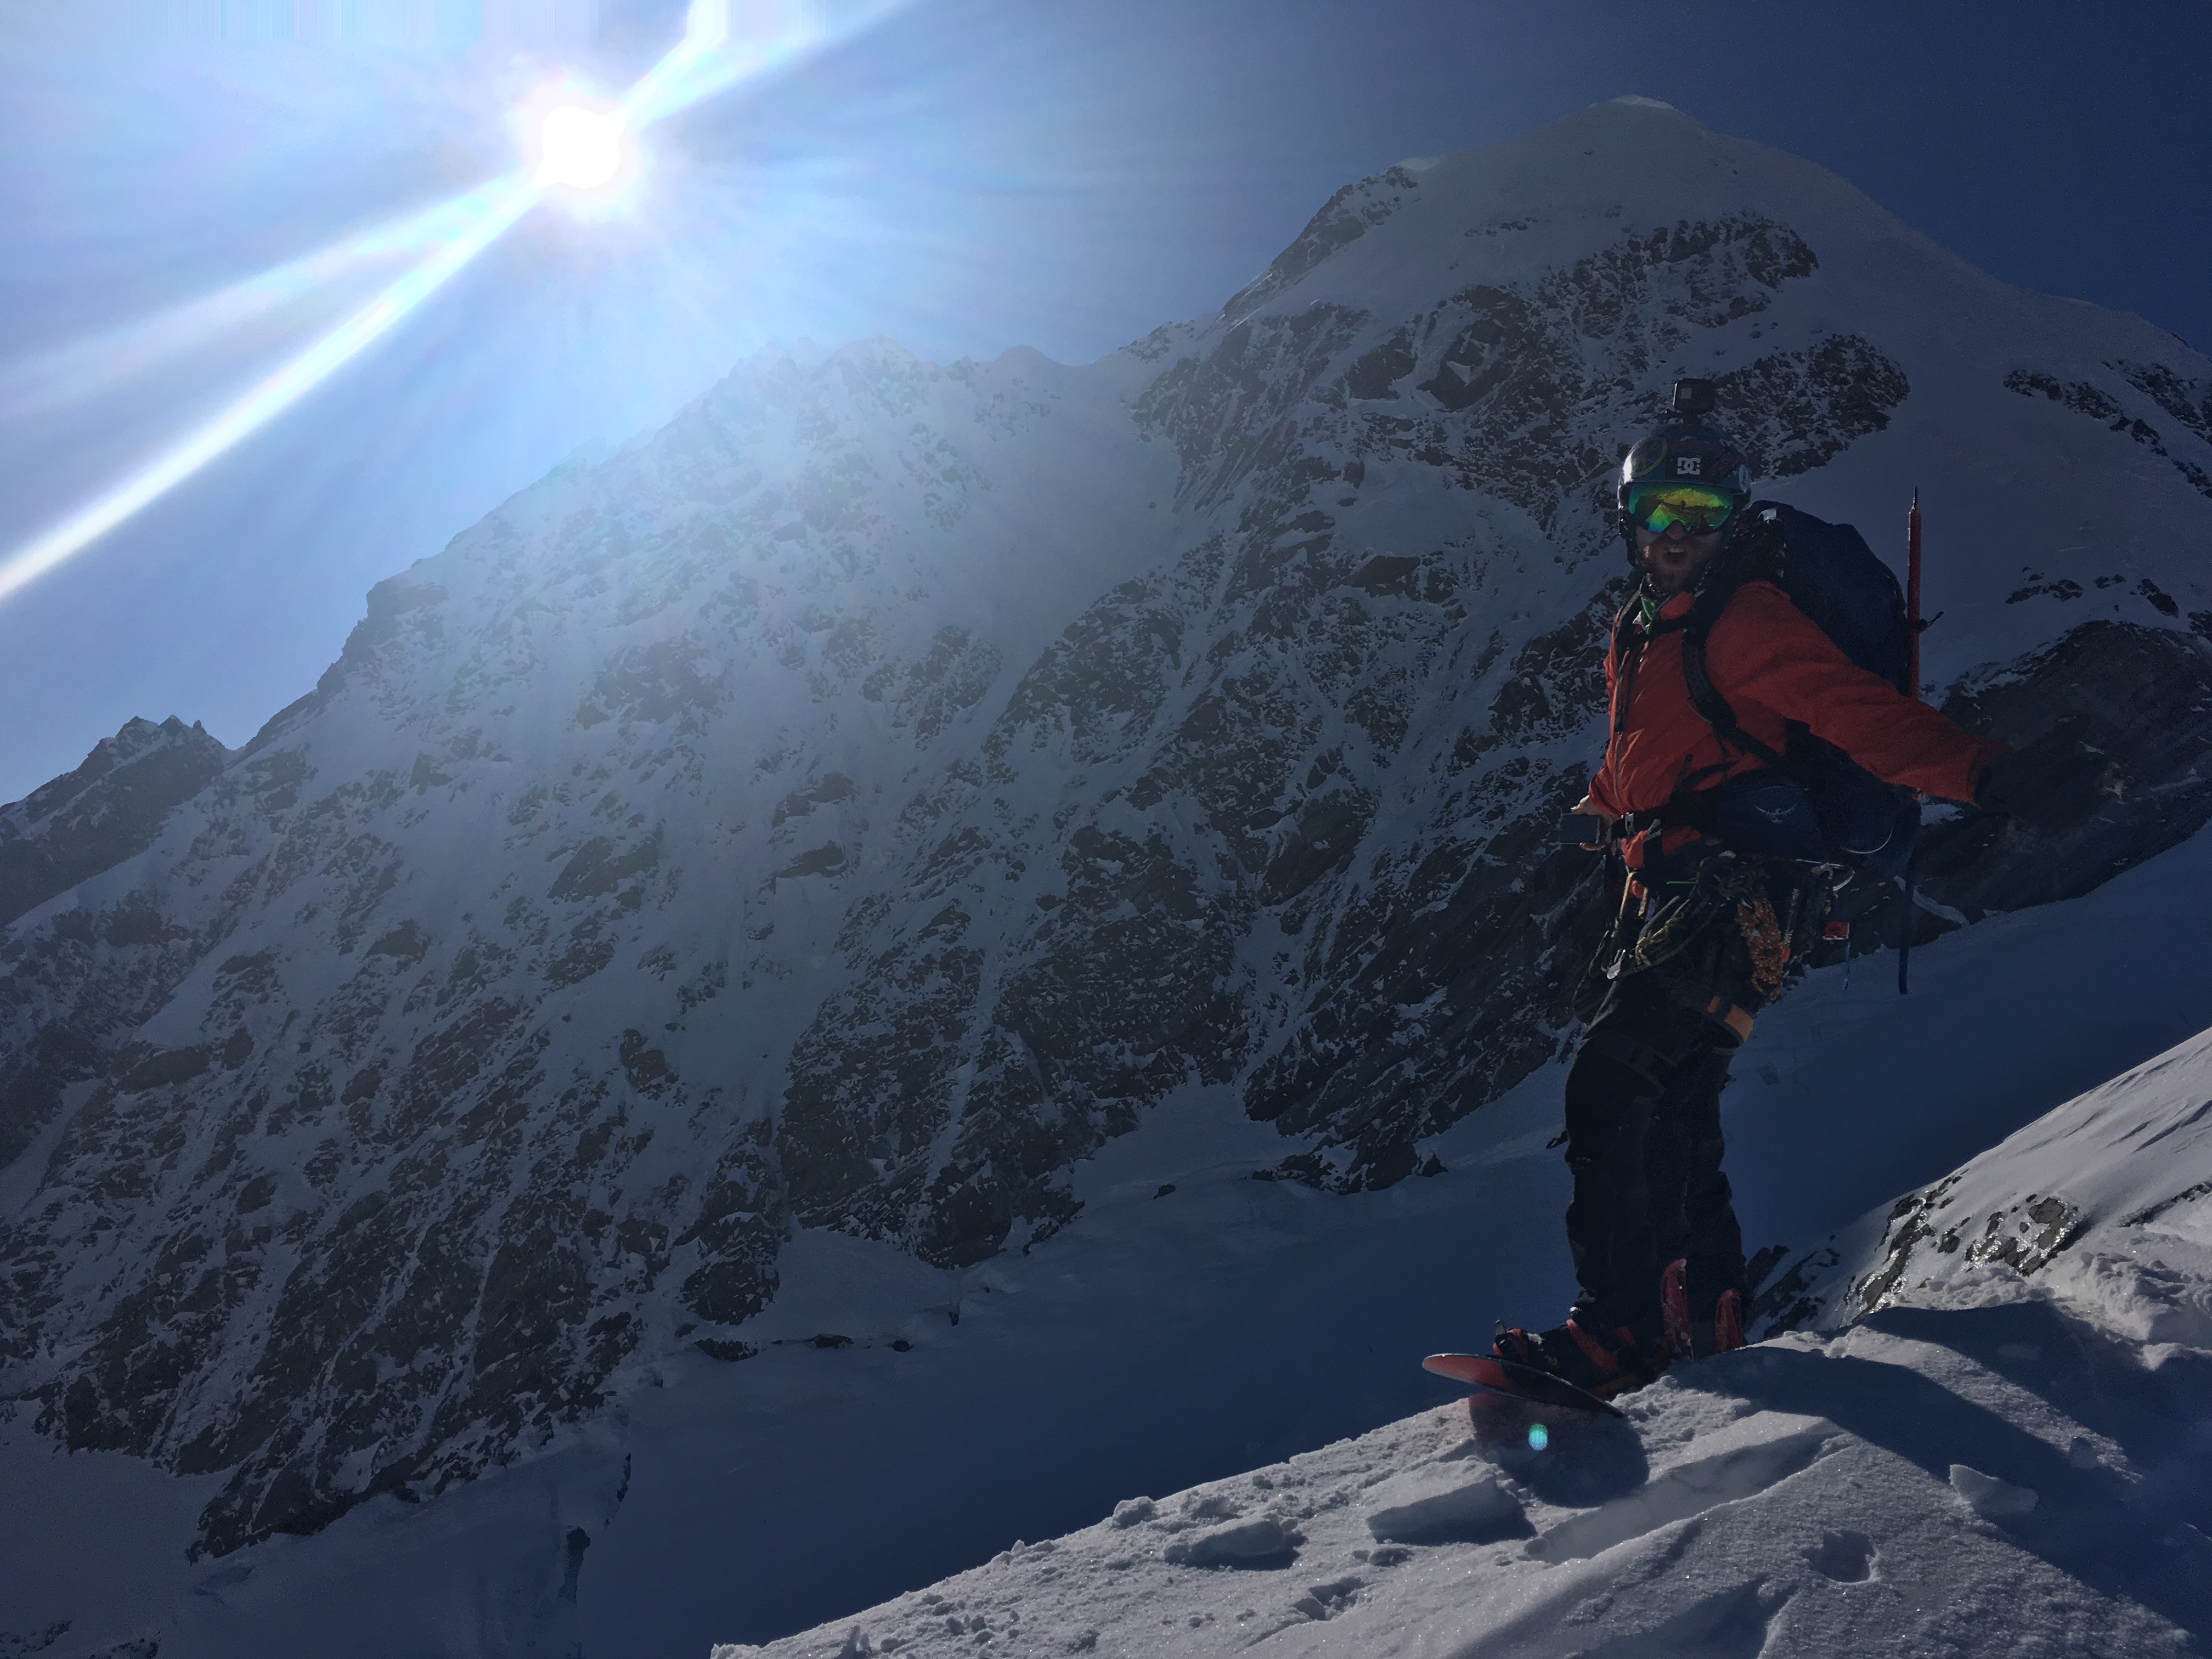
The most accessible ski of the monster peaks towering over the Grand Plateau, Dixon offers makes for a good introduction to this kind of high stakes ski mountaineering and is often used as a warm up for skiing Cook. Easy but exposed skiing from the summit leads into short steep and technical couloir back down to the Plateau. An alternative more difficult line is to cut from the East face onto the South face and cross diagonally left between the two serac bands. This is the line we were hoping to ski but the final section was bare ice when we were there.

The line we skiied. The line cutting diagonally across the South face between the serac bands
  • Length – 800m from Plateau hut. Summit 3004m
  • Steepness – Access couloir from plateau to East face around 50 deg. East face around 40.
  • Exposure – East face is easy but exposed. Couloir is steep but a straight line to the plateau
  • Aspect –East (couloir S facing). Significant wet loose risk if you leave it too late
  • Extras – As for all of these big lines spring (Sept – Nov) is generally when they are in condition
  • Difficulty – Climb : 2+ Descent : 4.1 E2
  • Equipment – 60m rad line. Crampons, 2x tools. Snow stake.

Access

Climbing the last section of the East face, Aoraki in the background

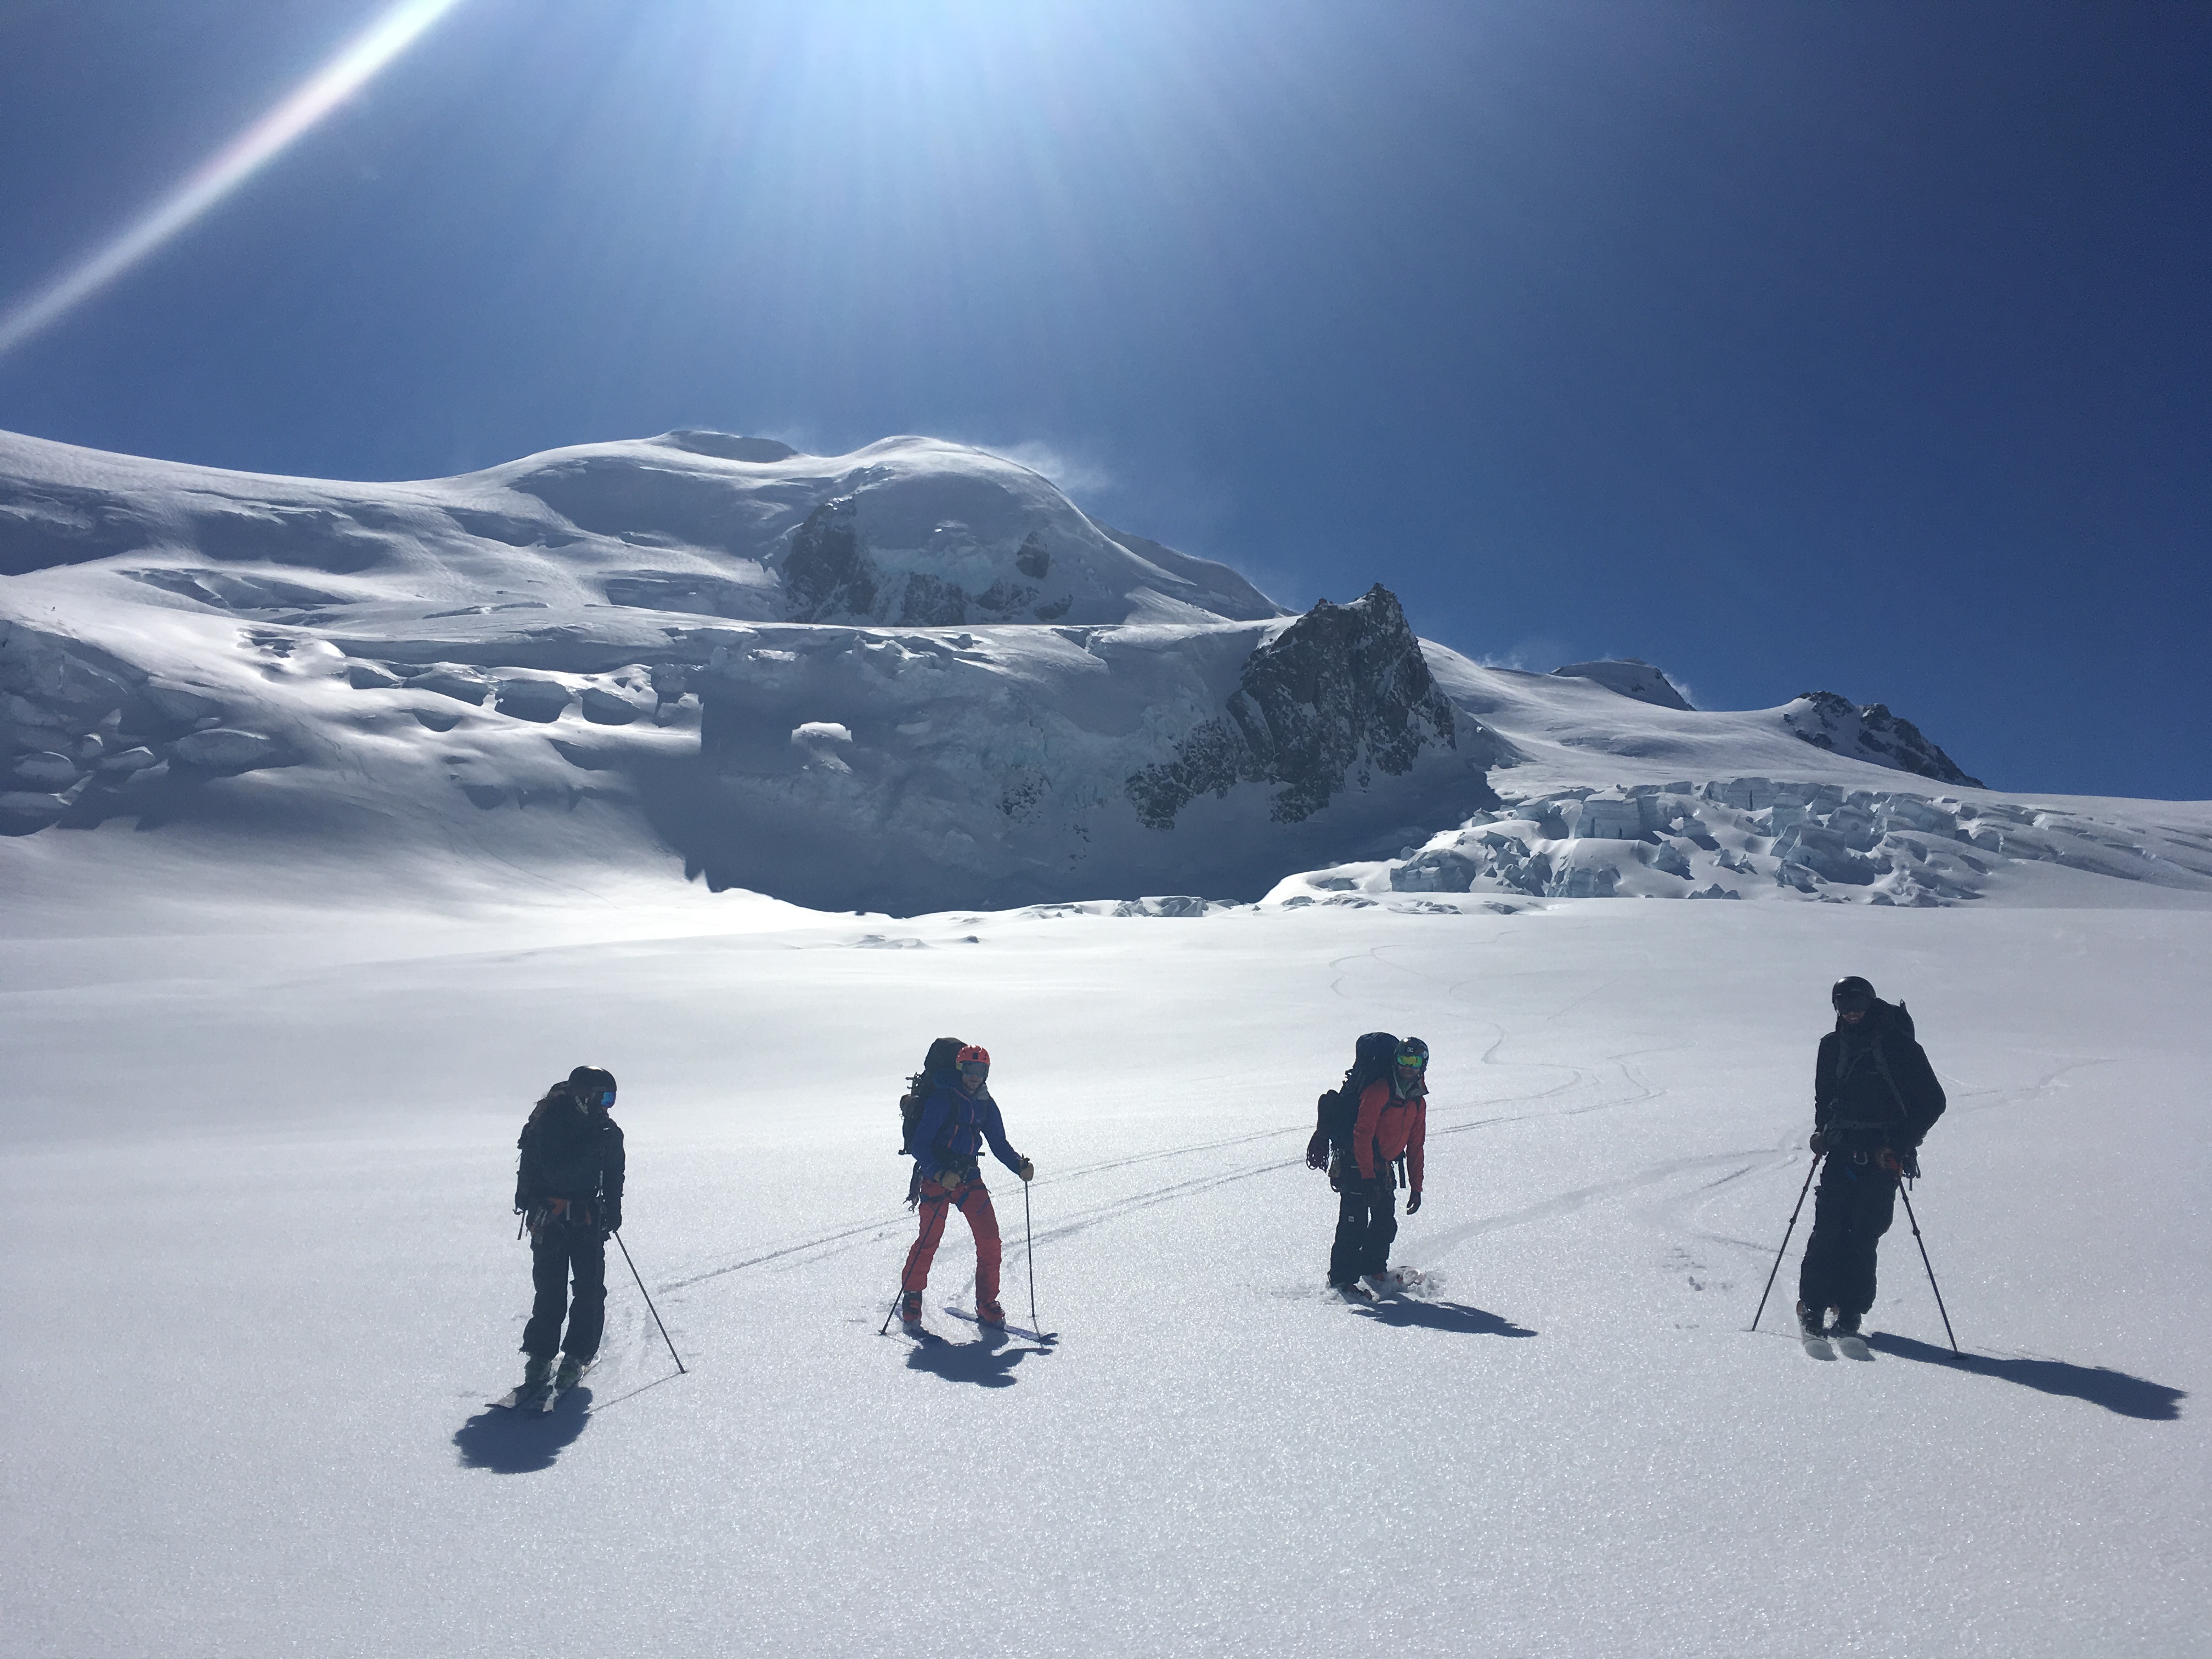
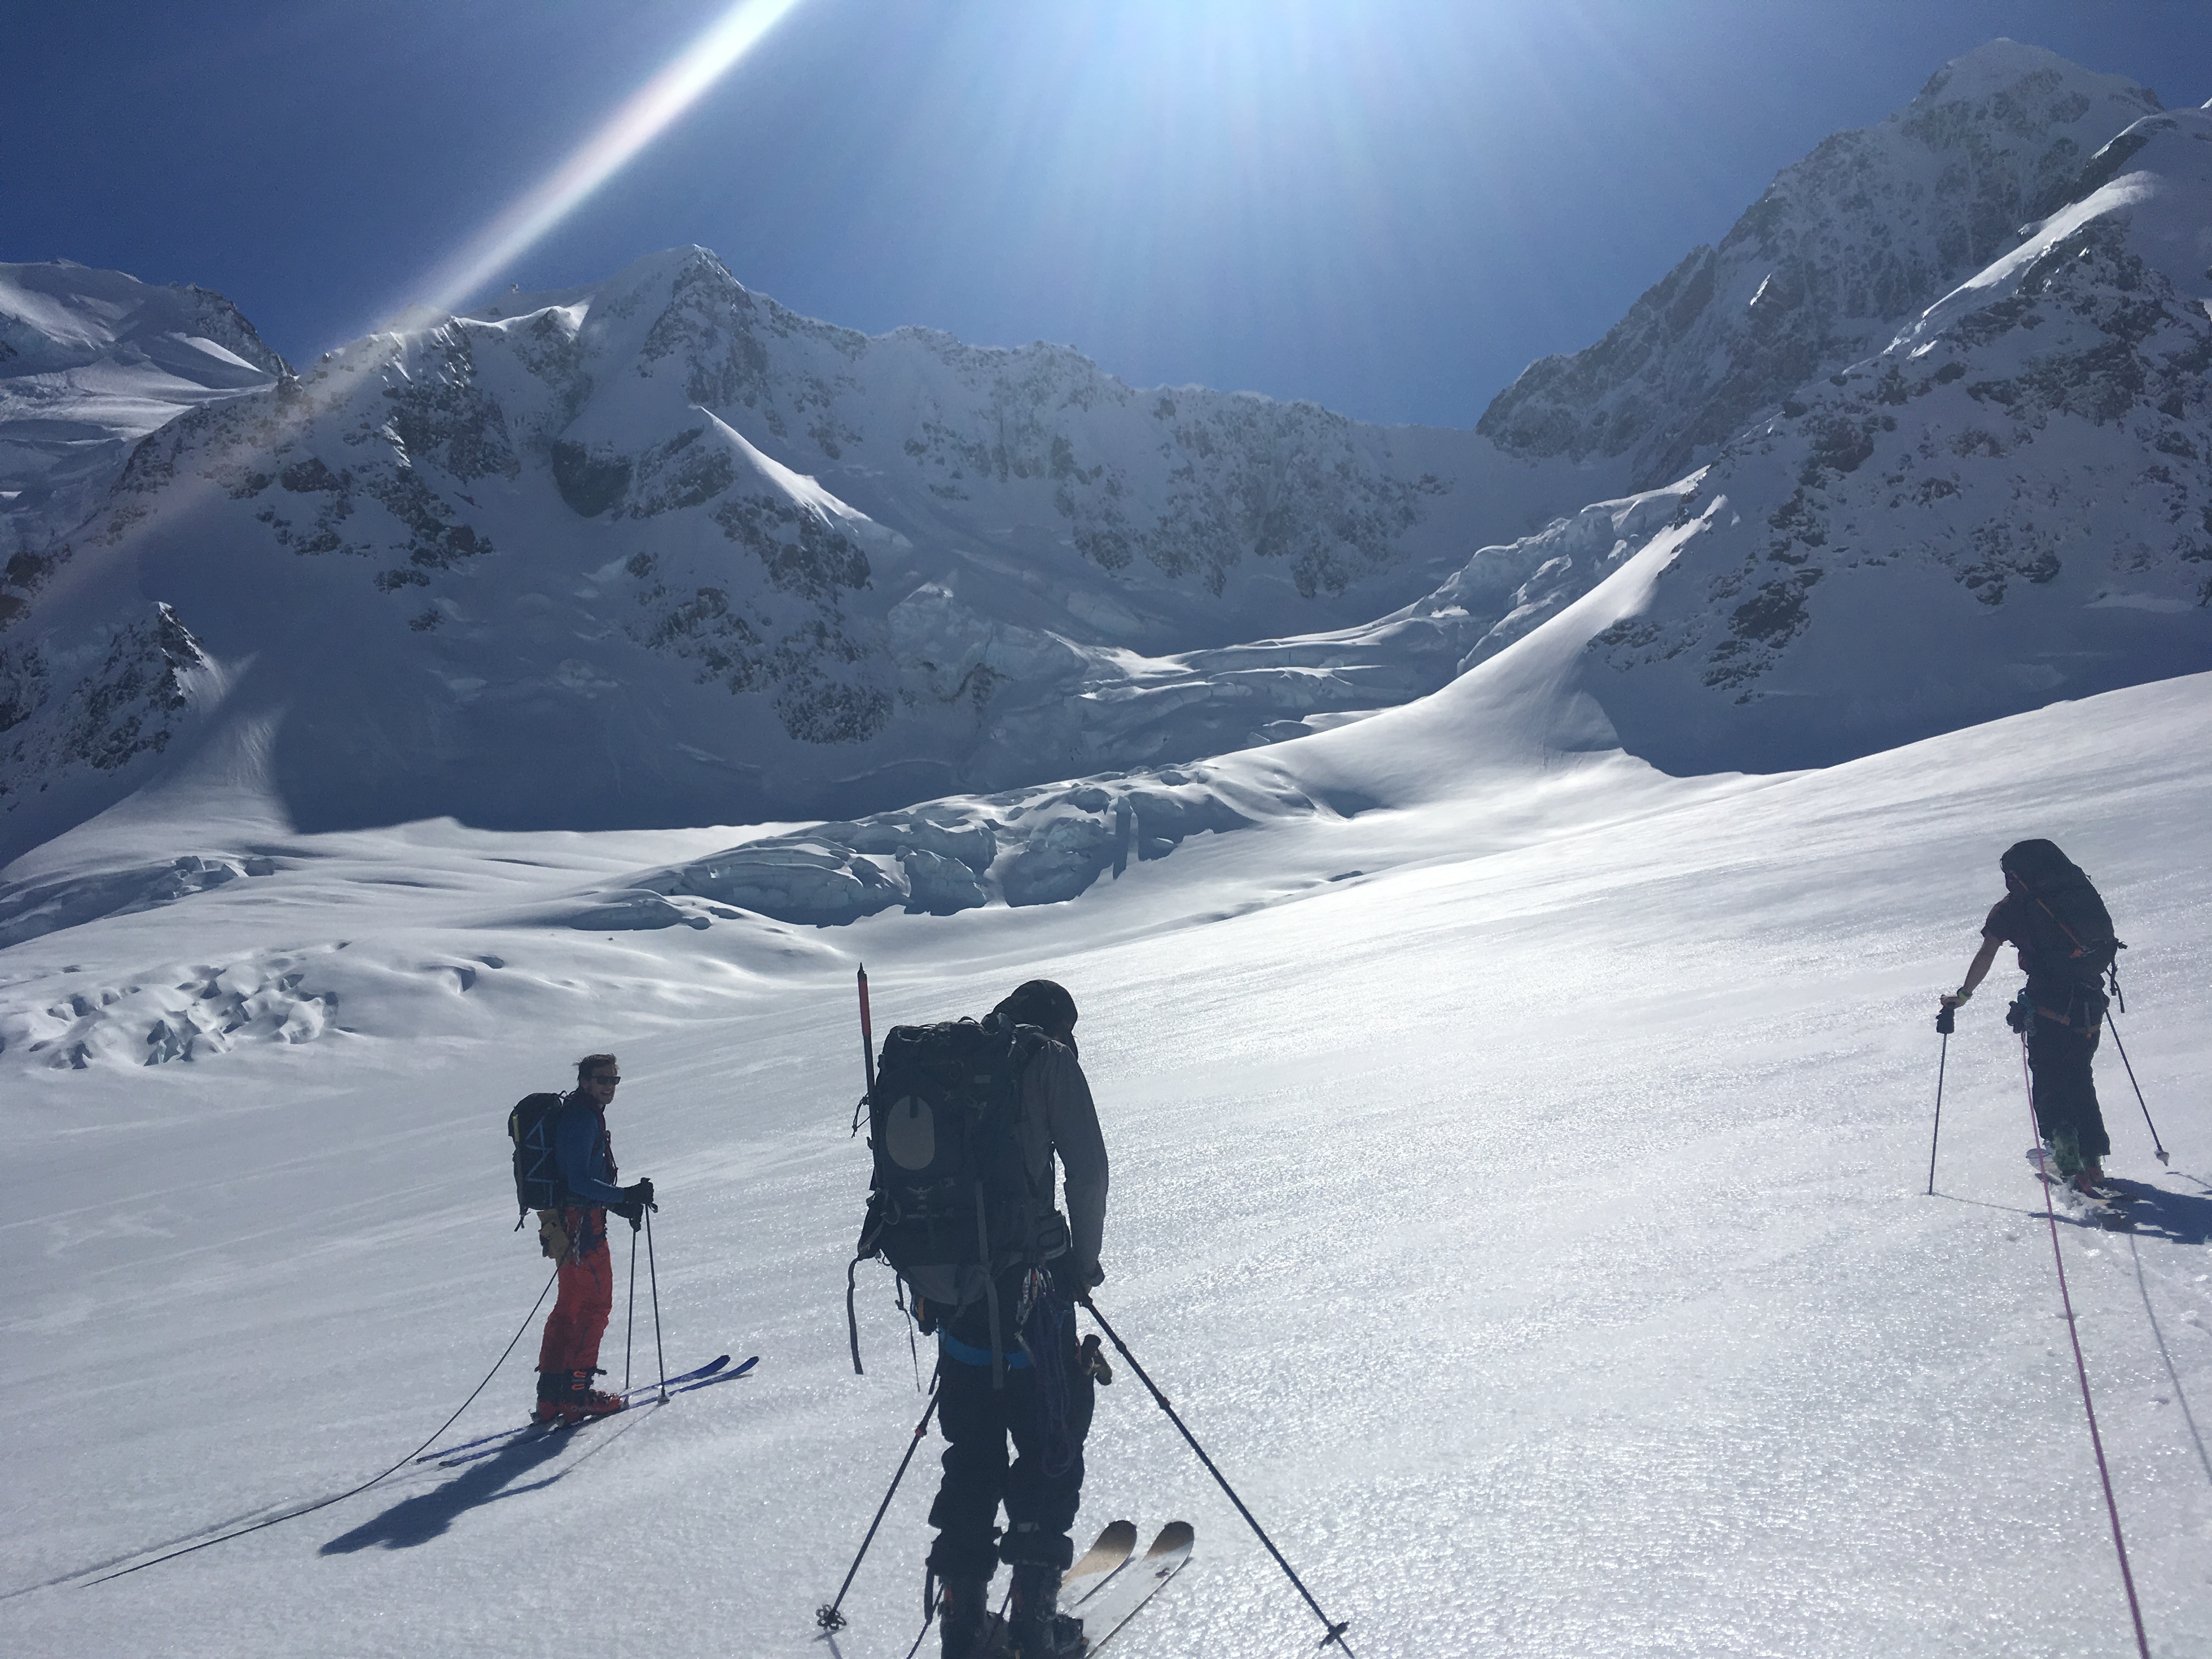
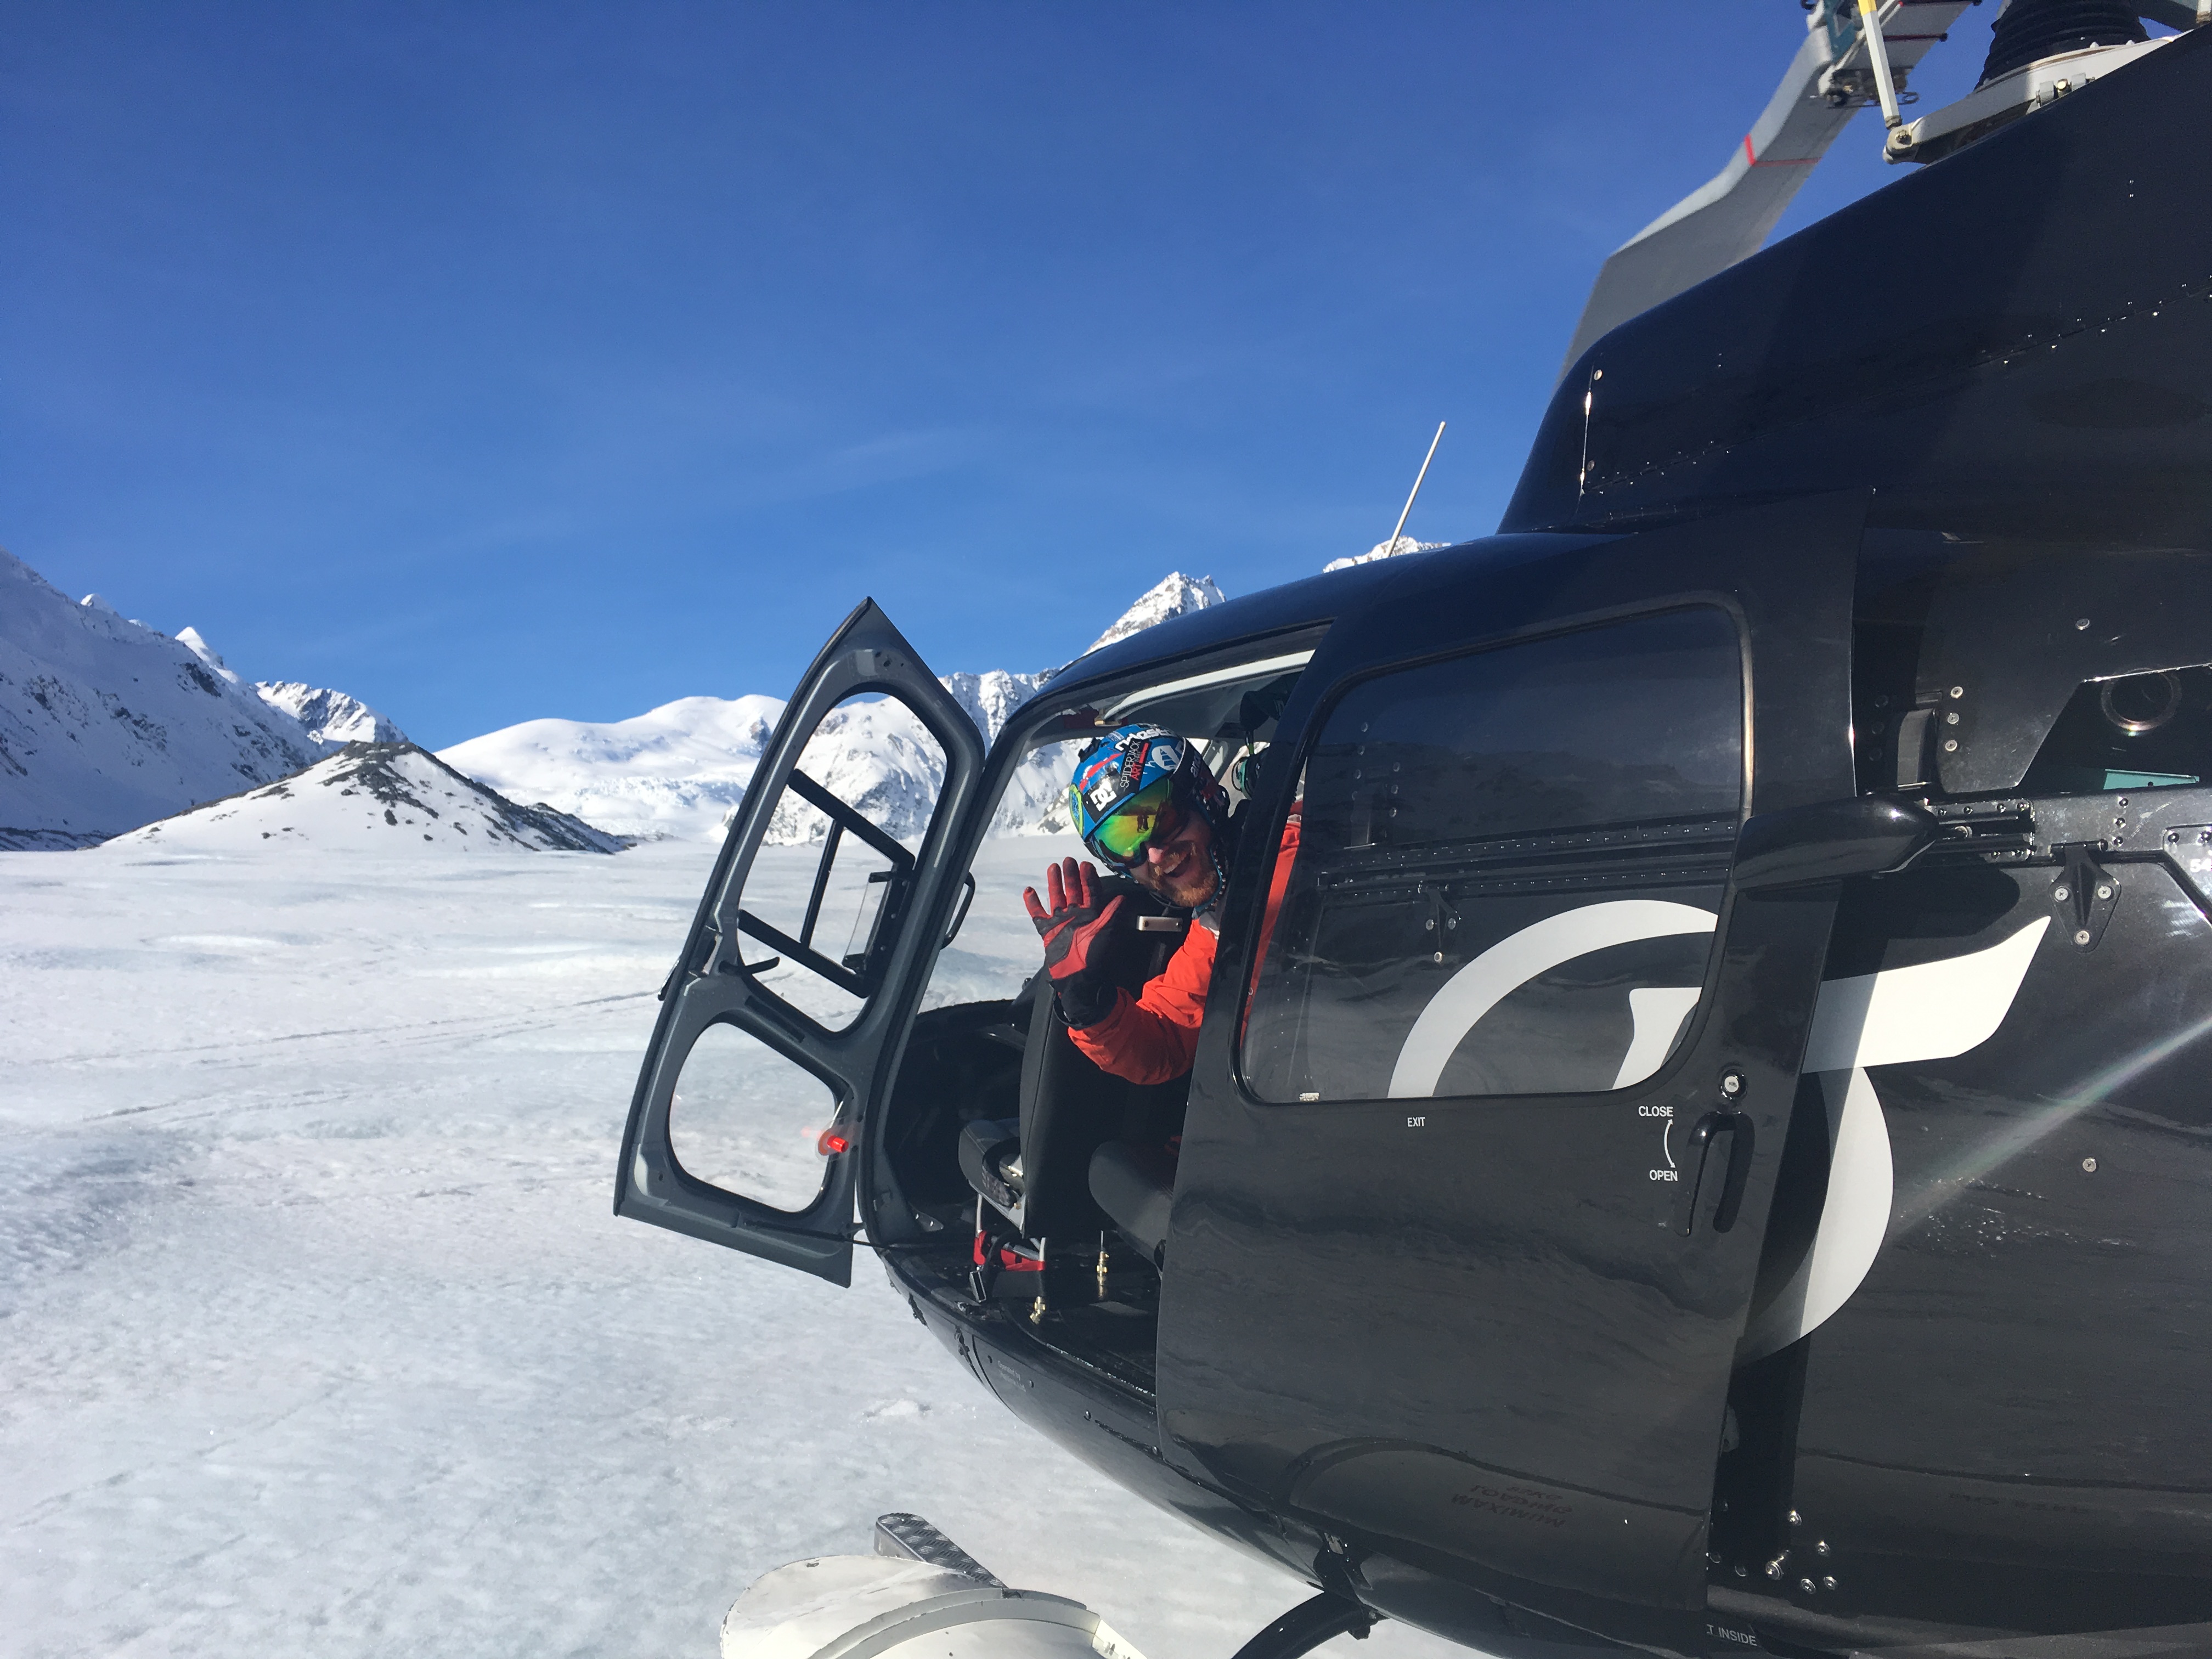
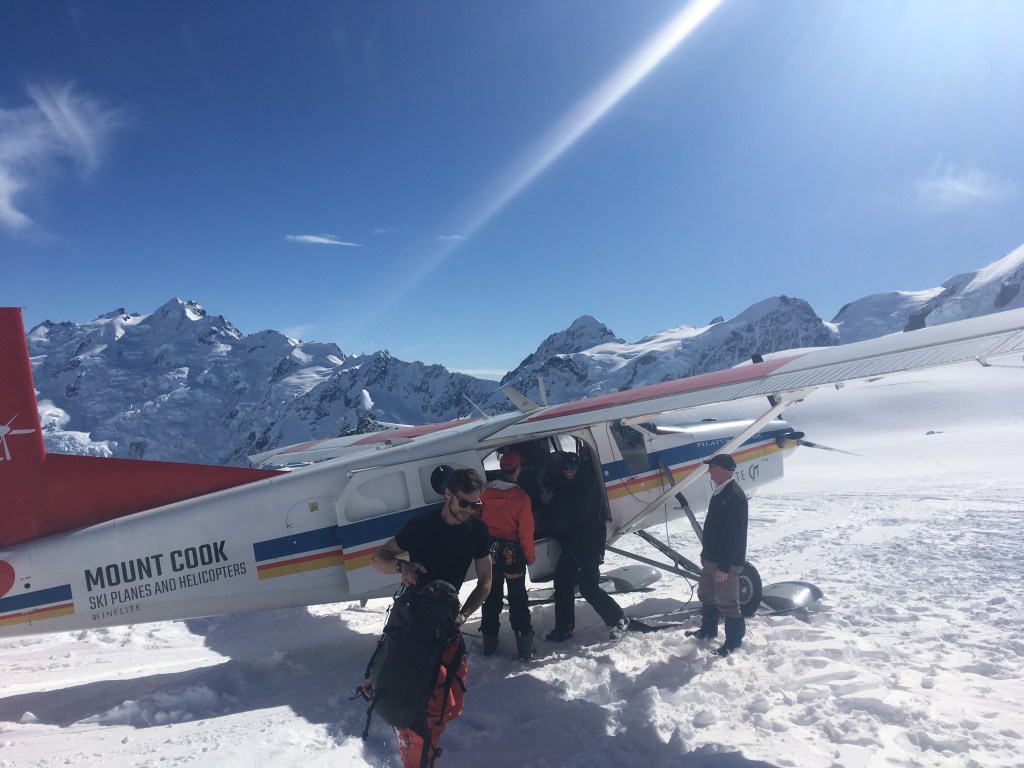
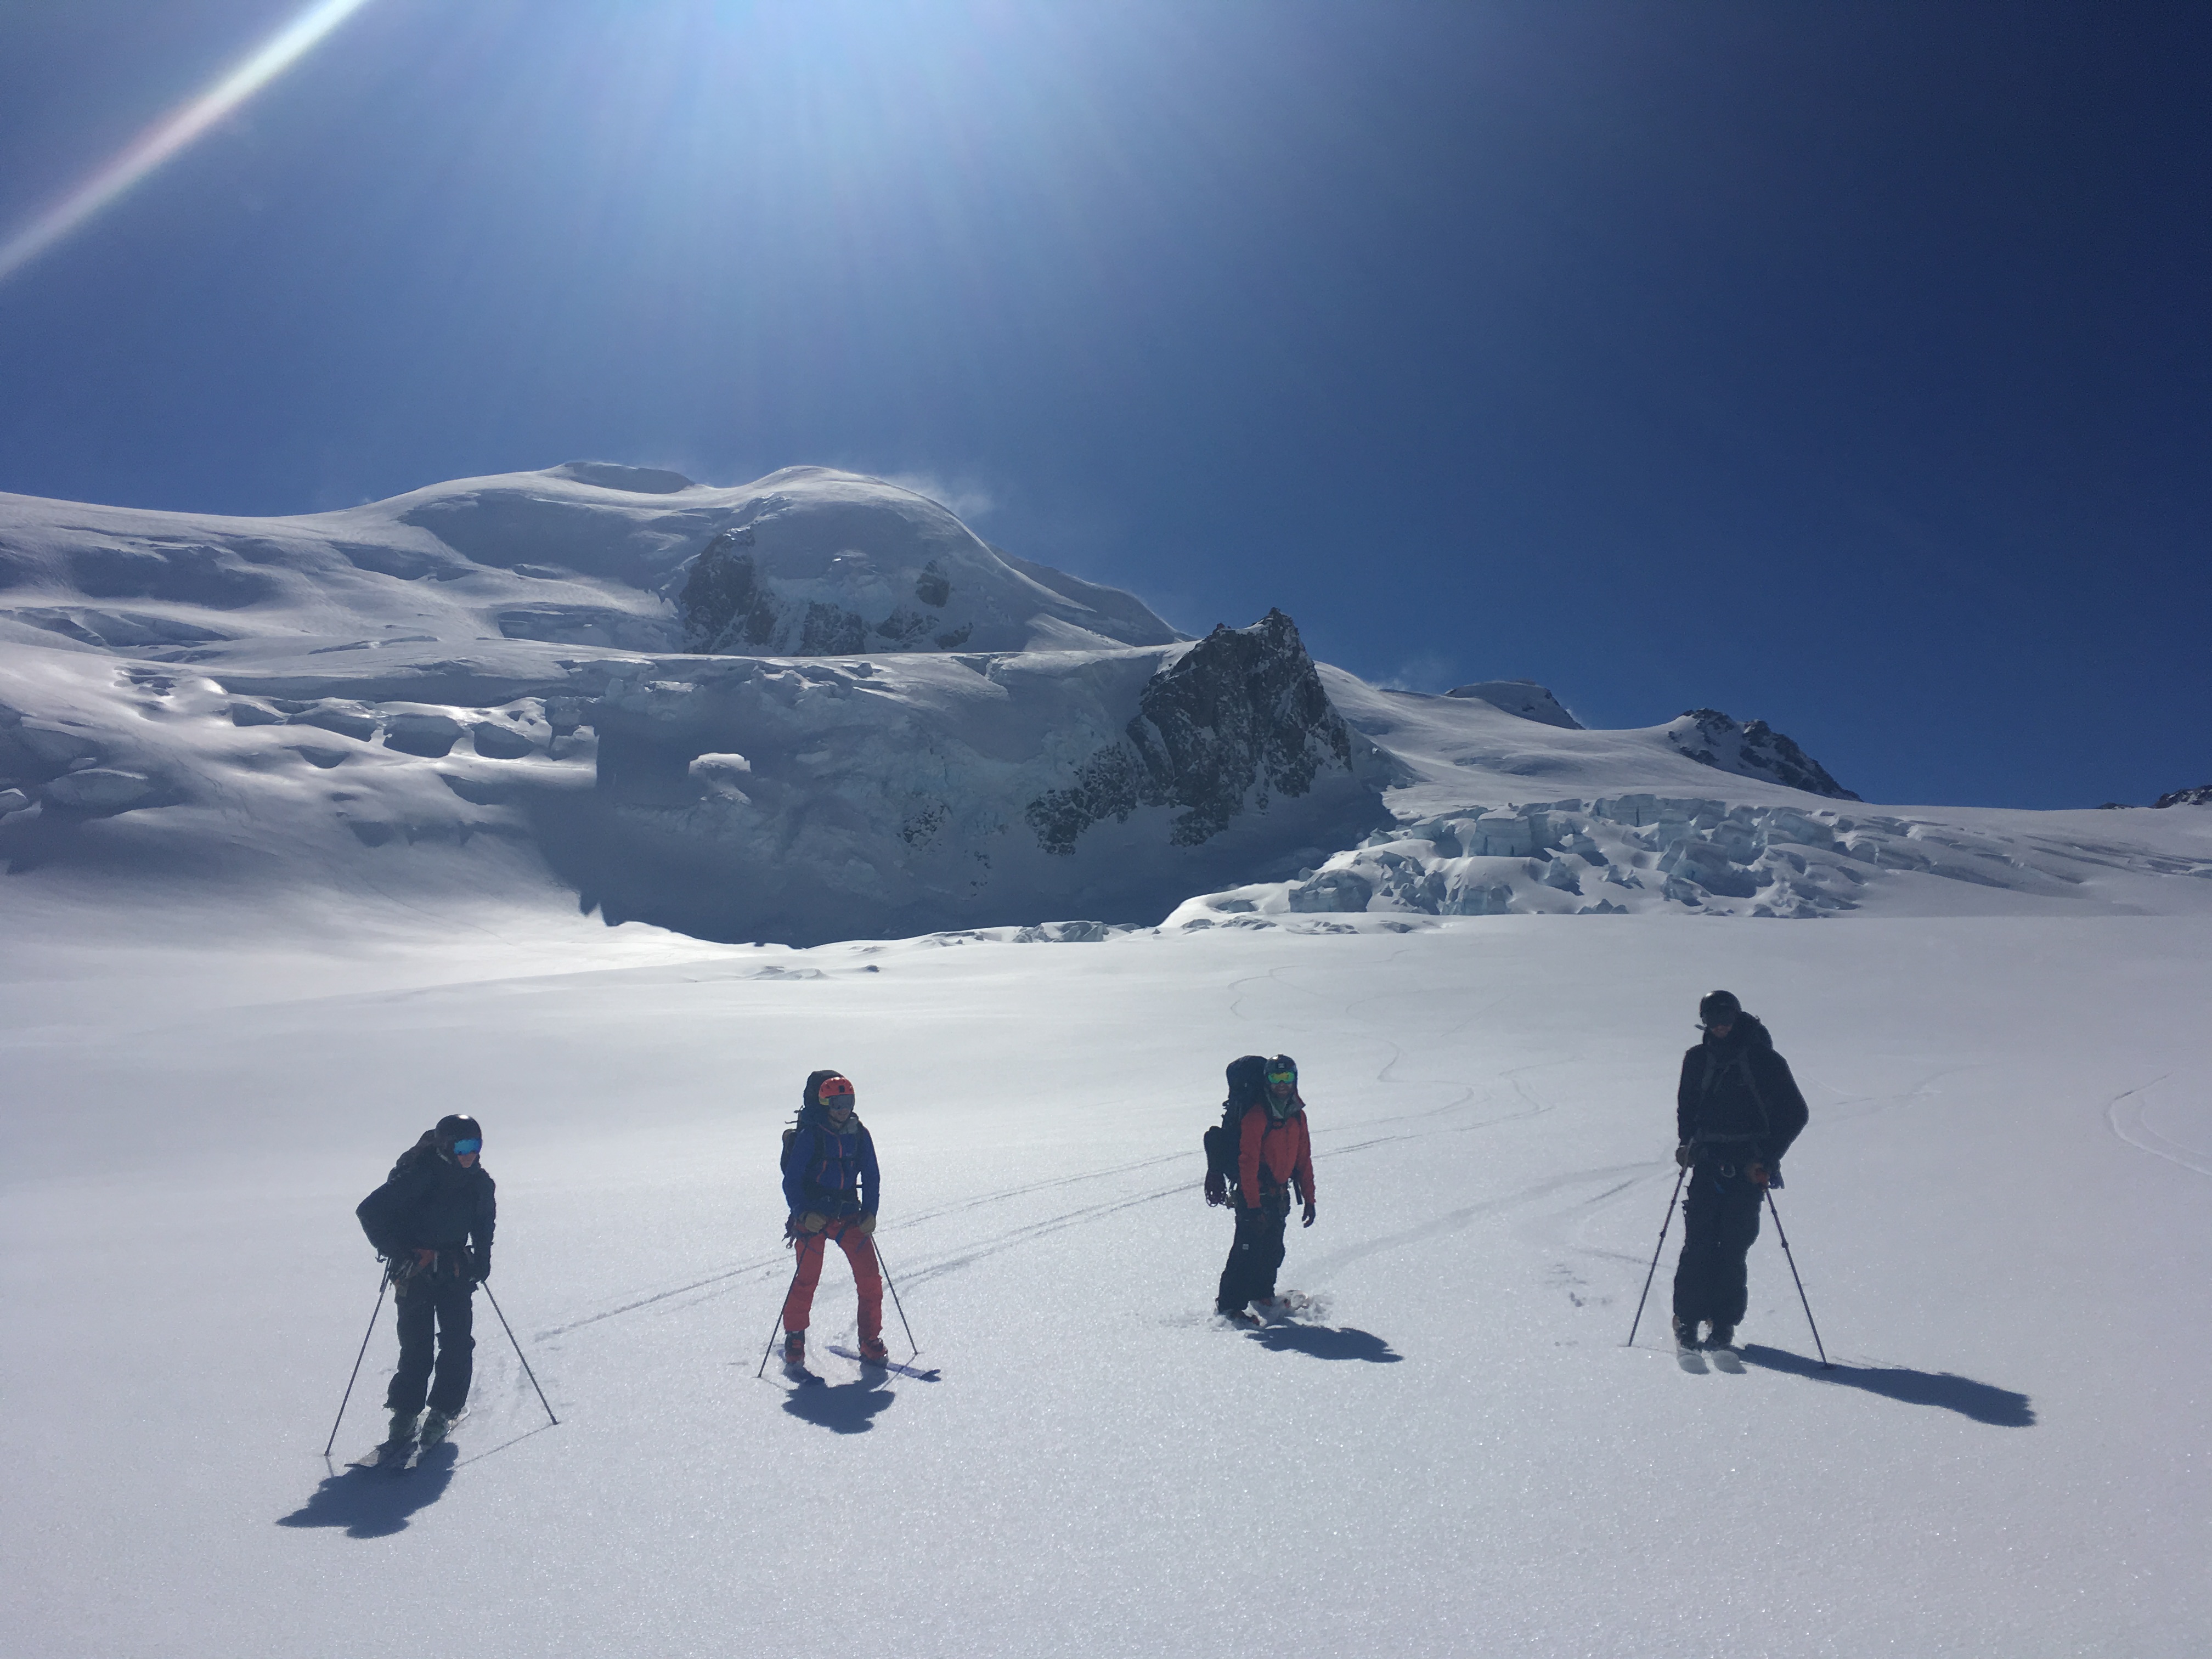
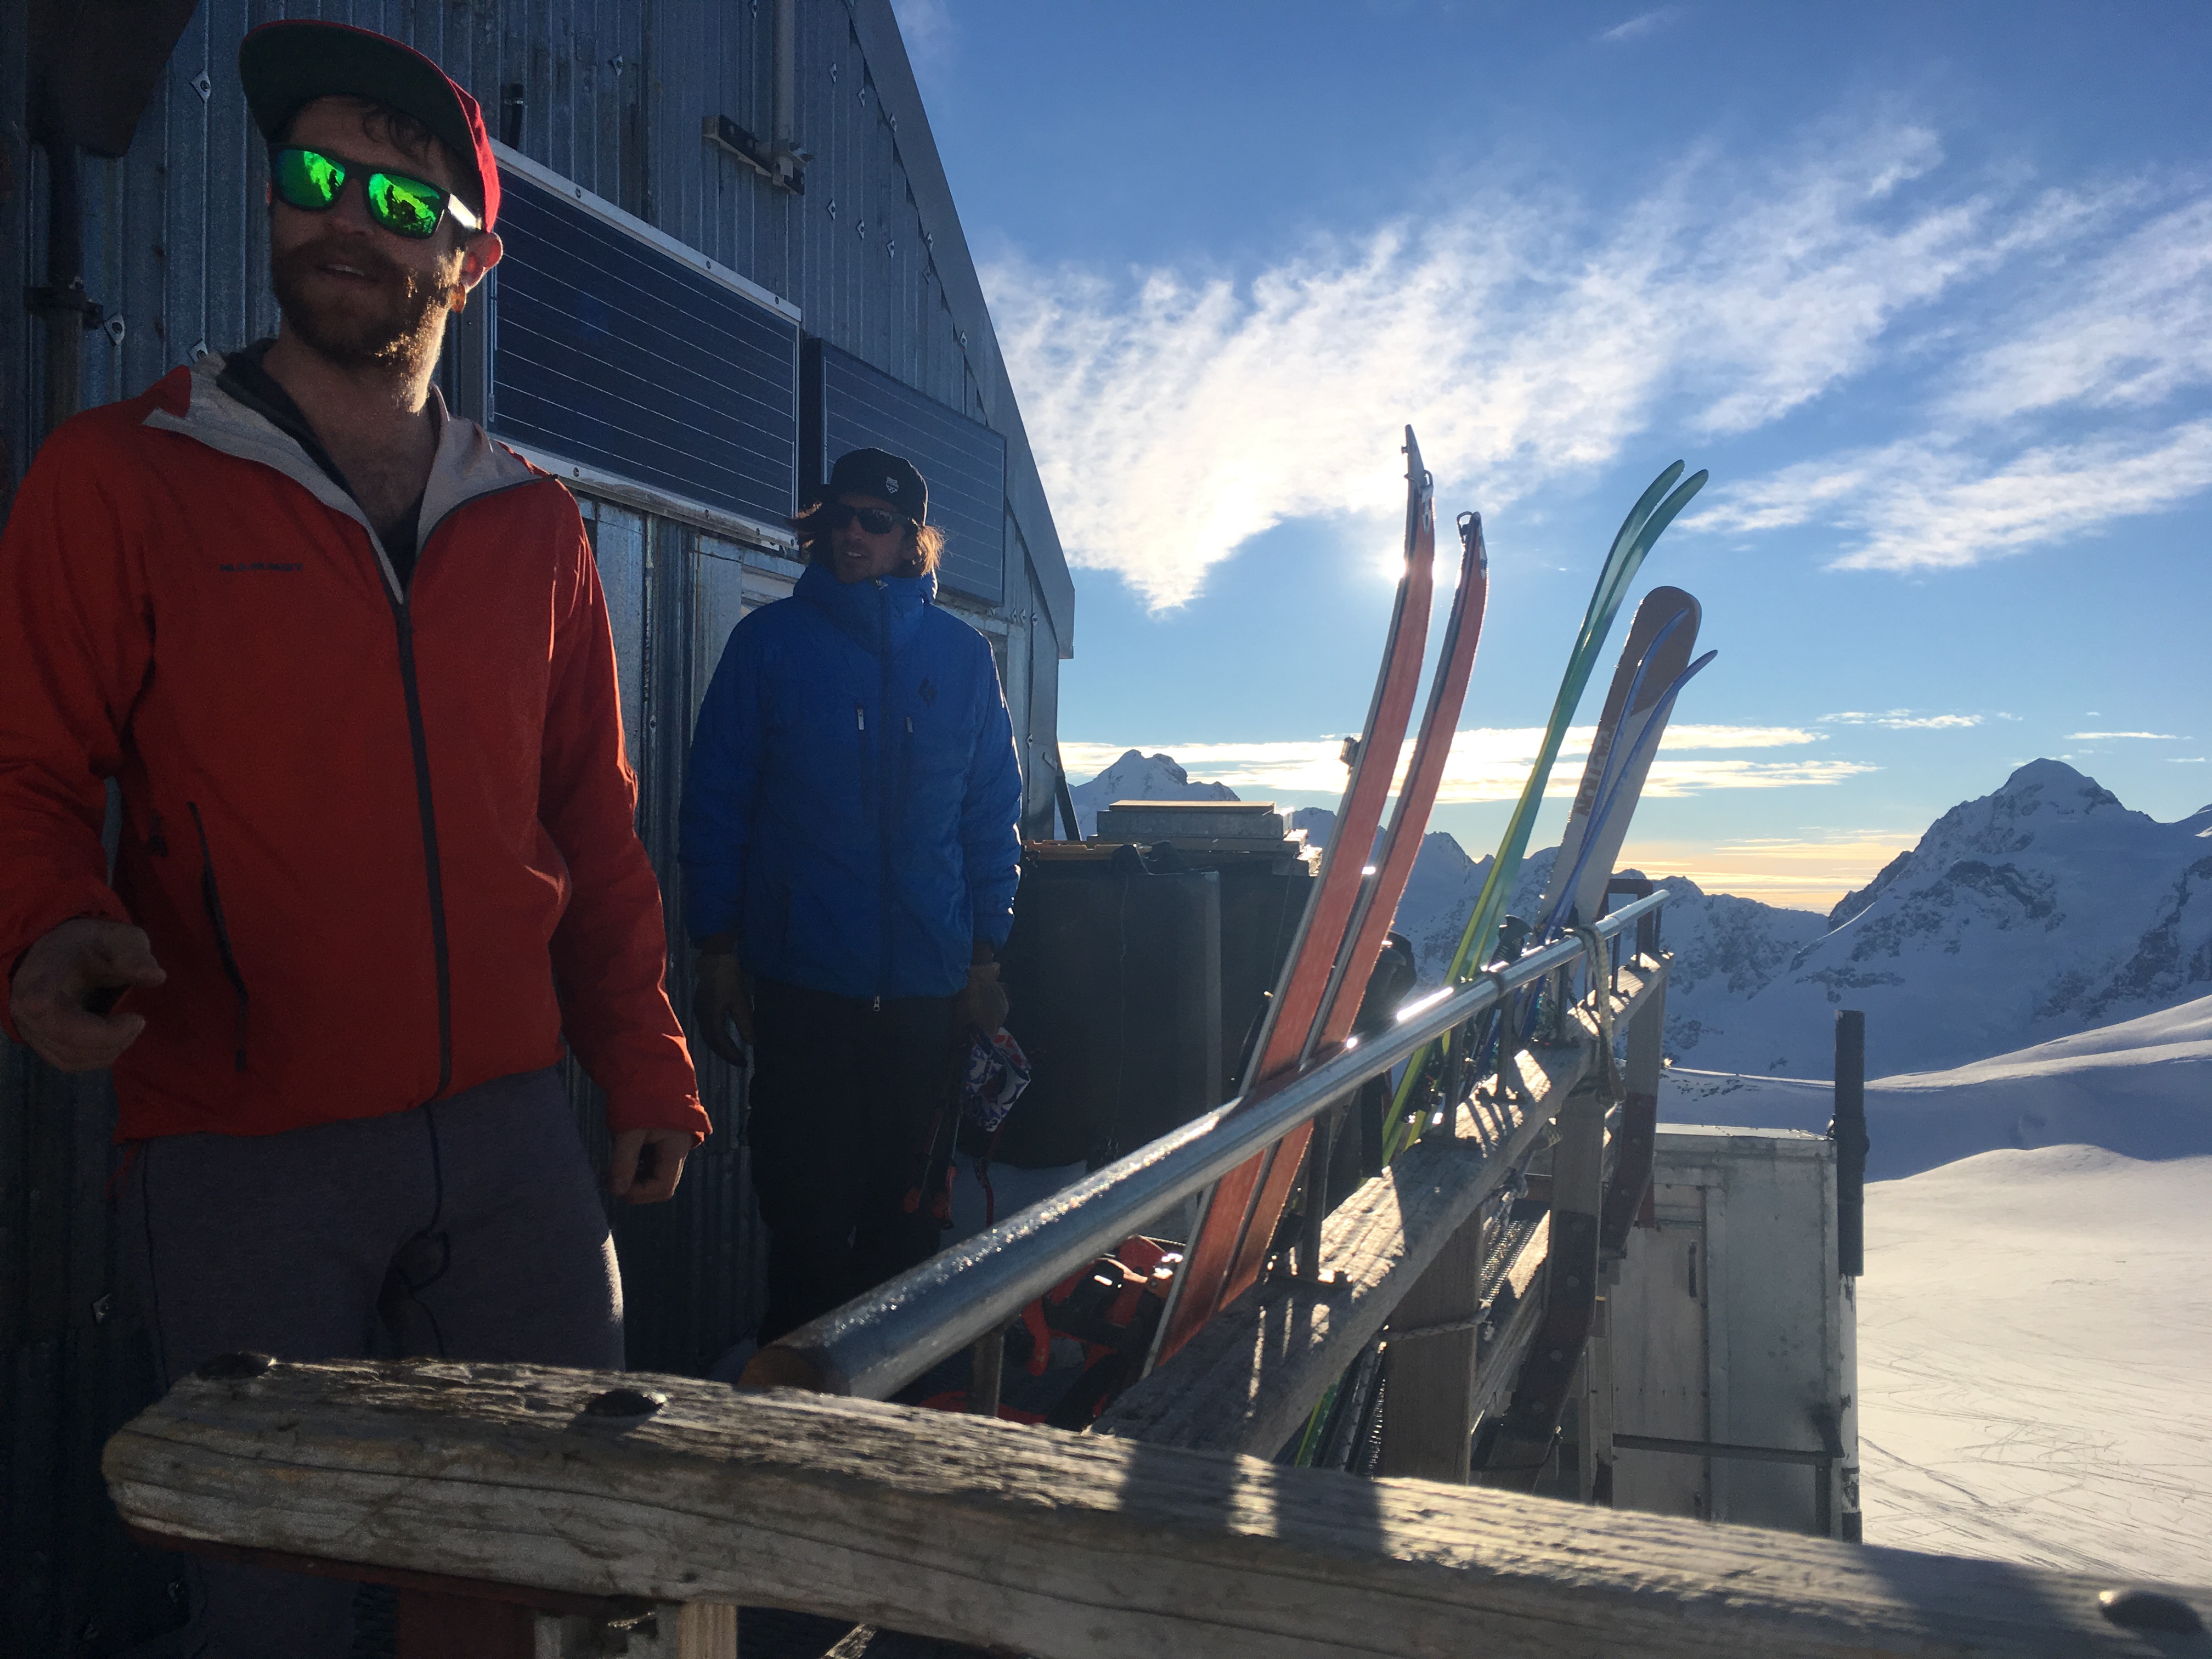
Heli or ski plane into plateau is the most common access route. Plane is cheaper if you fill it, but means you land a 20min skin from the hut so need to be more on it with your packing. The heli drops you at the door so you can rock up with a cardboard box full of food and beers and not worry about it. The heli also can fly in worse weather than the plane. I’ve always avoided the hike in, but the general beta (as of summer 2022) is to head up the Ball shelter track, and get around the husky washout generally by staying high. Head up almost to the ball hut site and get down the morraine wall to the tasman via garbage gully (series of grassy ledges). From here head up towards the Boys glacier and then up to Cinerama Col. This is changing on a yearly basis so look for up to date beta before heading up. From my experience of climbing up and down moraines its the most dangerous part of these trips and to avoid a rock to the head I want to avoid it if I possibly can. Does that make me soft? Probably.
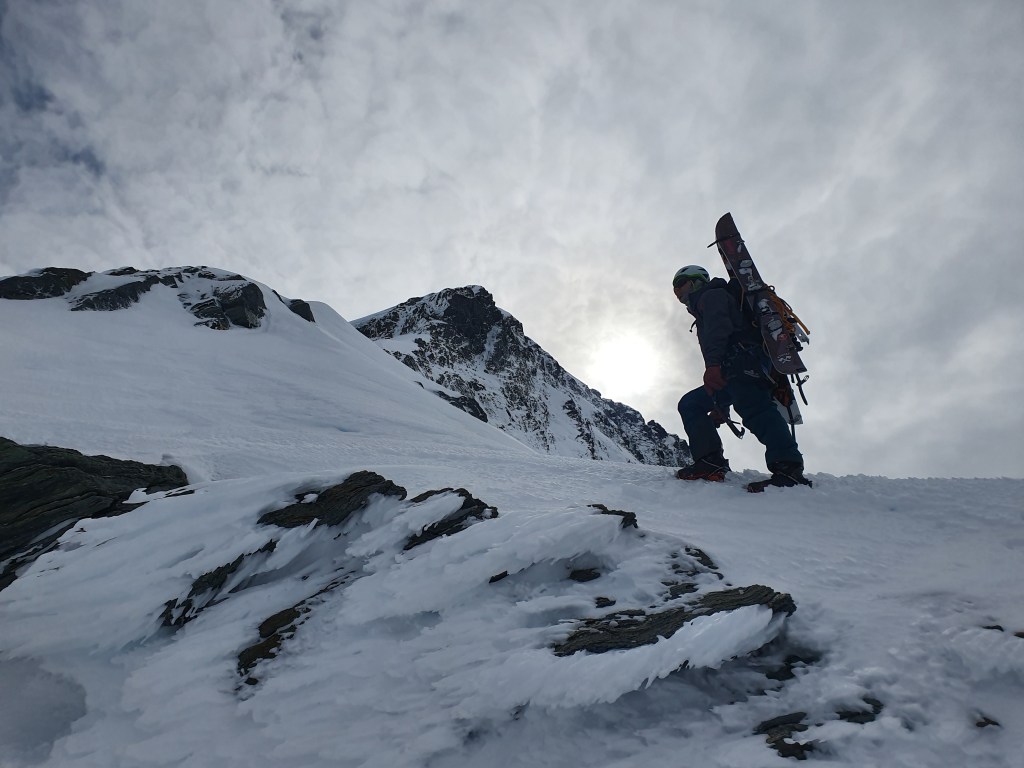
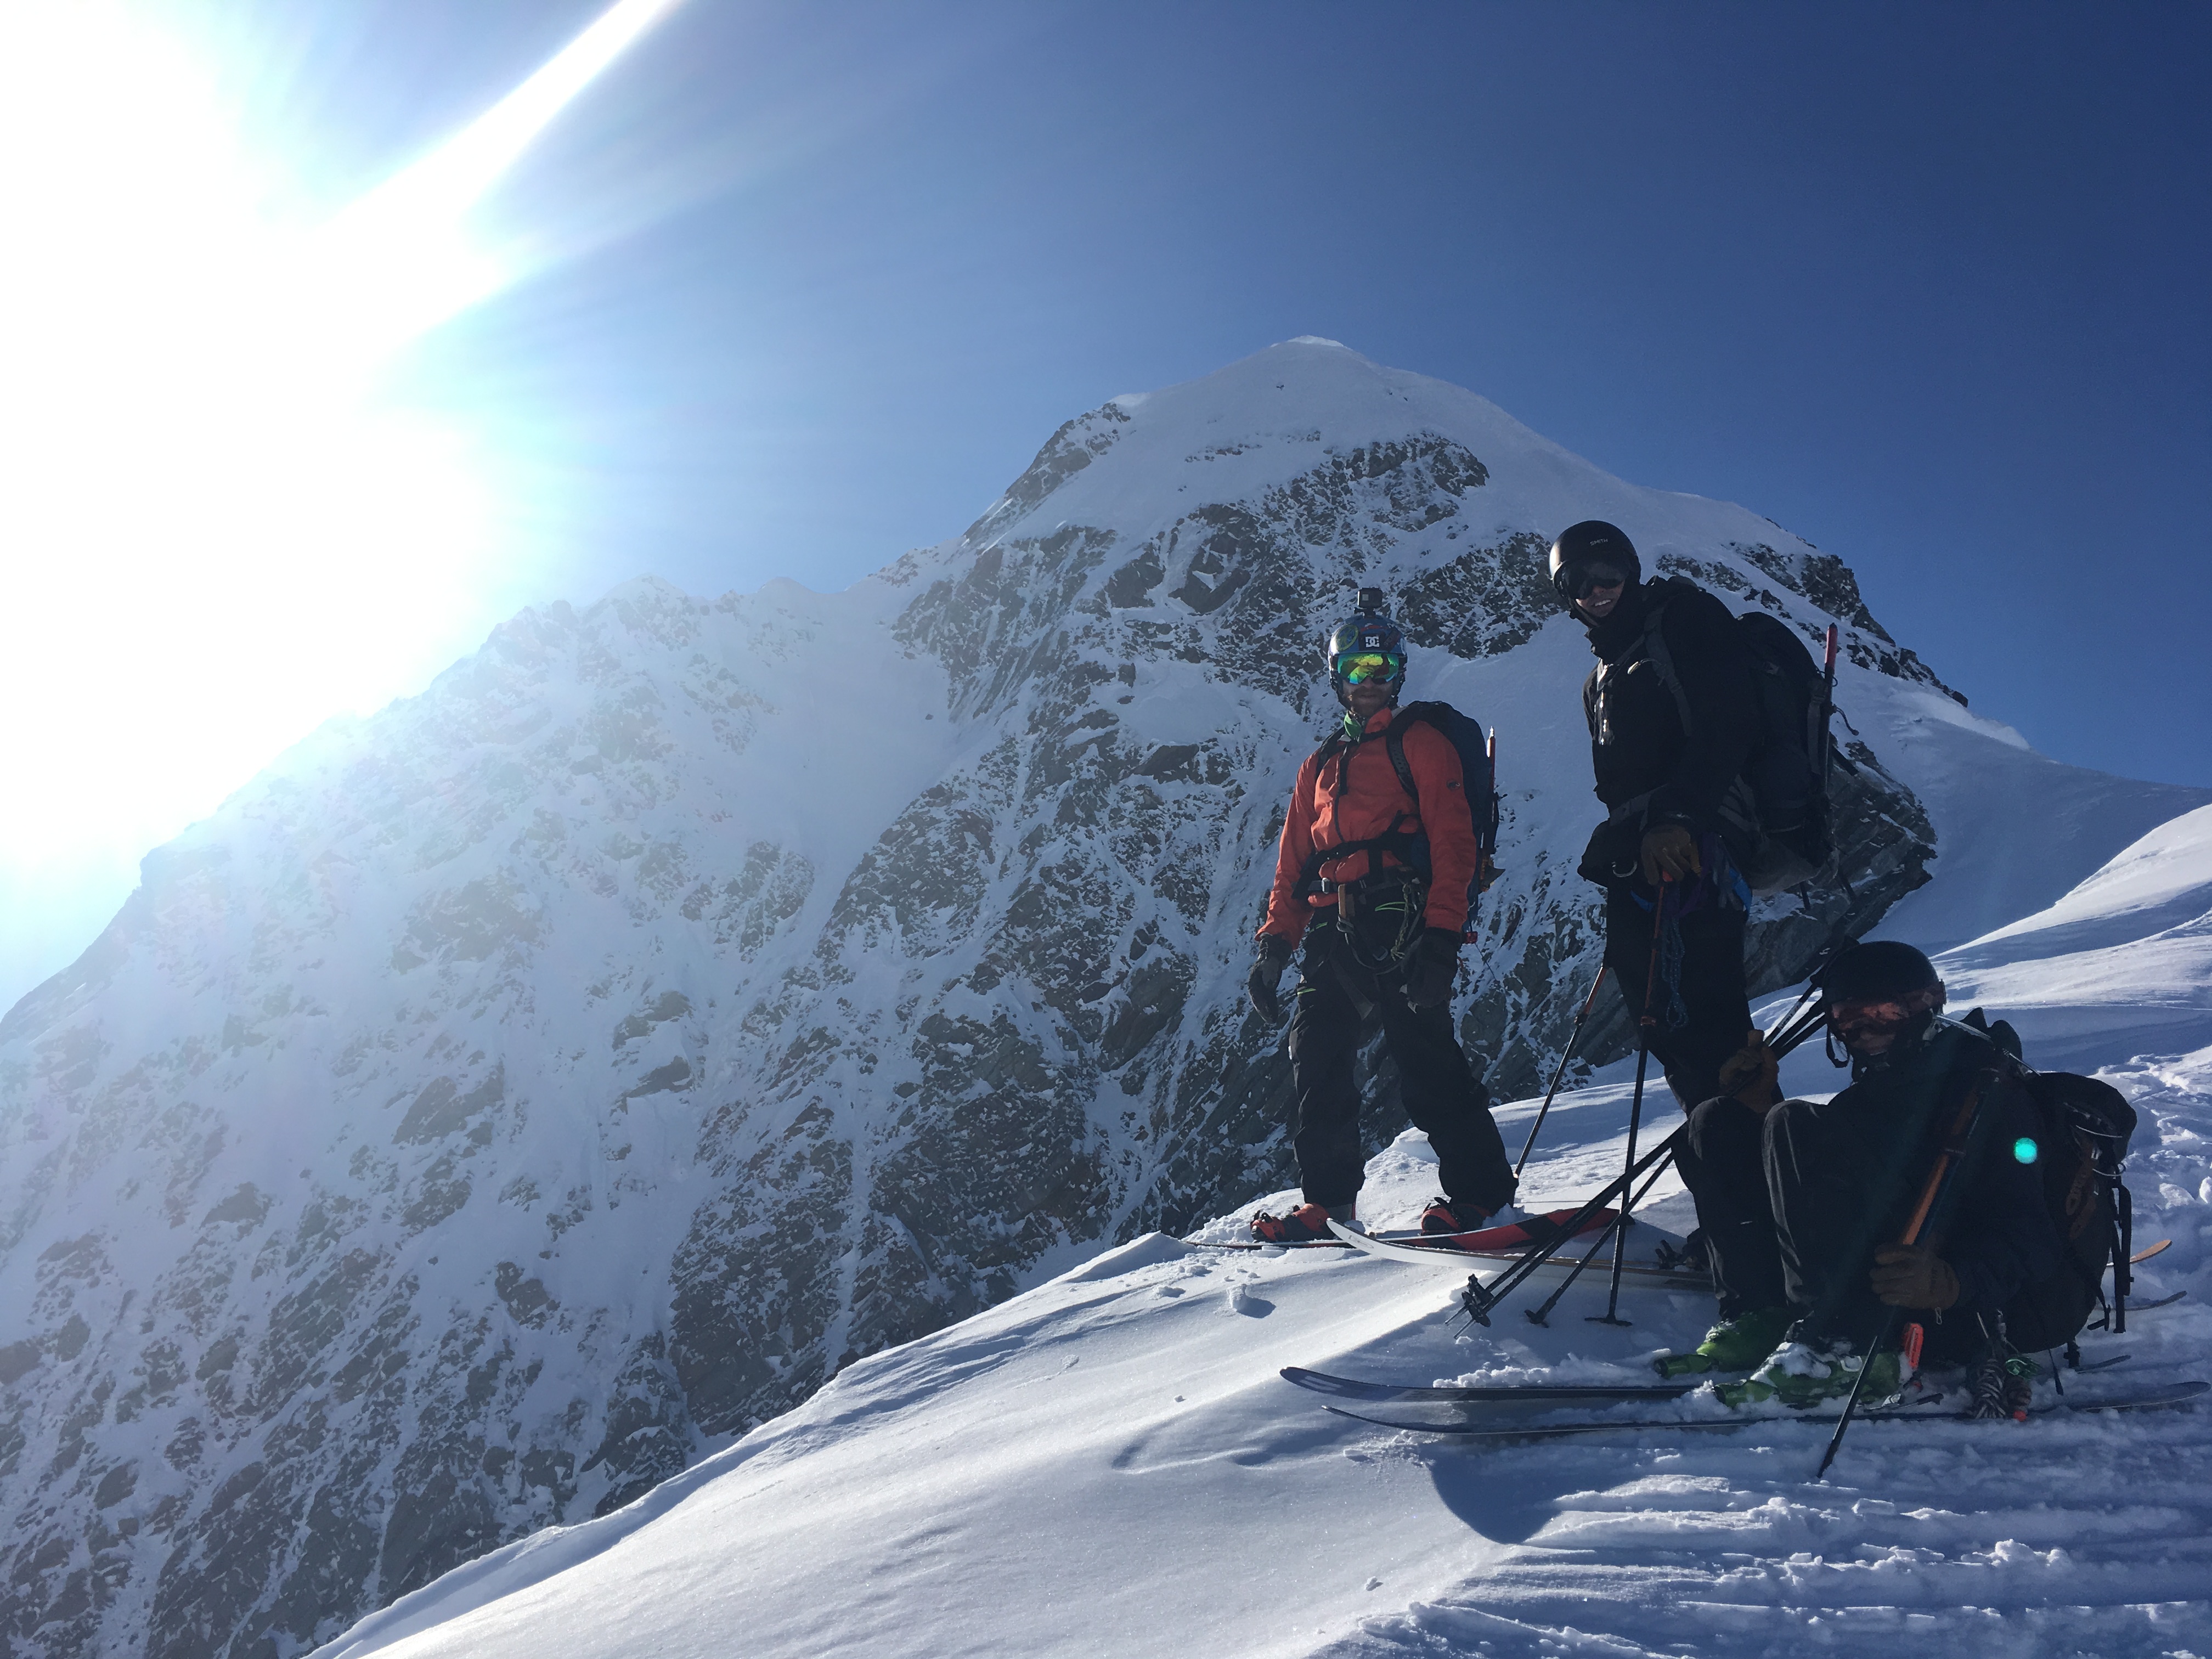
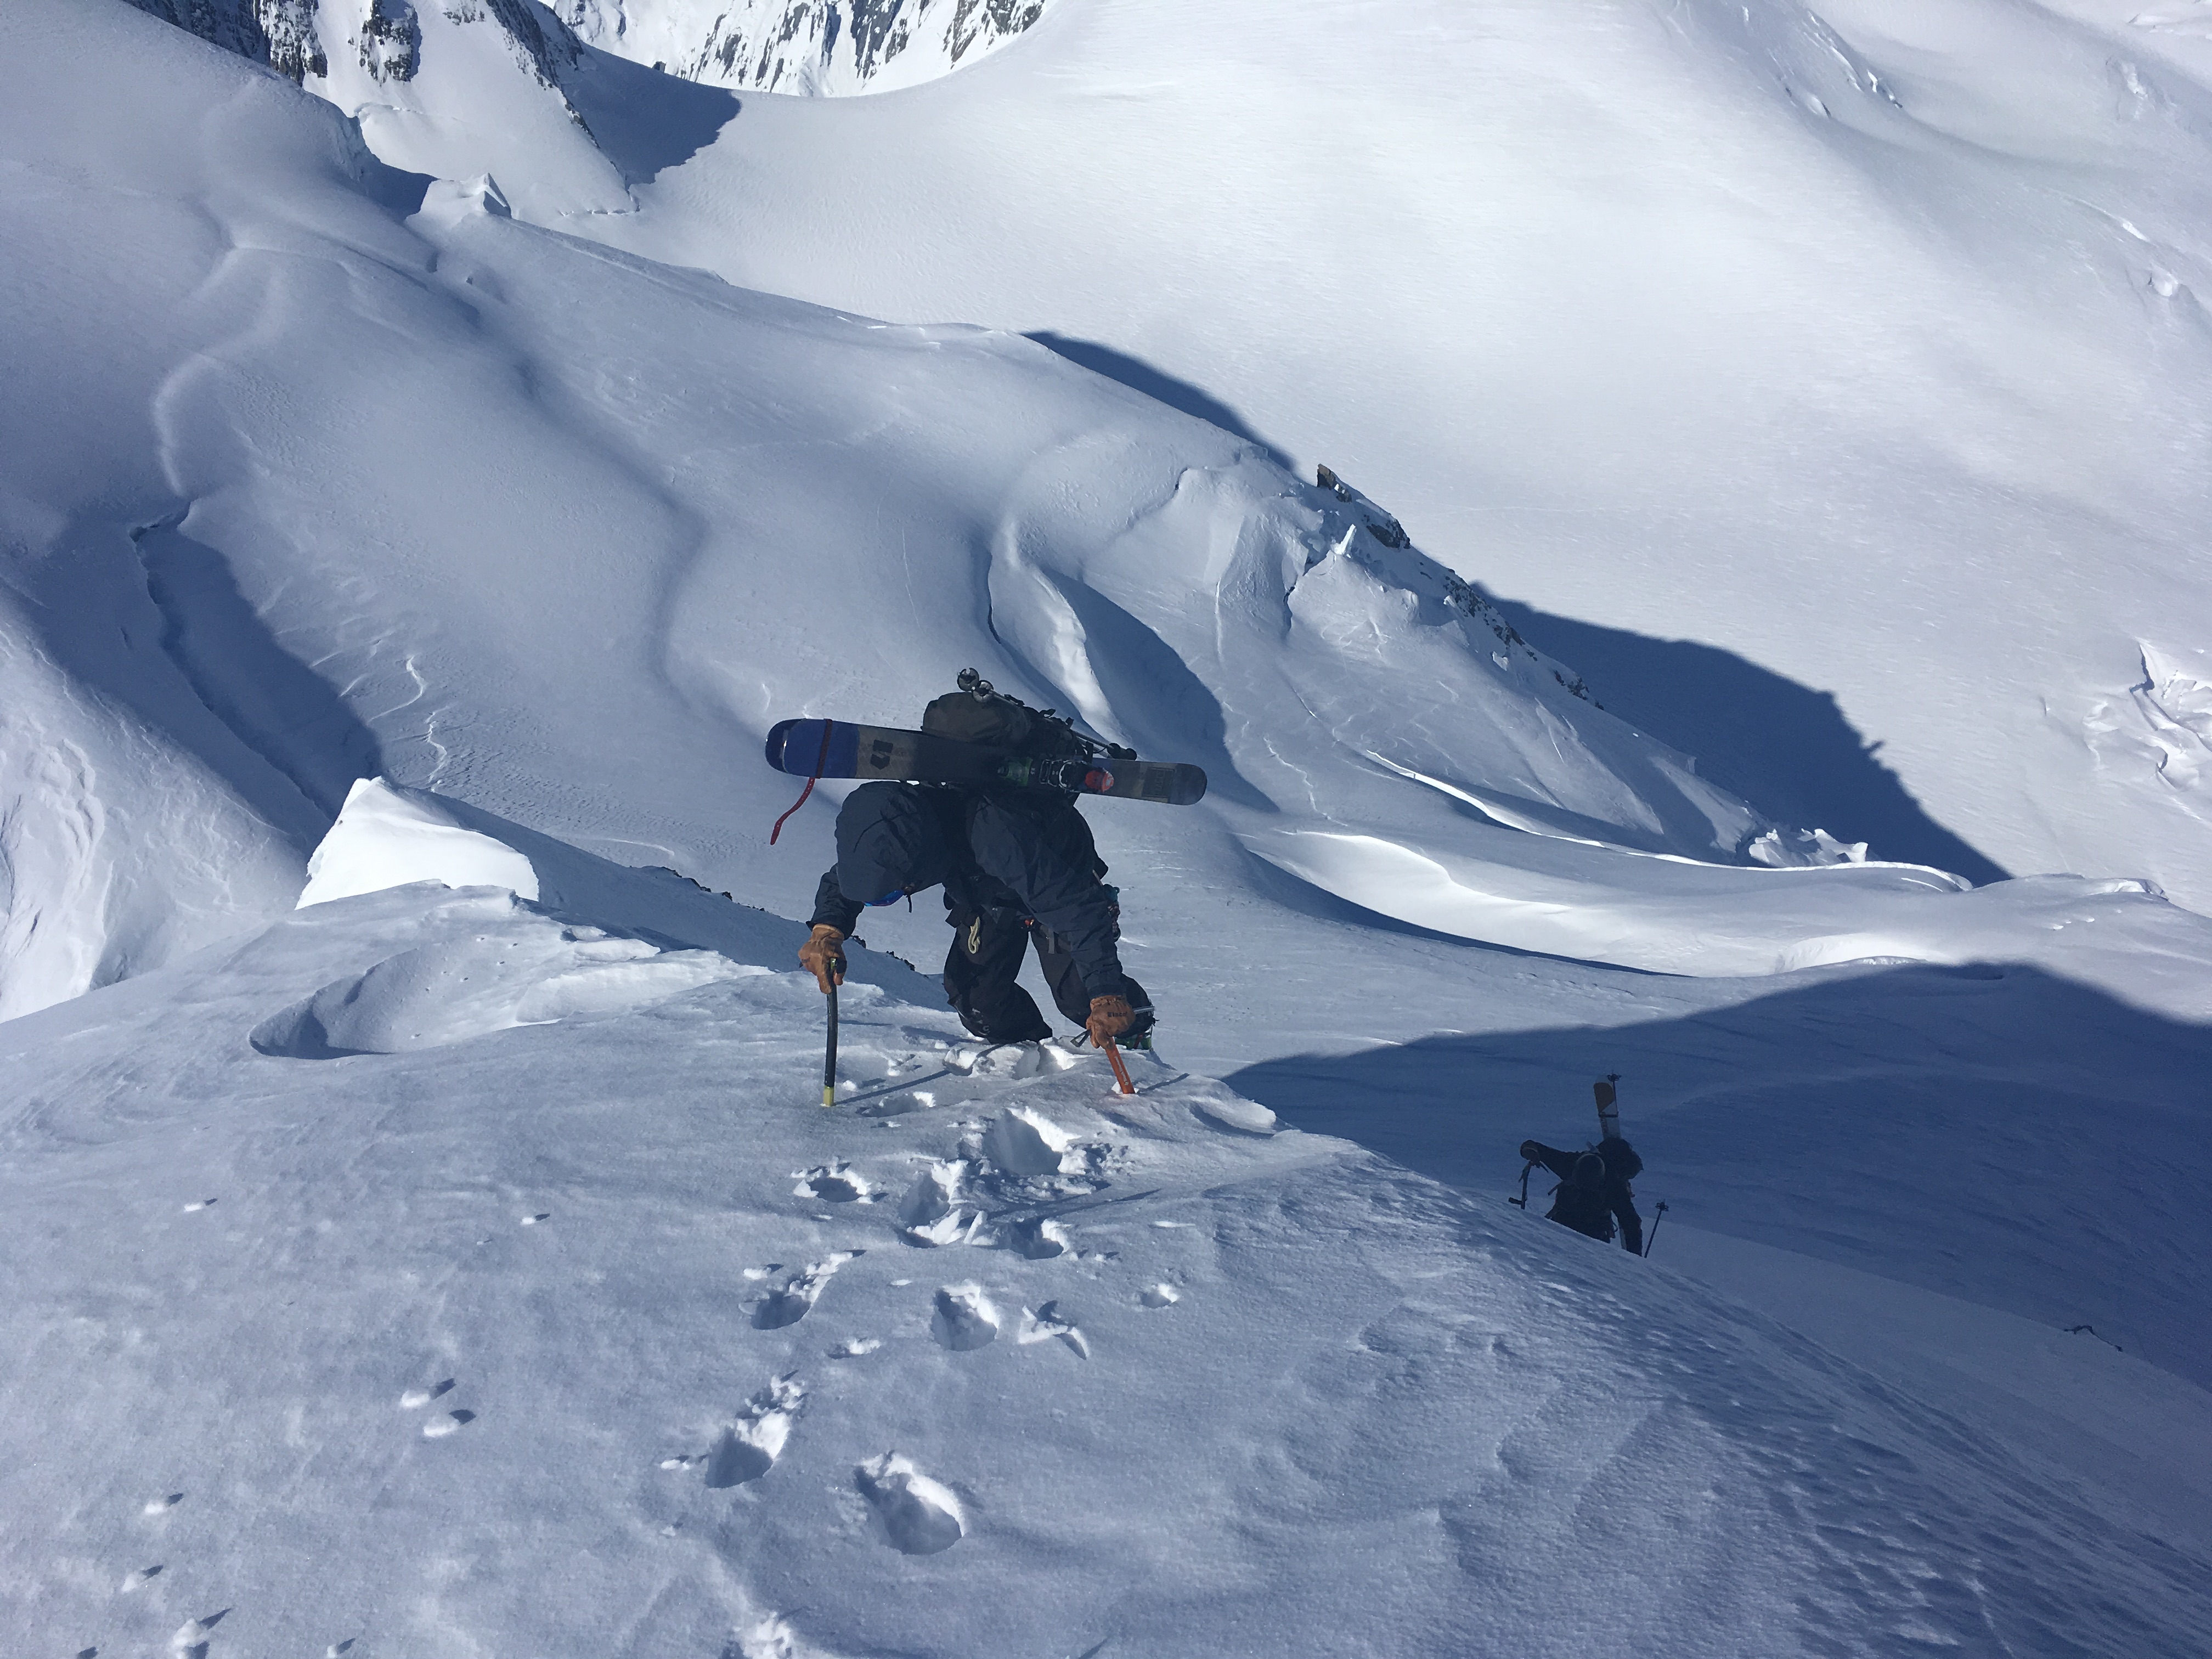
Climb

Roping up to cross the shrund at the bottom of the couloir. The imposing ice cliffs of the South Face on the left

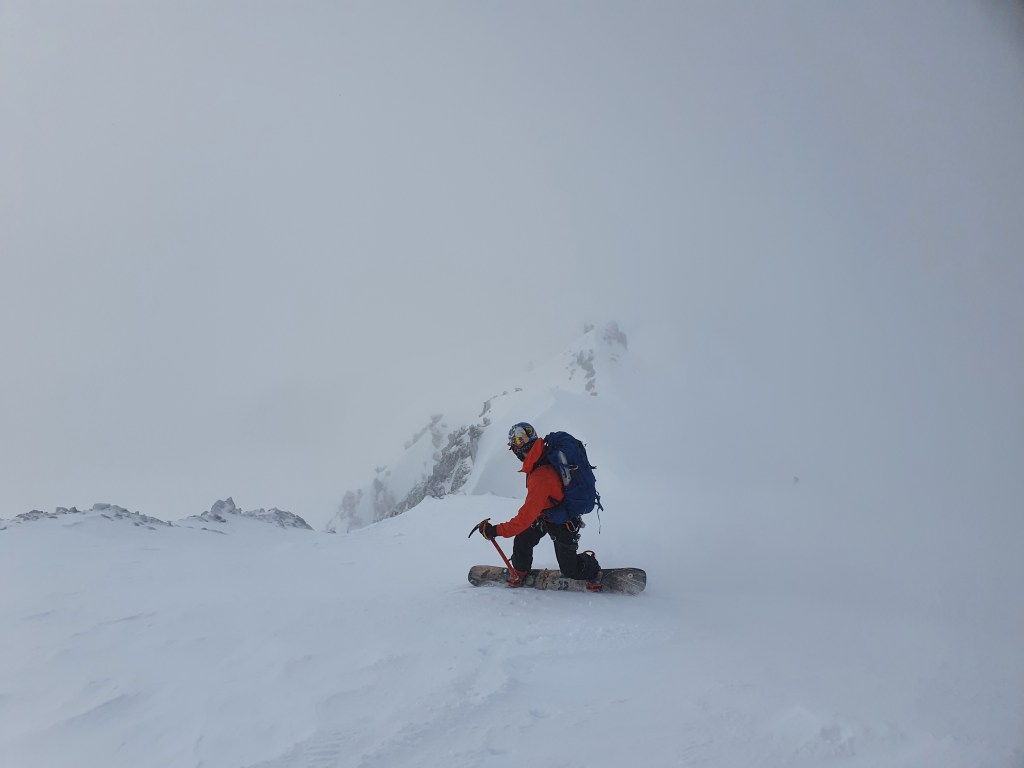
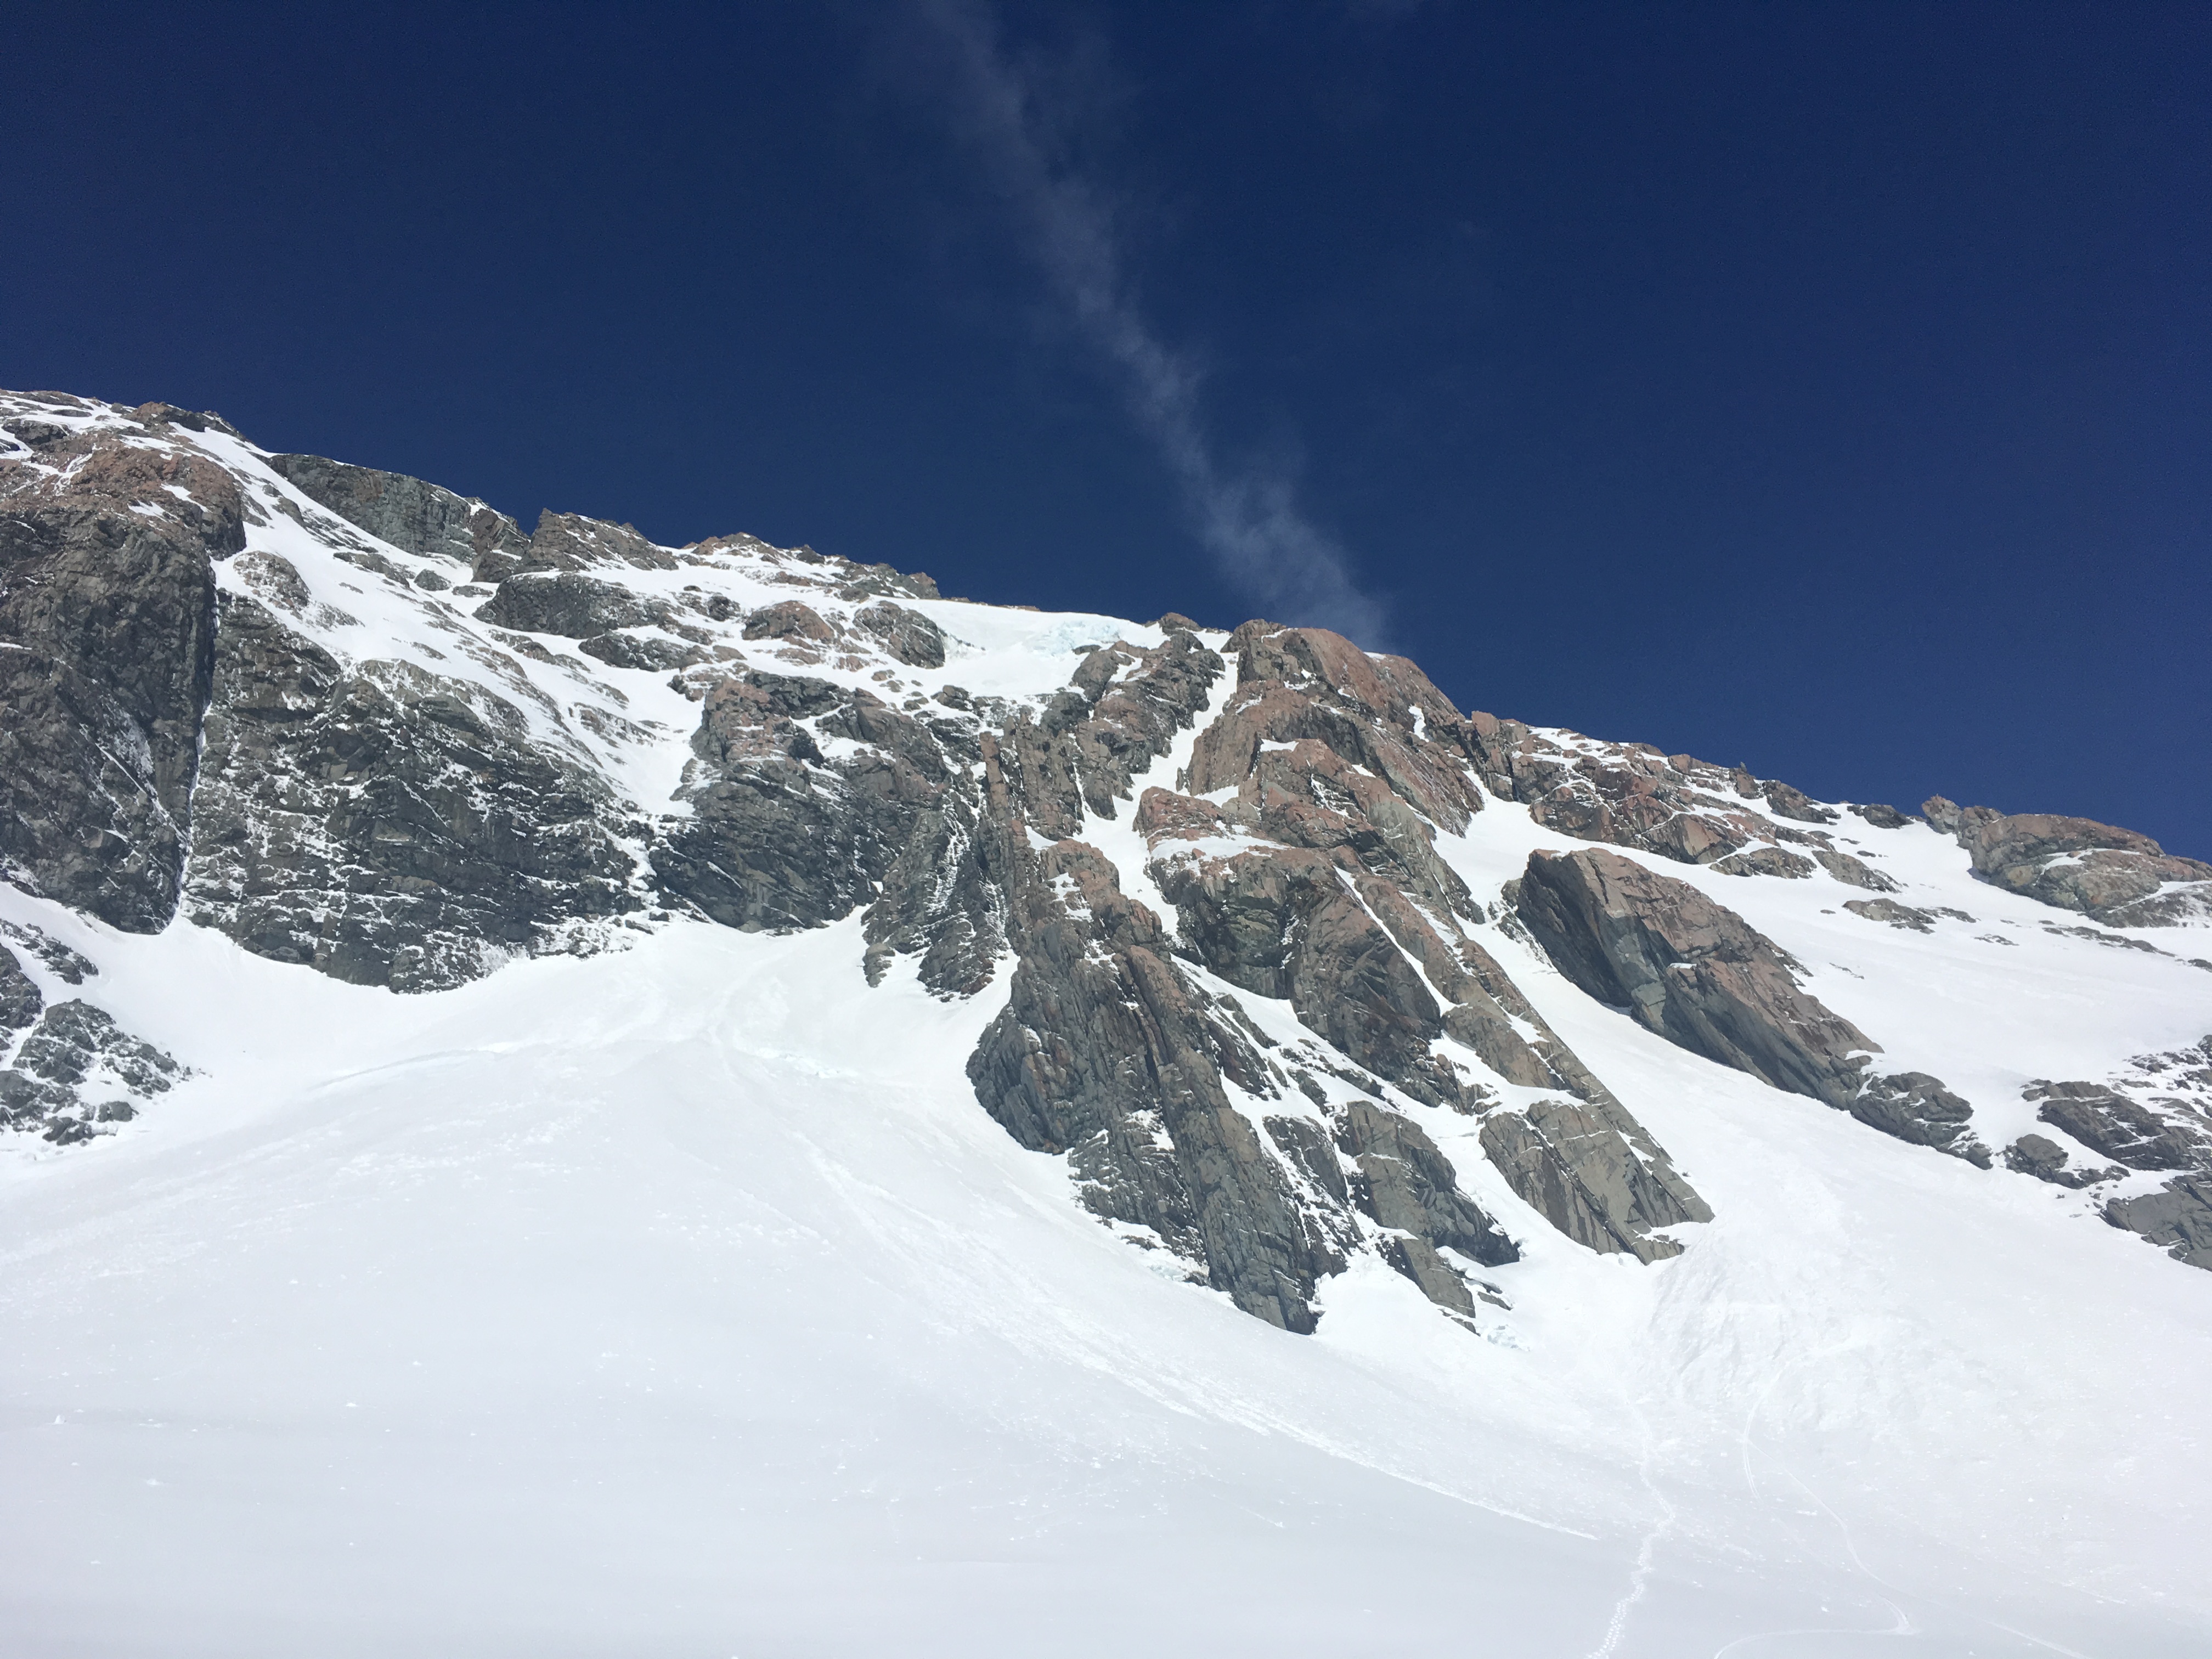
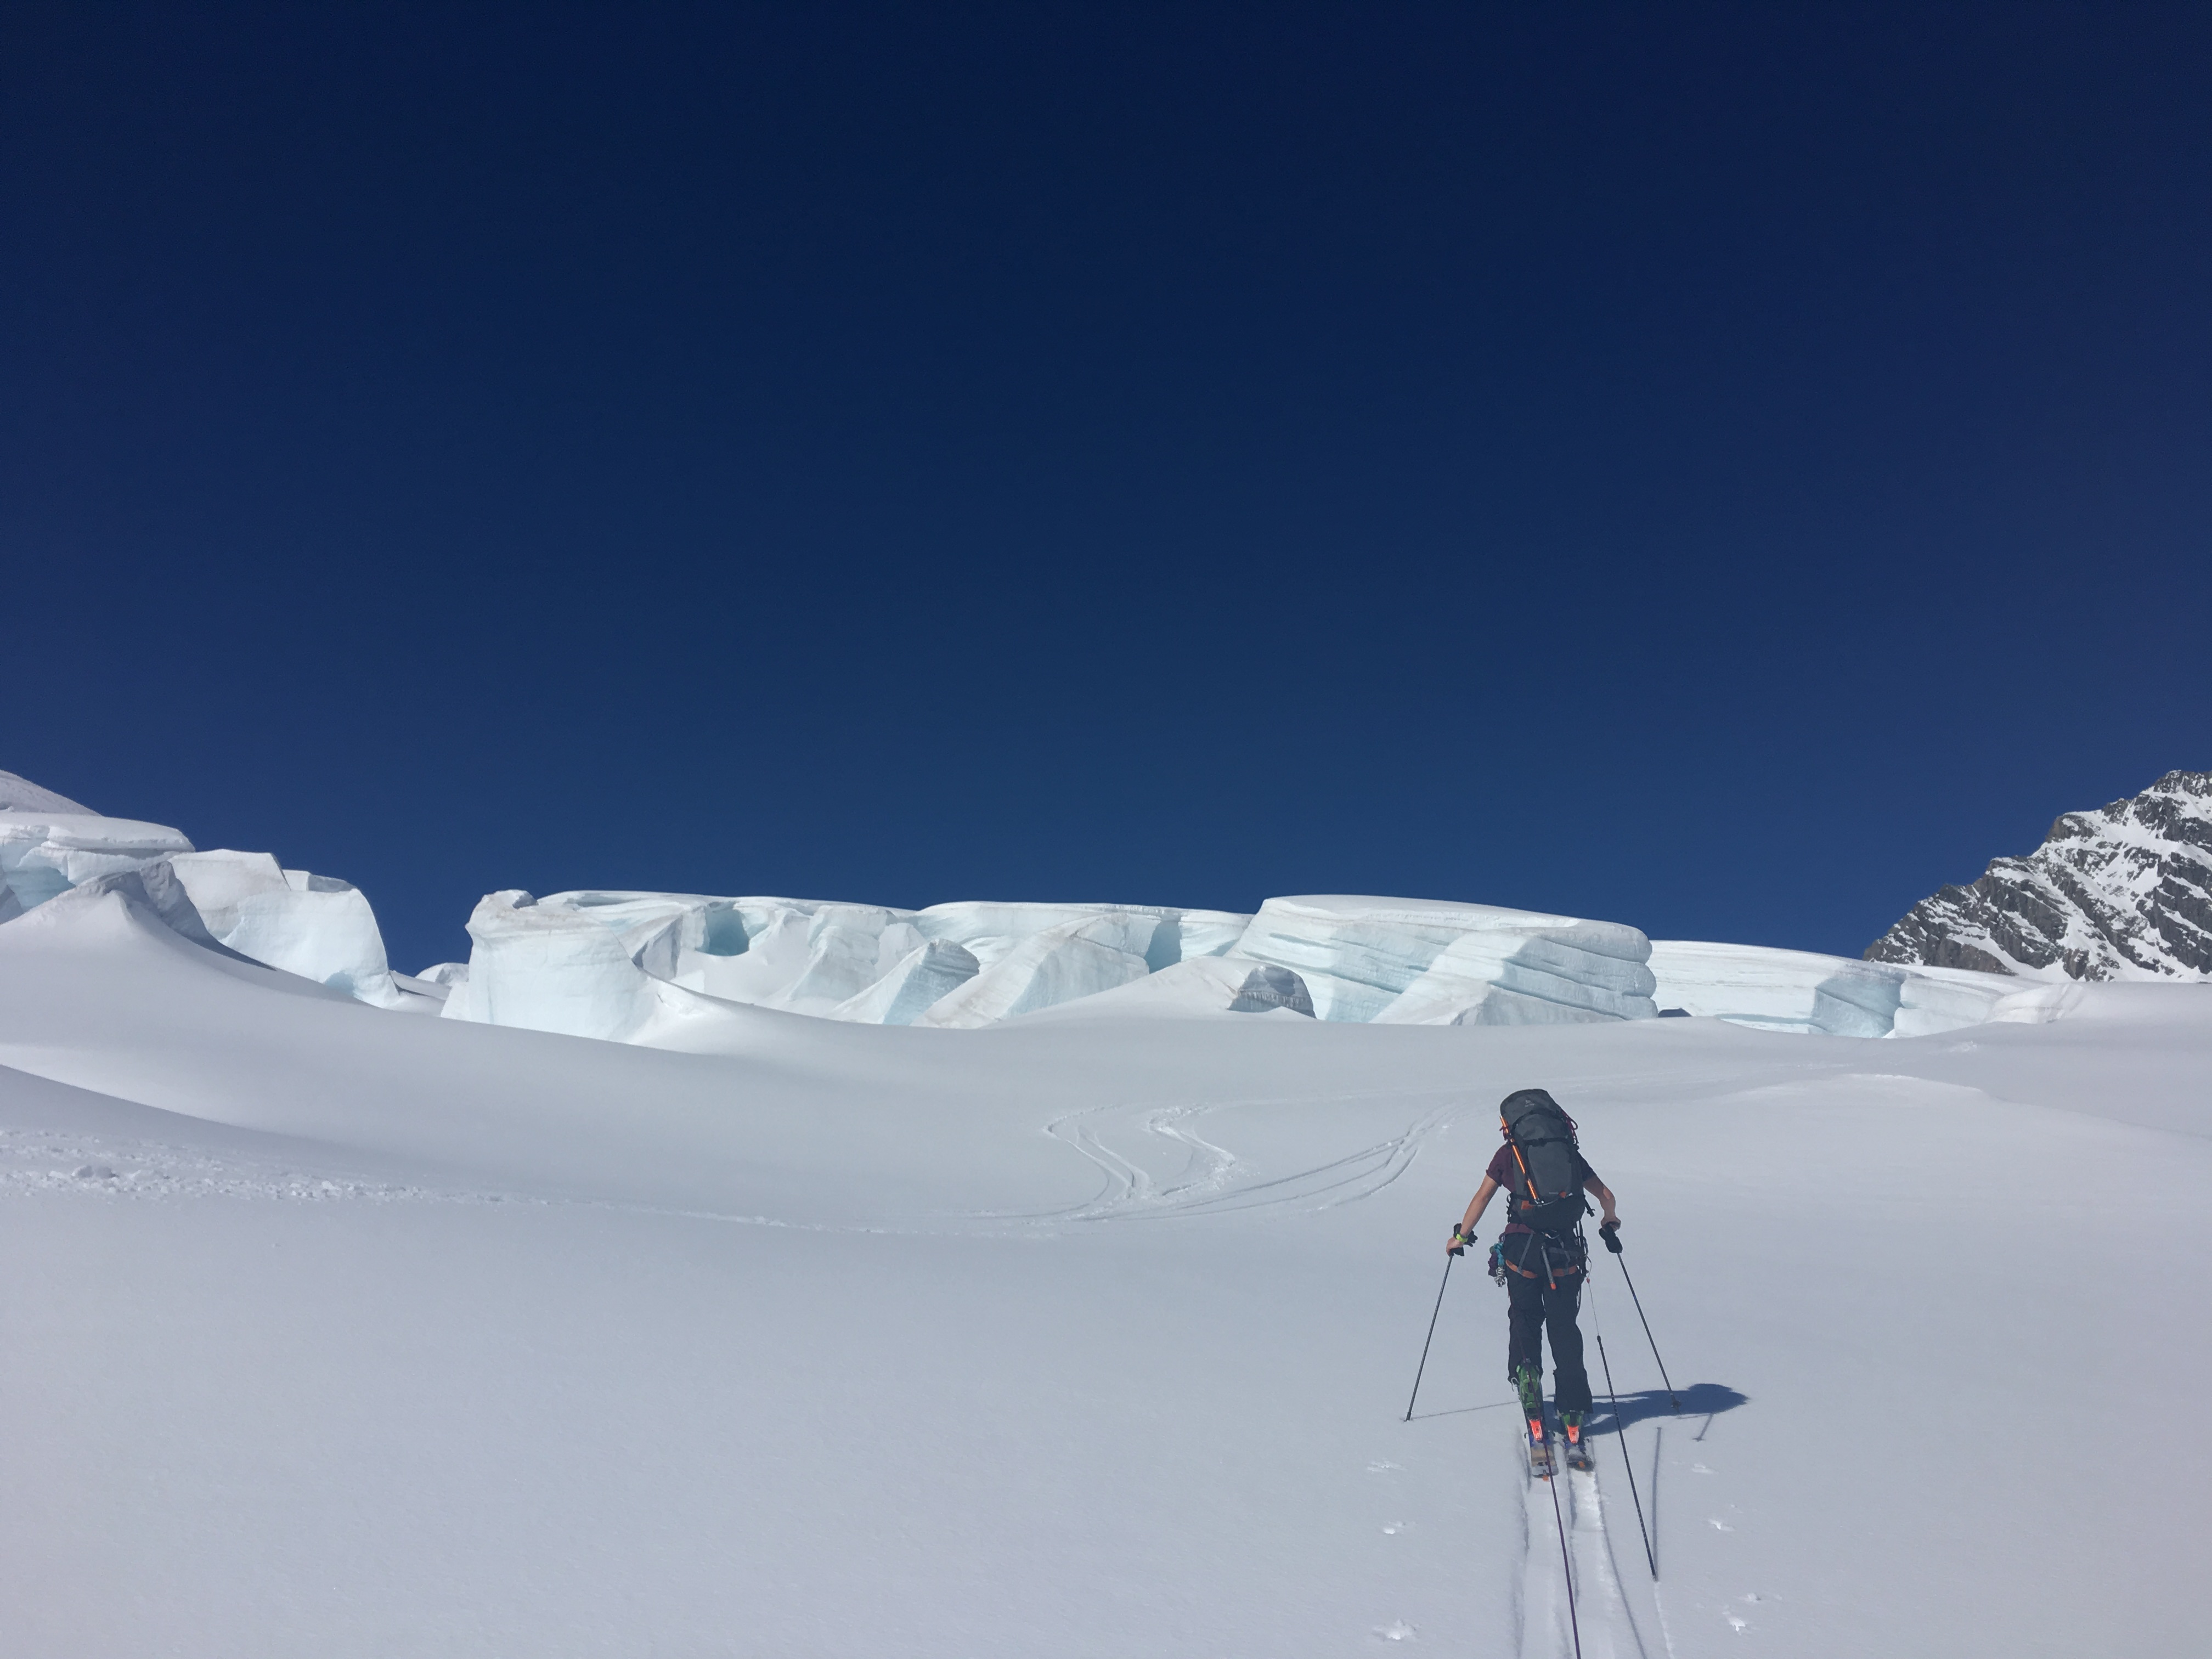
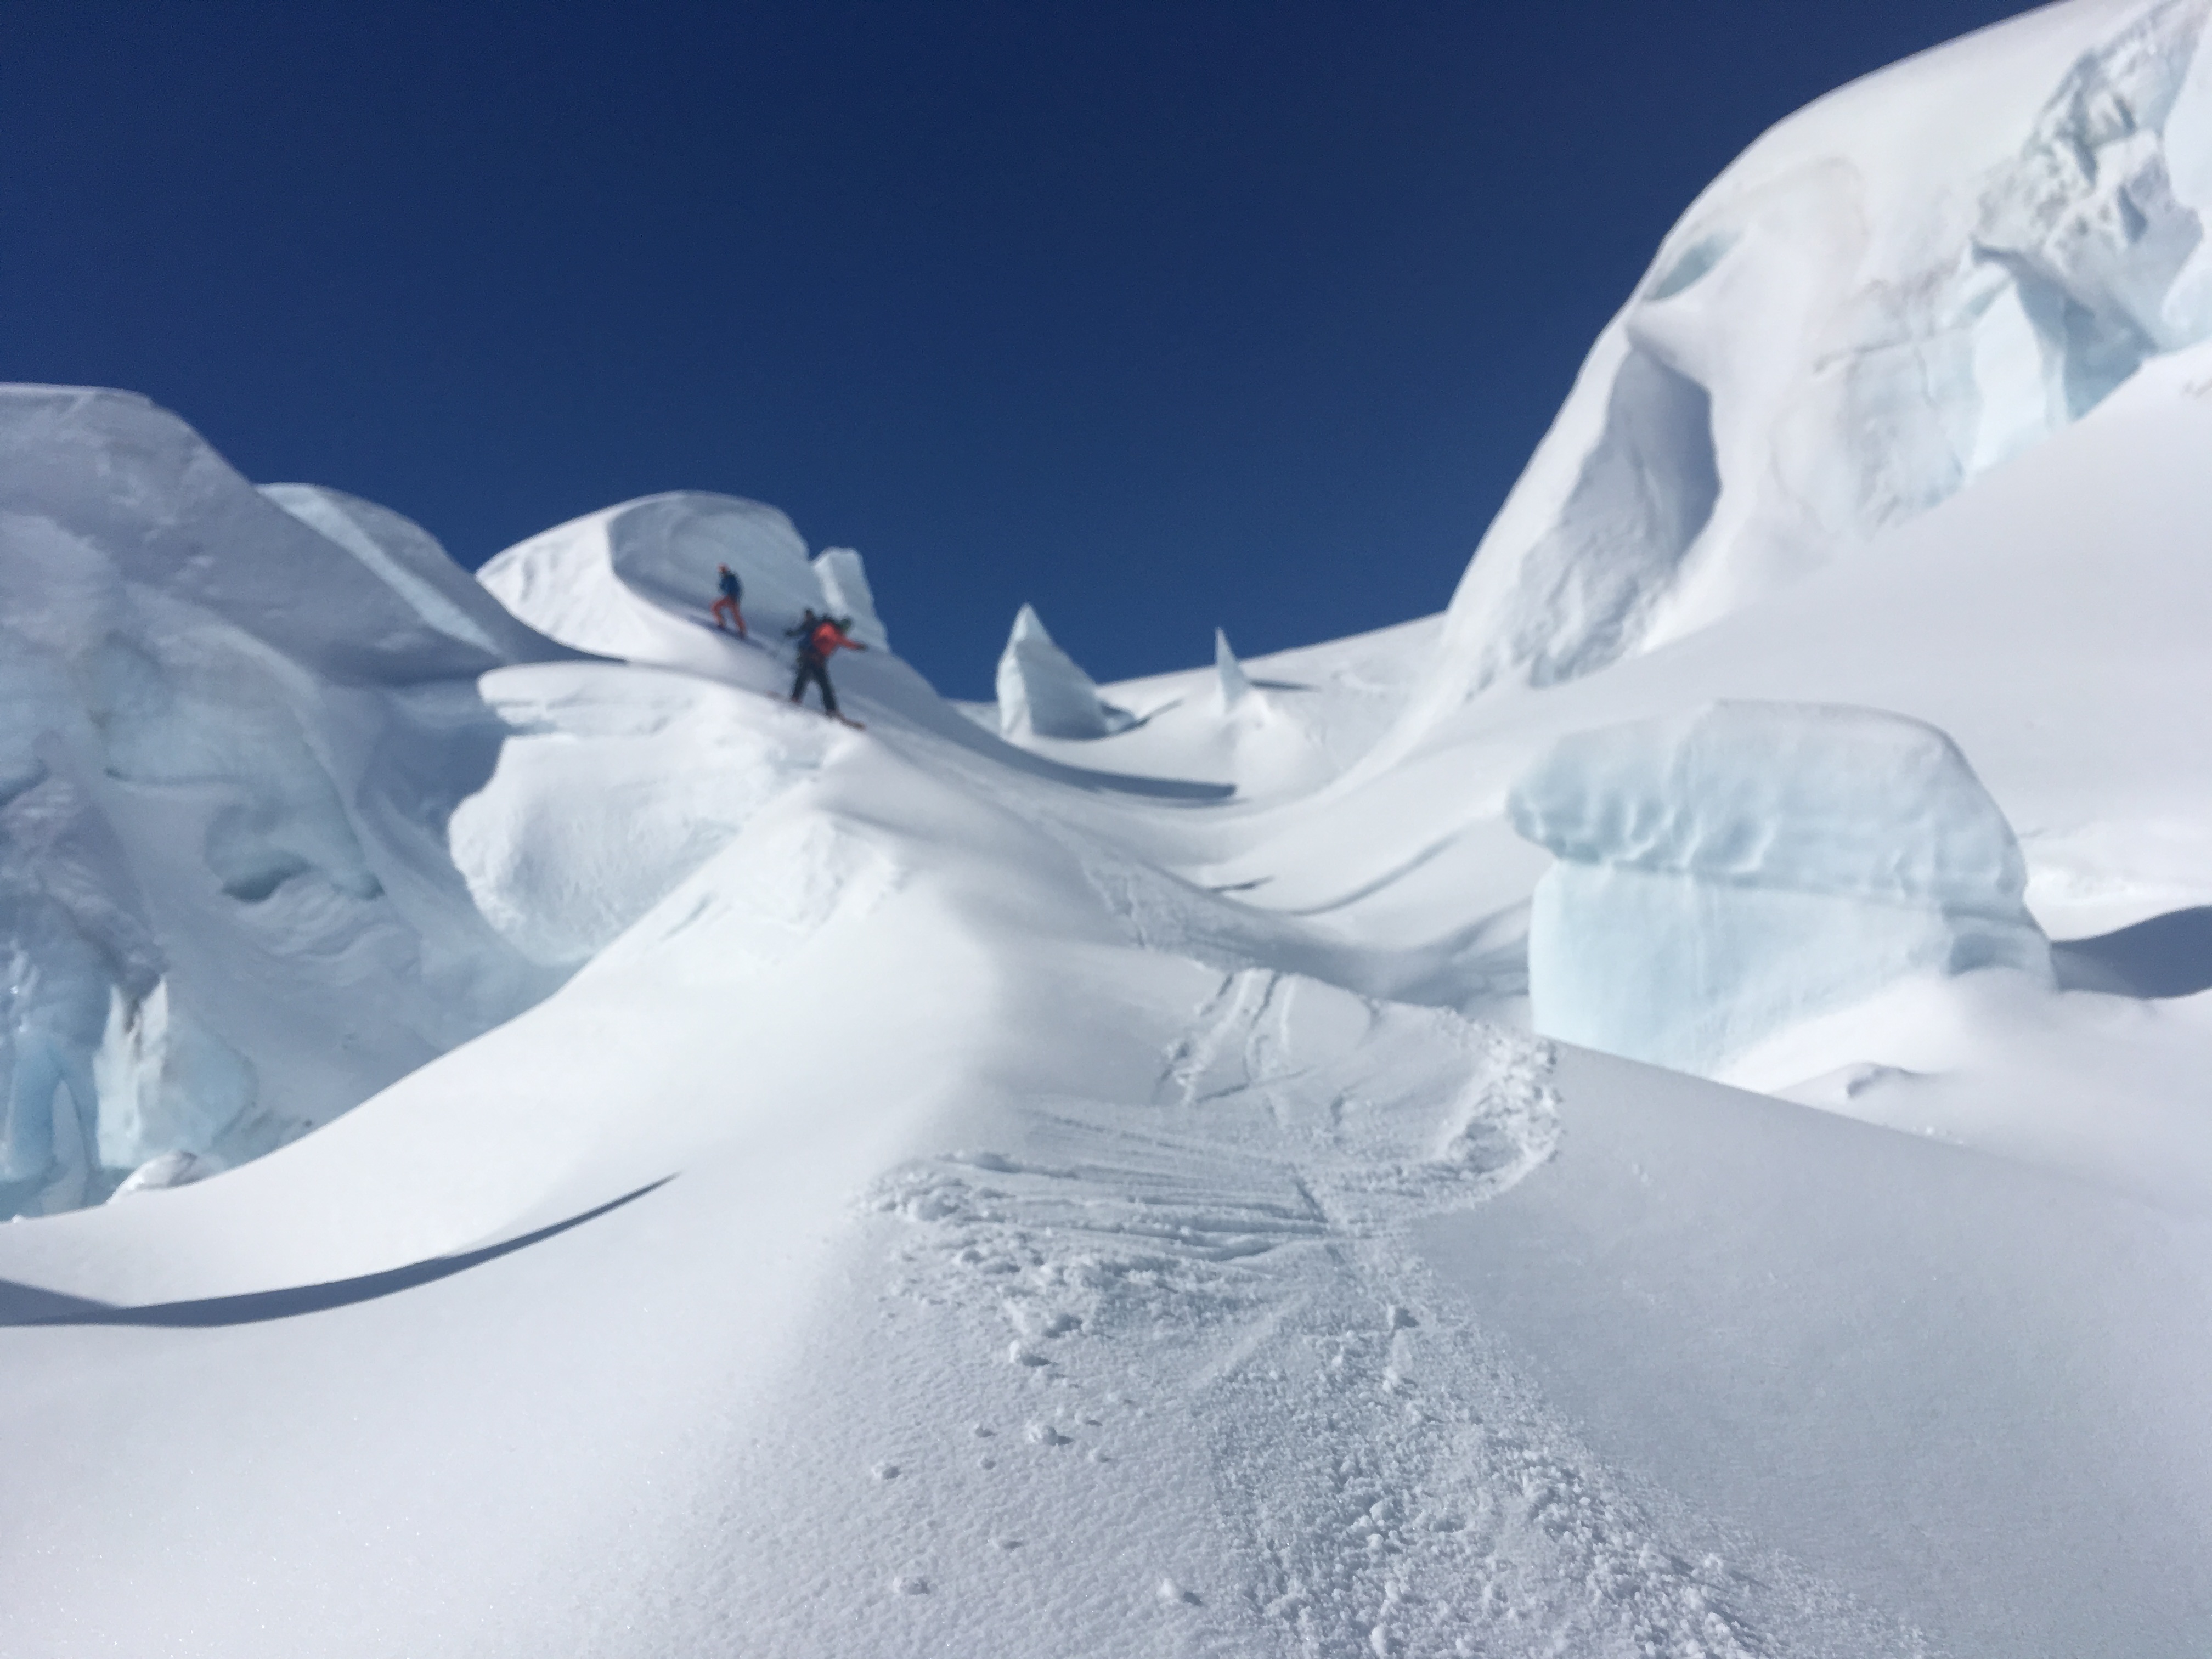
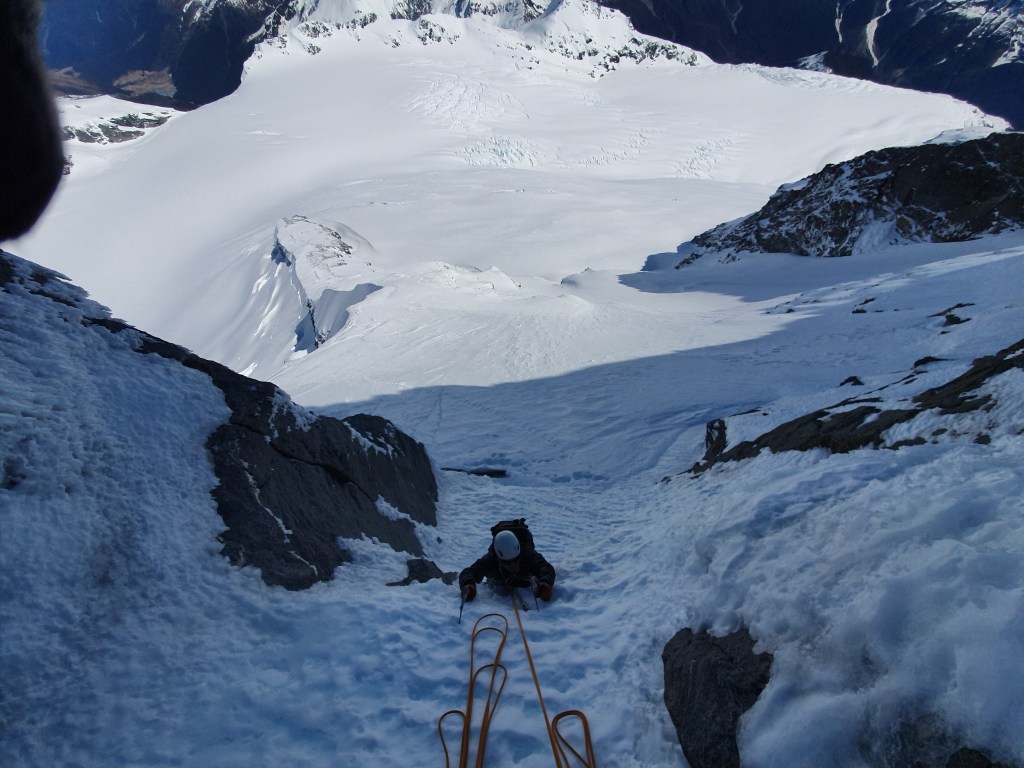
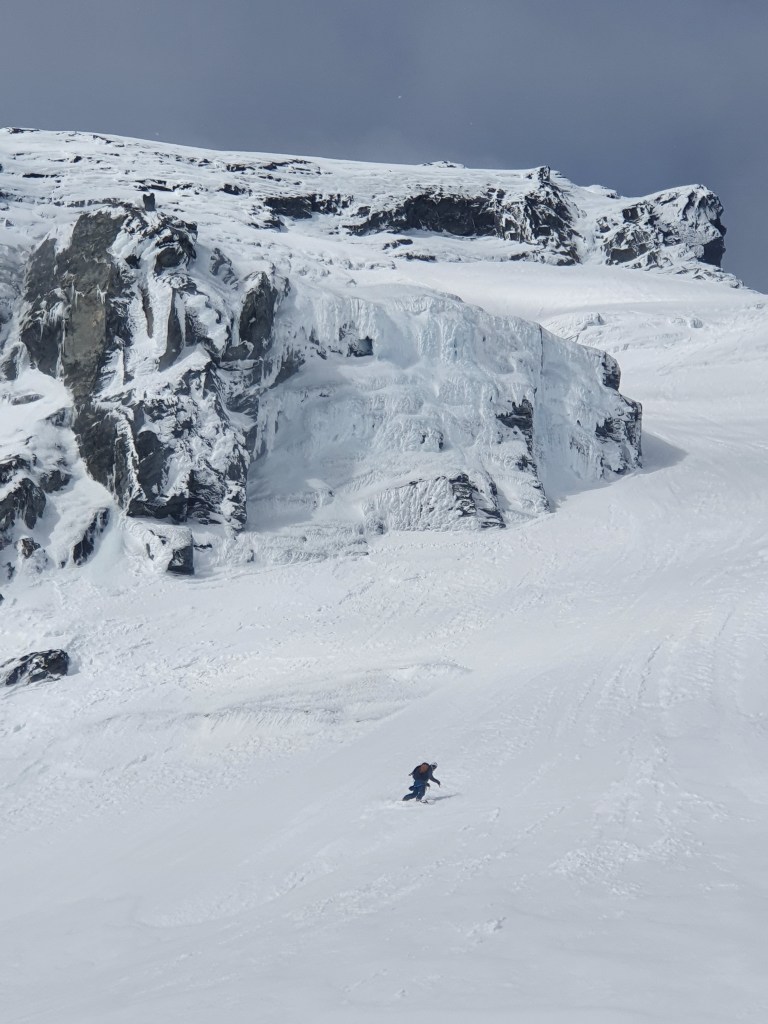
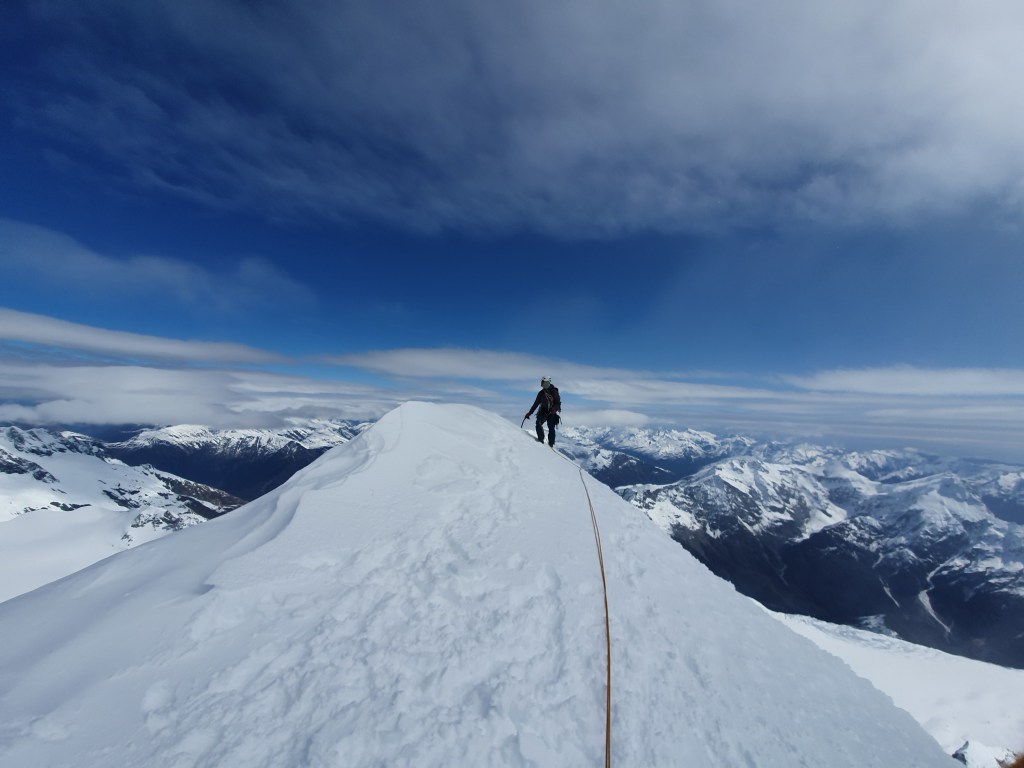
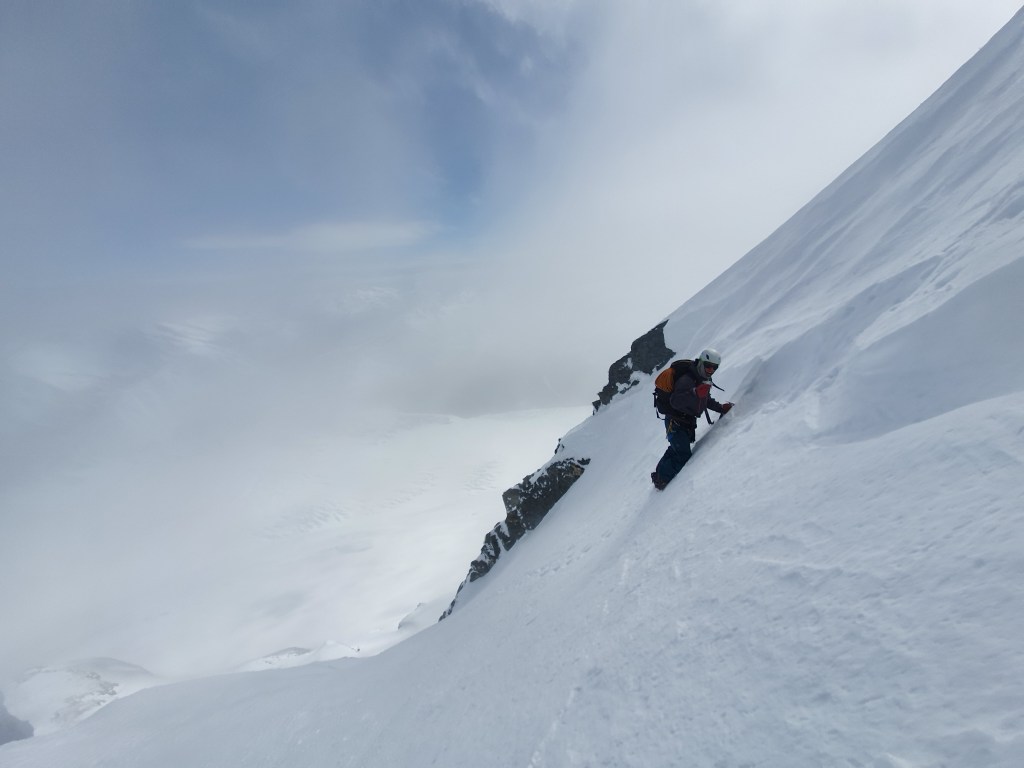
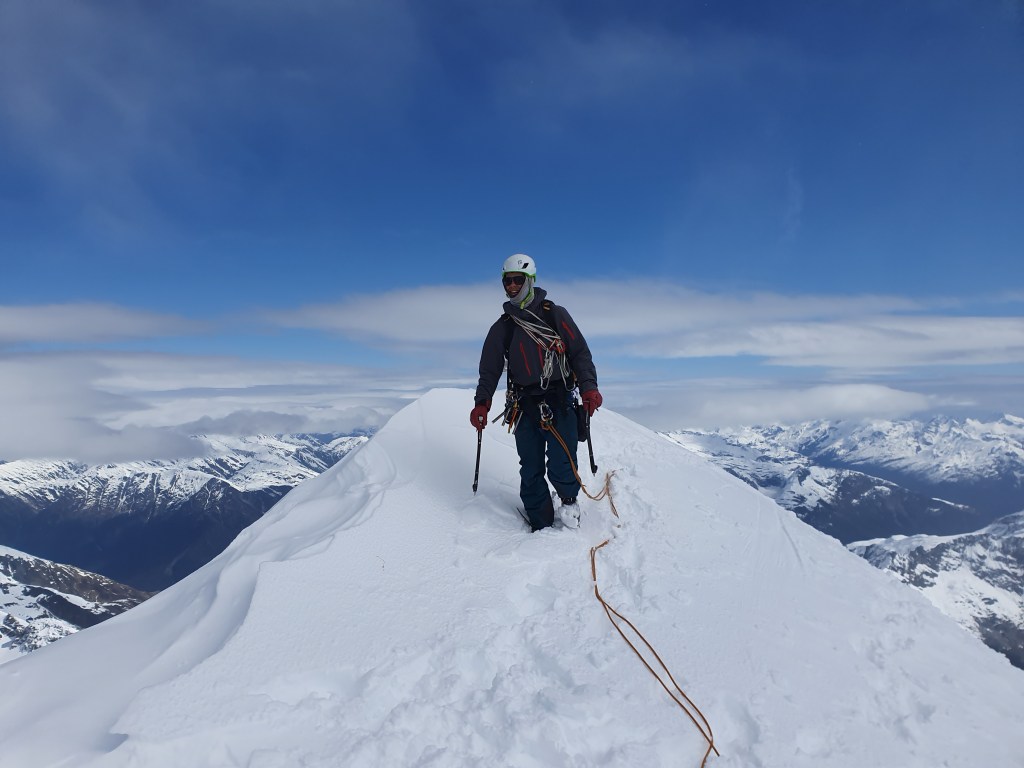
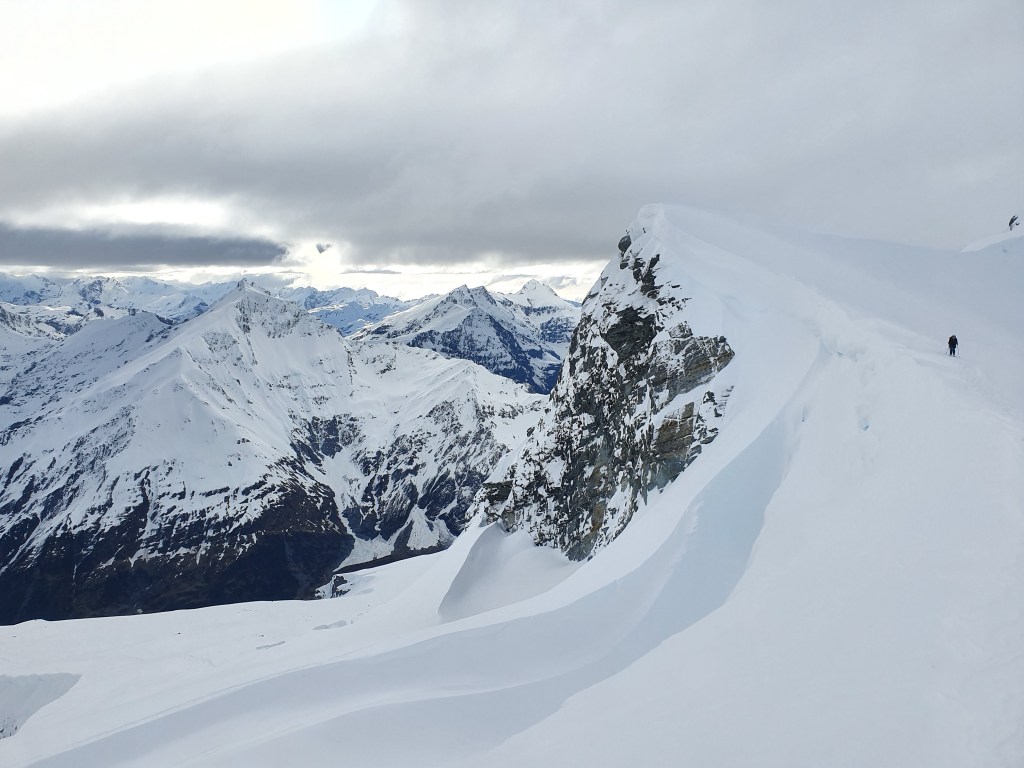
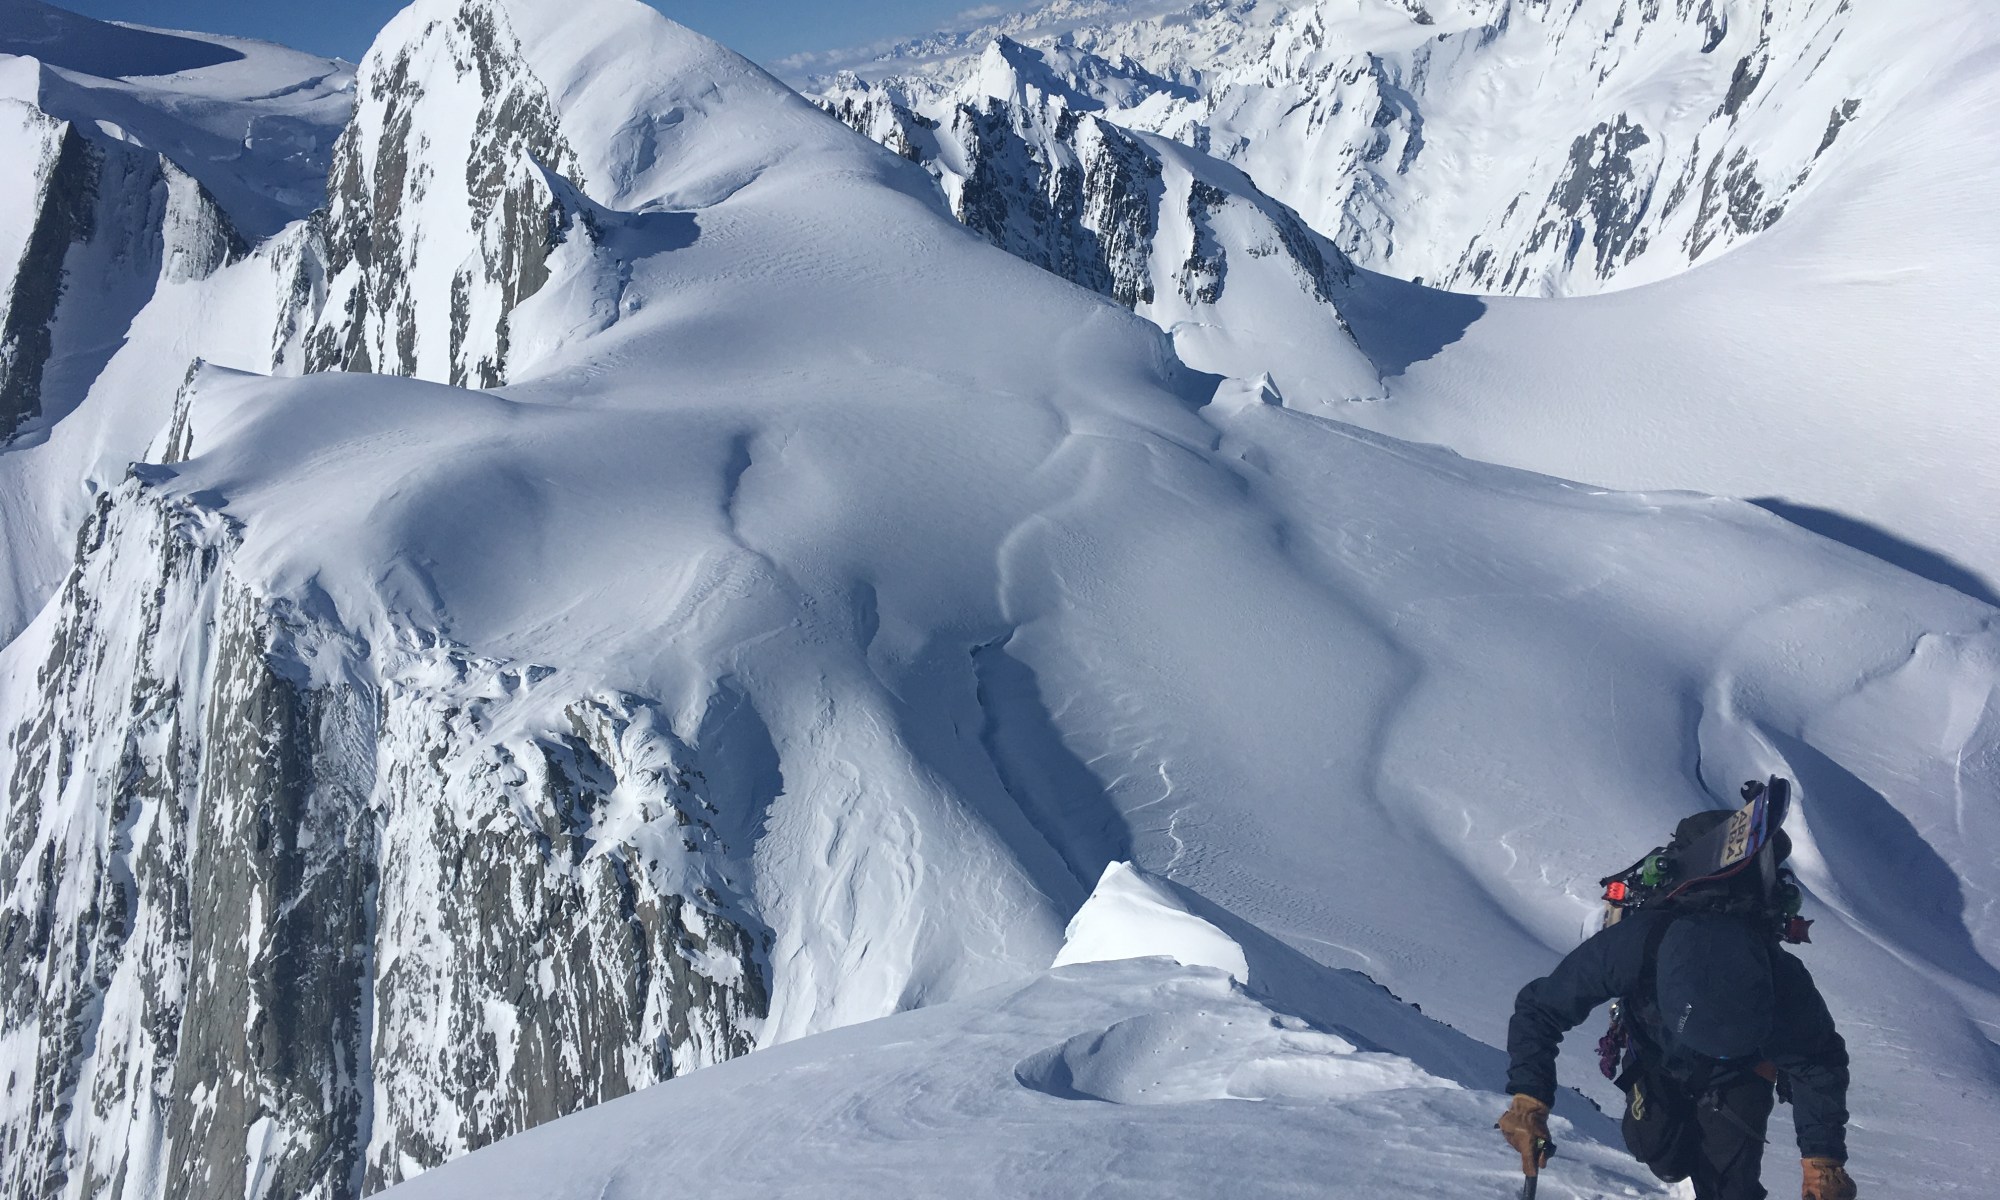
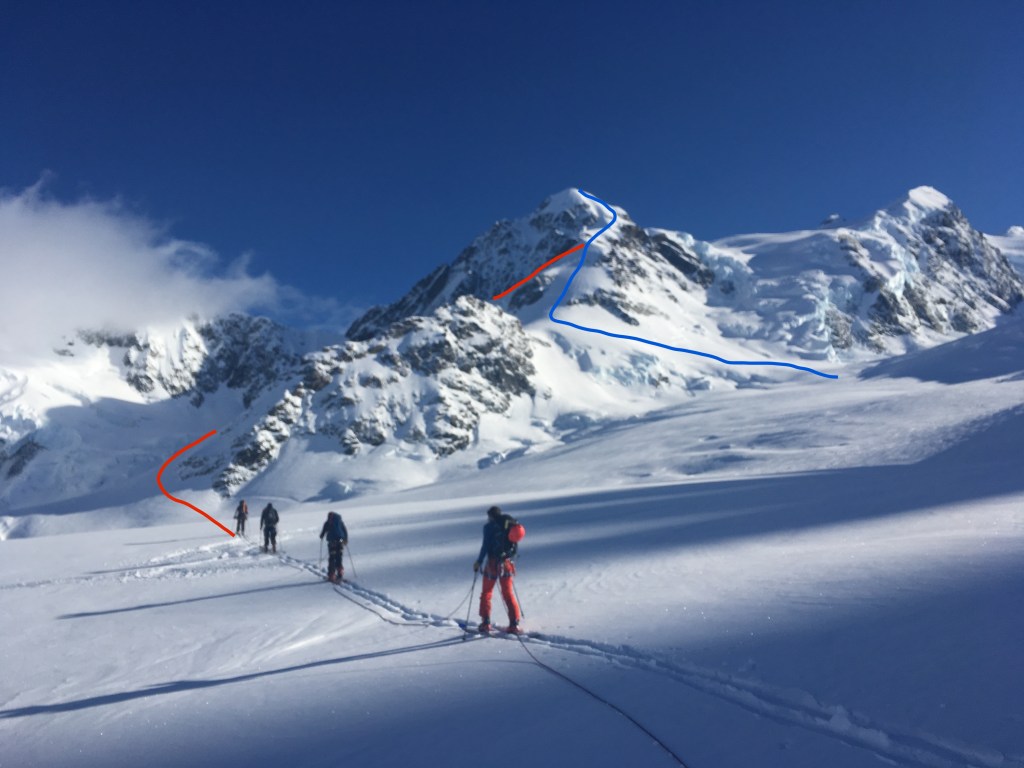
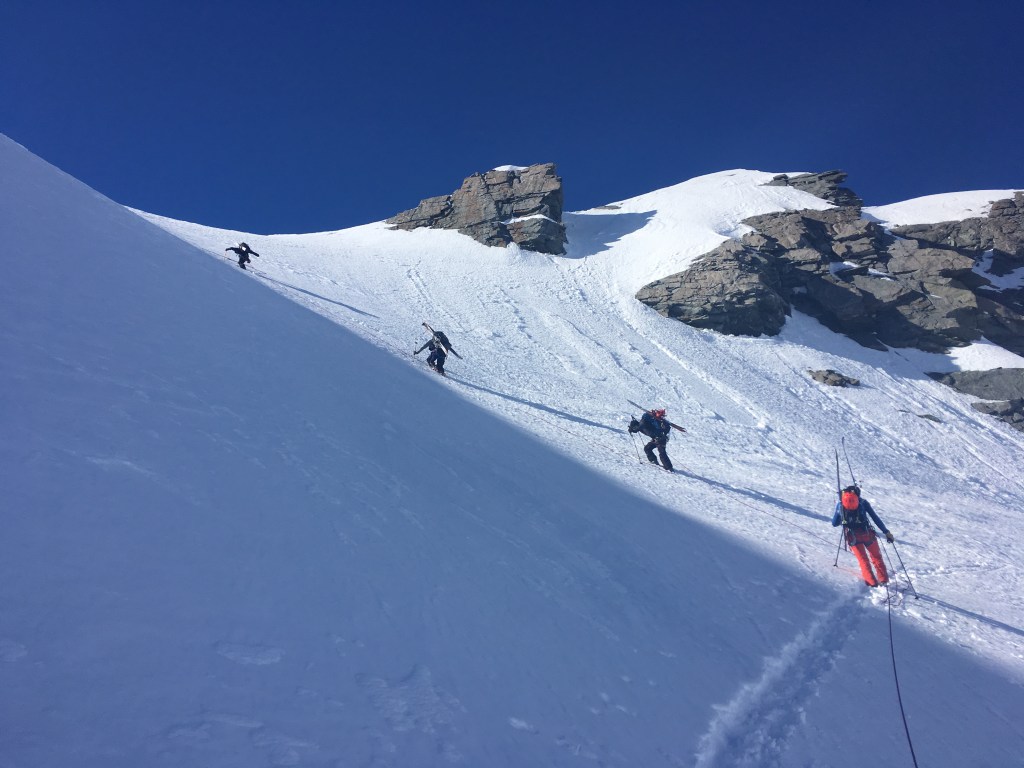
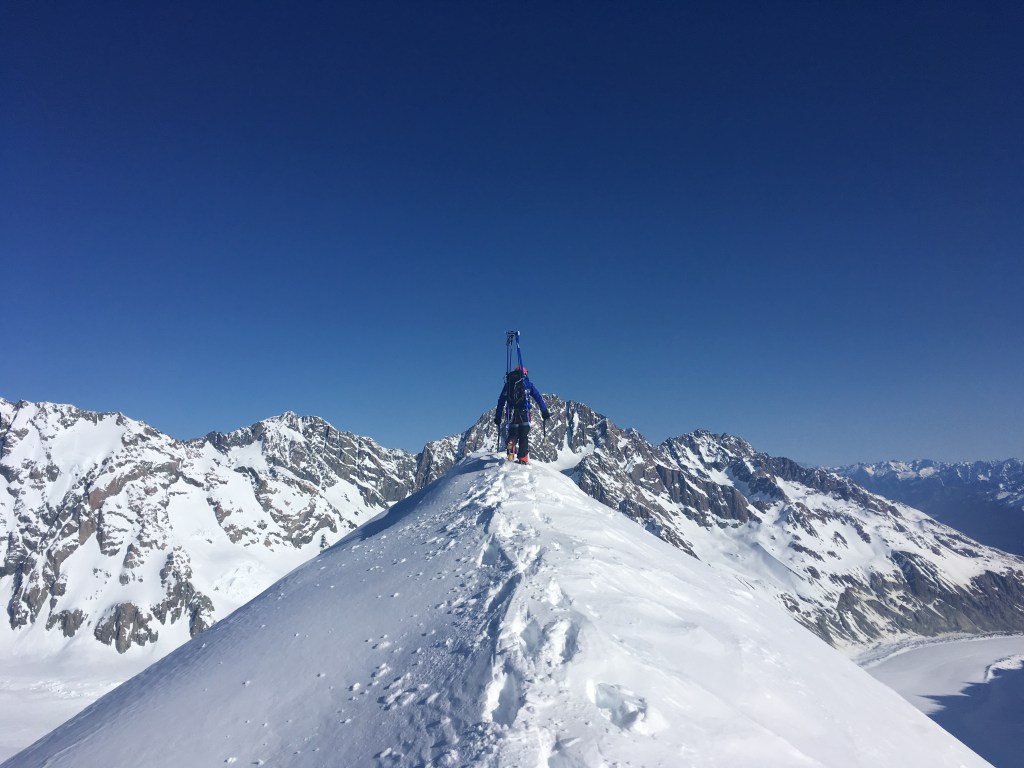
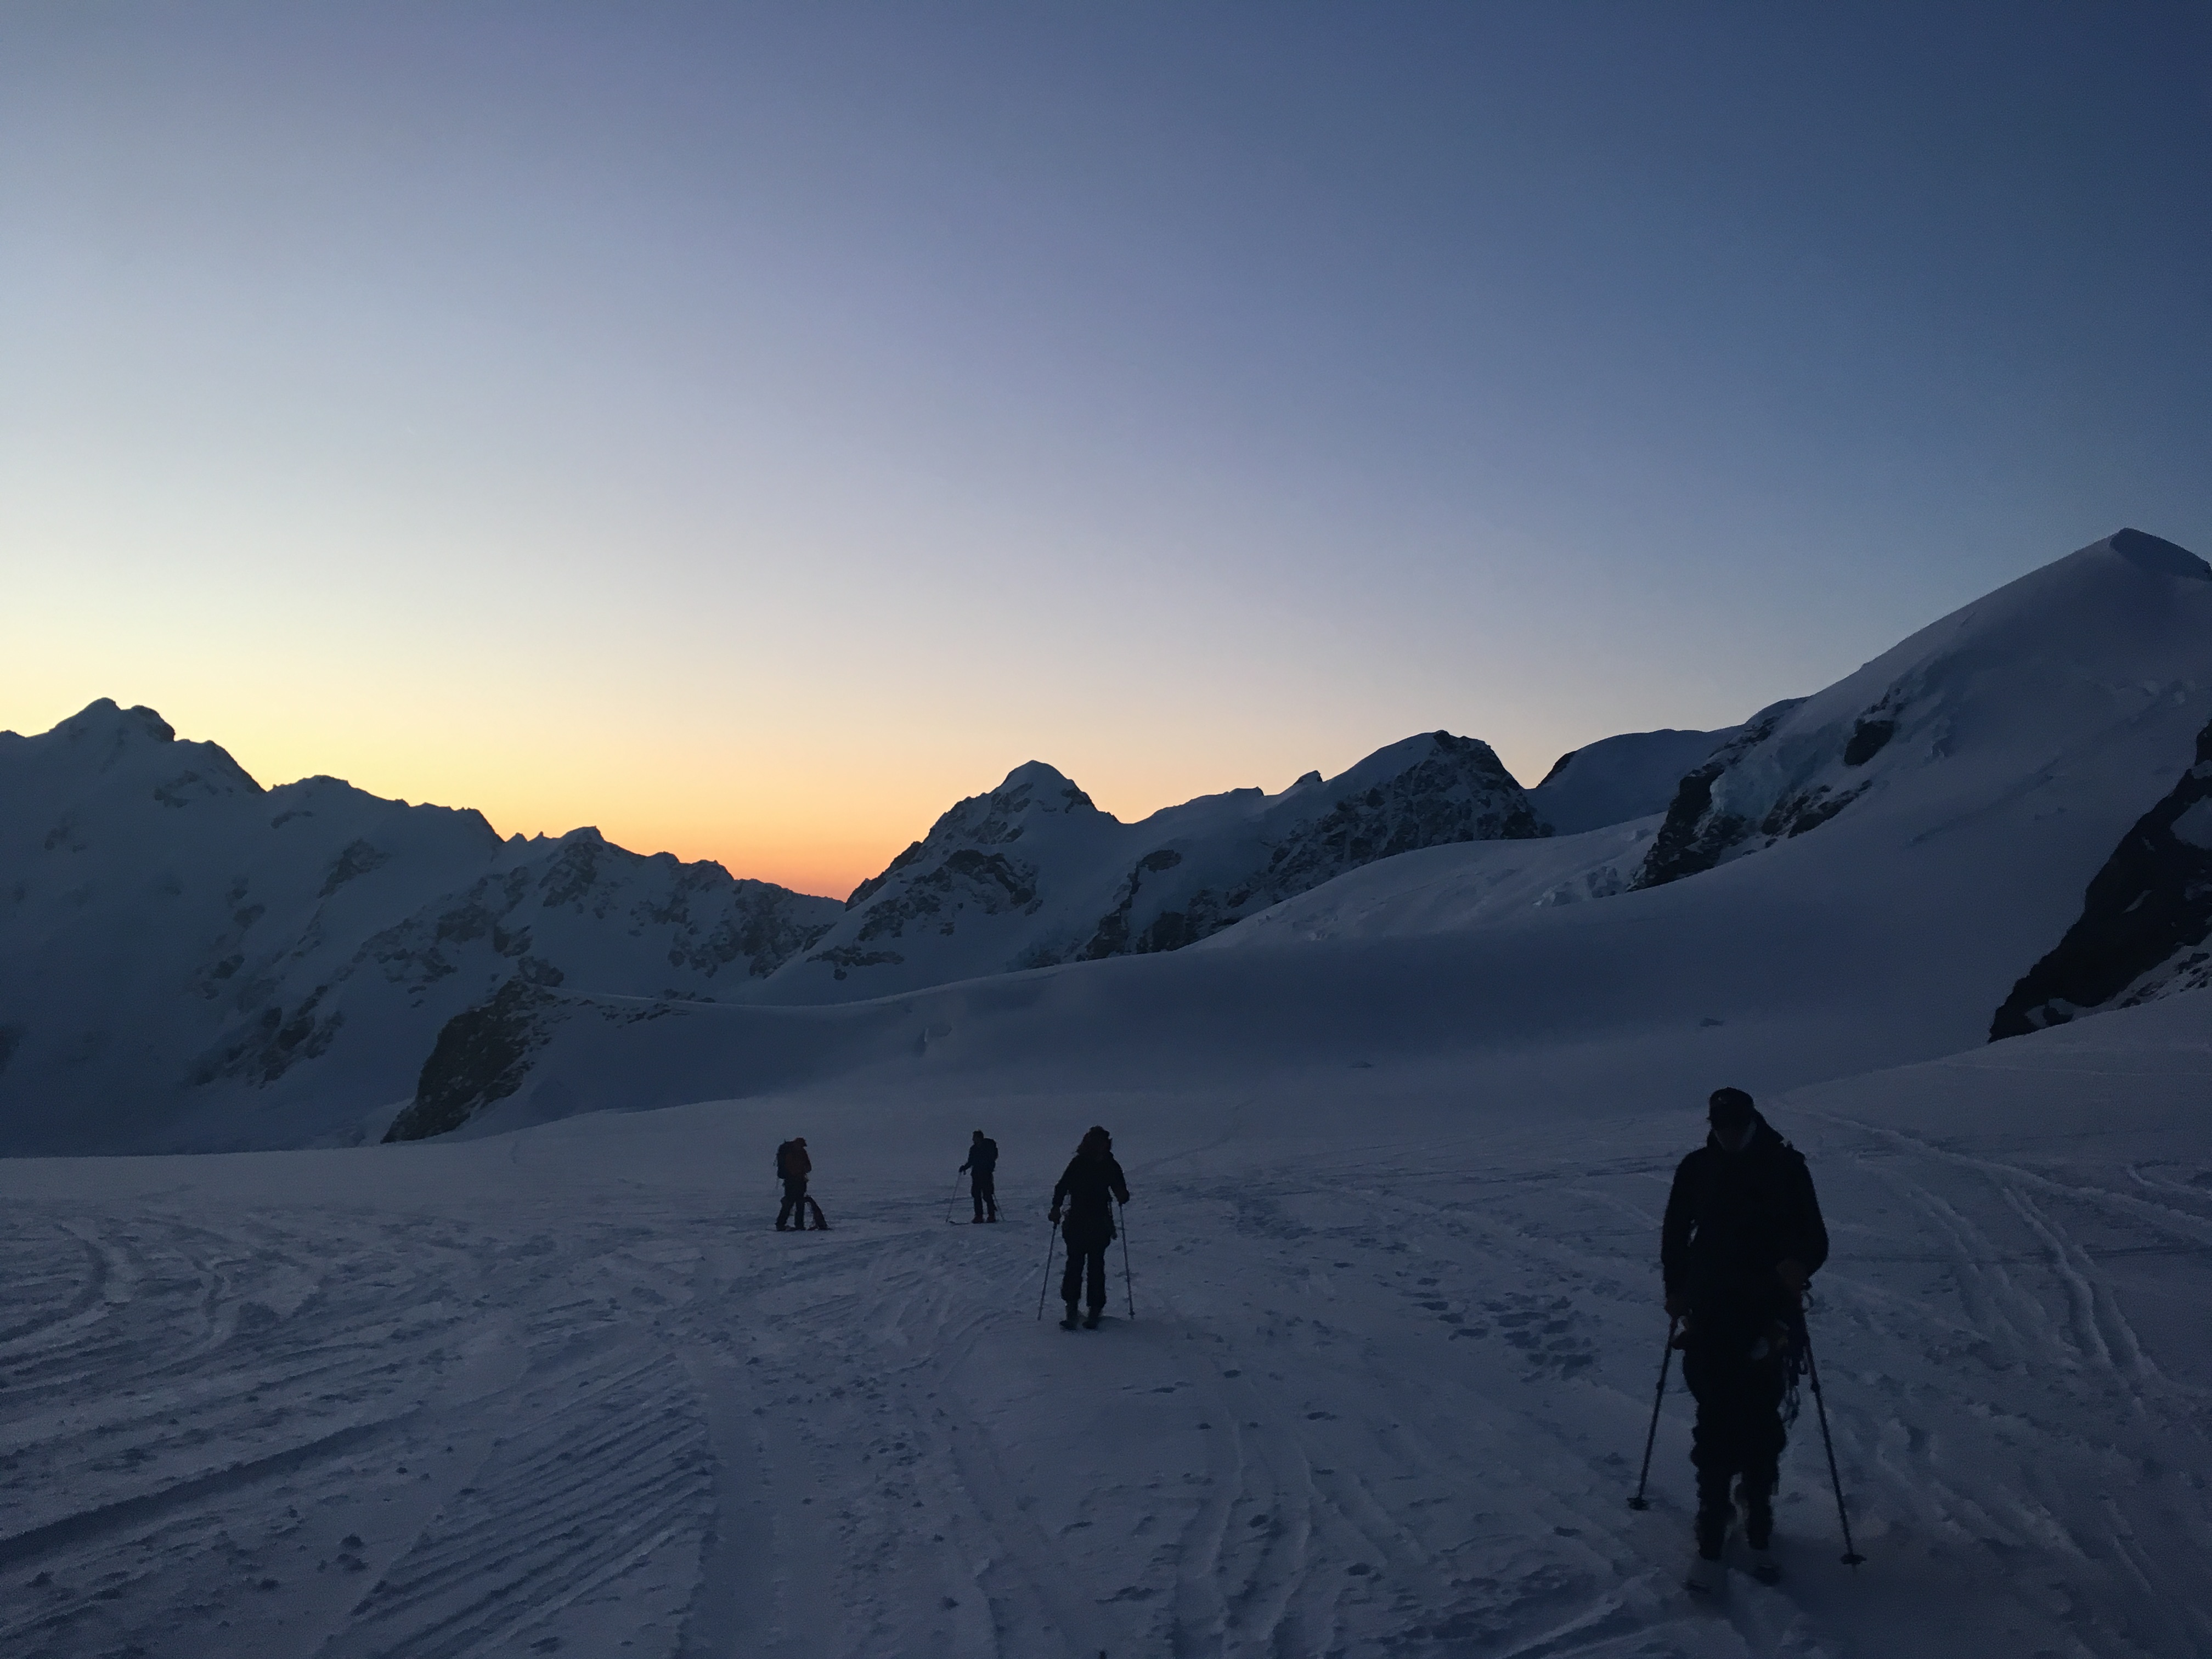
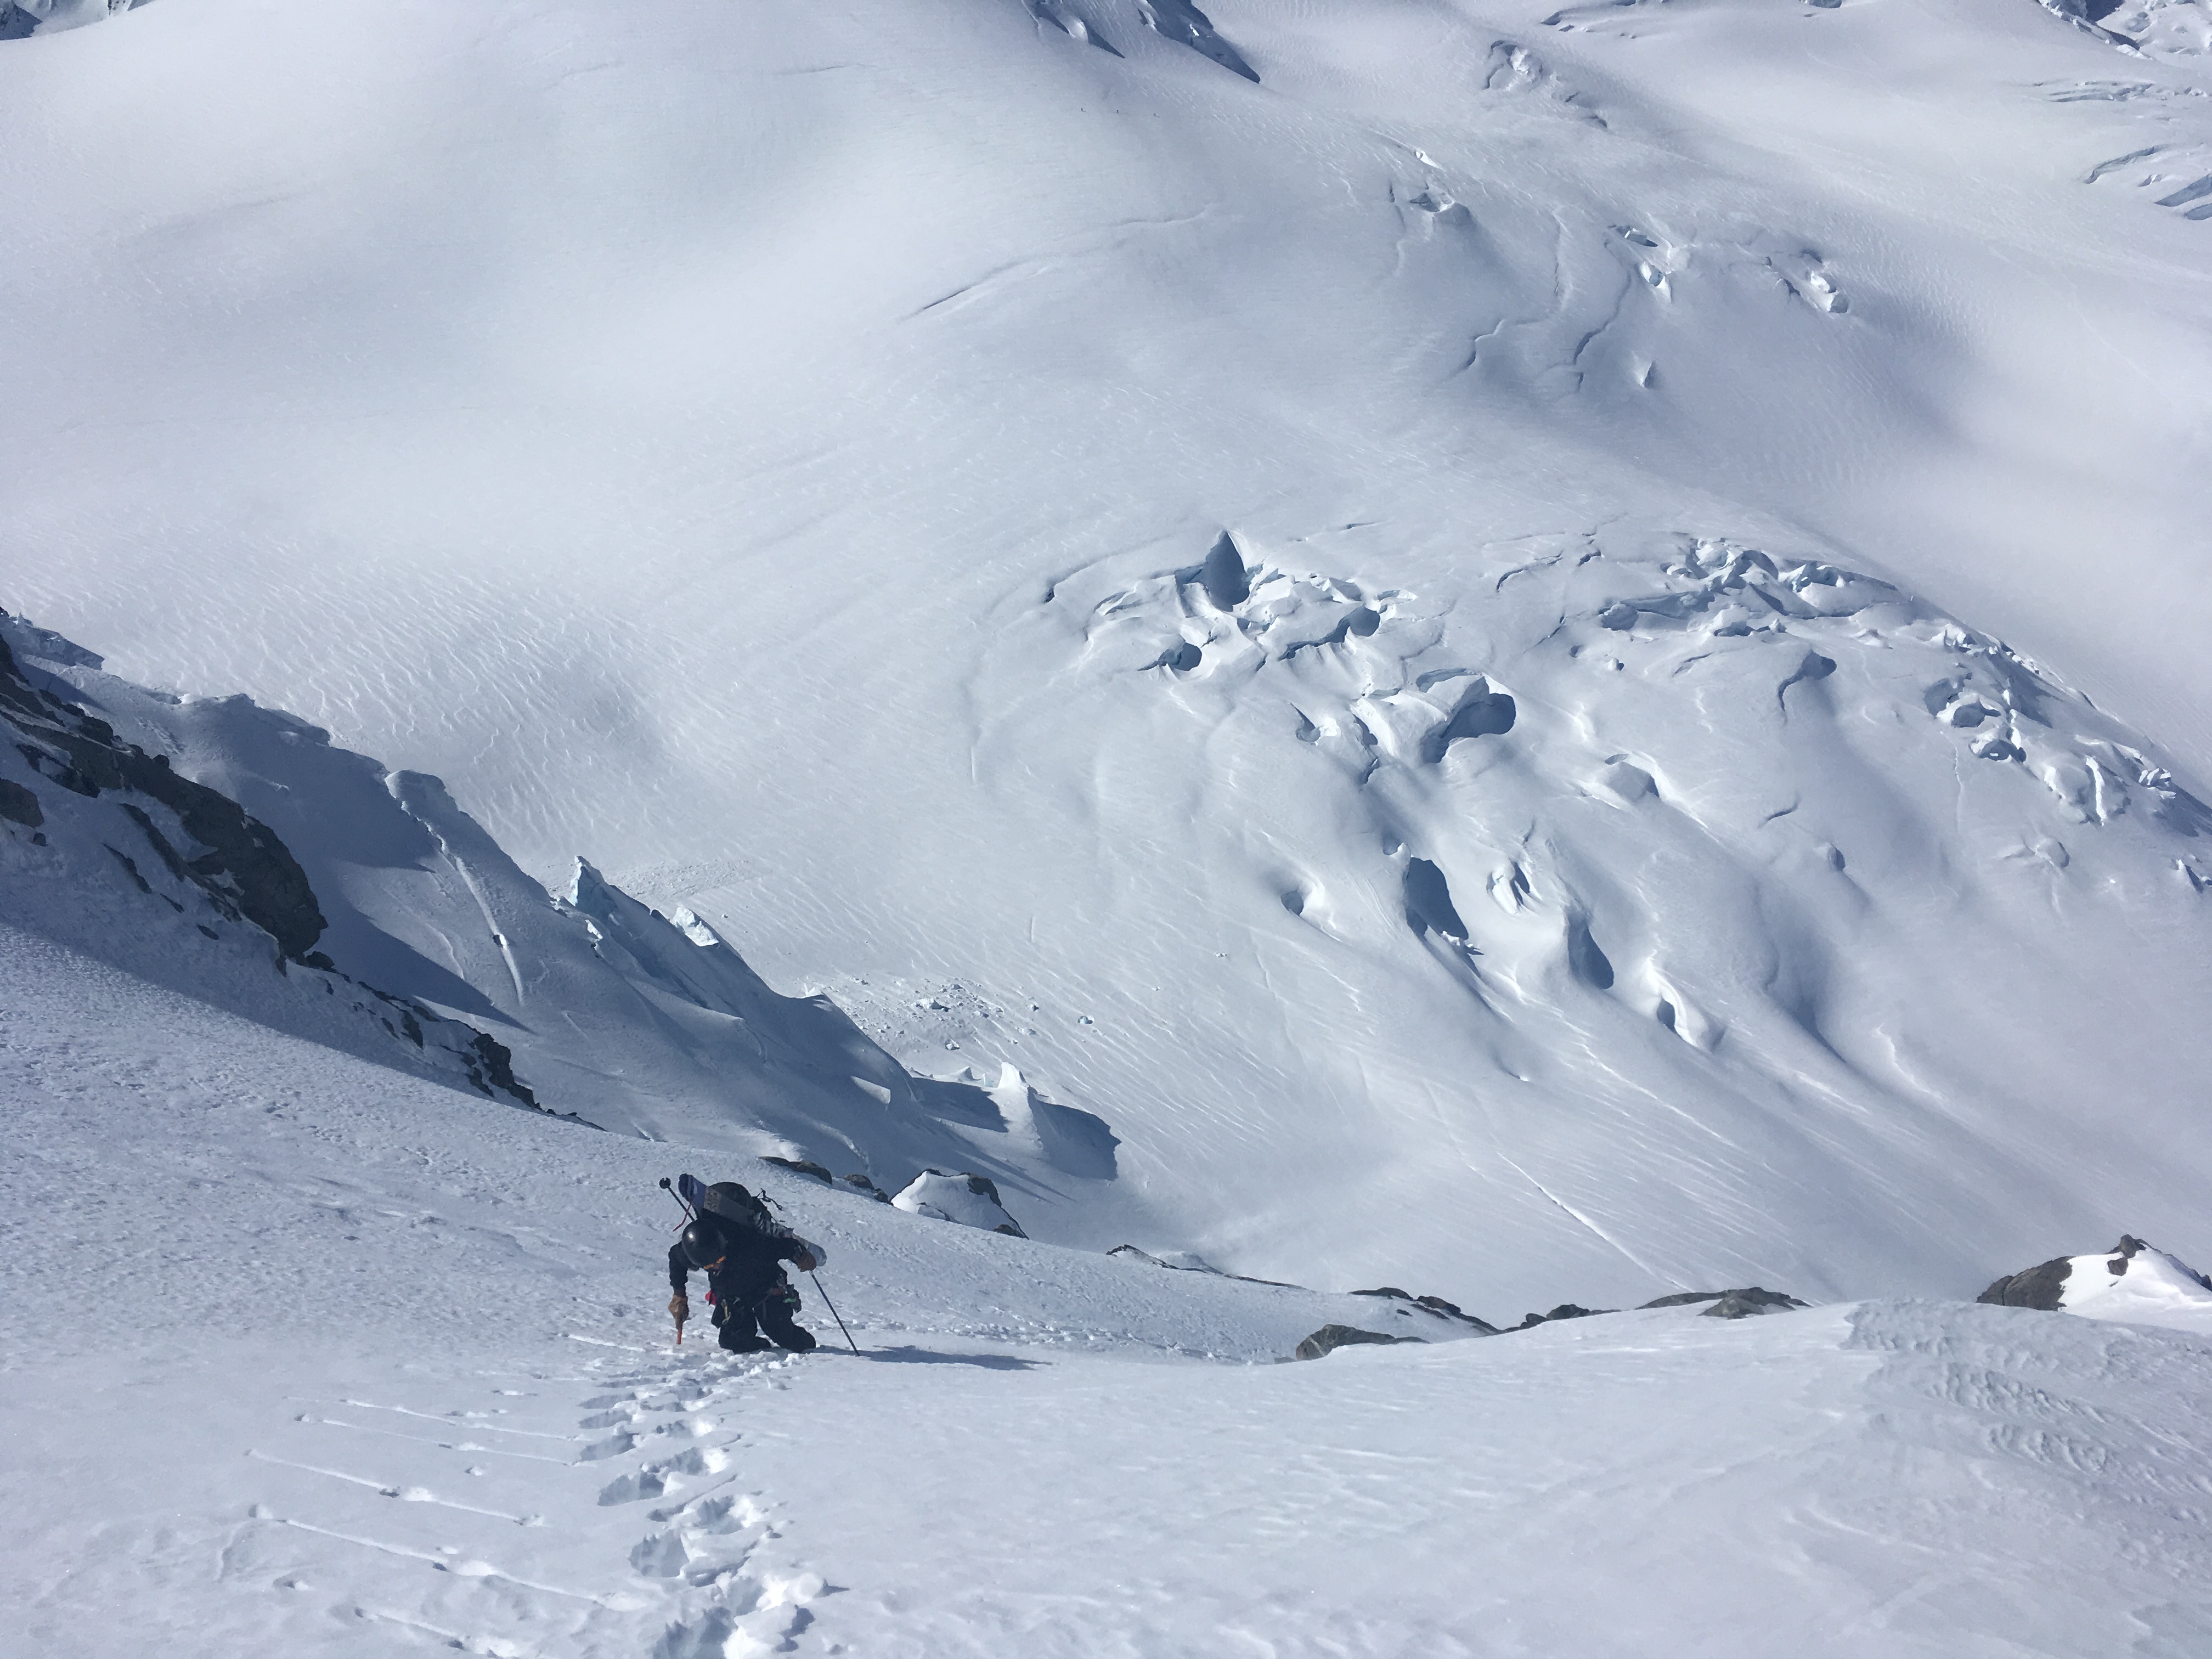
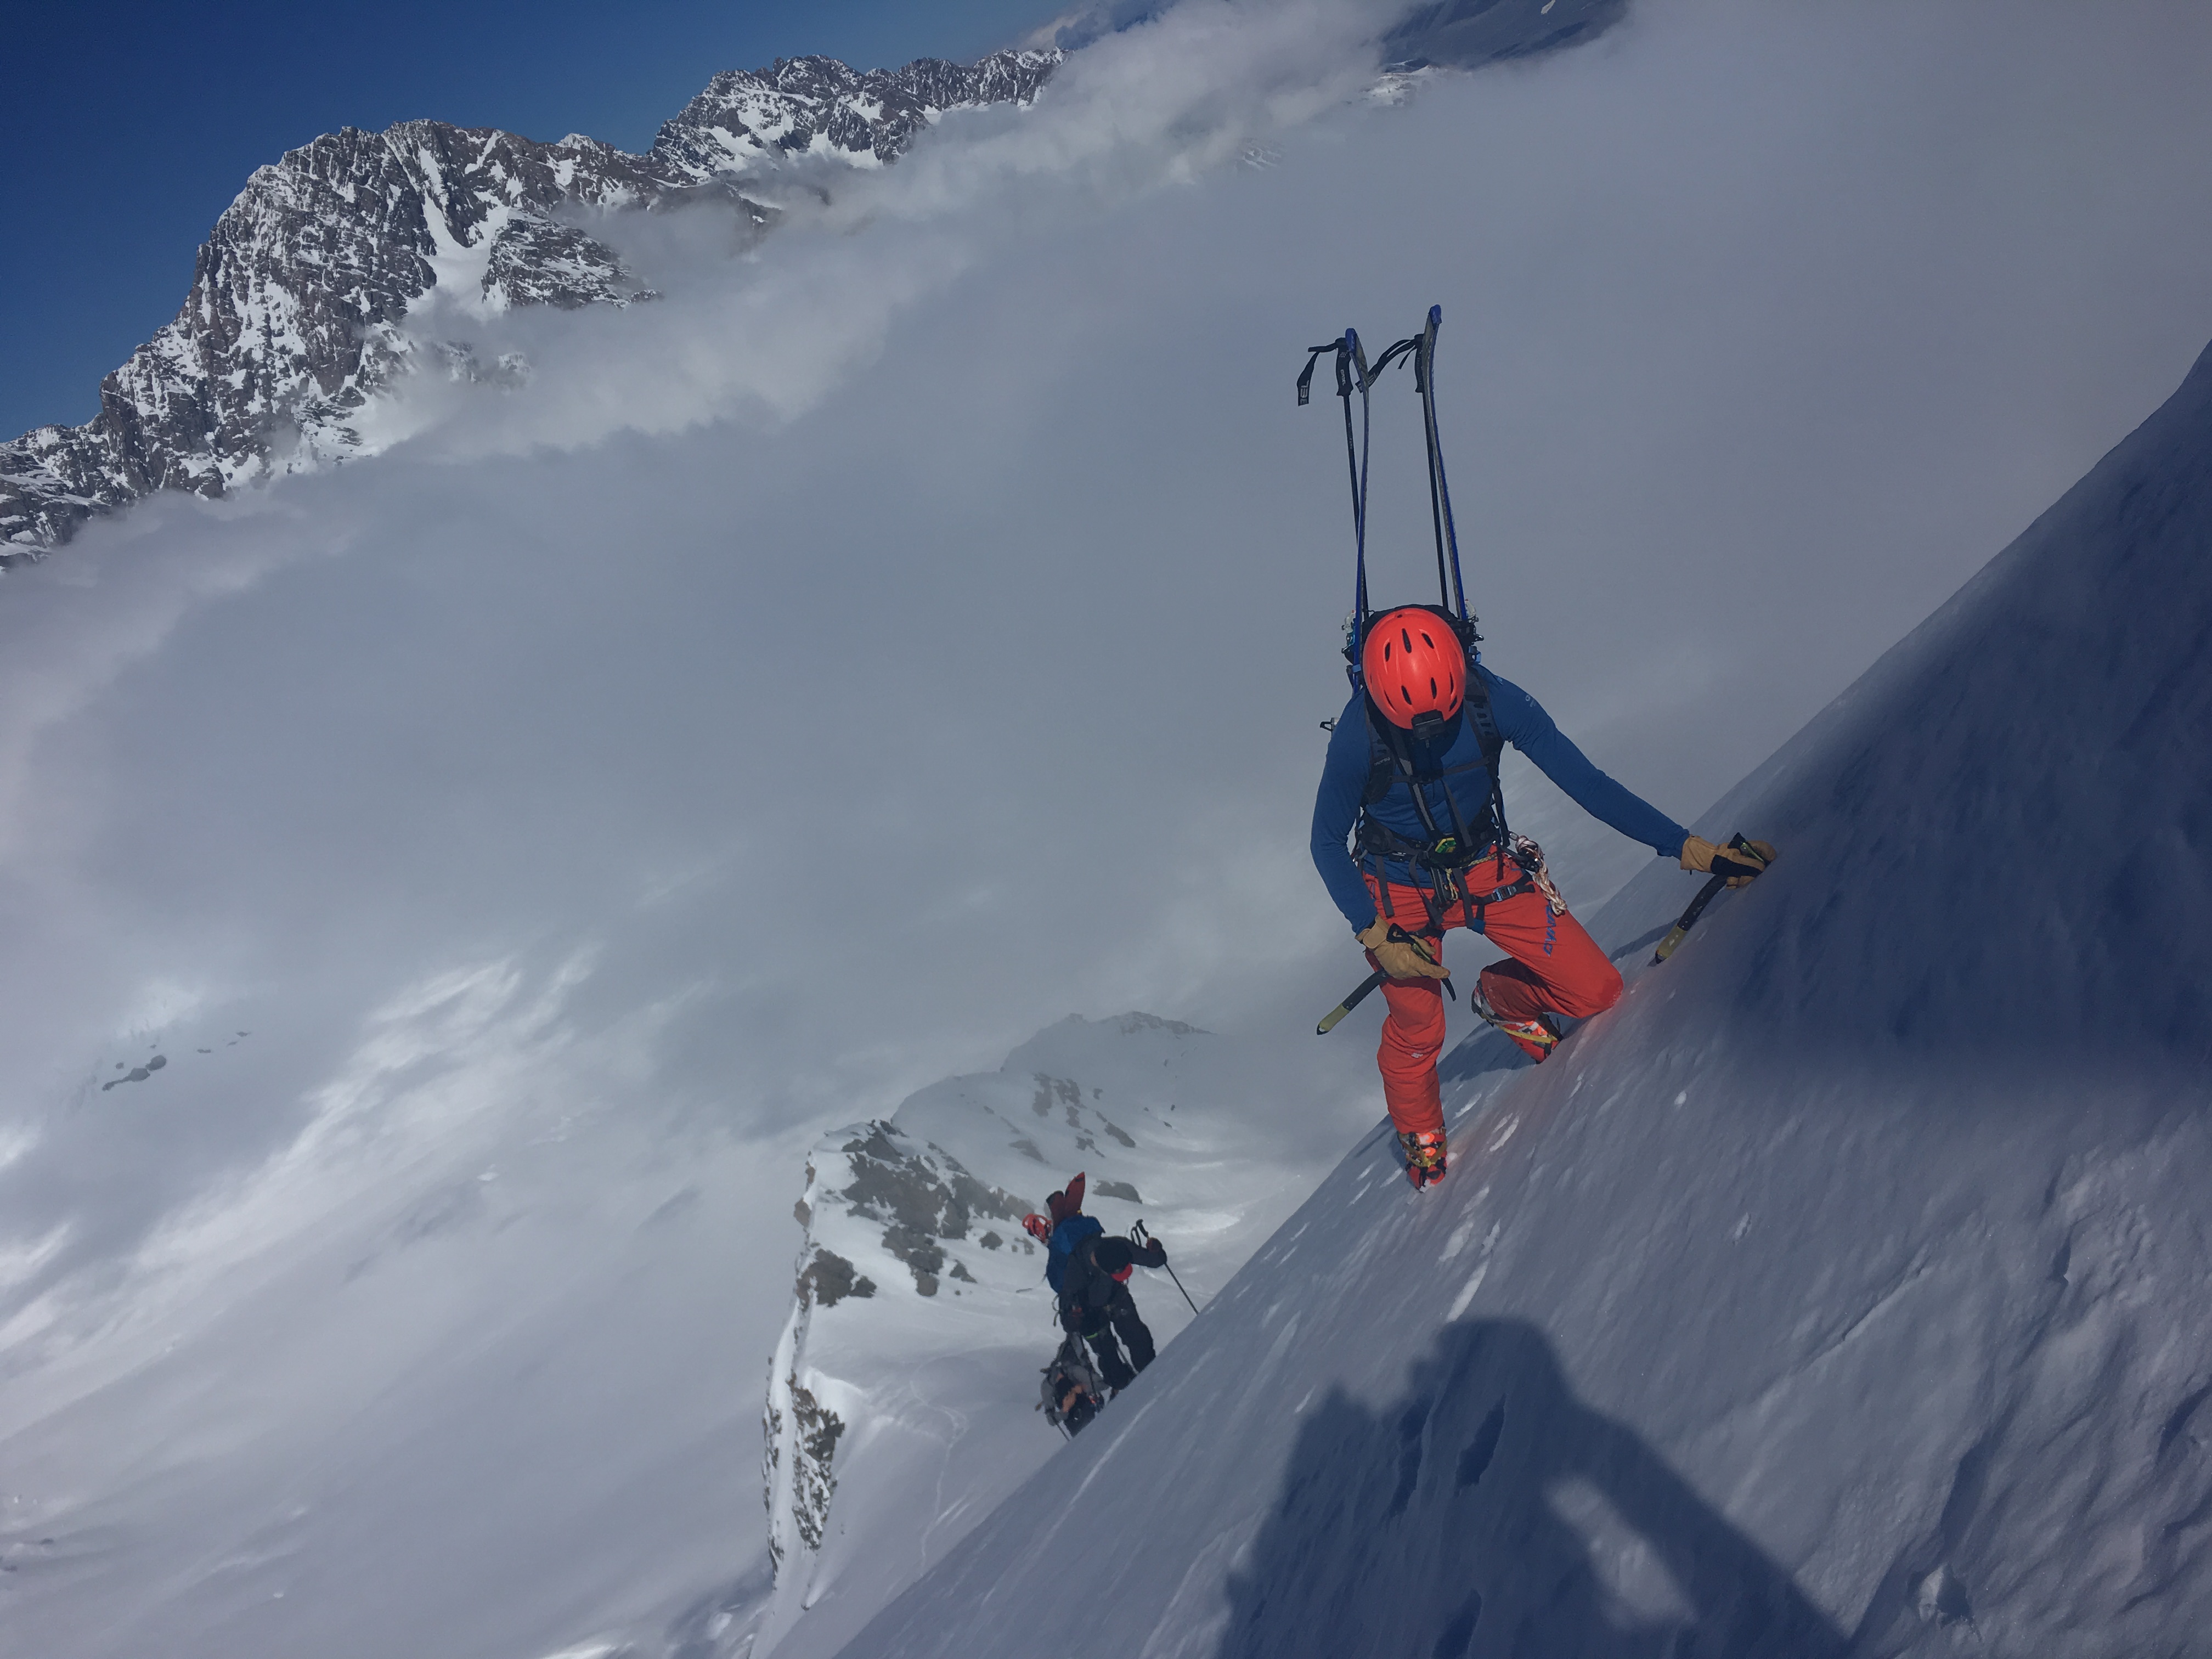
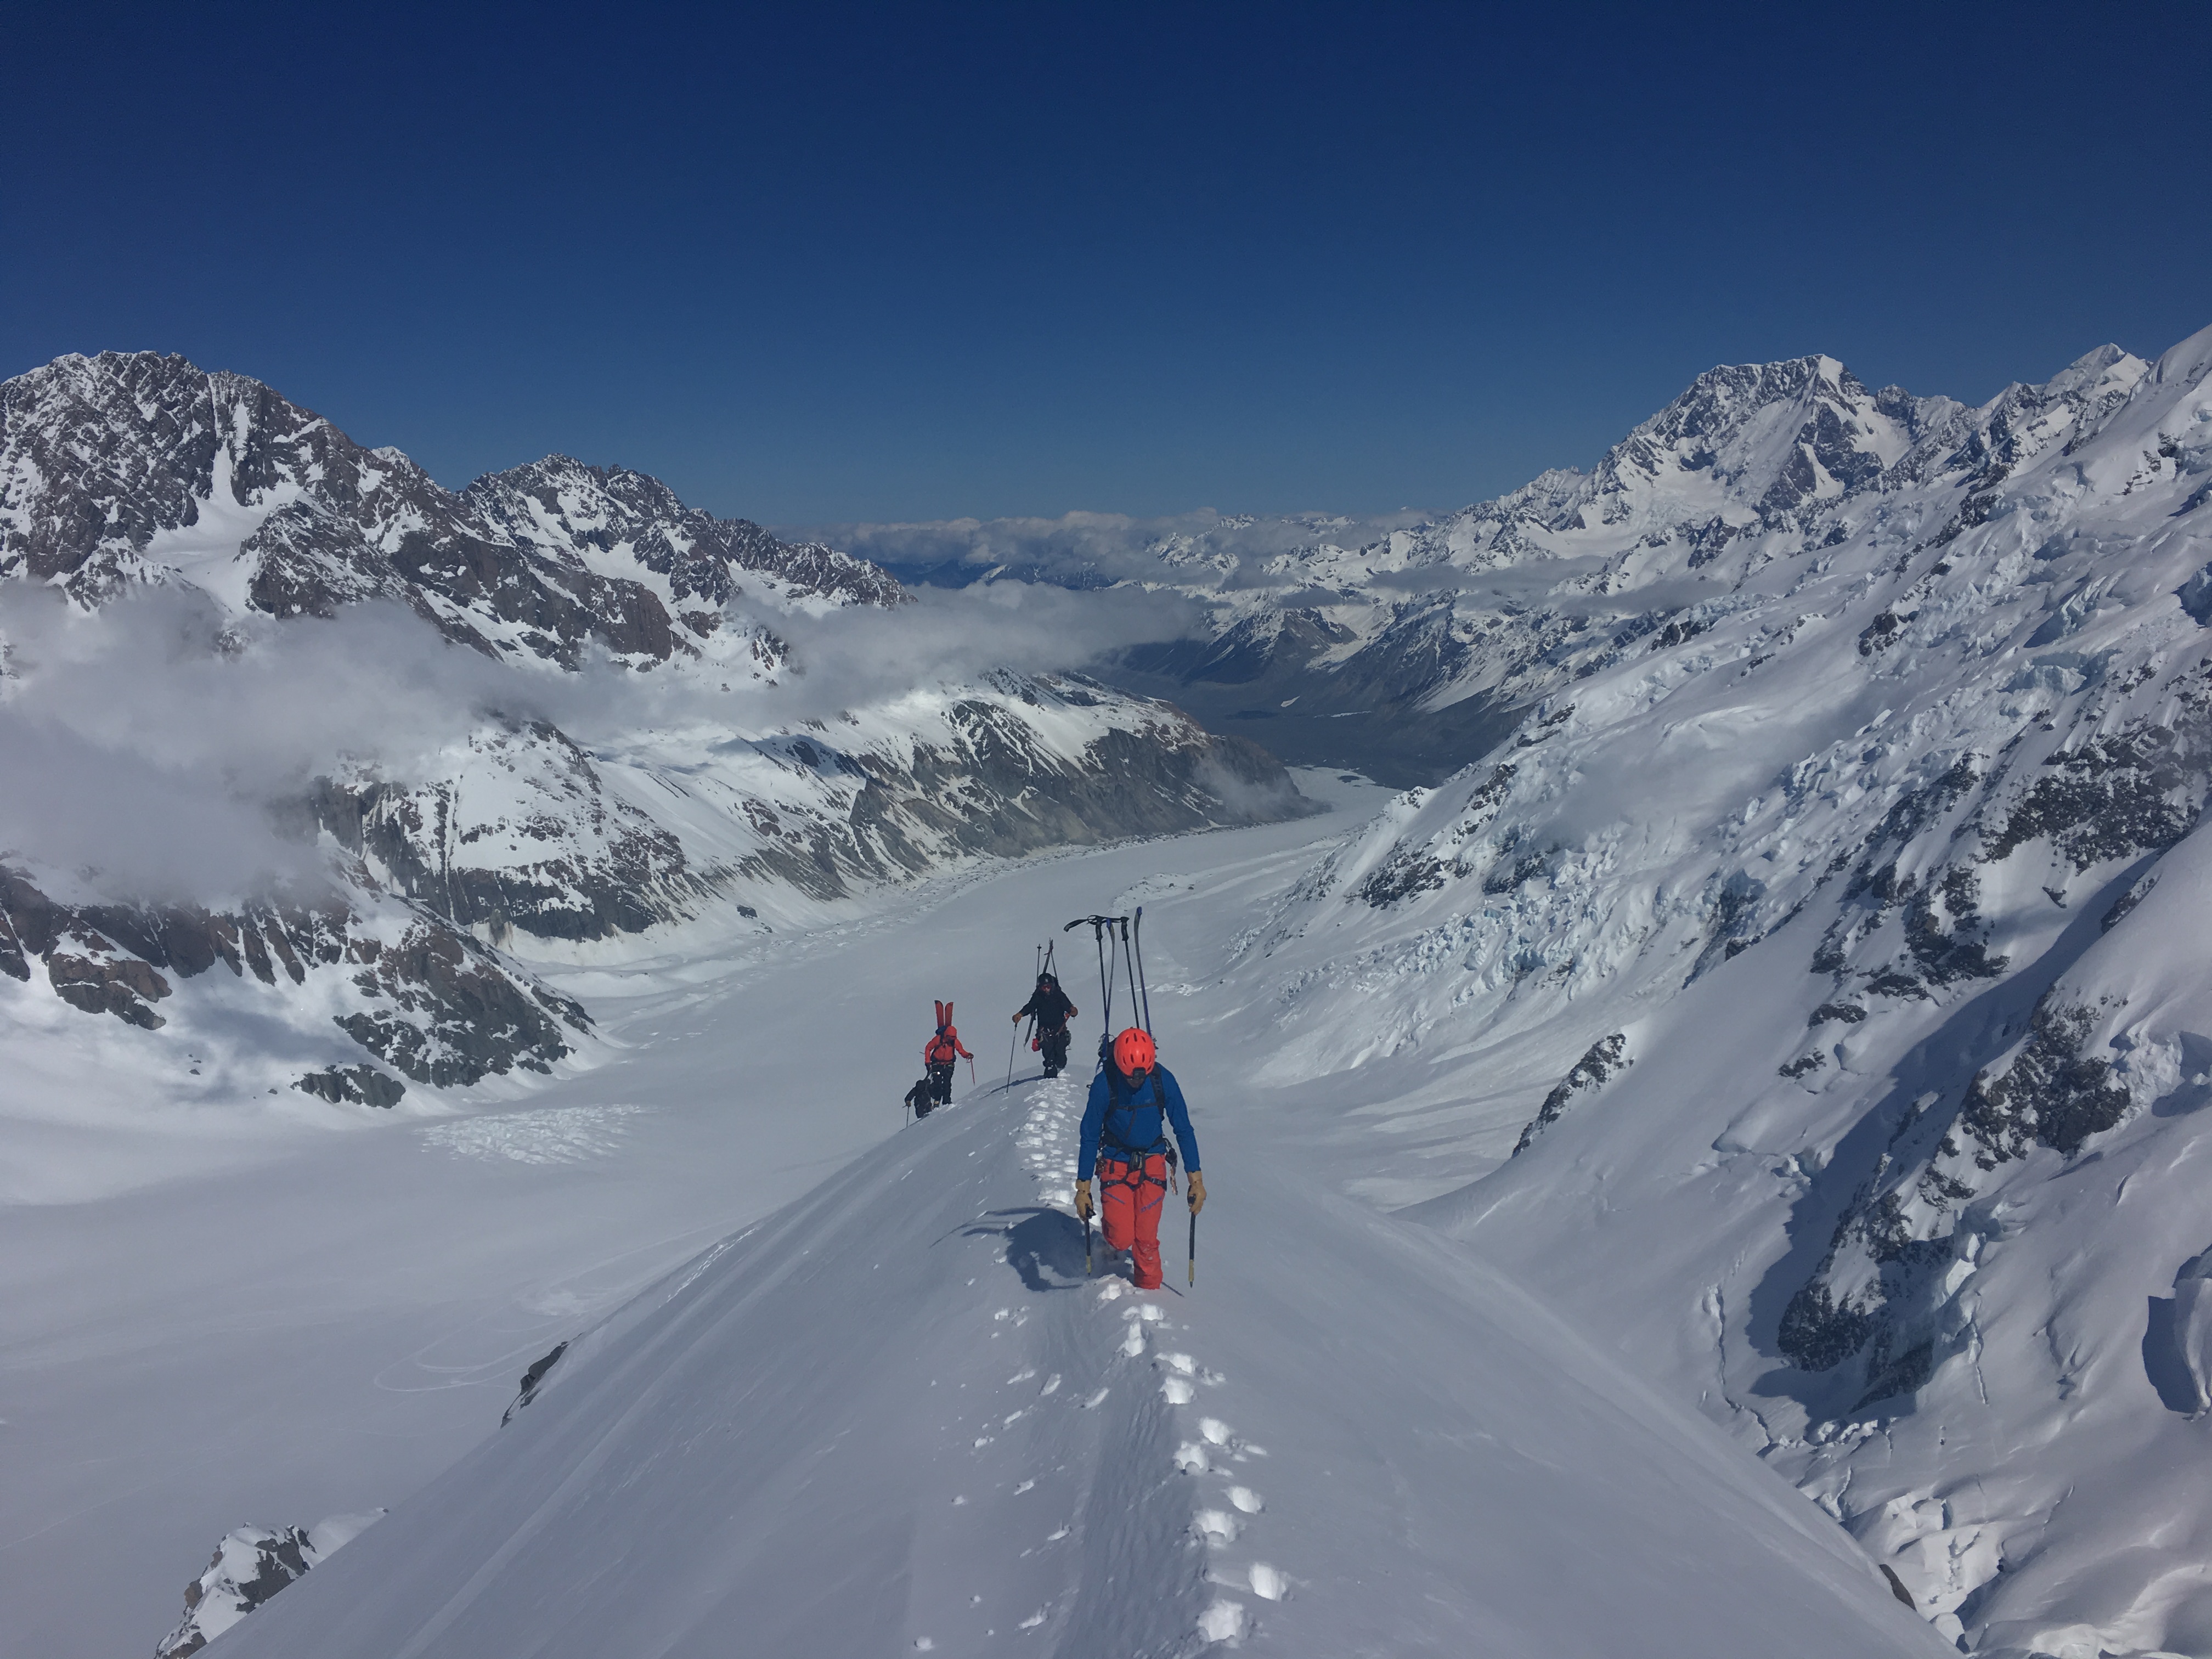
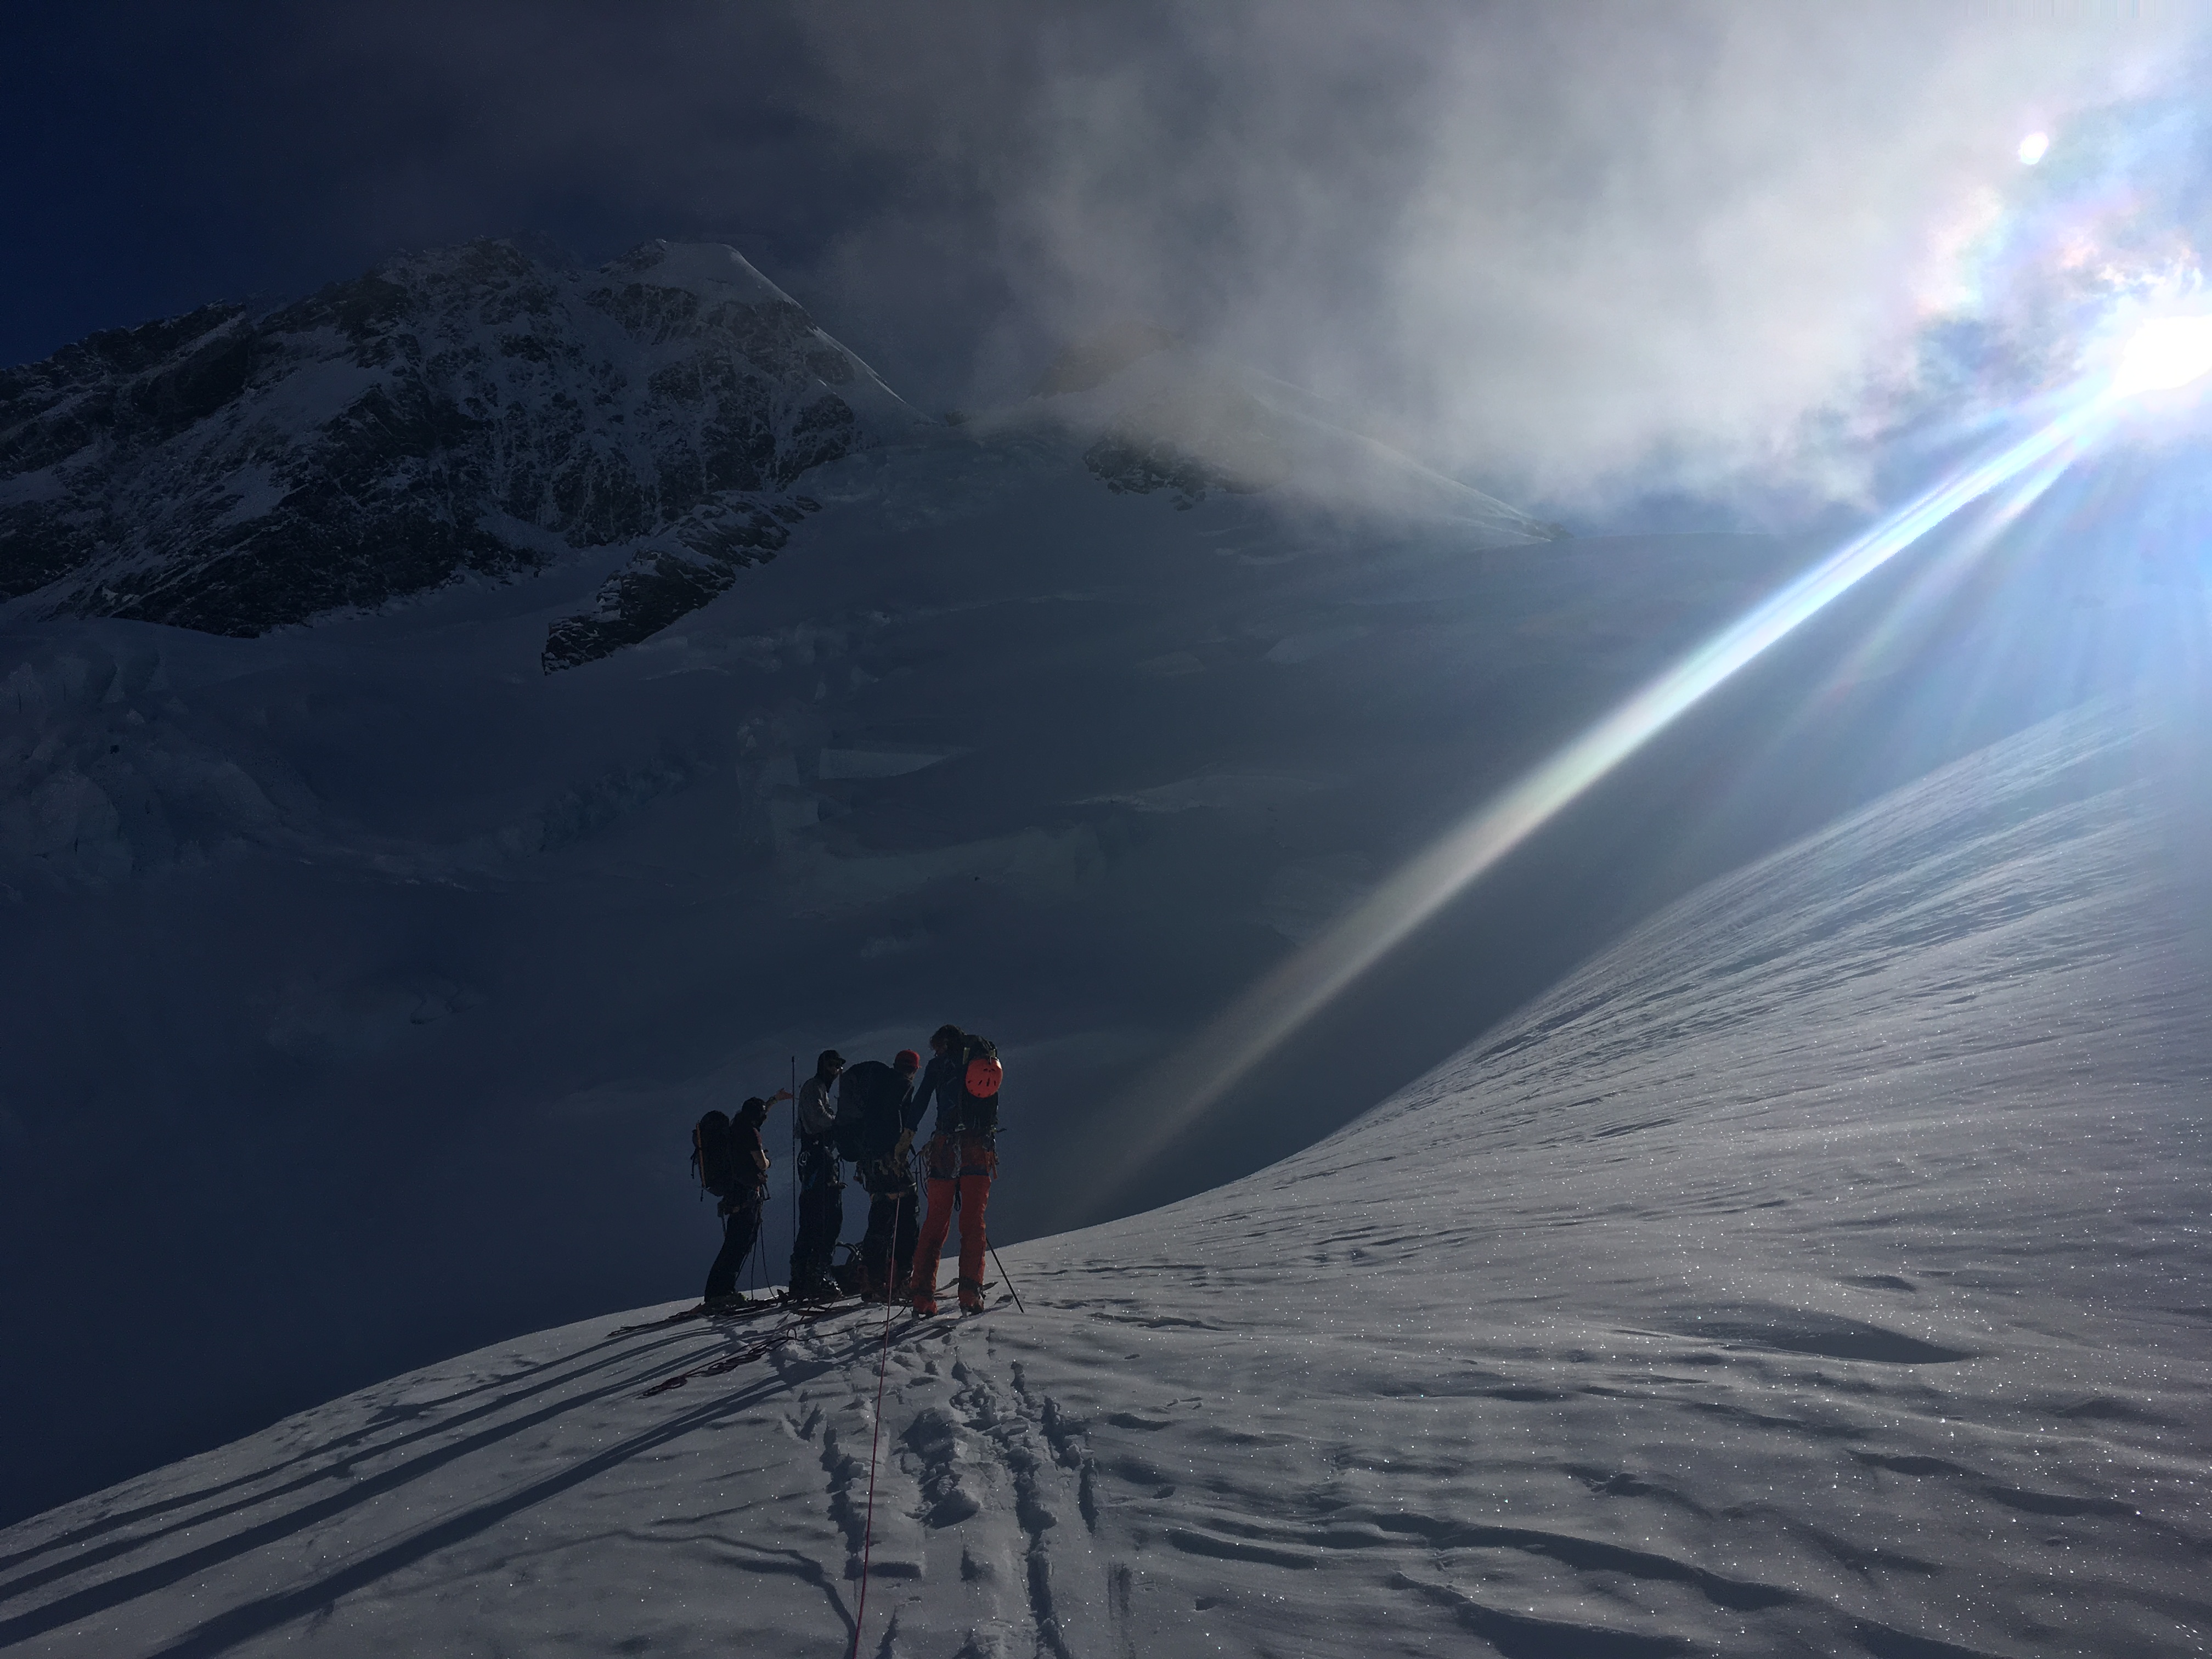
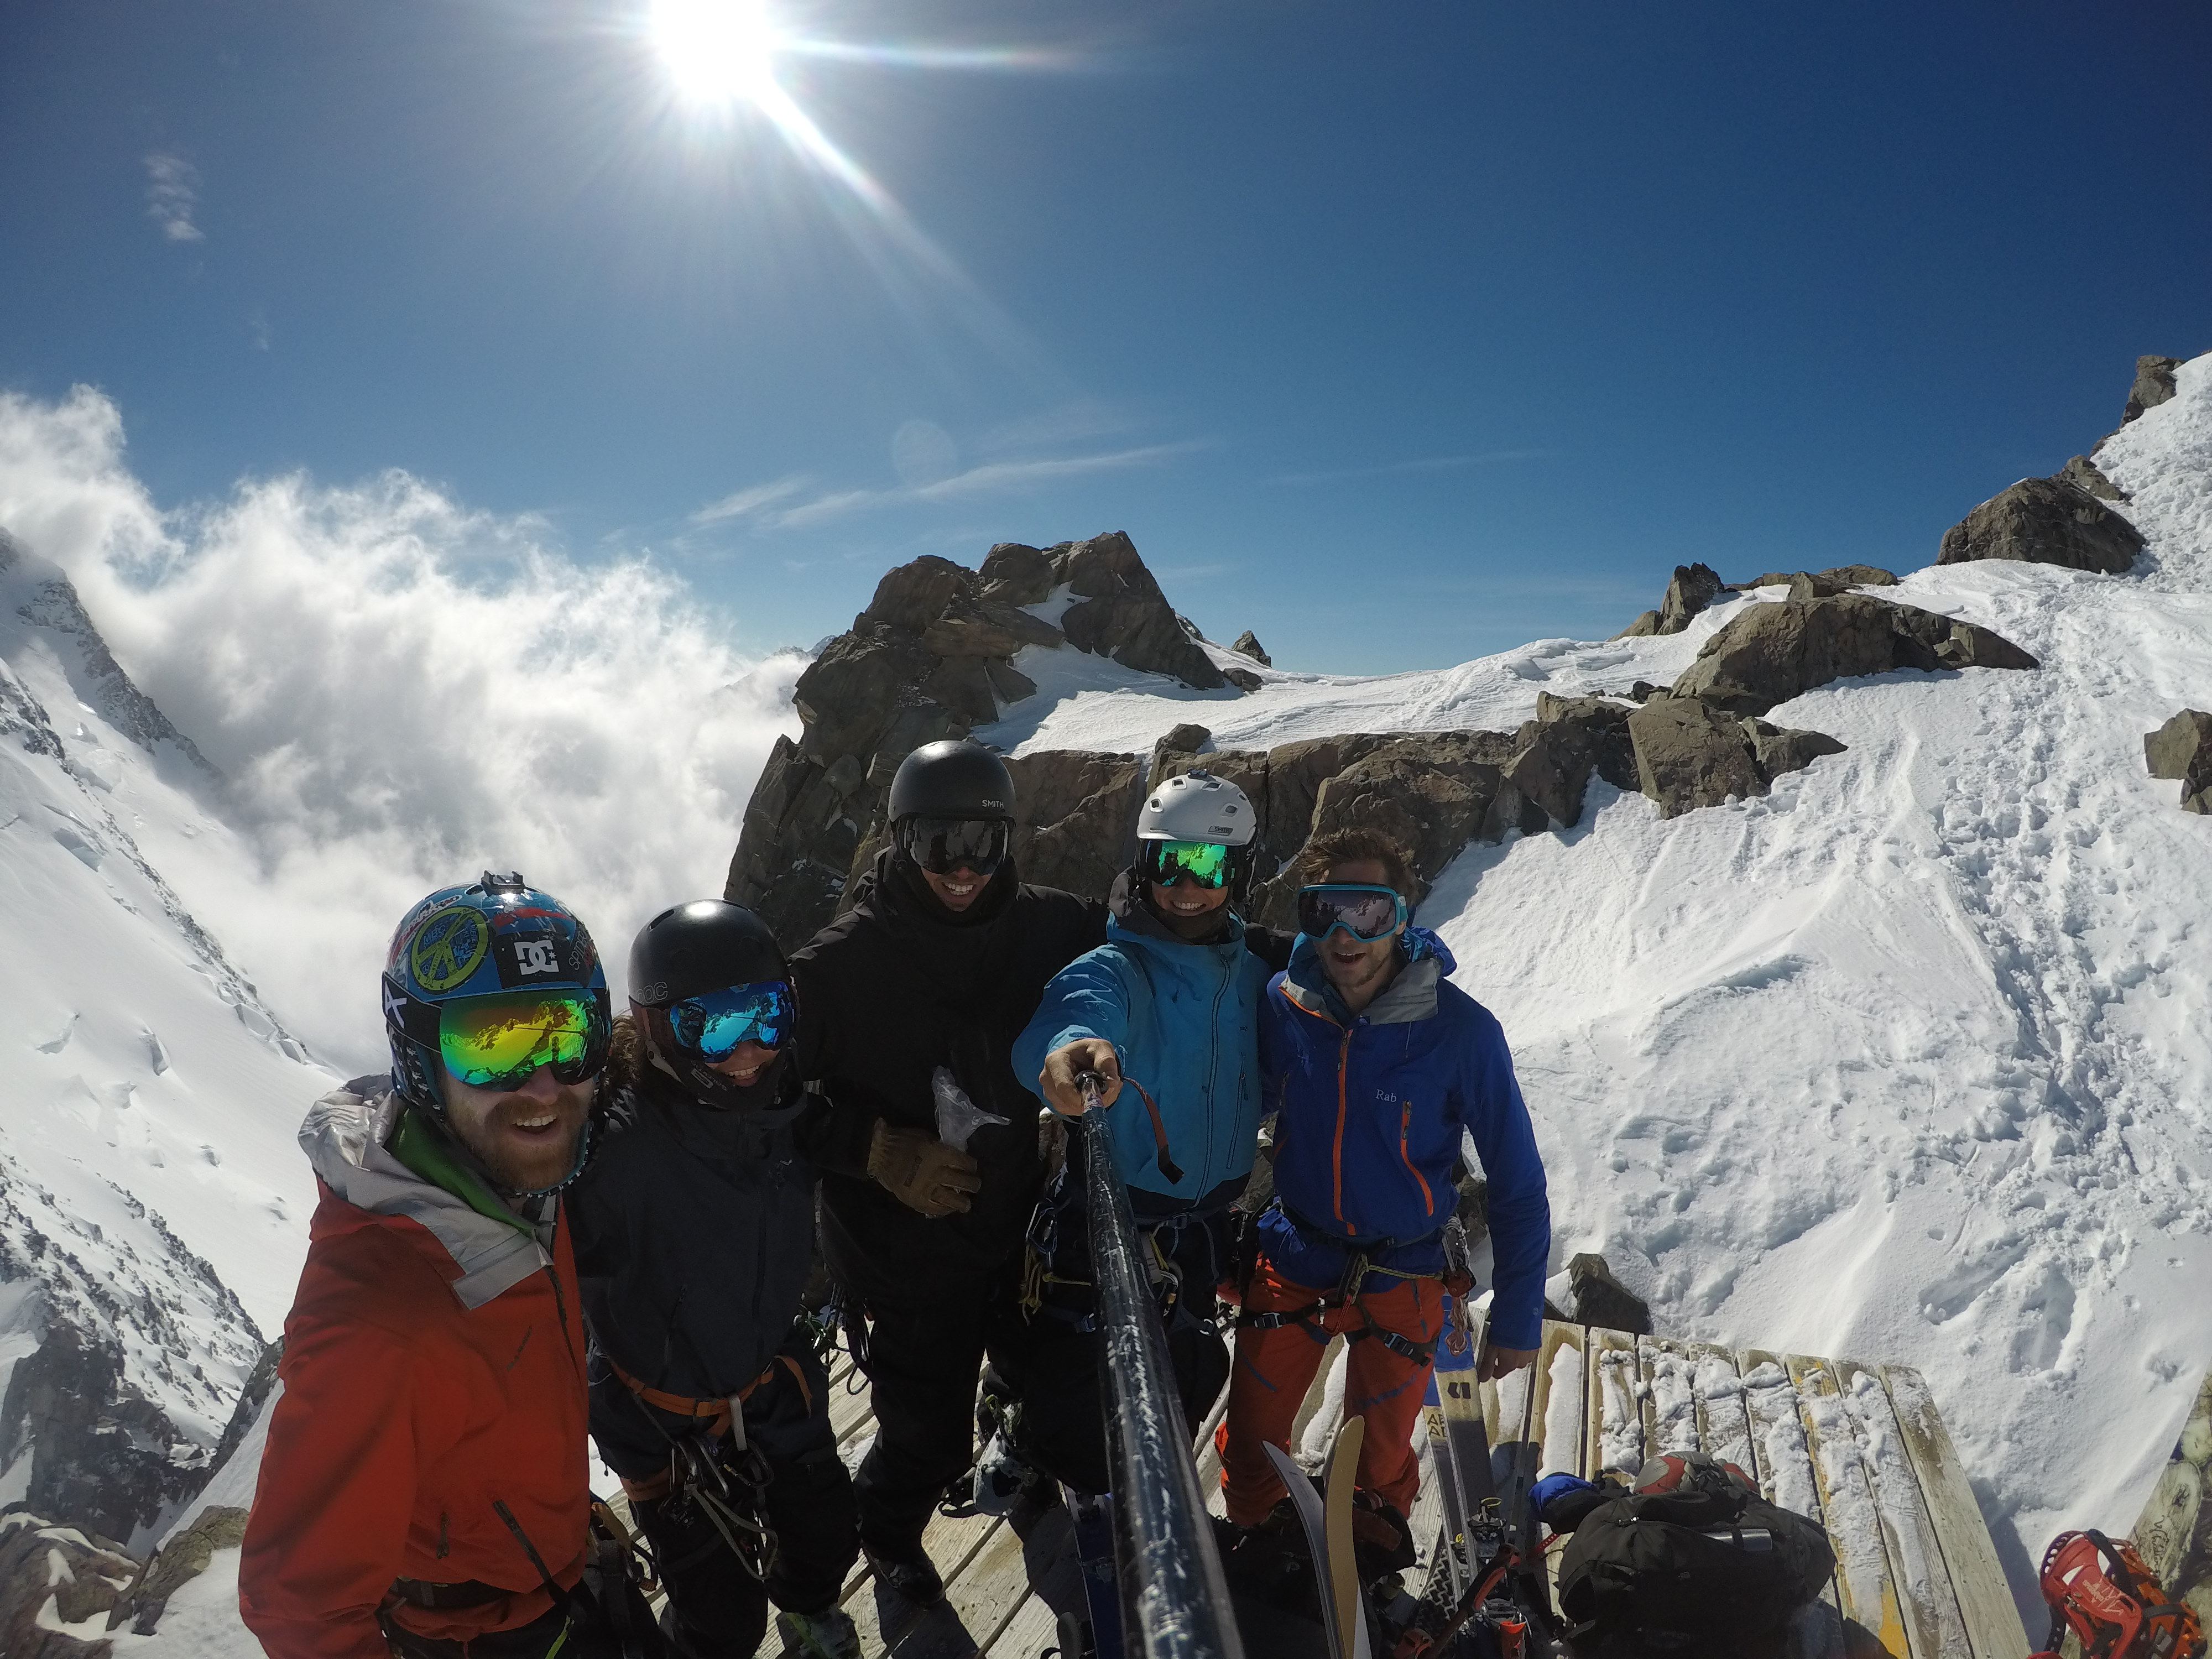
Skin across Plateau towards the obvious couloir at the east end of the south face. The large imposing ice cliffs on the south face are quite active and reguarly throw death chunks on top of the entrace to the couloir so dont hang around – make a plan and smash up into the safety of the couloir. Late in the season the shrund can open up and become impassible (climbing parties have been known to bring the ladder from Plateau hut to cross Himylayan ice fall style) but as a general rule if its that late you probably wont be skiing it. It pays to go and scope the shrund out from a distance the day before and work out exactly where your going to cross. Climbing the couloir is straighforward steep snow climbing up to the quite dramatic knife edge ridge at the top. Here the angle eases off significantly and you follow the snow slopes up to the summit – easy snow plodding. At the very top you gain another short ridge to get to the summit. We got to the summit at 09:20
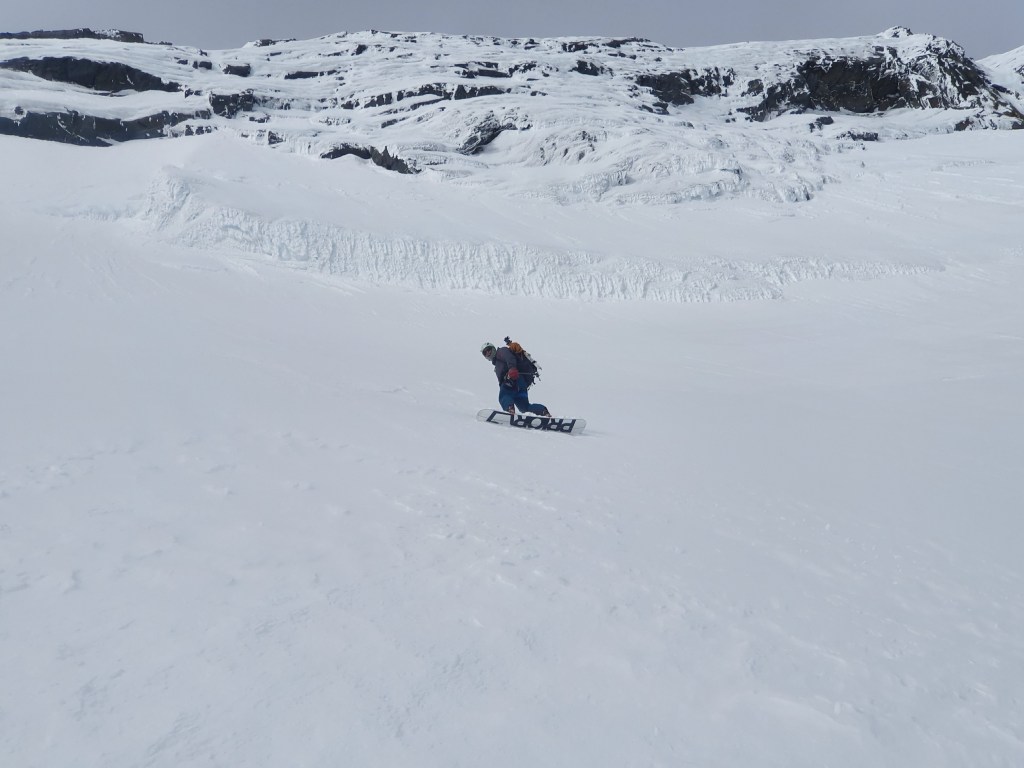
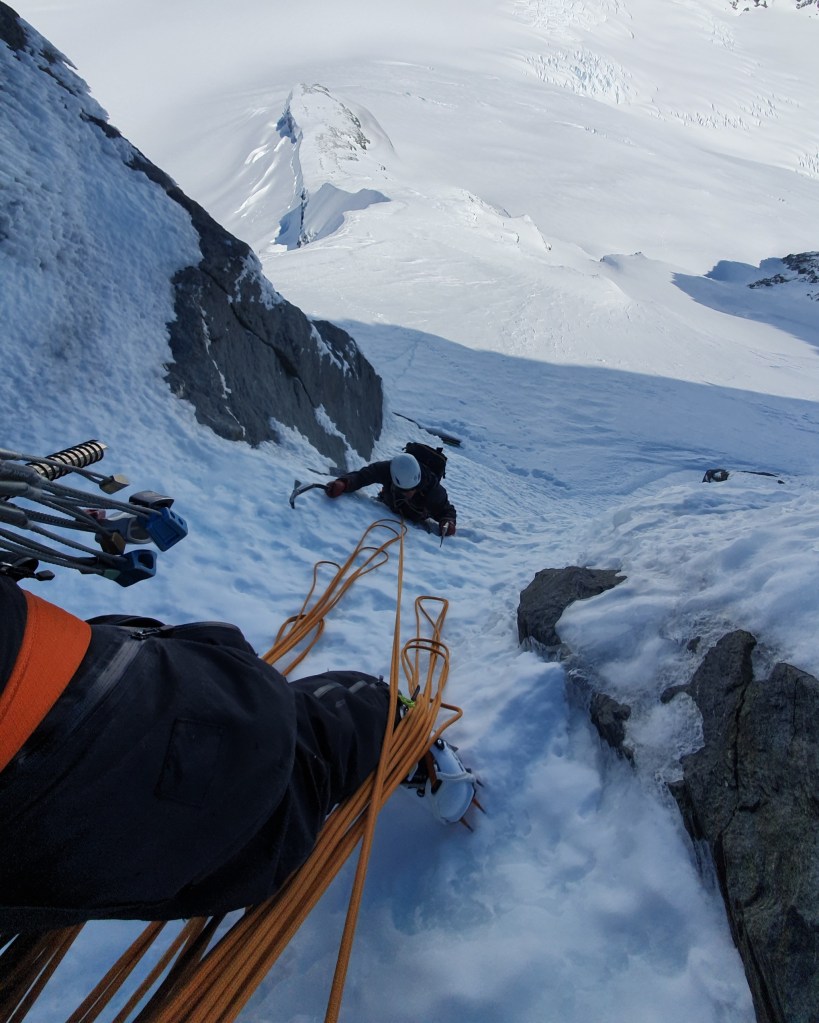
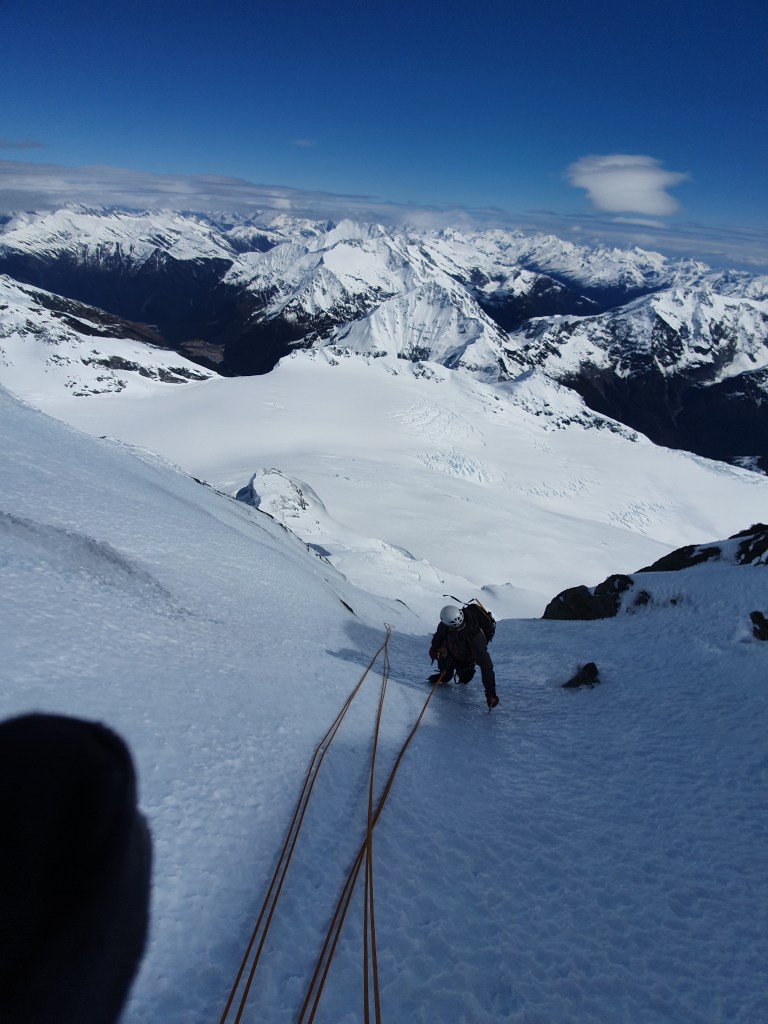
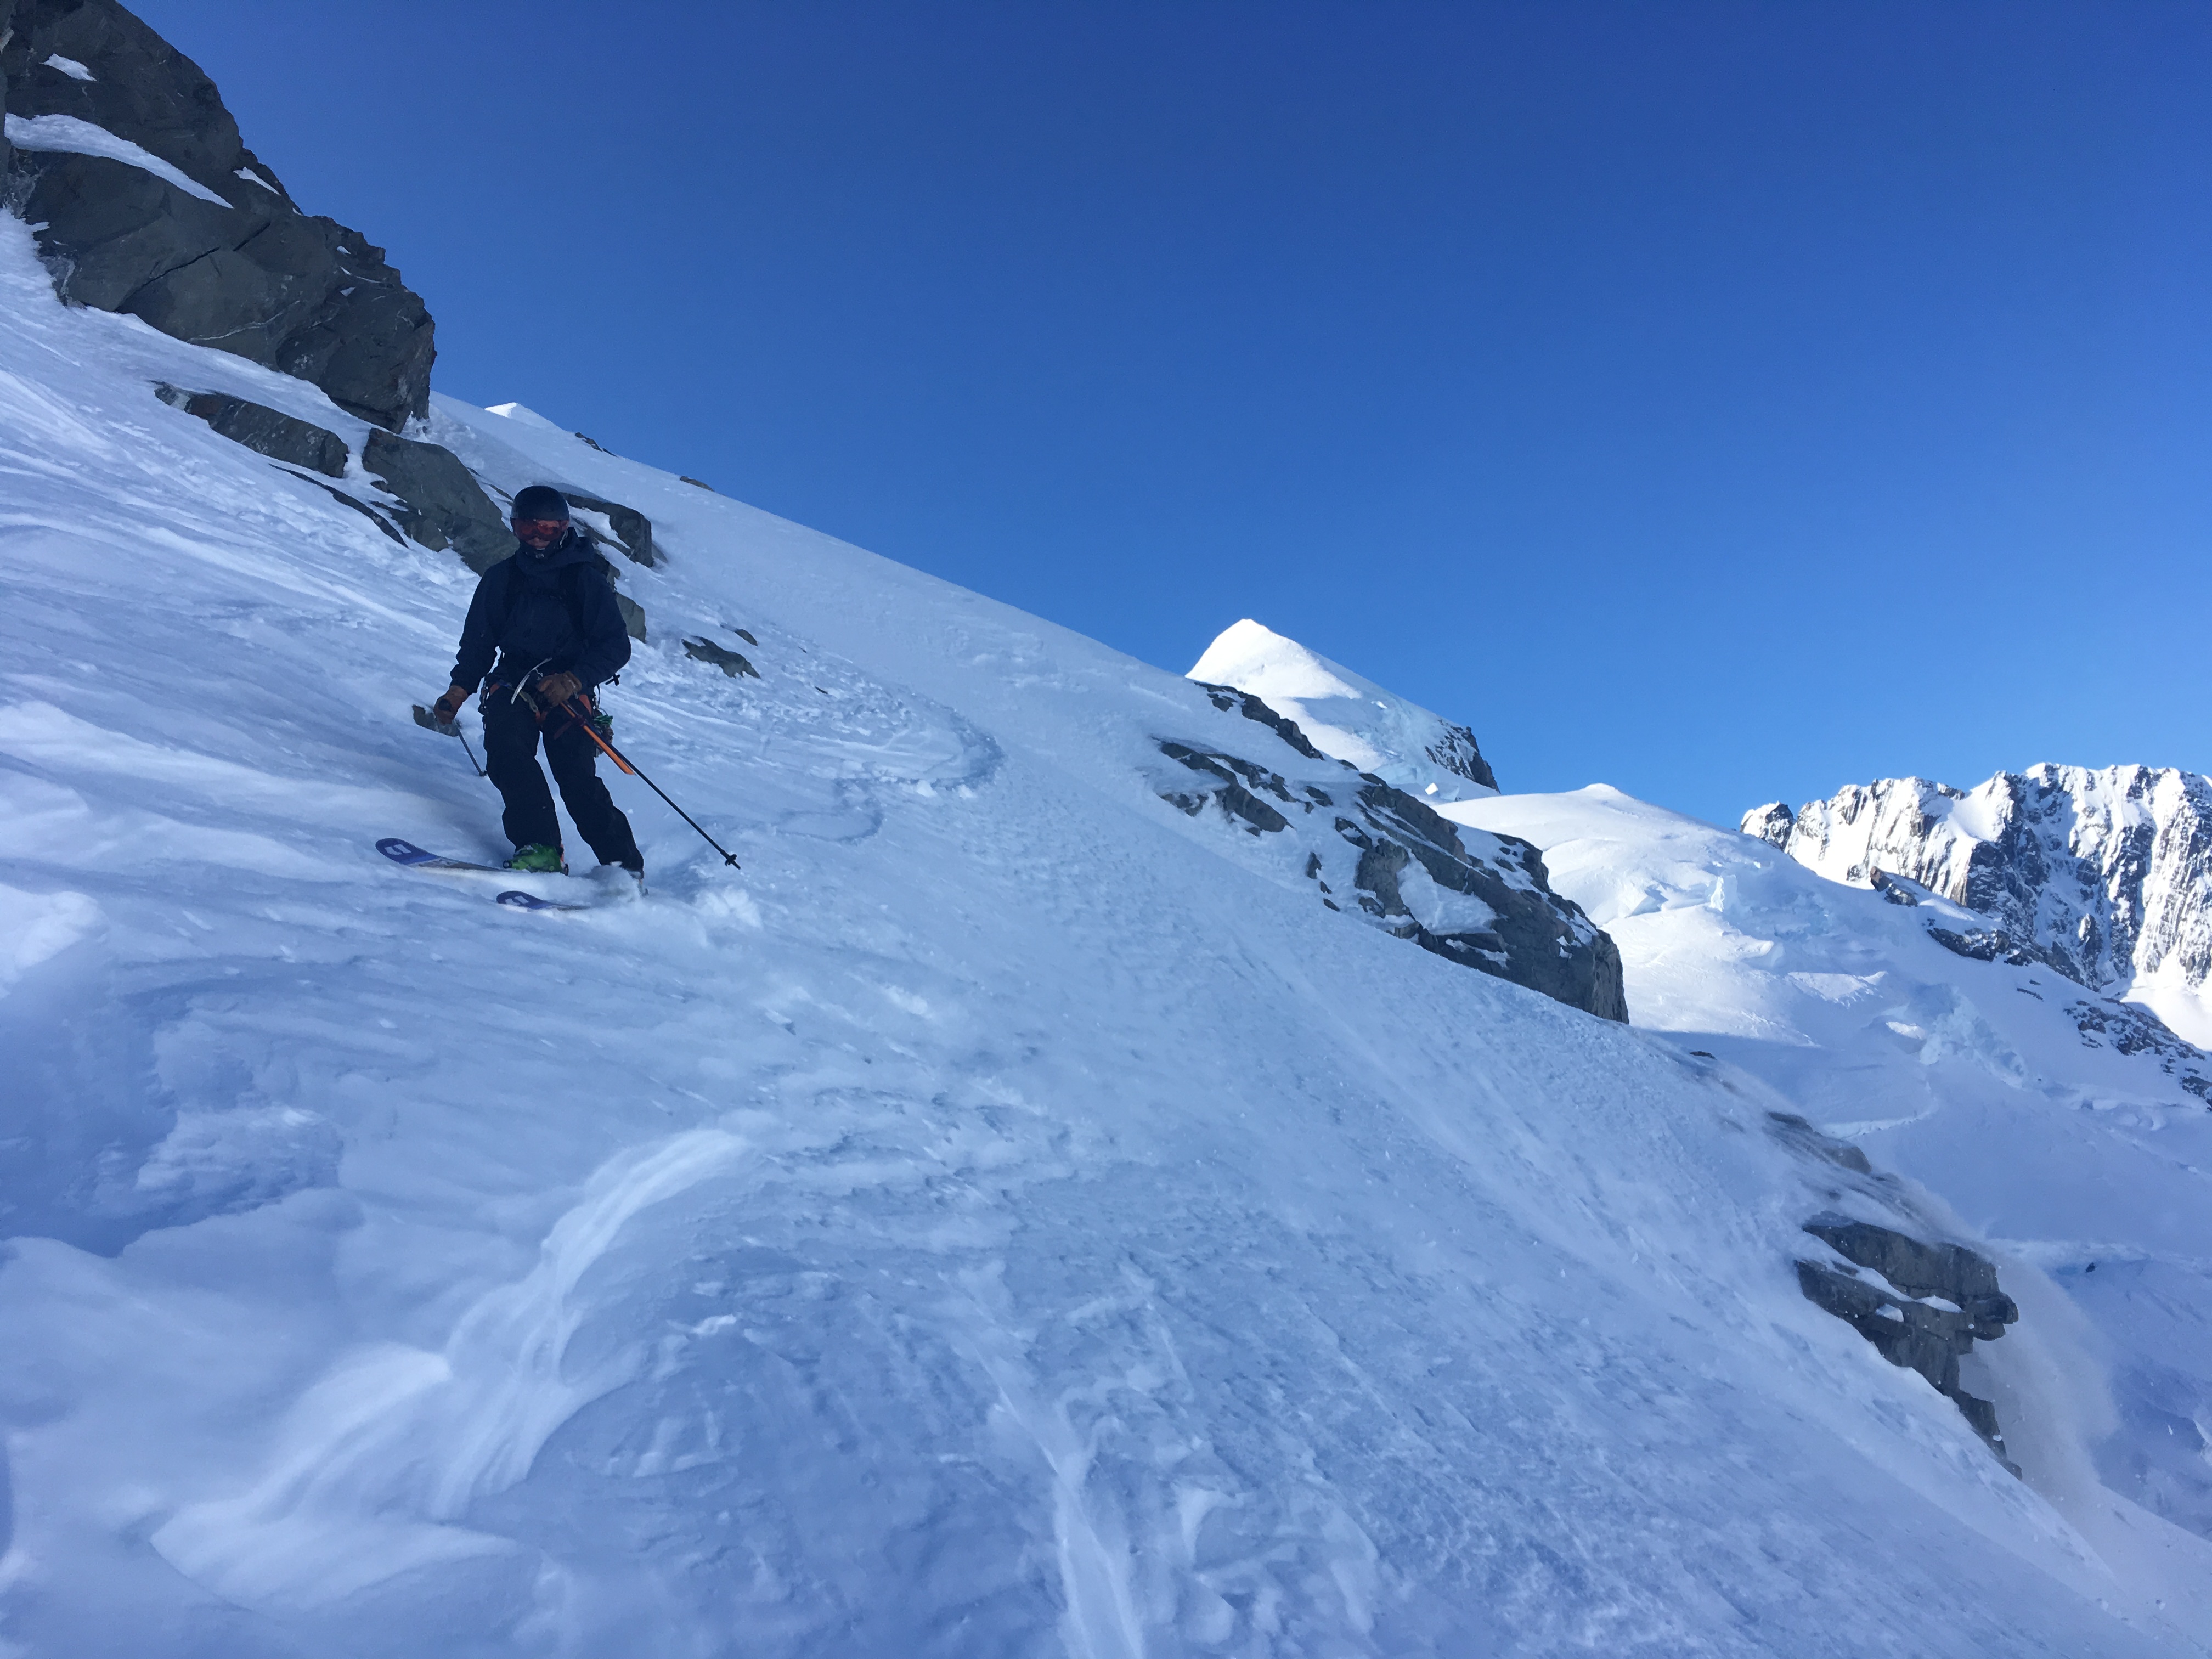
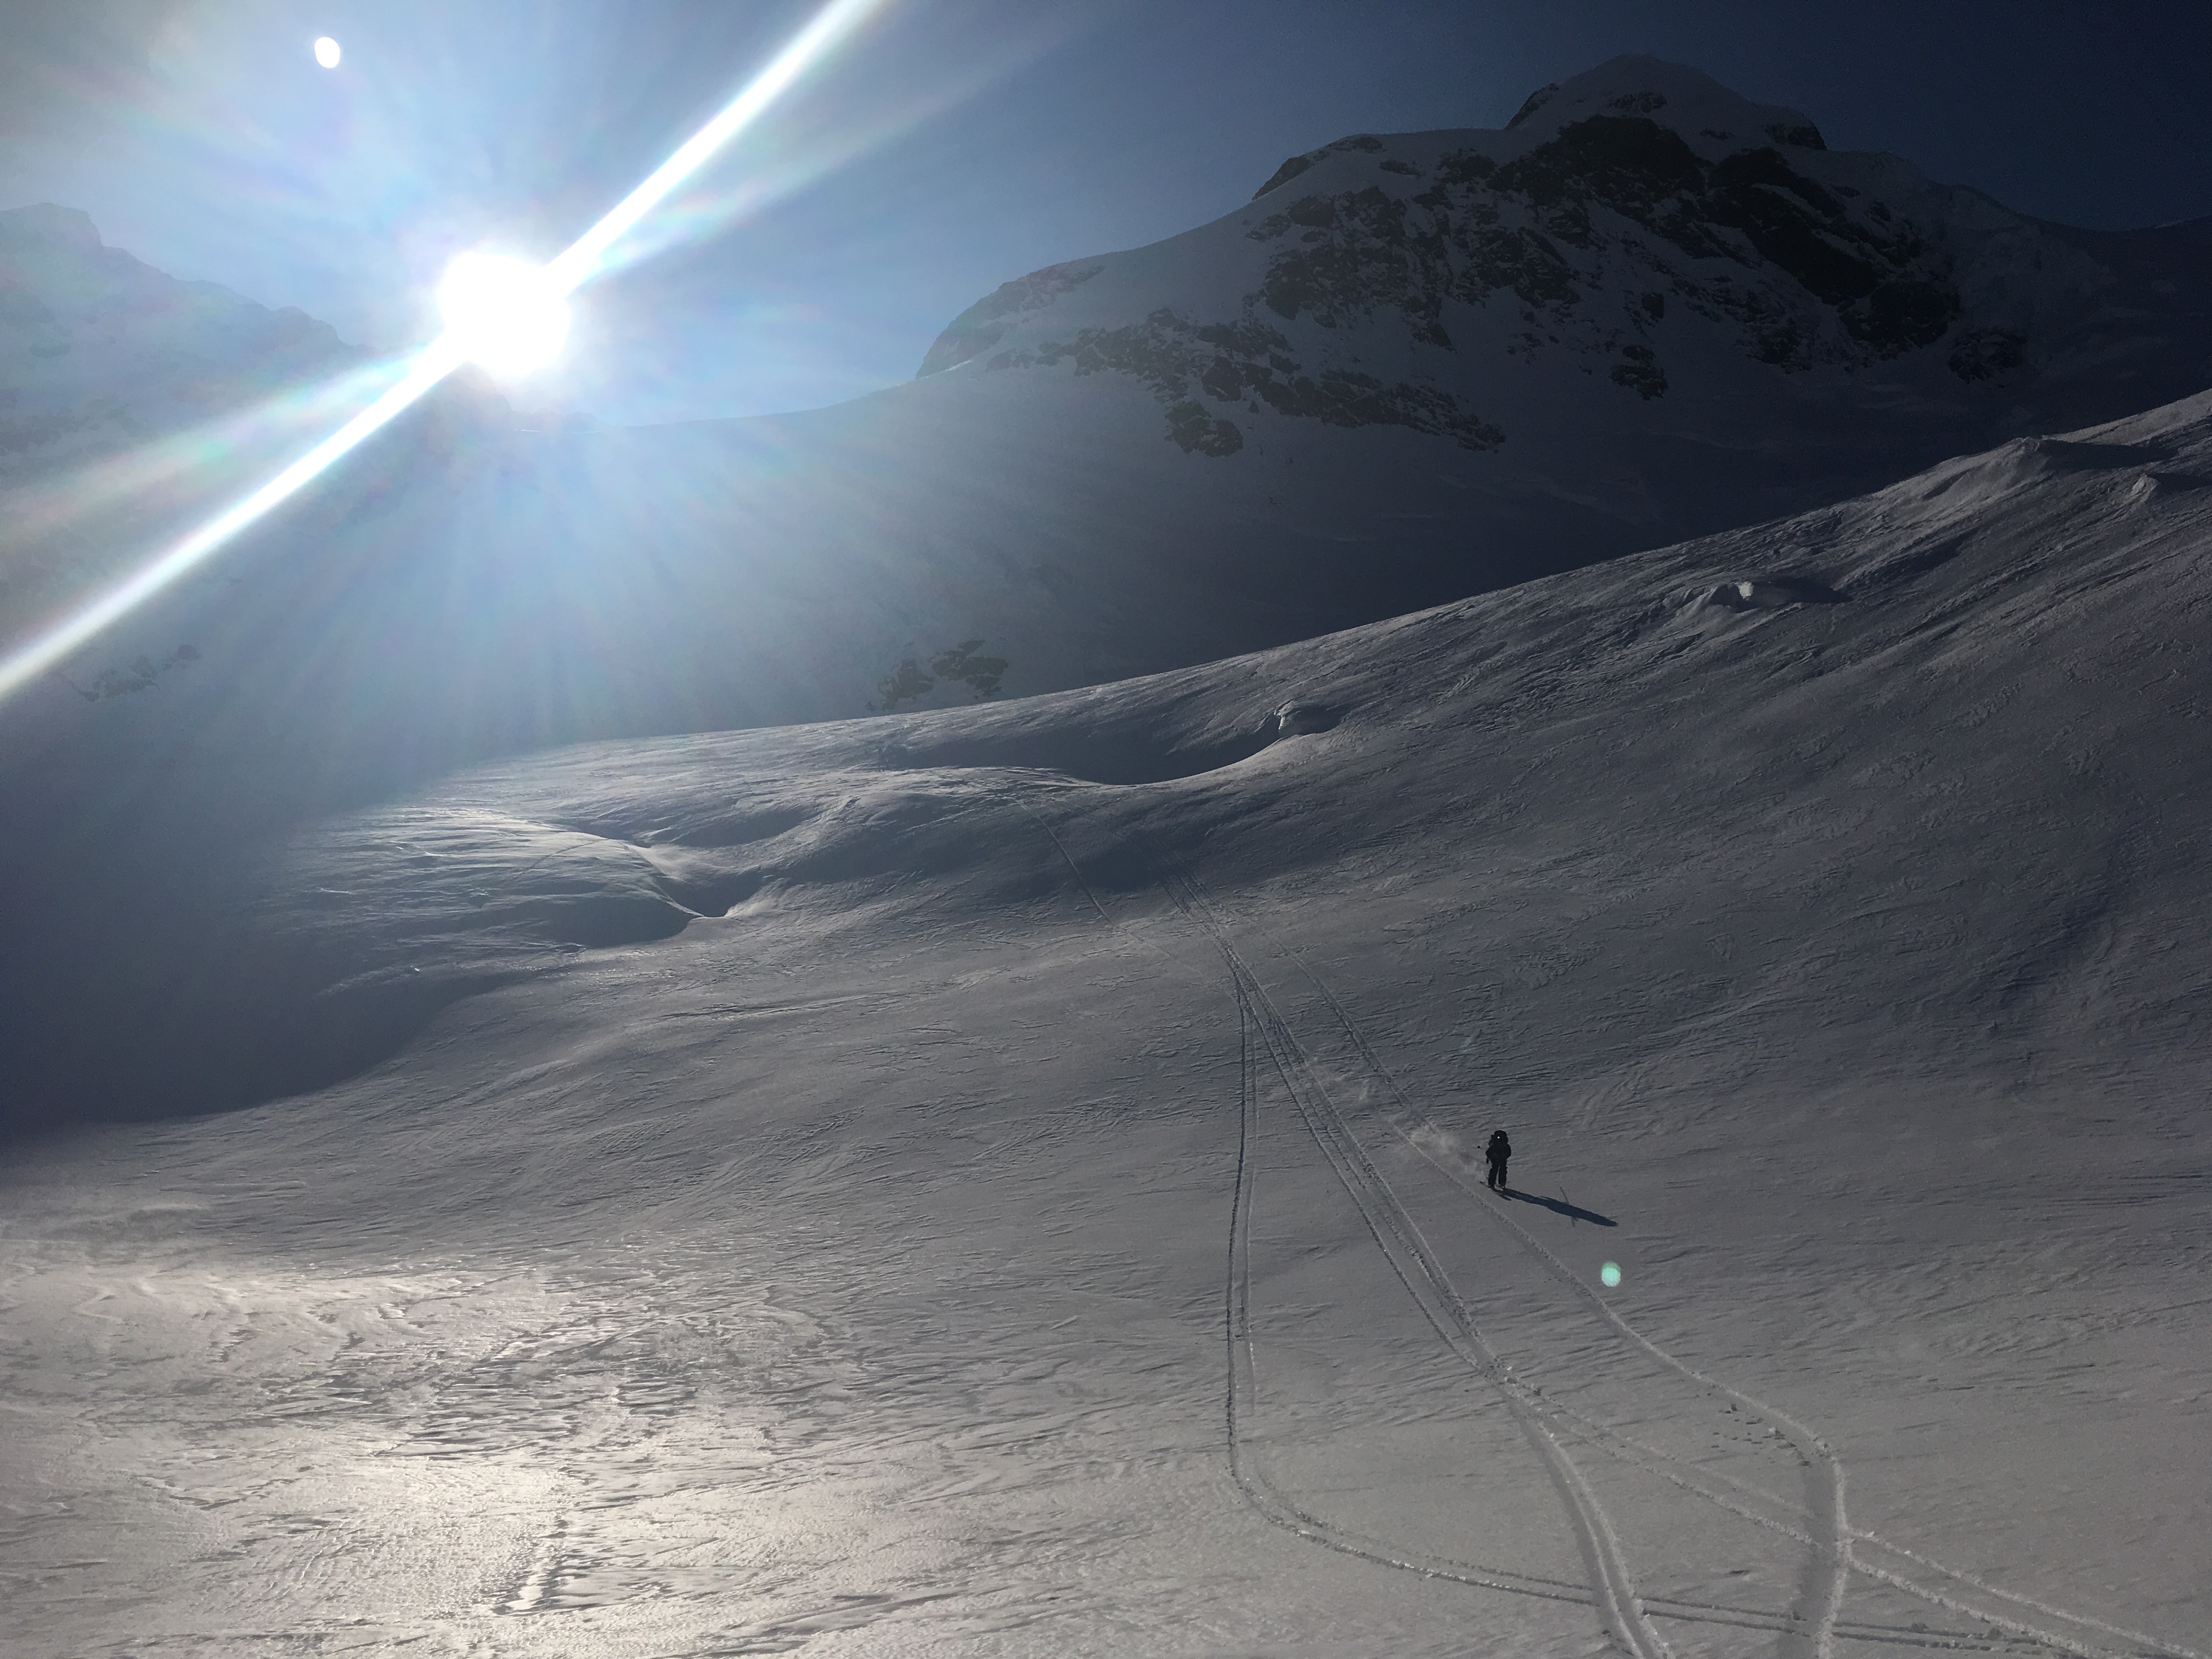
The couloir to access the East ridge. Peet coming up through the choke
Taken from the summit. The ski line goes down the skyline

Ski

Peet making tuns on the upper section

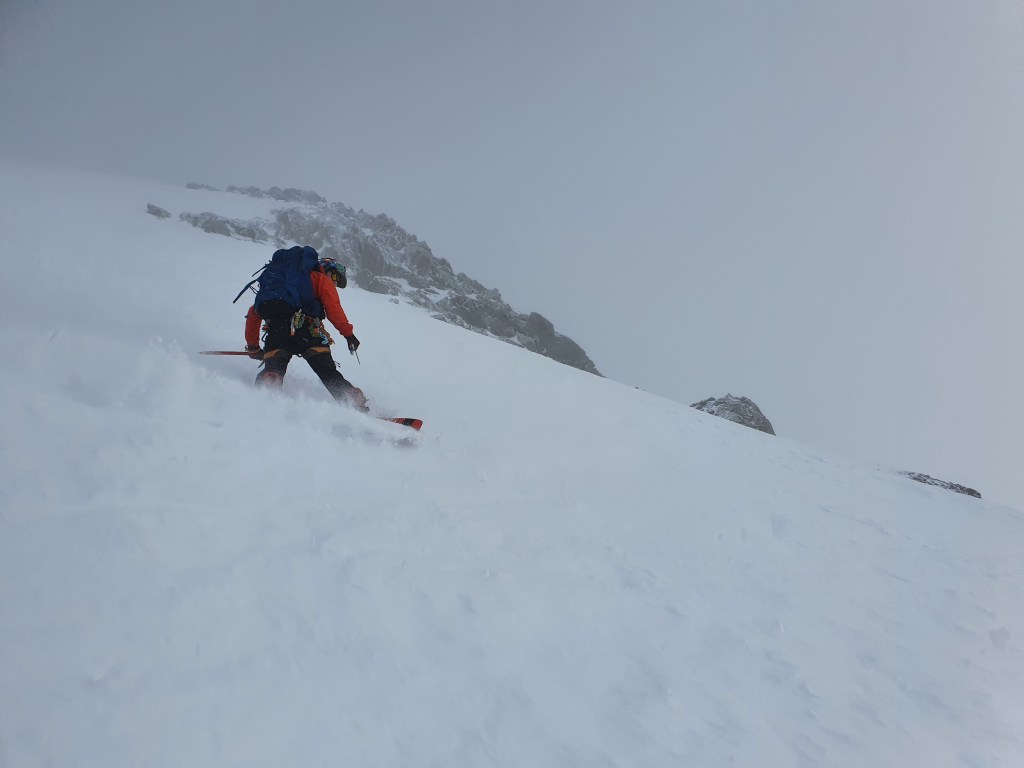
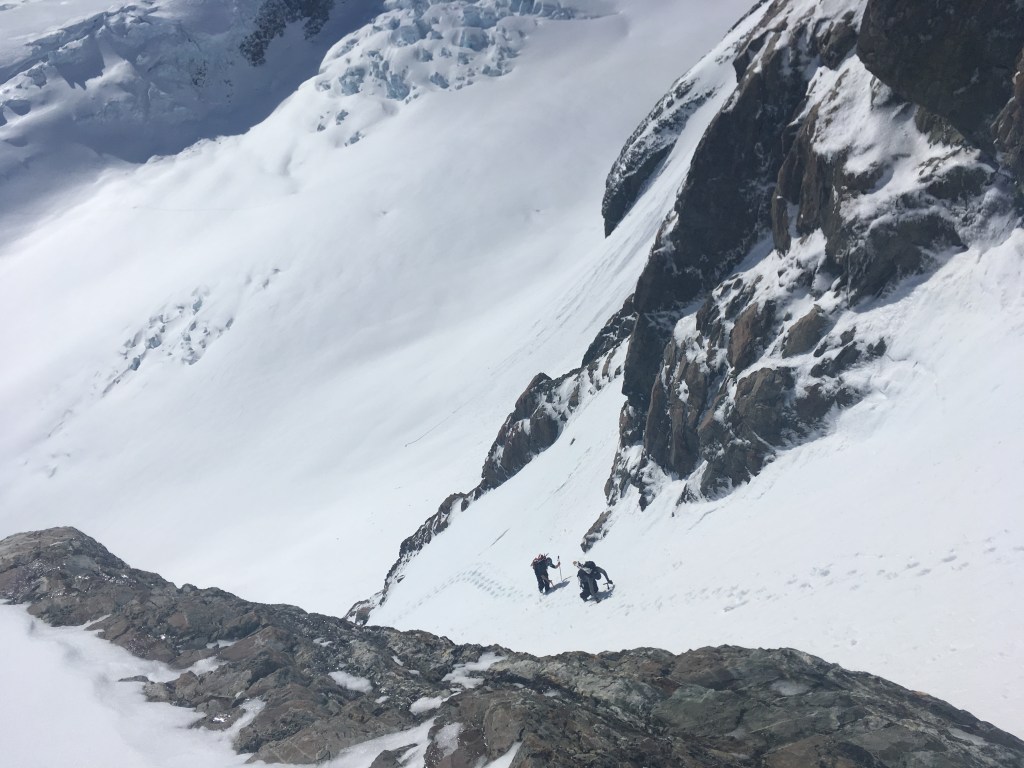
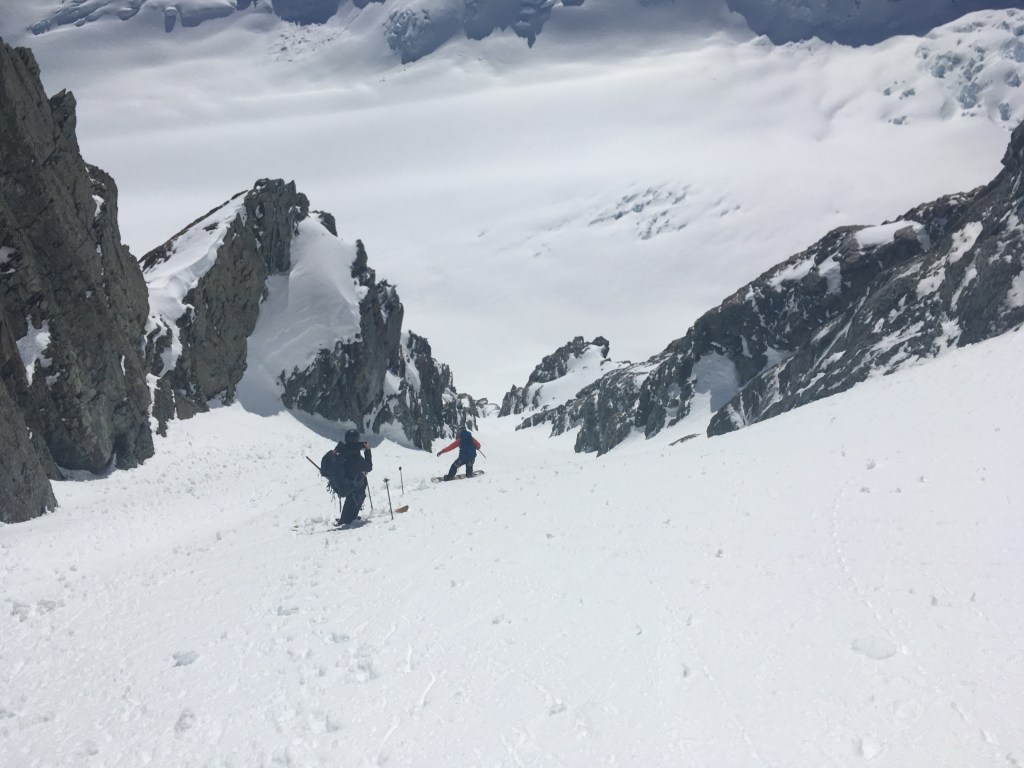
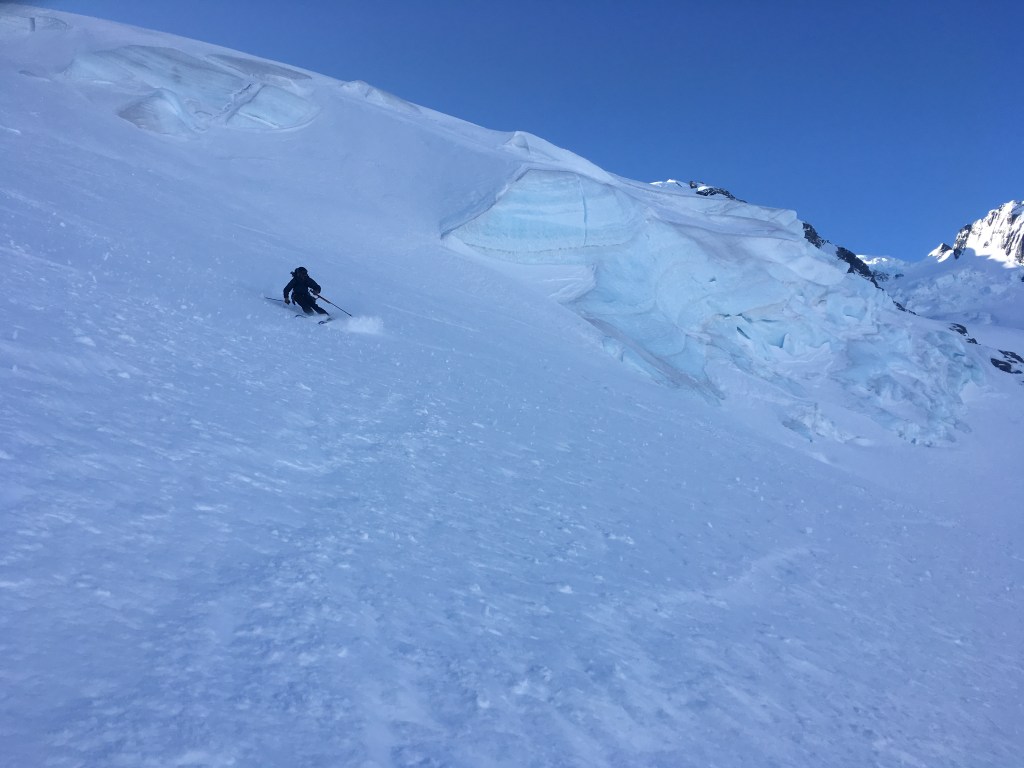
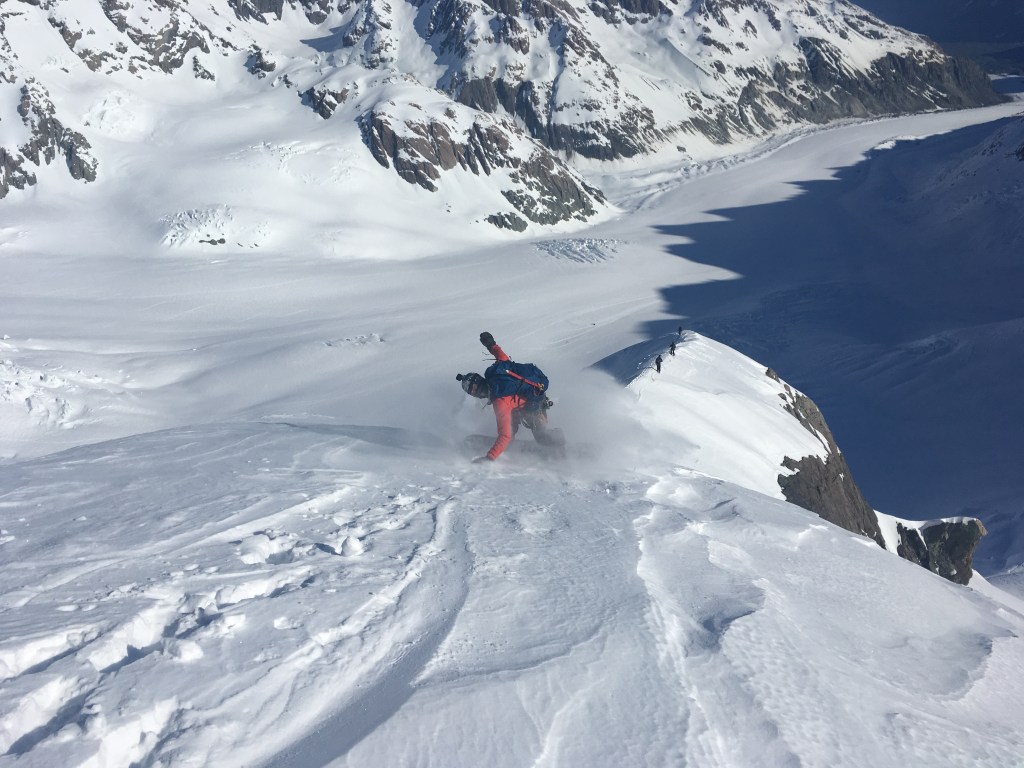
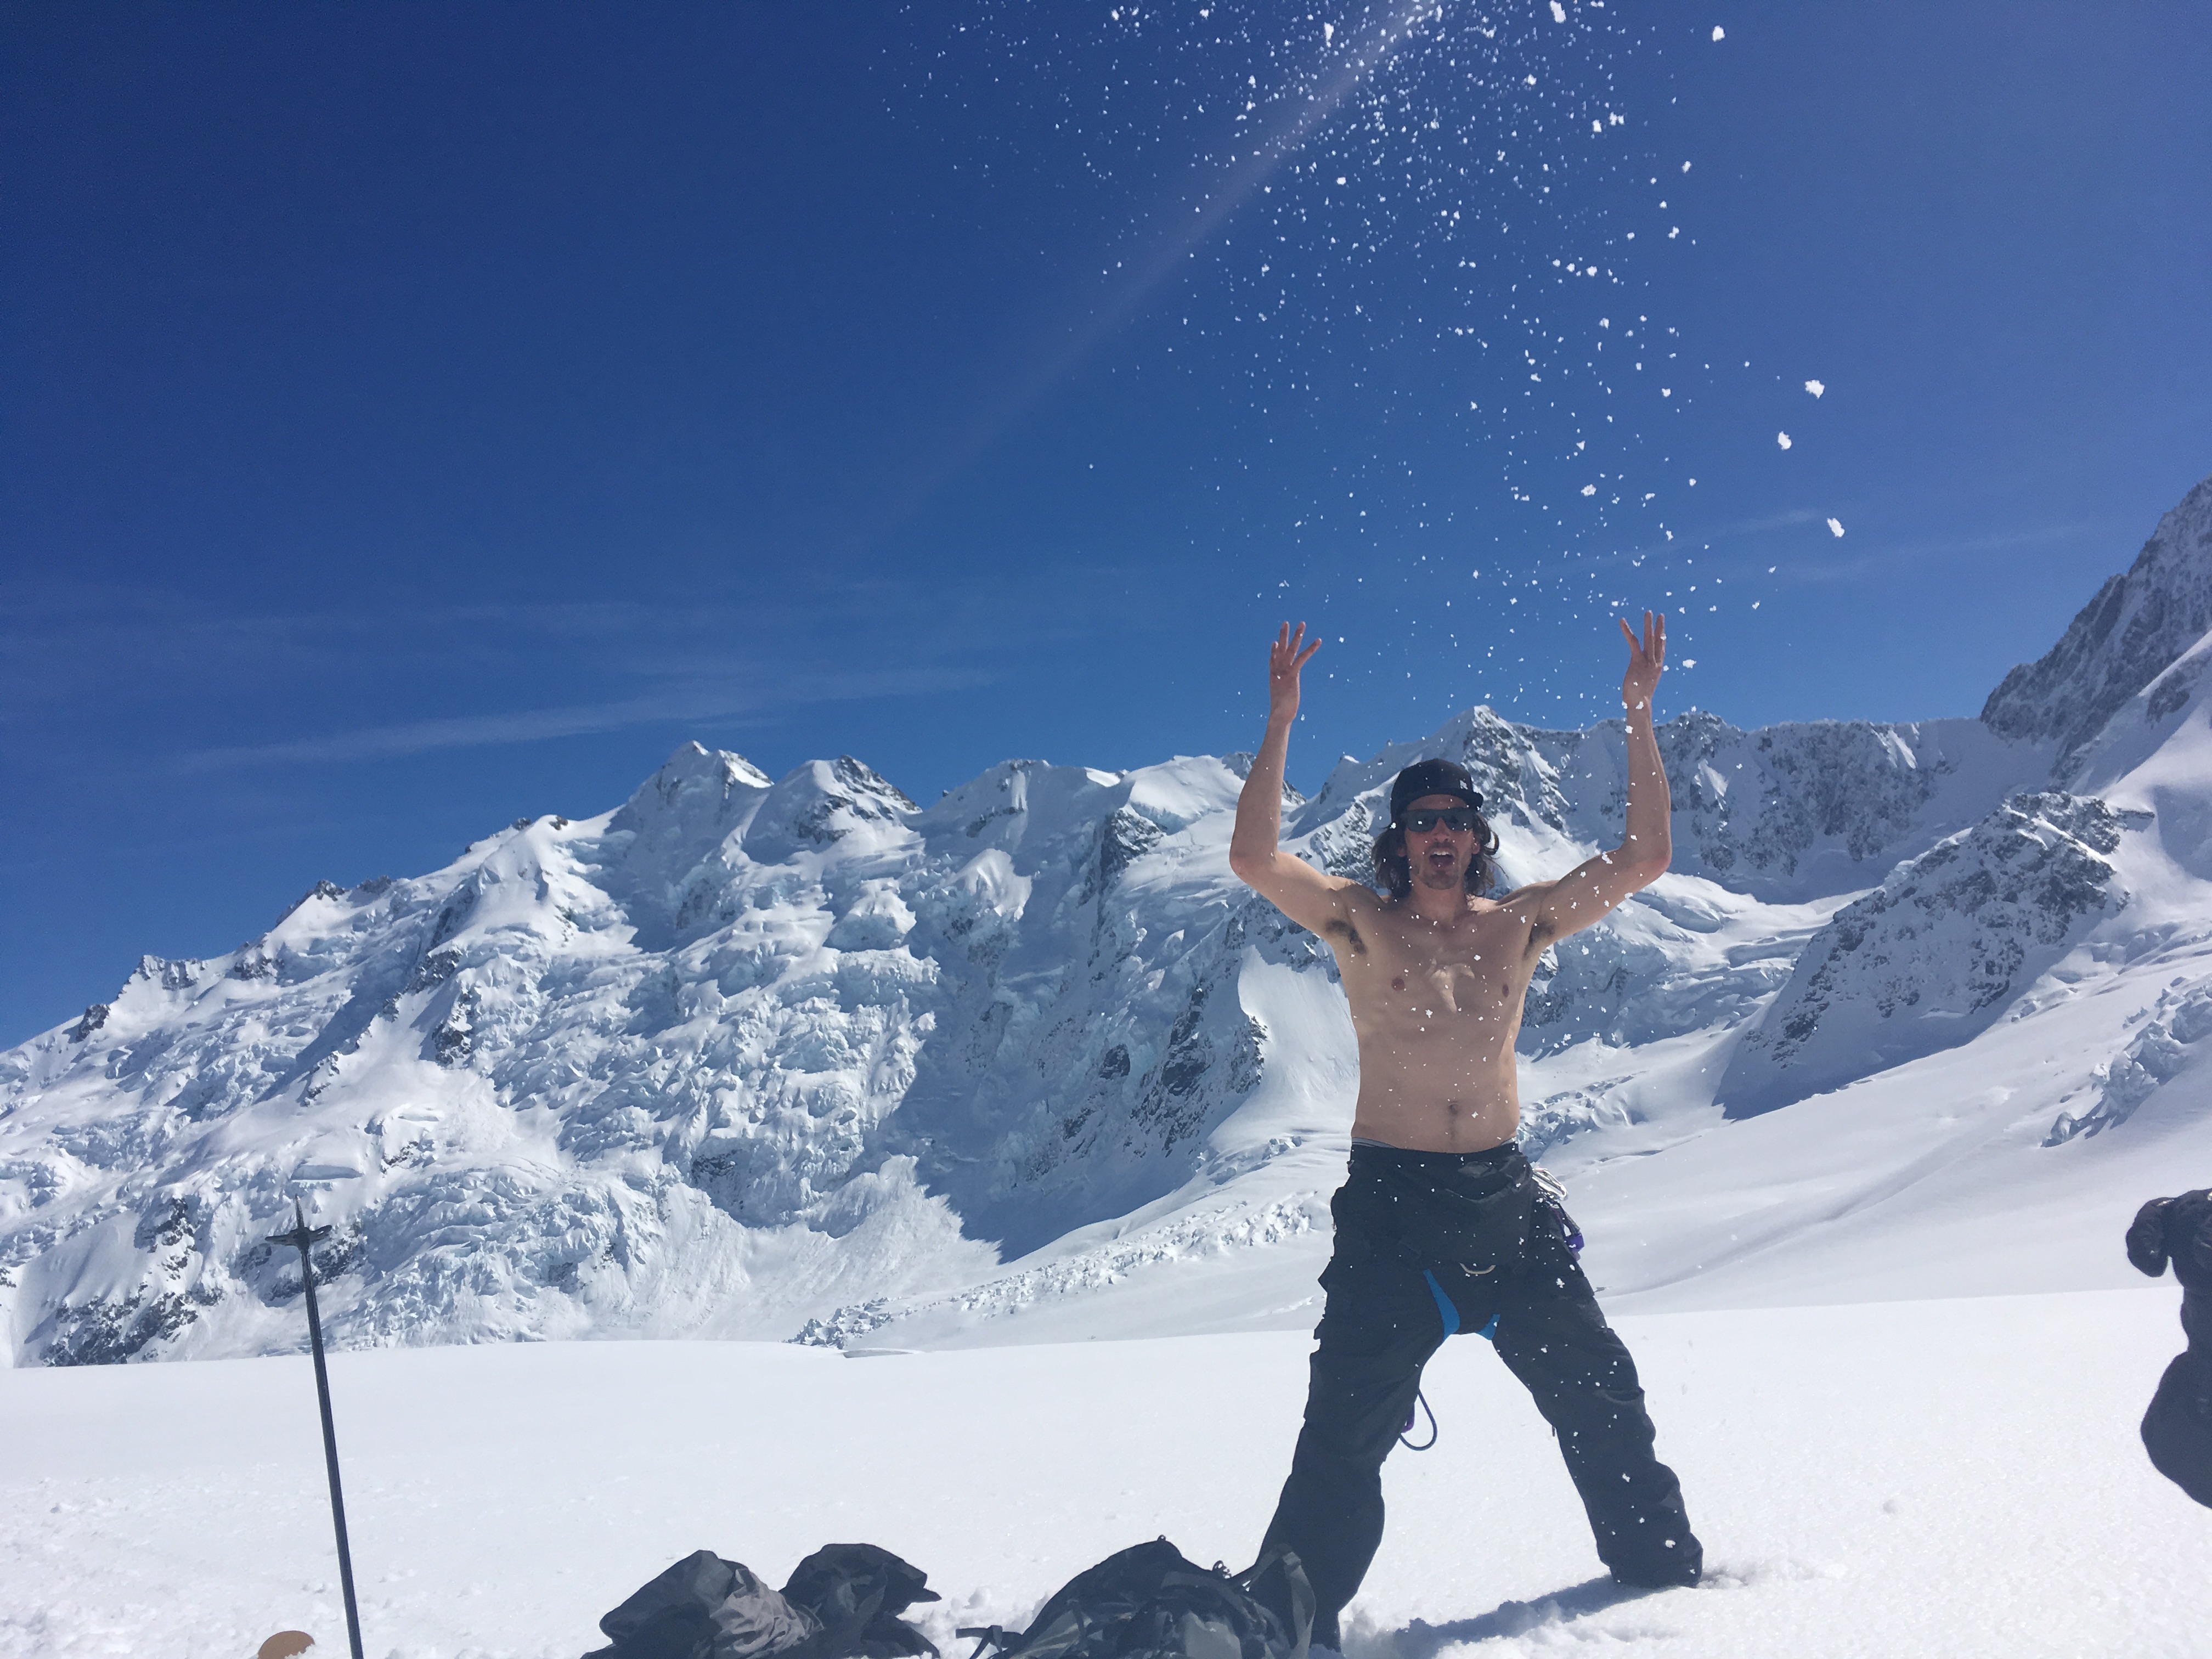
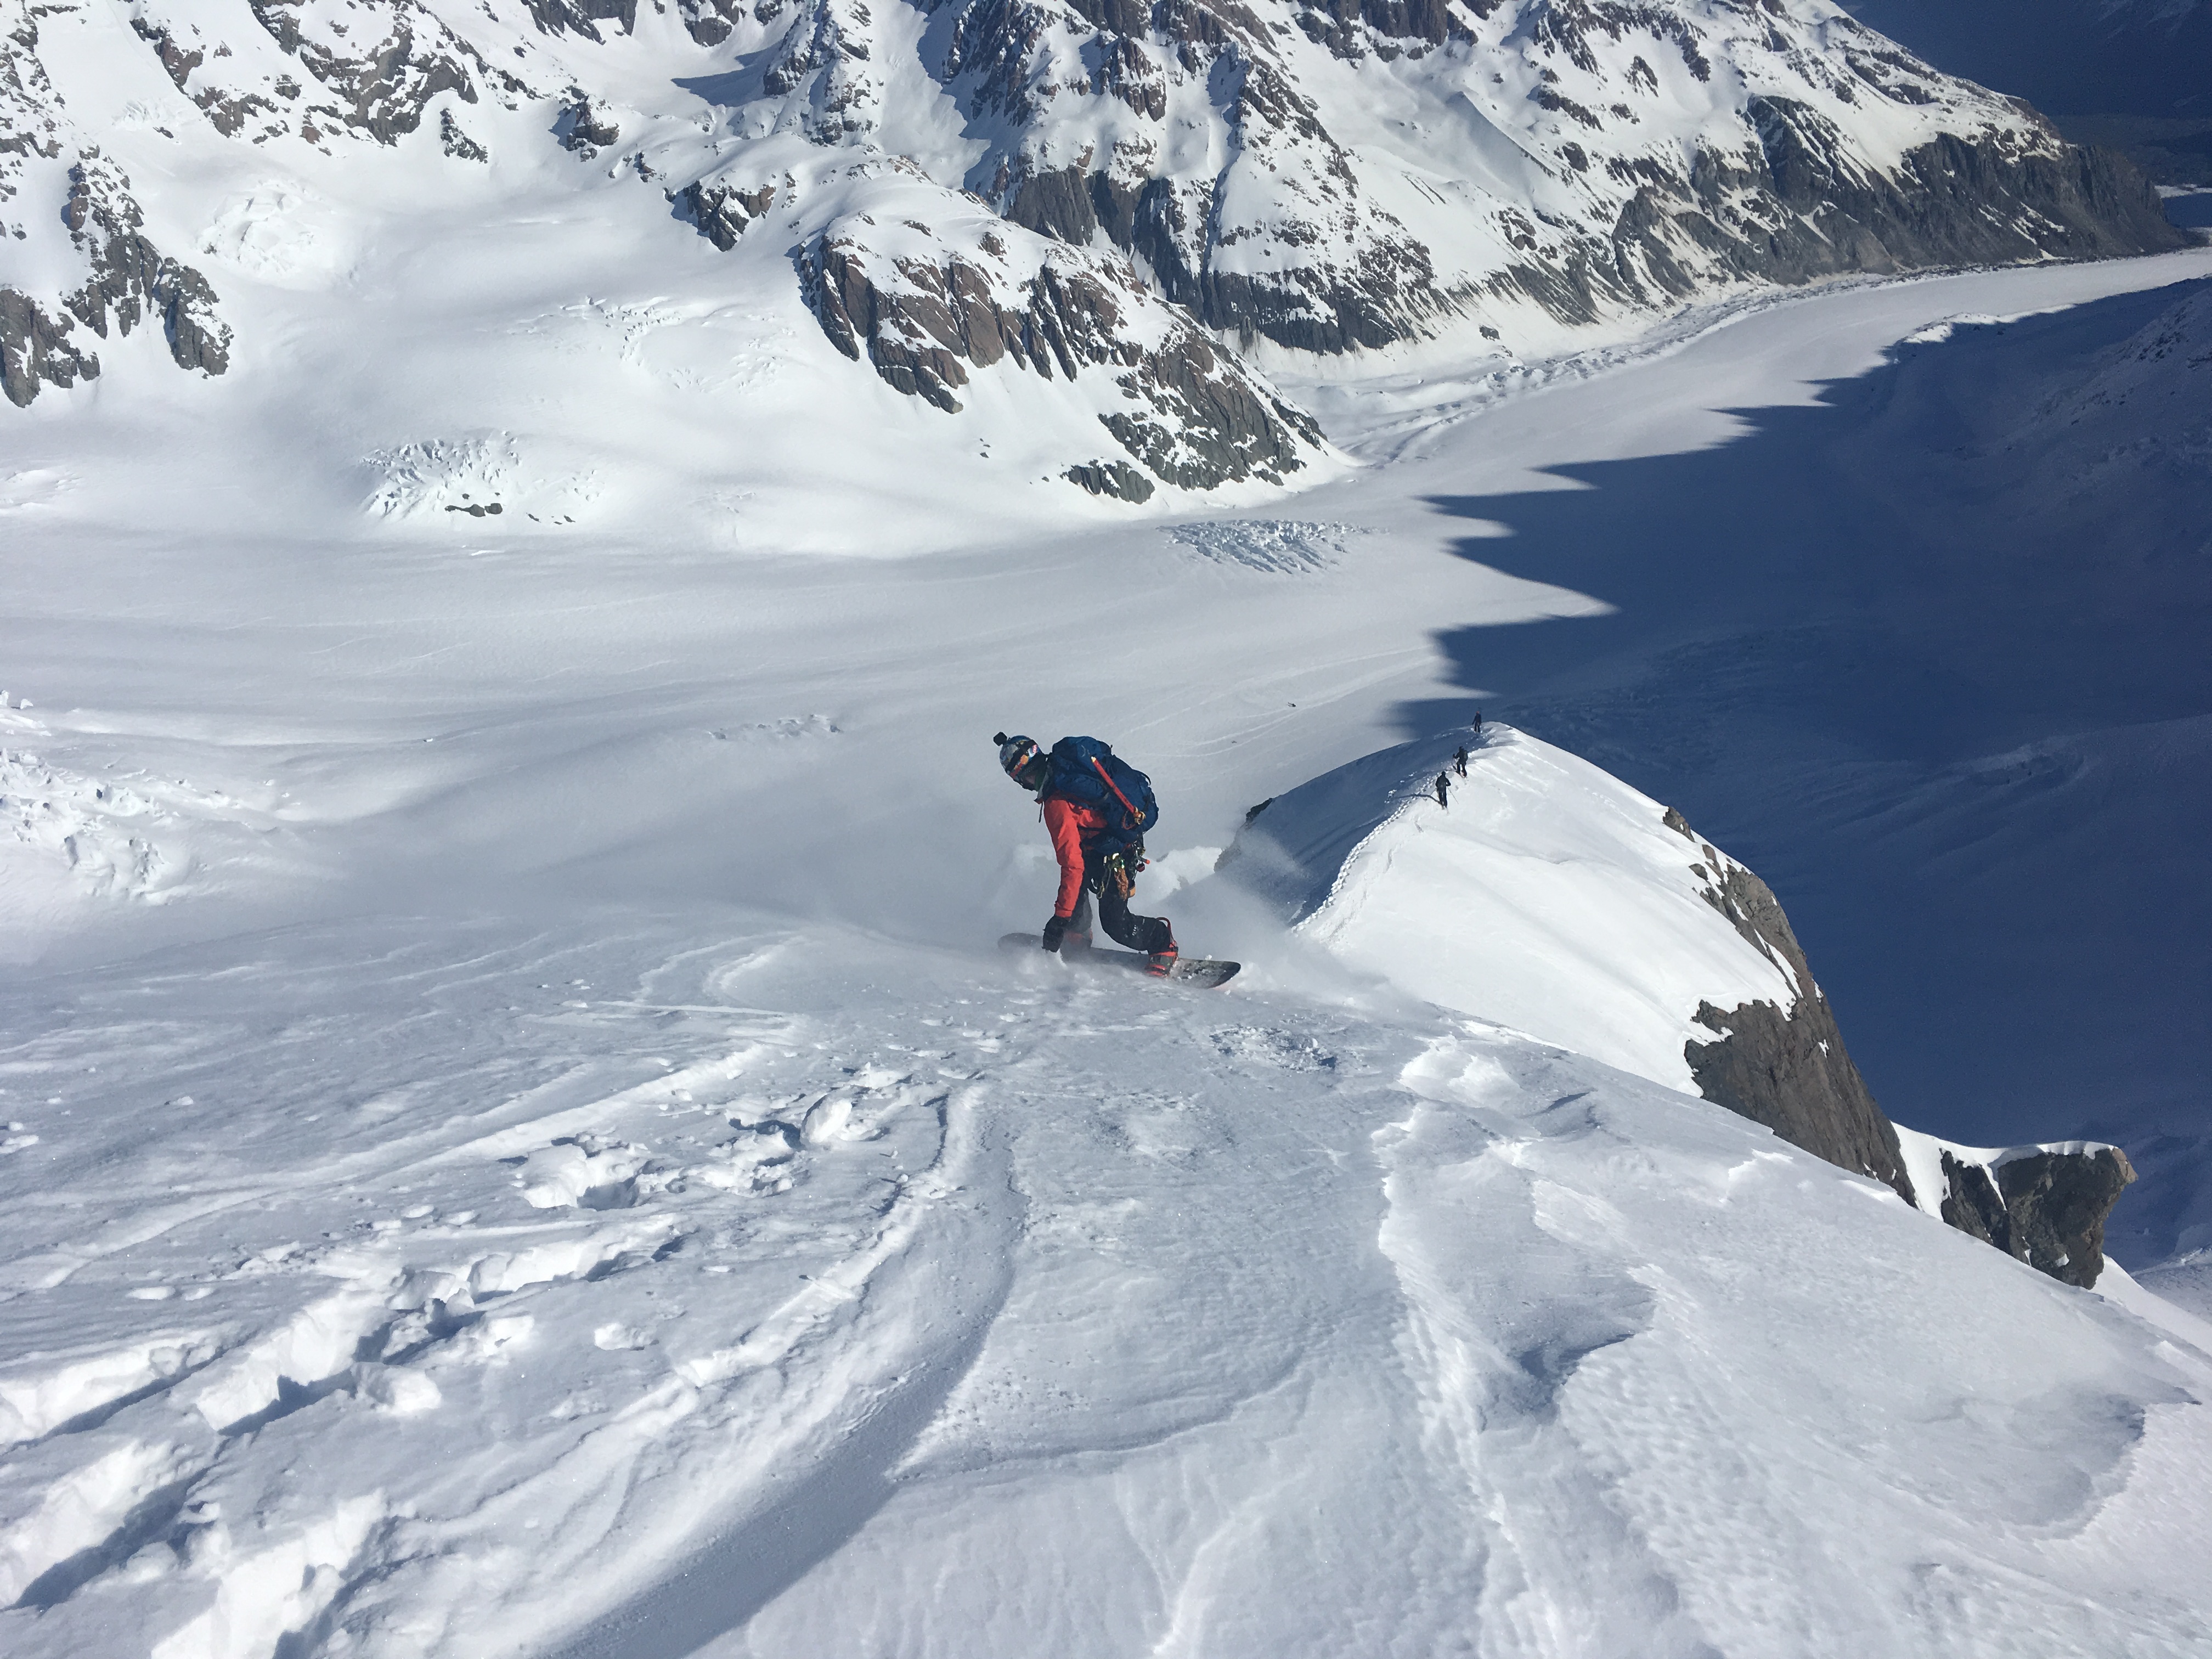
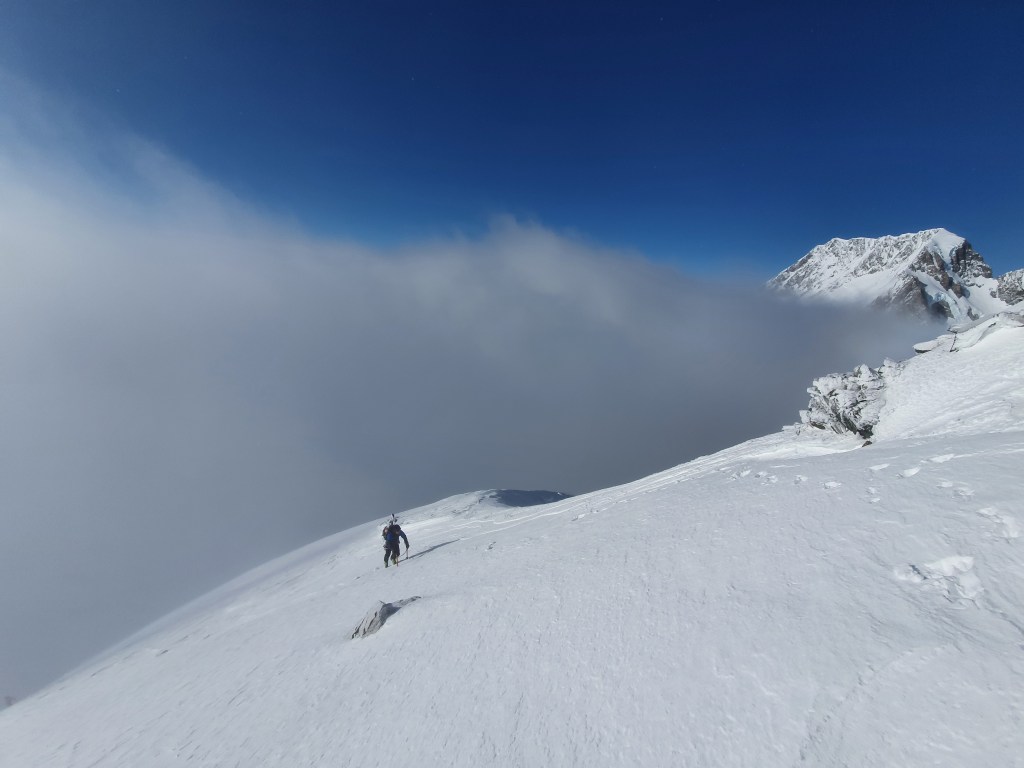
Average 40 deg snow slopes from the summit. Most exposed right at the top, with significant hazard on both sides. We had a recent 10cm of snow which had bonded well with the underlying snowpack and so skied this section in powder. Its important to be skiing early in the day as this top section gets blasted by the morning sun. Some low cloud rolled in for us during the descent and kept the direct sun off it, but made for trickier route finding. The gradient and the exposure decreases as you descent, until reaching the ridge on top of the couloir. From here traverse across and descend the couloir. Pretty steep at the top and narrows to a choke. We made jump turns down to the choke and then had to downclimb a few metres as the choke was narrower than a set of skis and the snow wasnt soft enough for me to fancy the straight line! From here the skis went back on and it was around 45 deg back down to the shrund. After clearing the shrund we pointed it and put as much distance between ourselves and the ice cliffs as possible. Back at the hut by 11am we had a pasta feast and tried to get some sleep before heading up the East face of Cook the next day

Towards the bottom of the East face, with the ridge on top of the couloir coming into view in the cloud

Mt Darwin, North Couloir

Doable in a morning from Tasman Saddle hut, we nipped up while skiing out from Kelman before a early pm heli pick up at the white ice in September 2018. Gets blasted by the sun and makes for some great corn skiing, but don’t leave it too late as the loose wet risk starts increasing. There are several couloirs on the North face of Darwin, and we skied the lookers right line. Increasingly the crux is getting through the bottom section which often isn’t filled in and is bare rock. But once you’re through this bottom section its heroic couloir skiing, consistent 40 degrees for 600m up to the summit snowfield, with another 200m or so to the summit.

Mt Darwin North couloir ski line
We took this right hand dog leg, but in a bigger snow year looks like a direct line would go
Approach

Just underneath Tasman saddle hut, you can access the start of the line within 10 minutes from the hut. The ski down from Kelman is almost as fast but if your going back up is a bit more of a slog. Works well as a morning hit on the way out before an afternoon heli pick up. Follow the glacier south of Tasman saddle hut – the section to the North has some cool seracs you can pick your way through, or stay south and blast straight down.

Mt Darwin North couloir ski snowboard
Fraser and Peet booting up the main part of the couloir
Climb

Super straightforward, just boot up the ski line. The first part was a little thin so we had to cut out to the lookers right and then dog leg back in to the main body of the couloir. Depending on the year an alternate entrance could go directly below the main couloir, or in the second couloir to the lookers left. Took us 2 hours to get to the top of the couloir.

Mt Darwin North couloir ski snowboard descent
Peet dropping in
Ski

Pretty dreamy. We turned round at the top of the couloir because it was getting too hot, would be good to get back up there and ski the line from the summit! The couloir is way wider than it looks from the glacier, and was perfectly softened up meaning we could open it up and absolutely hoon it down the line in less than 5 minutes. One of those descents where you can’t help whooping high fiving and fist bumping every time you regroup! Is pretty similar in steepness and width to Elevator chute in the Remarkables, around 40 degrees, but a lot longer. Because of the dog leg there is a bit of exposure at the bottom so don’t get too carried away.

Spring skiing

Once we got back onto the glacier it was absolutely baking, so the tops came off and we hung out in the sun eating the last of our food and drinking the last of the goon before the heli came in to pick us up. Epic morning mission and perfect way to round of a week up the Tasman!

Tititea / Mt Aspiring, West face

Climb in red, descent in blue

Fuck yeah! Ski mountaineering at its finest. Climb the SW ridge, a 3 star grade 3+ mountaineering route to the summit, rap the ice and then tear it up for 600m down the West face before cruising the mellow slopes down to the Bonar. I skiied this line with Sam McGrath in October 2019, and it’s one of the most fun trips in the mountains I’ve had.

We headed in 3 days after 30cms of fresh snow and cold temps aiming to ski the line in powder. But being West facing it’s also a great line to get some afternoon corn on.

Approach

I’ve talked about the approch to the SW ridge in my post on climbing the SW ridge. If you can get through to the land owners and they give permission then driving to Cascade hut makes a biiiiiggg difference! When you’re on skis I think it’s a total no brainer to stay at French Ridge hut rather than camp up high. You cover the distance so quickly on skis that the advantages of staying at the hut (unlimited water, good nights sleep, dry gear, way lighter packs) far outweigh getting a slight lie in. We left the hut at 0600 and were on the Bonar by 0800 and climbing the ridge by 0900.

Skinning up French Ridge towards Quaterdeck at sunrise
Climb

The snow from the hut to the Quarterdeck was in full melt freeze mode, and pretty bulletproof. It’s never particuarly steep but often quite narrow with some big exposure off to the east. Ski crampons are a must! Unfortunately one of mine snapped in half about 20 minutes in so I was walking behind Sam in crampons and axe with my skis on my back.

Mt Aspiring west face ski snowboard climb
Climbing the ridge leading to the crux

The schrund before the Quarterdeck can be an issue and becomes impassable late season

generally the further climbers right the easier it is to cross. We were lucky and everything was fat, with no signs of anything opening up.

After skinning across the Bonnar, aim for the base of the SW ridge and find the best / easiest spot to gain the ridge. Generally the easiest way is to cut round to the West of the ridge and head up the snowfield running paralell to the ridge towards the West face, then cut up the snowfields from there to gain the ridge part way along. This means you miss out the rocky first section of the ridge and speed things up significantly. You’re also on a long low angle west facing slope to make stability assessments before reaching the main face, and the smaller slopes leading up to the SW ridge make for lower consequence test slopes. Once on the main ridge, the gradient is a consistent 40-45 degrees all the way up to the crux. We had chalky pressed powder on the face, but with sastrugi and windswept ice on the ridge itself. By soloing this section up to the crux we could move quickly and were at the crux just after 11:30.

Mt Aspiring west face crux
The crux

We decided to leave skis / board at the bottom of the crux as we didn’t think the snow looked particuarly great on the summit, and not worth lugging up through the crux pitches. So after stashing the gear we headed up the crux with nice light packs.

We had brought one 70m half rope to save on weight, and doubled this over for pitching the crux with me leading tied into the two ends and Sam tied into a figure 8 at the halfway point. This let us climb the crux in 2x 30m pitches. The ice was in great condition, fat and taking confidence inspiring screws. There were a couple of less than body height vertical sections / bulges with generally 70-80 degree ice. It’s pretty similar to Altered States at the Remarkables. As we were planning on rapping back down to our gear, we scoped out spots for threads / anchors on the way up.

Aspiring west face climb crux
1st pitch of the crux

After pitching this steep section the angle eases right off and you cruise up to the summit. We got to the top at 13:30. We were glad of our decision to leave the skis/board – would have been less than 50m of skiiable snow from the summit before hitting ice above the crux.

Descent
Aspiring west face ski snowboard descent
Sam on the top part of the face

After a brief break to take in the views and refuel, we down climbed back down to the start of the ice and then made 2x 35m raps down to the skis on V-threads. Be prepared to leave a snow stake behind as often the ice at the very top is not good enough for threads. There are also some options on in the rock on skiiers right for knife blade pitons or small rock gear. We were back at the skis and ready to drop in at 14:30. The ski line is pretty straightforward – essentially fall line from the crux. However there are some big cliff bands to negotiate, so you generally have to trend right initially, before cutting left and then right again towards the bottom to get through these.

Aspiring west face snowboarding
Descending the second half of the face

Also, you’re going to be skiing a different line to the climbing line so it’s worth taking the time to scope the line from the bottom to try and identify any areas of poor snow or ice that may trip you up on the way down. It’s steep enough that you probably won’t stop if you fall and its a long way down to the Bonar – there have been several nasty accidents in the past caused by a fall on this face.

Our first few turns were on firm chalky pressed powder, which then turned into boottop powder for the majority of the face down to the Bonar. Cue whooping and high fiving! We were back on the Bonar just 8 minutes after leaving the crux.

A cruisy skin back across the Bonar to the Quaterdeck and then down to French Ridge for goon and dehys! We were back by around 17:30

Mt Green, East Face

Ski line Mt Green East face
Some climbers took this shot from the Tasman, the 4 of us are actually on the summit if you zoom waaaaaay in

A cool line with a few possible variations. A worthwhile climb in its own right with a spectacular summit. From the summit there’s 400m or so of 40-45 degree skiing down to the plateau below divers col, followed by very cool and exposed skiing along the ridge heading south towards point 2258 before dropping back down to the Tasman glacier. I flew in for a week back in September 2018 with Pete Deytrick, Loz Luscombe, Fraser Cambell and Ari Hanna during a period of excellent weather and stability and tick off a few classic lines and drink a whole lot of goon.

Approach
Ski plane tasman Kelman hut
Unloading under Kelman hut. Short skin from here to the hut

We based ourselves at Kelman hut – some people whinge about Kelman (aka the fridge on the ridge) but I think it’s got some advantages over Tasman Saddle. Firstly it has plumbed in gas and cookers so you don’t need to bring as much gear and melting as much snow as you need is no issue. Secondly it has seperate rooms from the sleeping area – in Tasman saddle your bed is right next to the cooking bench and so any climbers getting alpine starts will be firing up their jetboil half a metre from your head at 2am.

But it is colder up at Kelman and getting progressively leakier….

Climbing and ski line on Mt Green
The we took up in red, descent line in blue. Other option is to climb the ski line but your exposed to some seracs you can see on the right

It’s a no brainer to fly in – for Tas saddle you get dropped right by the hut so can be lax with your packing / bring cardboard boxes, but for Kelman you need to skin up a steep slope for 30 min so need to pack properly.

Climb

From Kelman or Tas Saddle blast down the Tasman towards point 2258. Your two options are:

Mt Green climb
Final section up to the flat plateau under Mt Green

1) Cut south around the bottom of point 2258 and into the bowl under climbers col / Mt Green South face. From here skin up the glacier to the West of the ridge, delivering you onto the Divers Col plateau. This gets steep towards the top and you might have to bootpack the top section. This way is slightly longer and gets cut off later in the season.

2) Stay high on the Tasman and go above point 2258, skinning across up onto the ridge joining 2258 to the plateau. You then climb up ridge to the plateau, which is a low angle exposed snow arete. You may have to climb down onto the East face to bypass some of the rock bands.

This way is faster but more exposed to serac fall.

We chose option 1 as we could see the route went from the plane, and the ice cliffs over option 2 were particualy active. Either way the area at the base of 2258 has some massive crevasses so take care.

Mt Green ridge climb ski
The ridge under Mt Green

From the plateau, just boost straight up the snowfields to the summit ridge. There is a large schrund at the bottom, and the spot you cross will be determined by this. The further East you go, the less serious the exposure is and the less steep the route is, funnelling down onto the plateau. To the west it steepens up and also funnels down onto the south face and major cliffs so a fall would likely be fatal.

We had to cross the schrund on the far West of the face as it opened up significantly to the East. But the West side was bare ice so we traversed across the rock band to hit the good snow on the East side. We hit the summit ridge about 50m East of the summit, then cruised up the low angle slopes to the top.

The views from the summit are pretty incredible, with a panorama of the whole of the Tasman but also into the West side of Ellie and down to the West coast

Mt Green climb and ski line
The only spot we could cross the shrund on the way up was the red line on the left, but was icy and shitty snow so we traversed over to ski the blue line
Ski
Mt Green ski descent
Fraser on the lower section getting down to the Tasman

Cruise down the summit ridge to your chosen drop in point. Scope out where the best snow is on the climb to decide where your going to ski. As above, the line is more serious and consequential on the West side of the face. Send the shrund and cruise down to the plateau. From here its a fun ski down the apex of the ridge – its easy ground but tres exposed.

Mt green snowboard descent
Pete dropping into the ridge above 2258 after descending the East face

Again the best way down will depend on the conditions at the time, but we cruised down about half way down the ridge and then dropped down the face to the East just by the ice fall to take us down onto the Tasman. Then enjoy the skin back to the hut and some well earned goon!

We left the hut at 08:00 and had finished the skiing by 16:30. It was another hour and a half to skin back up to Kelman.