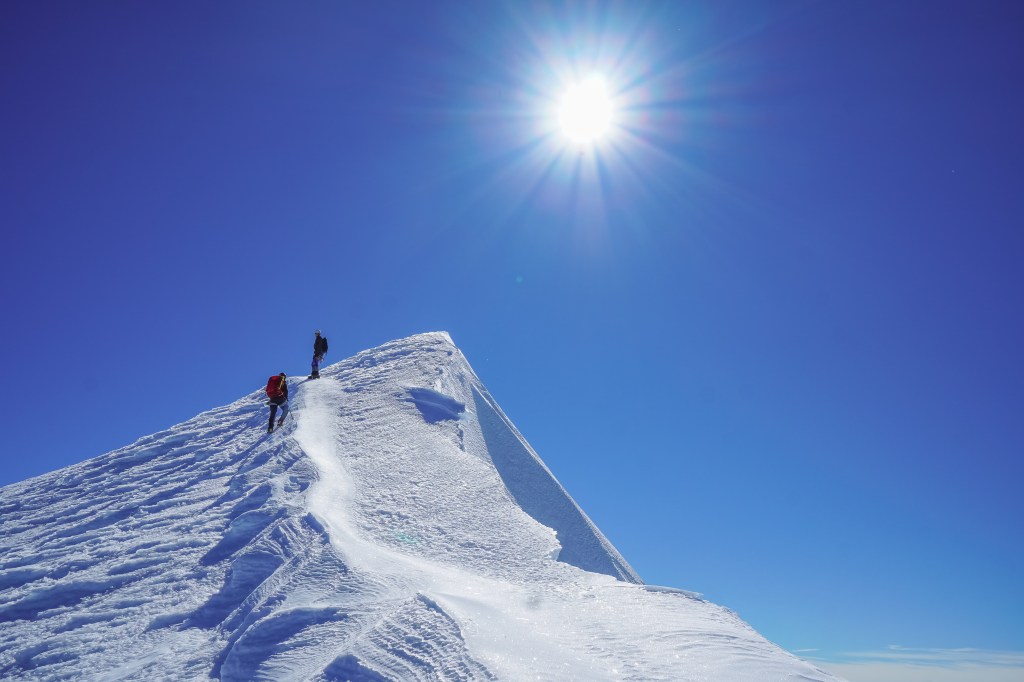
Stoked to have climbed this iconic mountain! It was a strong introduction to the mountain for me, having never climbed it before, but when Joe offers to lead all the ice climbing… Why not? One of my more memorable trips in the NZ alps. It really is a classic climb.
- Difficulty: Grade 3+
- Equipment: 2x semi technical tools, screws (depends on your tolerance for running it out! we brought 8), 1 x picket each. The amount of rock gear needed depends on the time of year – we didnt need any but later in the season a small set of nuts and set of cams would be needed. Rap tat. We climbed on 2x half ropes as a team of 3 but as a 2 a single 60 would be fine.
- Approach time: with only a short weather window (excuses, excuses) we flew into Bevan Col and set up camp at the base of the SW ridge, at around 2100m – see attached gpx file.
- Climb time: 6.5h to summit, 11h descent to French Ridge hut
- Season: Summited on 1 Dec and the ice was still fat. Earlier in the year expect ice, once it gets much later though the crux turns into a rock step
- Party: Joe, Maria, Maia 30/11/21 – 2/12/21
Approach
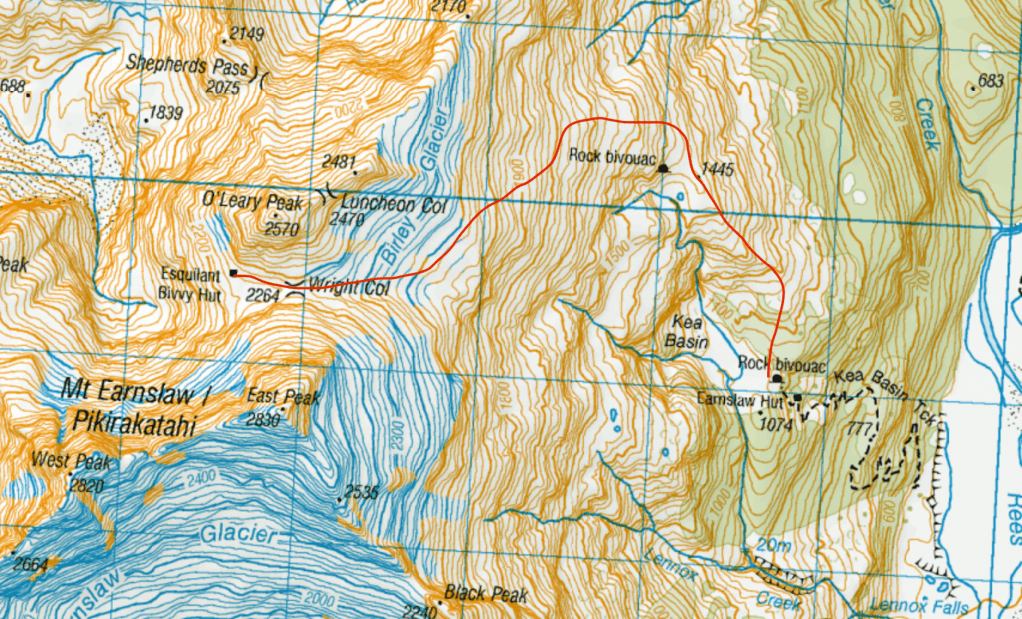
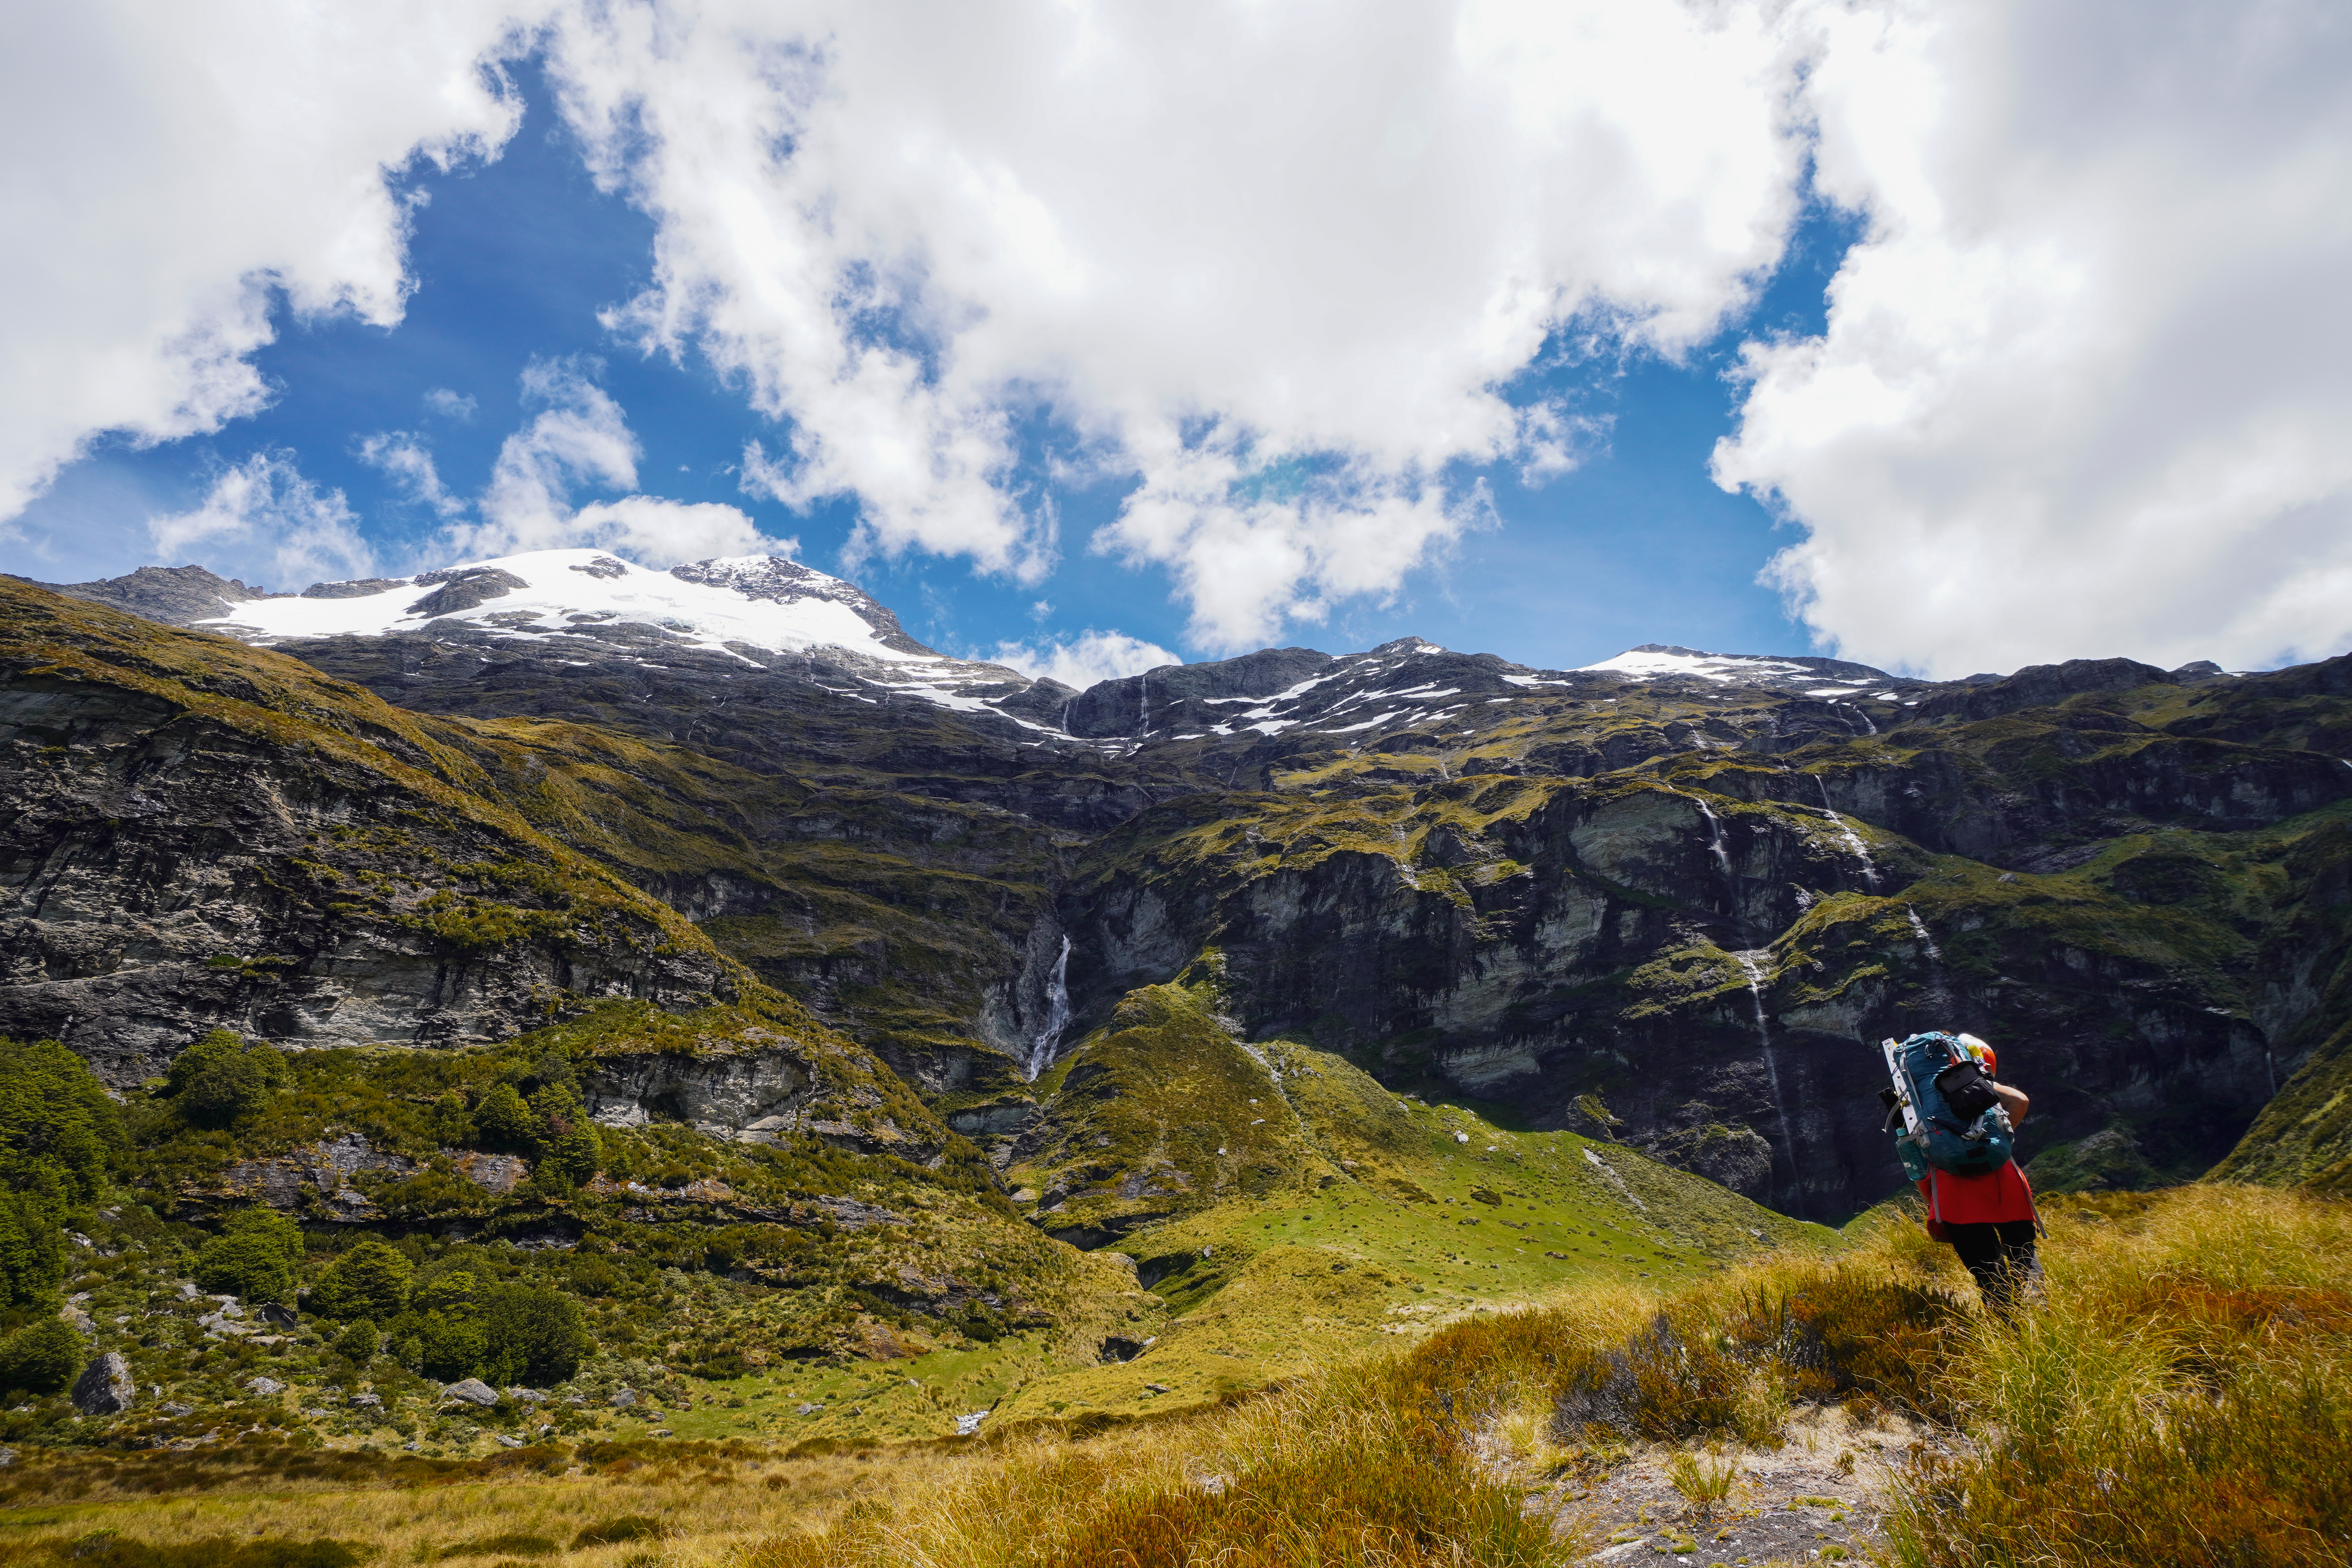
An easy drive from Wanaka up the Mt Aspiring road, which is gravel past the TC turn off. Has a couple of fords but unless there’s been a ton of recent rain they are no problem crossing in most veichles (Juicy vans regularly make it to the end). If you’re flying in, Aspiring helicopters is just past the TC turn off. They have a slightly unusual pricing structure – as of 2021 its $1170 for 2 people (585 each) or $1560 for 3 (so 520 each), so getting more people to share the flight doesn’t actually make it much cheaper. After checking in with them you drive down to Raspberry Creek Car park and the Heli lands in the field just next to it so you don’t get stuck without your car on the walk out. The only landing spot possible is Bevan Col. We were limited for time due to driving up after a night shift so went for fly in hike out, but the hike in really isn’t too bad, just time consuming. Generally takes around 3 hours ish to get to the French ridge turn off and 1.5-2 hours up to French ridge hut (path is steeeeep) with very well marked track the whole way. You can shave the first 6km or so off that if you have a decent 4WD and ask permission of the land owners – they often will let you drive as far as Cascade hut (call to ask permission! 03 443 7155).
The two most common approaches are to either stay at French Ridge Hut, or to bivvy at the base of the route on the Bonar. If you’re flying in, I think its a no brainer to bivvy but if you hike in, it may make more sense to get a good nights sleep at French ridge and go from there. Allow 2-3 hours from French Ridge hut to the start of the route. It doesn’t really make much sense to go from Colin Todd Hut, its 1-2 hours in the wrong direction.
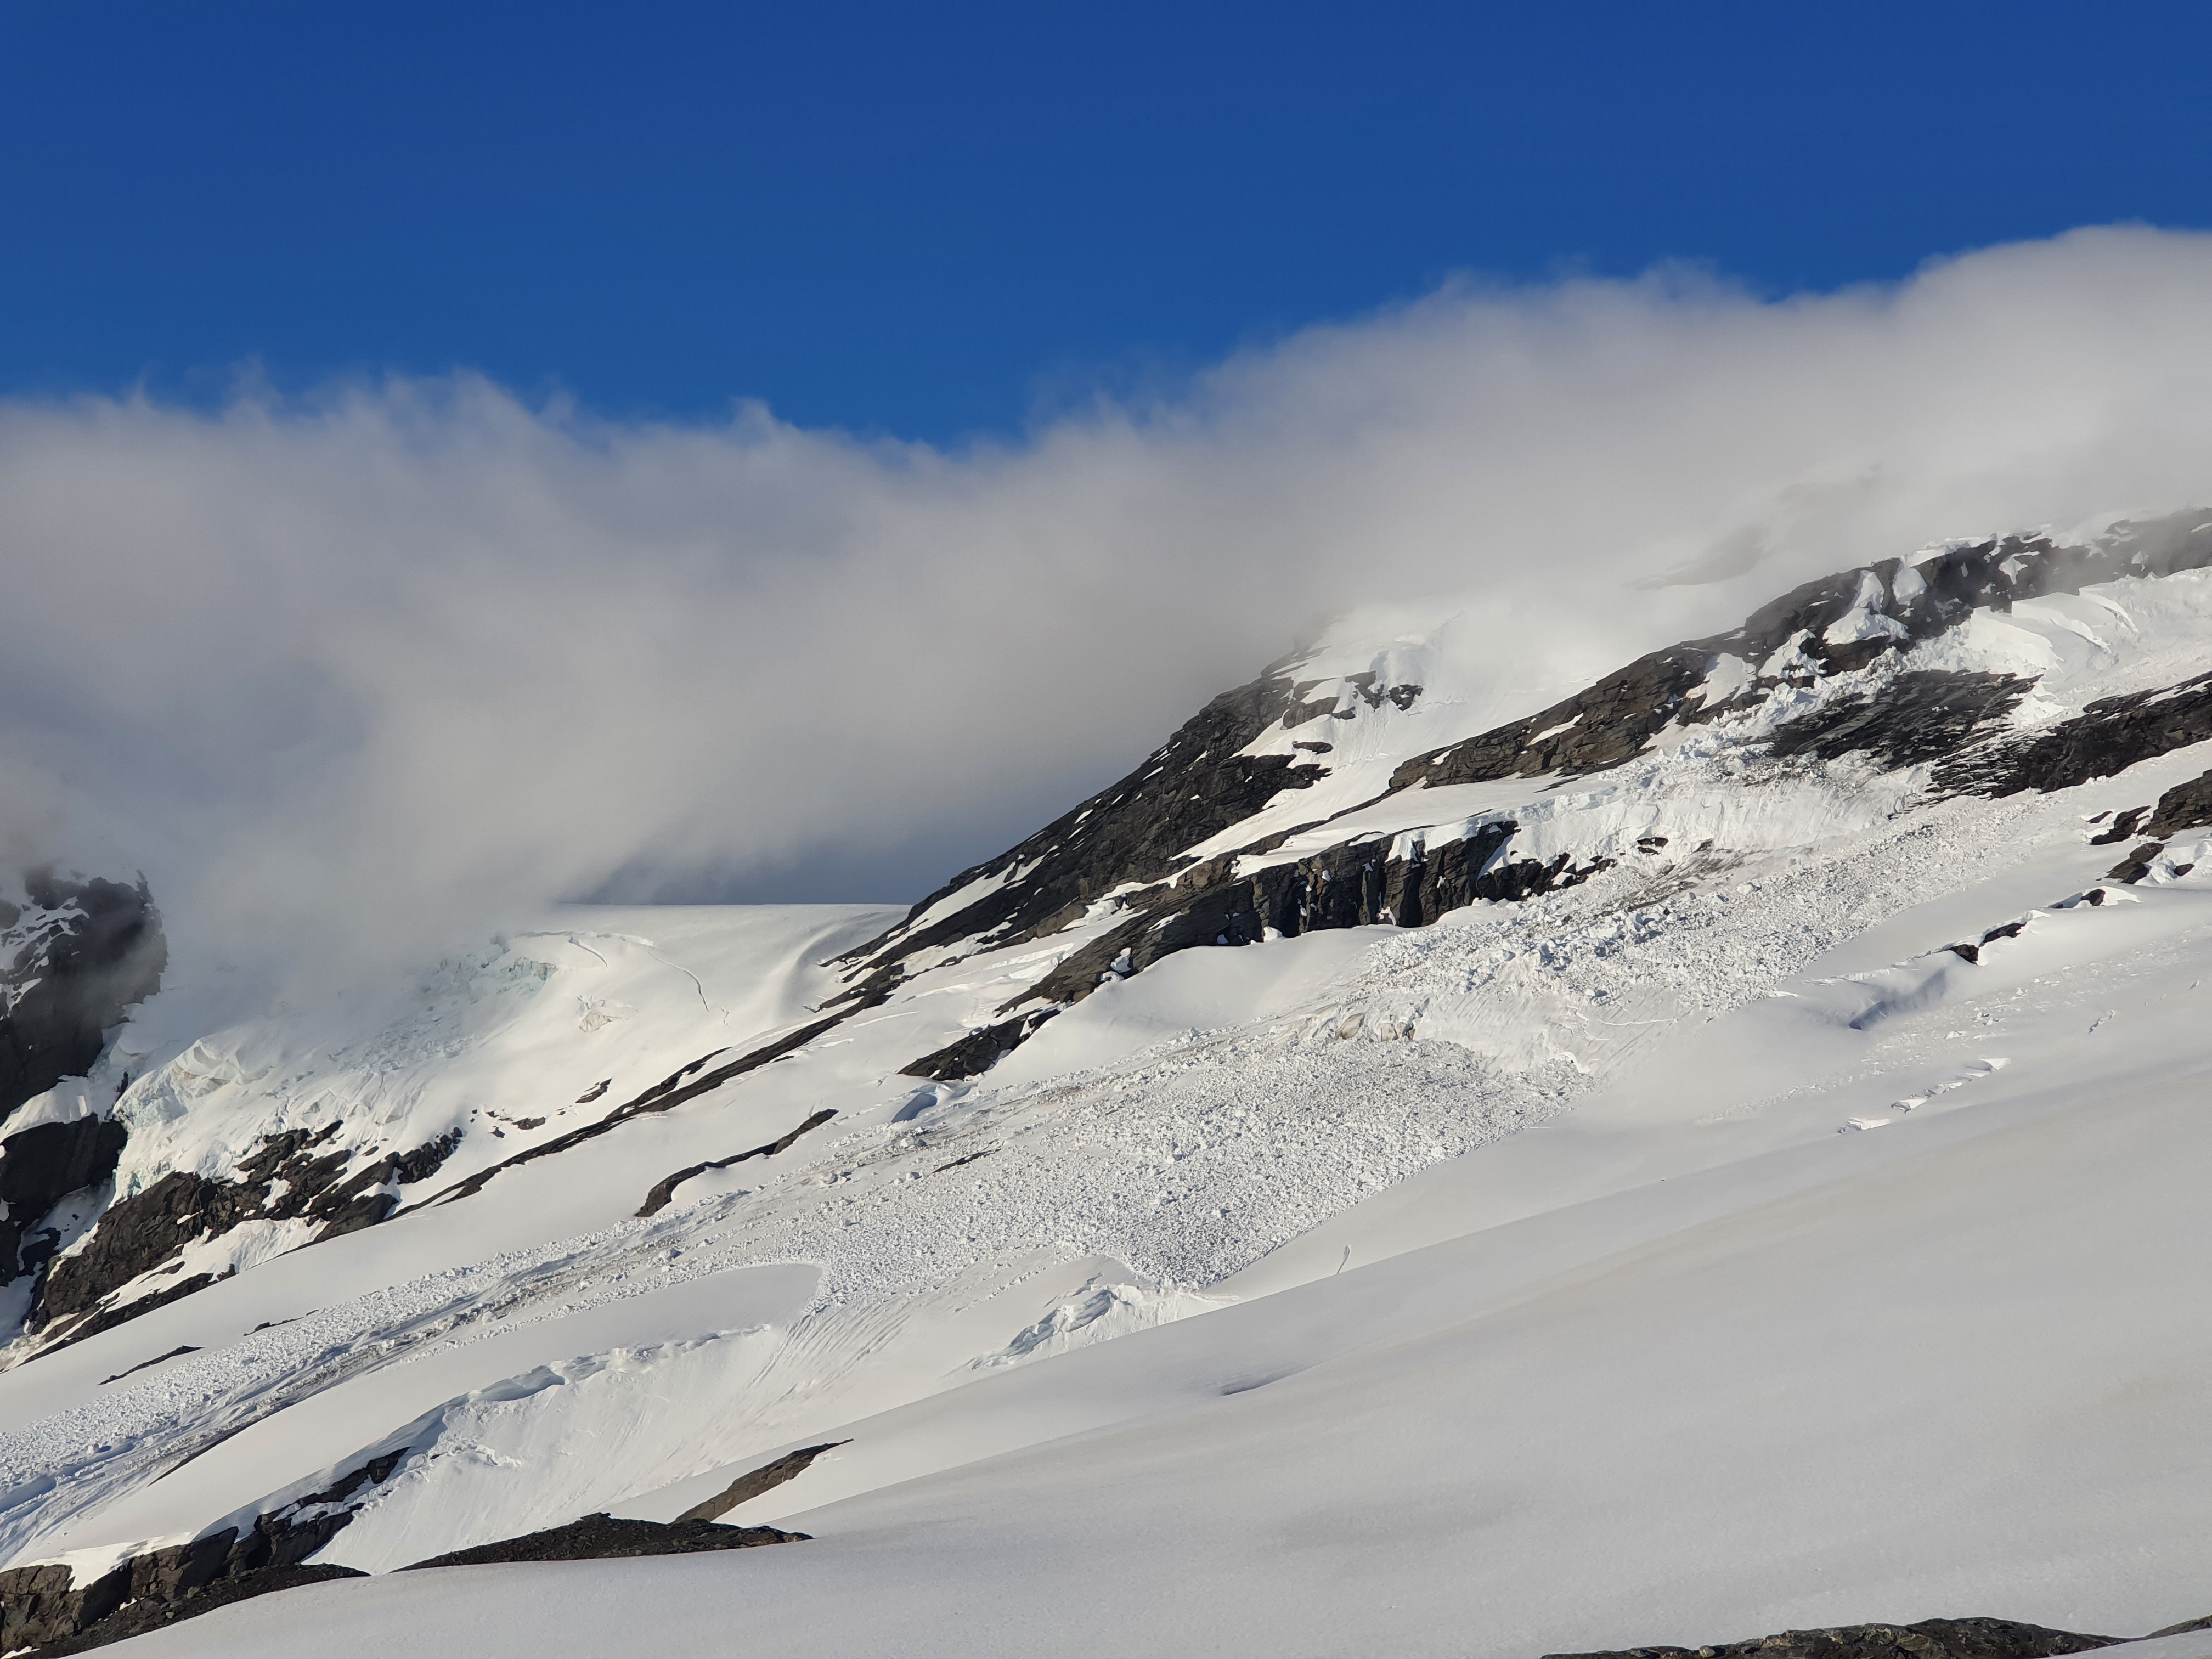
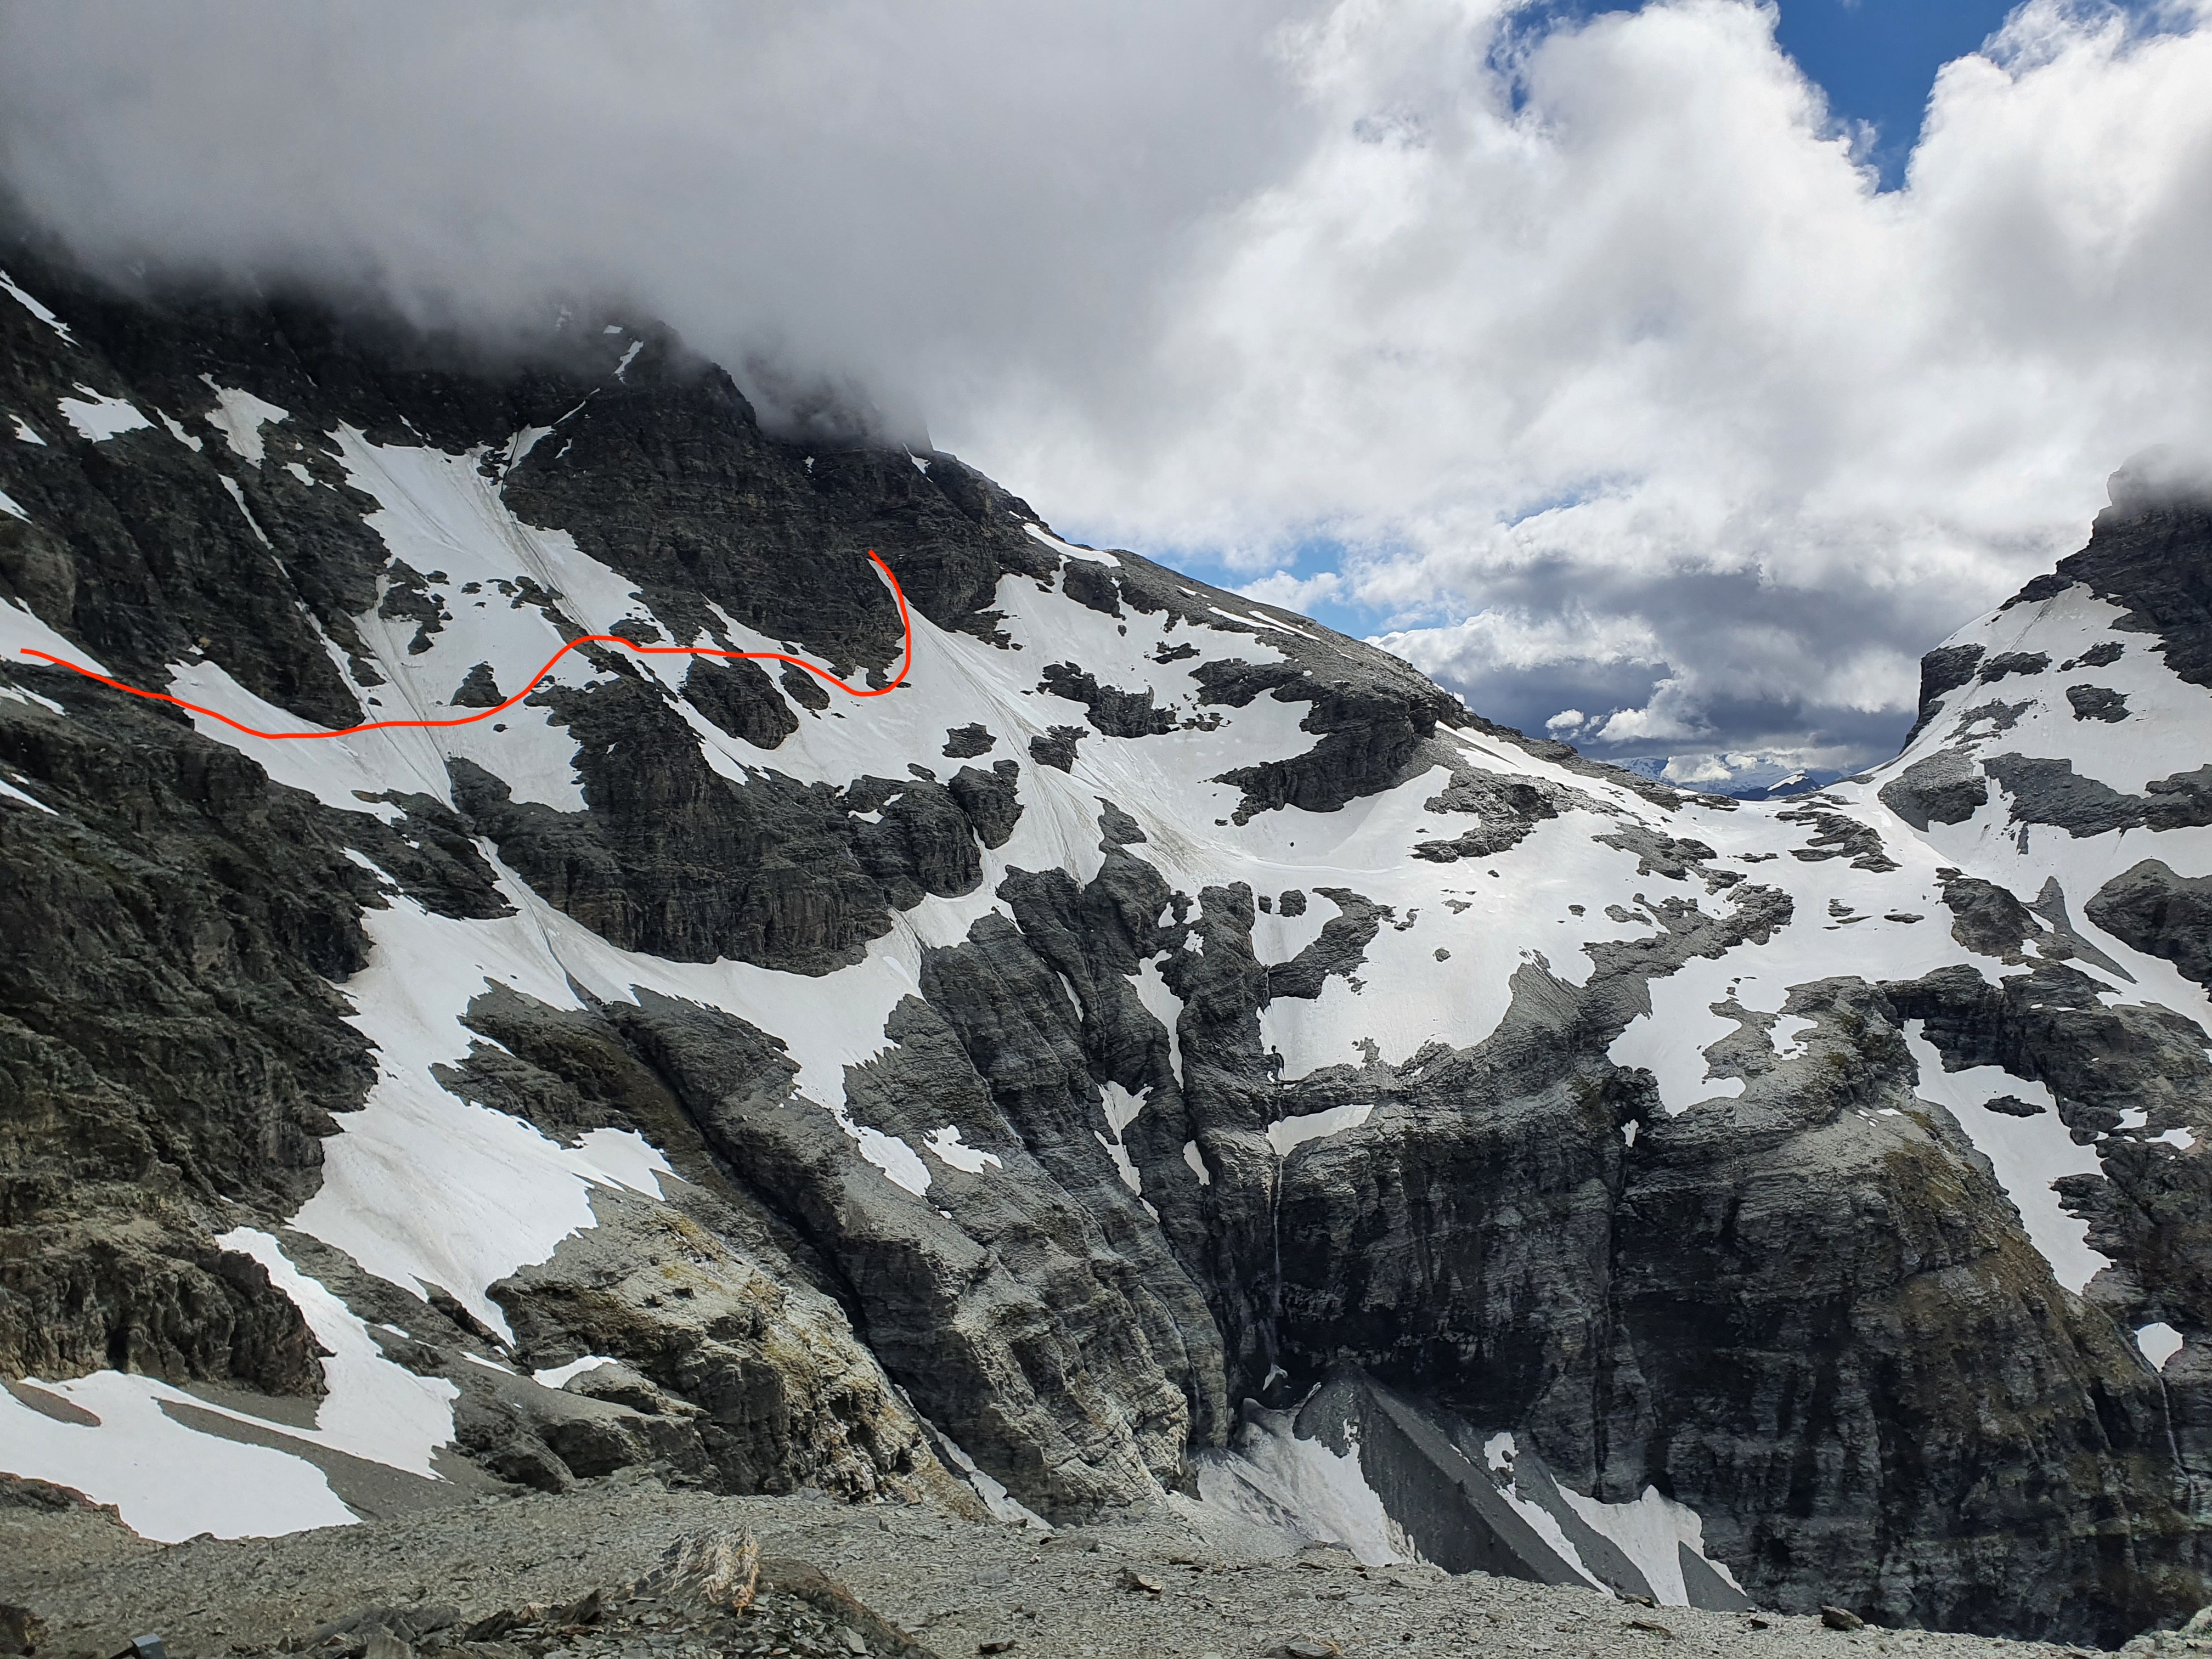
It was around 3.30pm when we waved goodbye to the heli at Bevan col. We cruised across the Bonar to the base of the SW ridge. Navigation is easy but take care for crevasses in early season. The Bonar can become totally disorientating in bad weather so if there’s any chance of dodgy weather its worth putting in a few GPS points to get you from the base of the SW back to the Quaterdeck on the descent. The other option from the Bonar to French Ridge is via the breakaway – while we were there the ice cliffs threatening this route were extremely active and this route would have been very dangerous. If the shrund at the top of the quarterdeck is cut off then your only option is to go via Bevan Col.
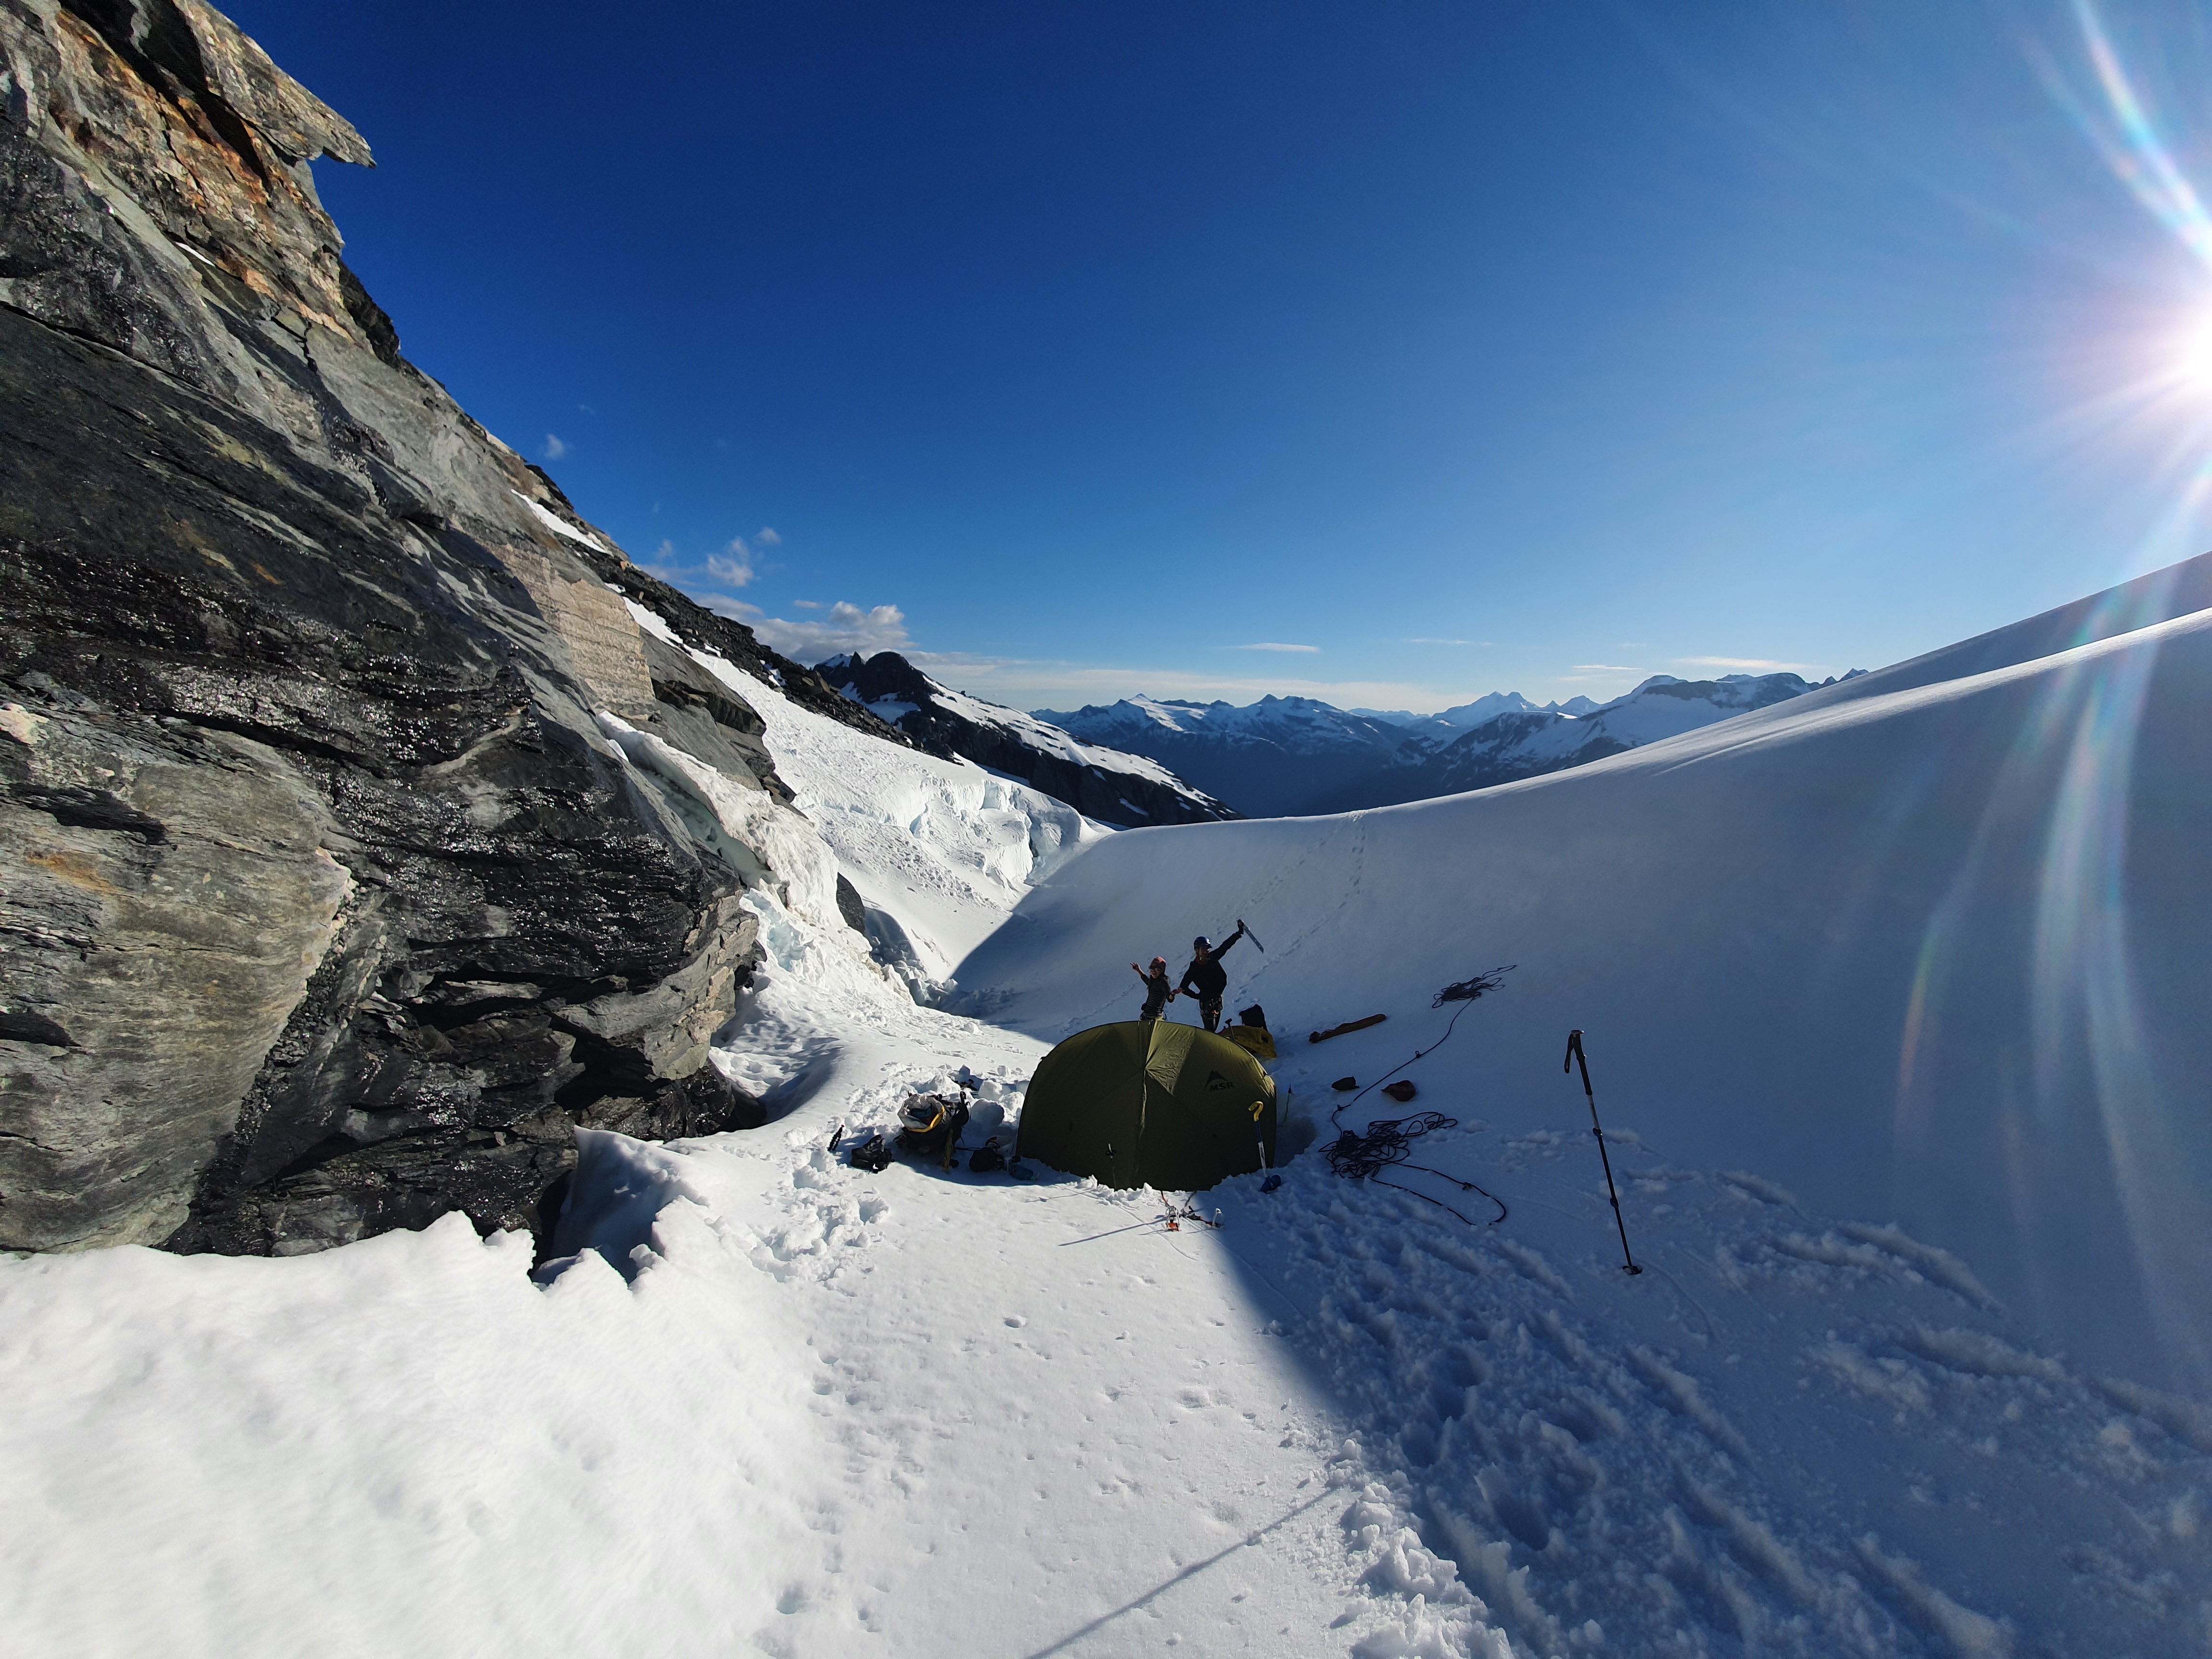
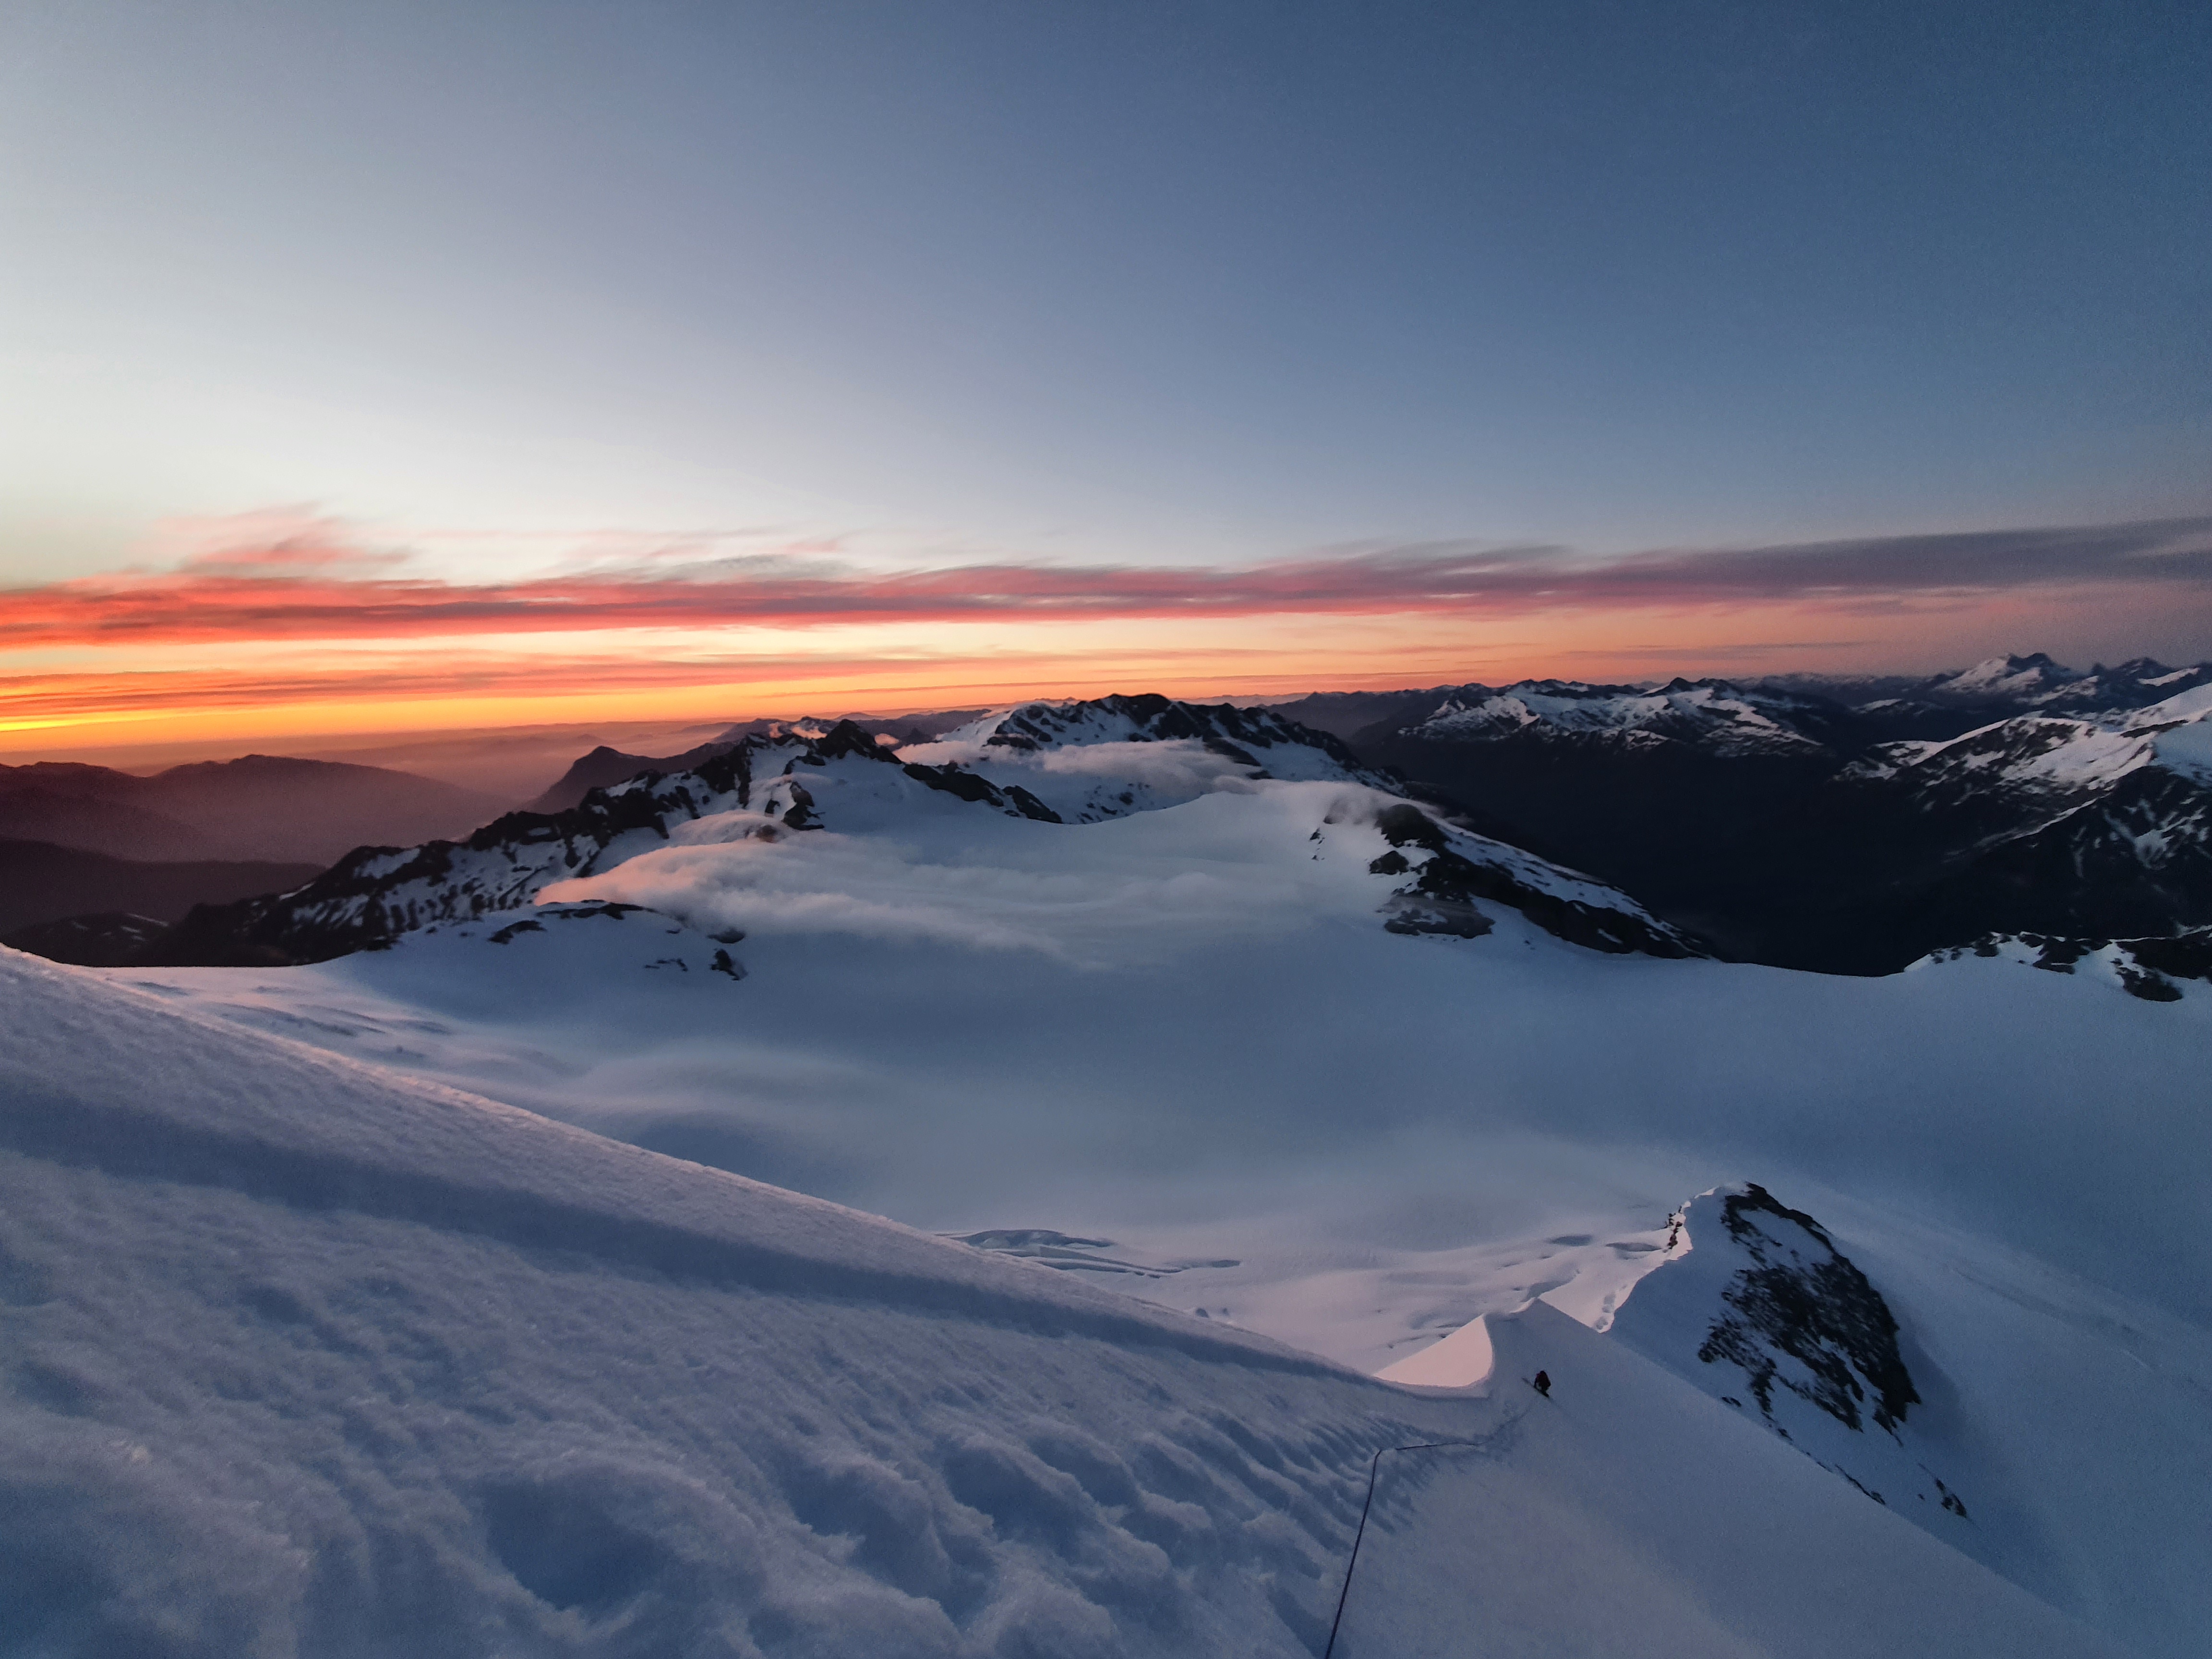
We found a nice sheltered spot to set up camp at 2220m just under the foot of the SW ridge. It was reasonably flat – once we used our shovels to make it so – and there was even running water off the rocks (this might not be the case earlier in the year). It took us around 4h to get here from Bevan Col. Sacrificed the sunset views for an early night – bed by 9pm.
Climb

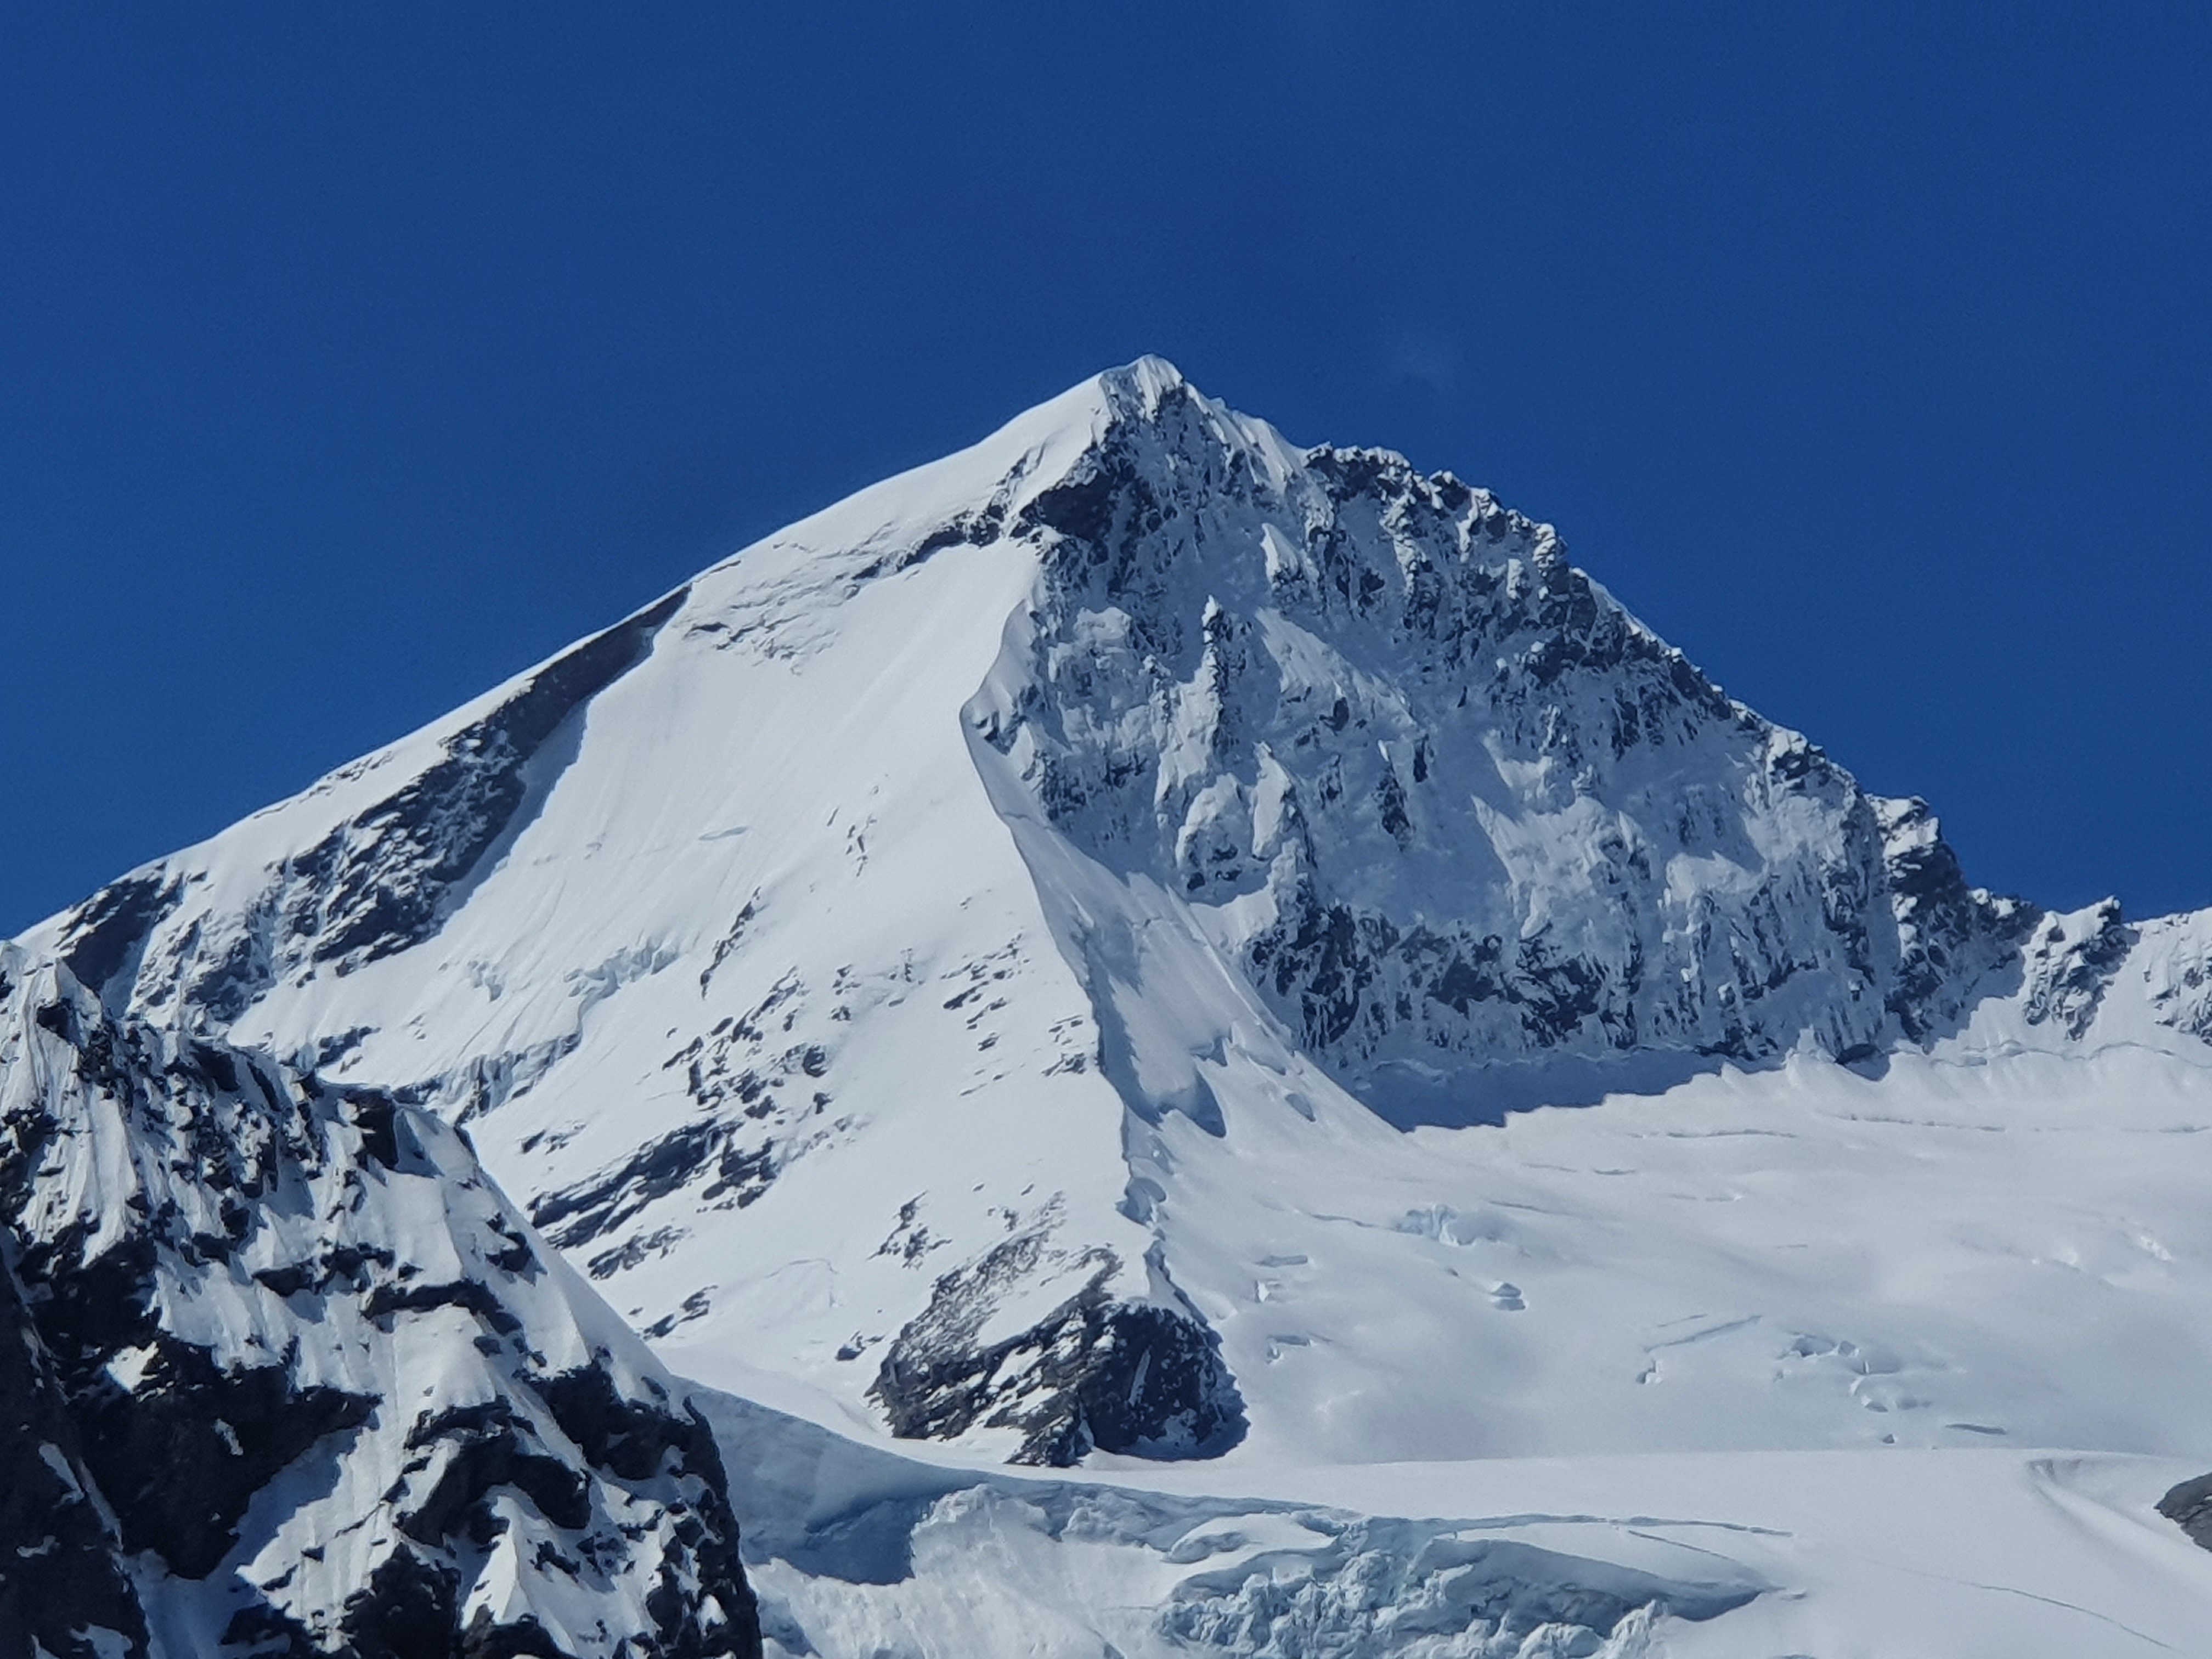
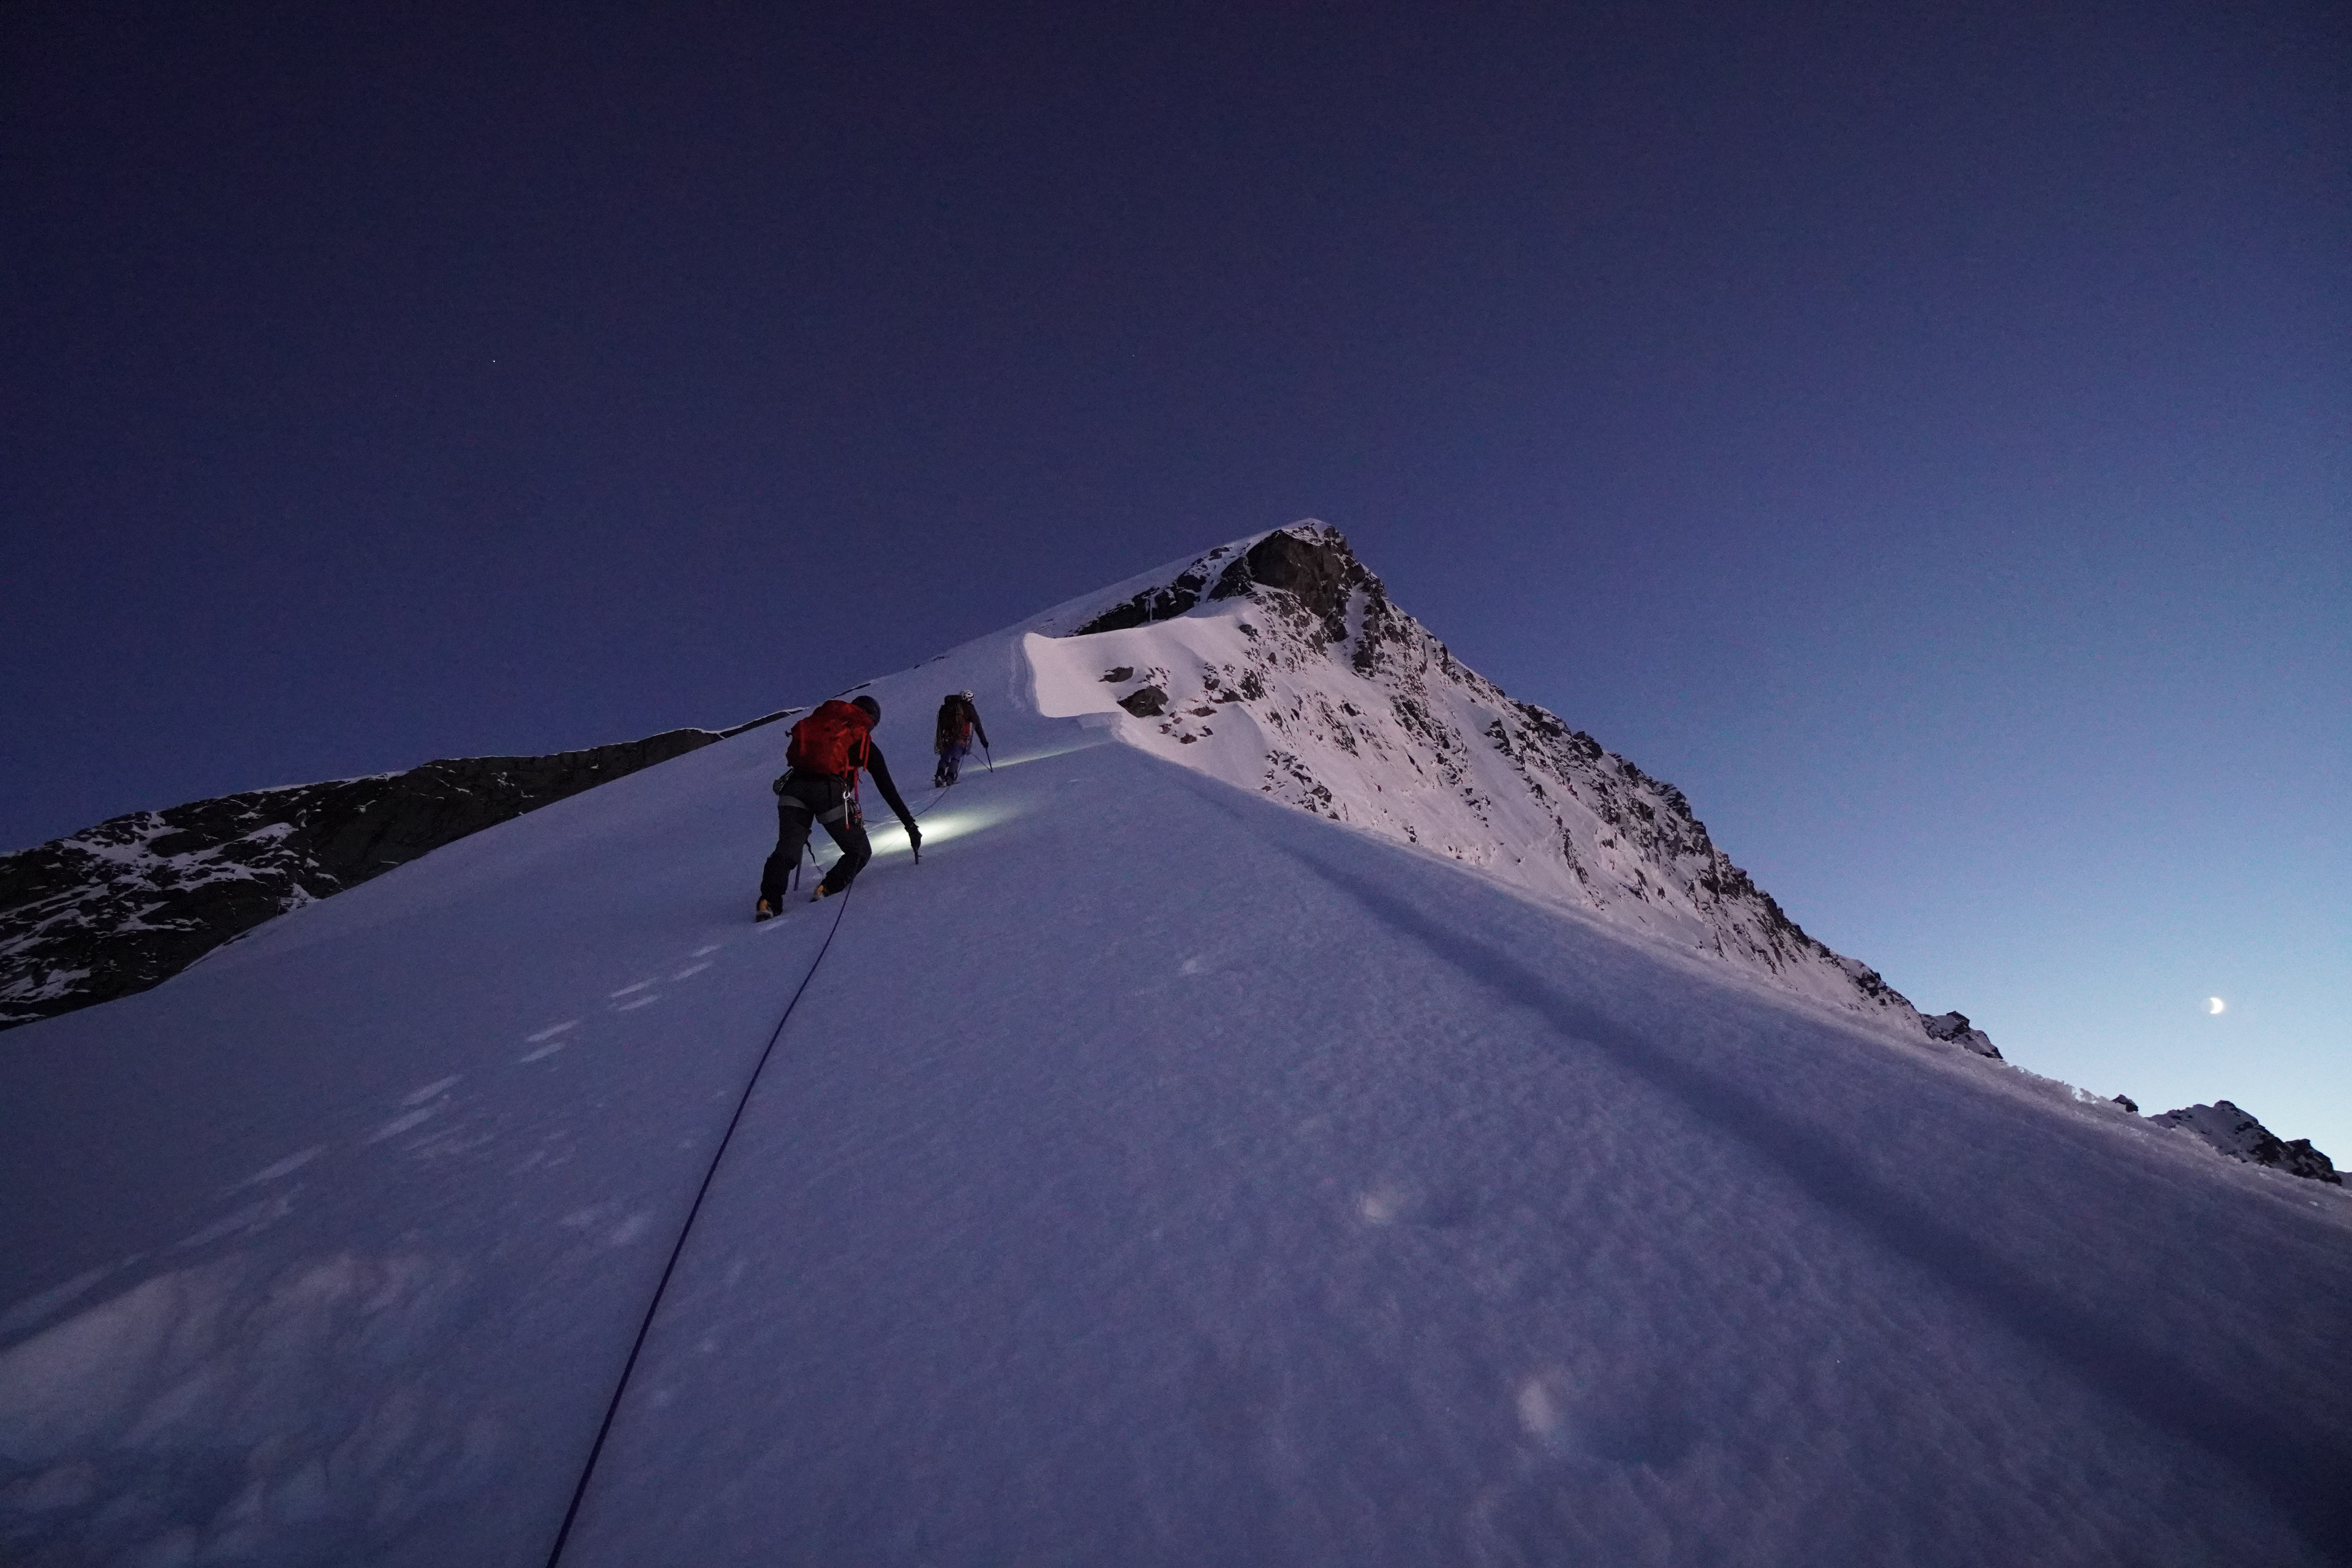
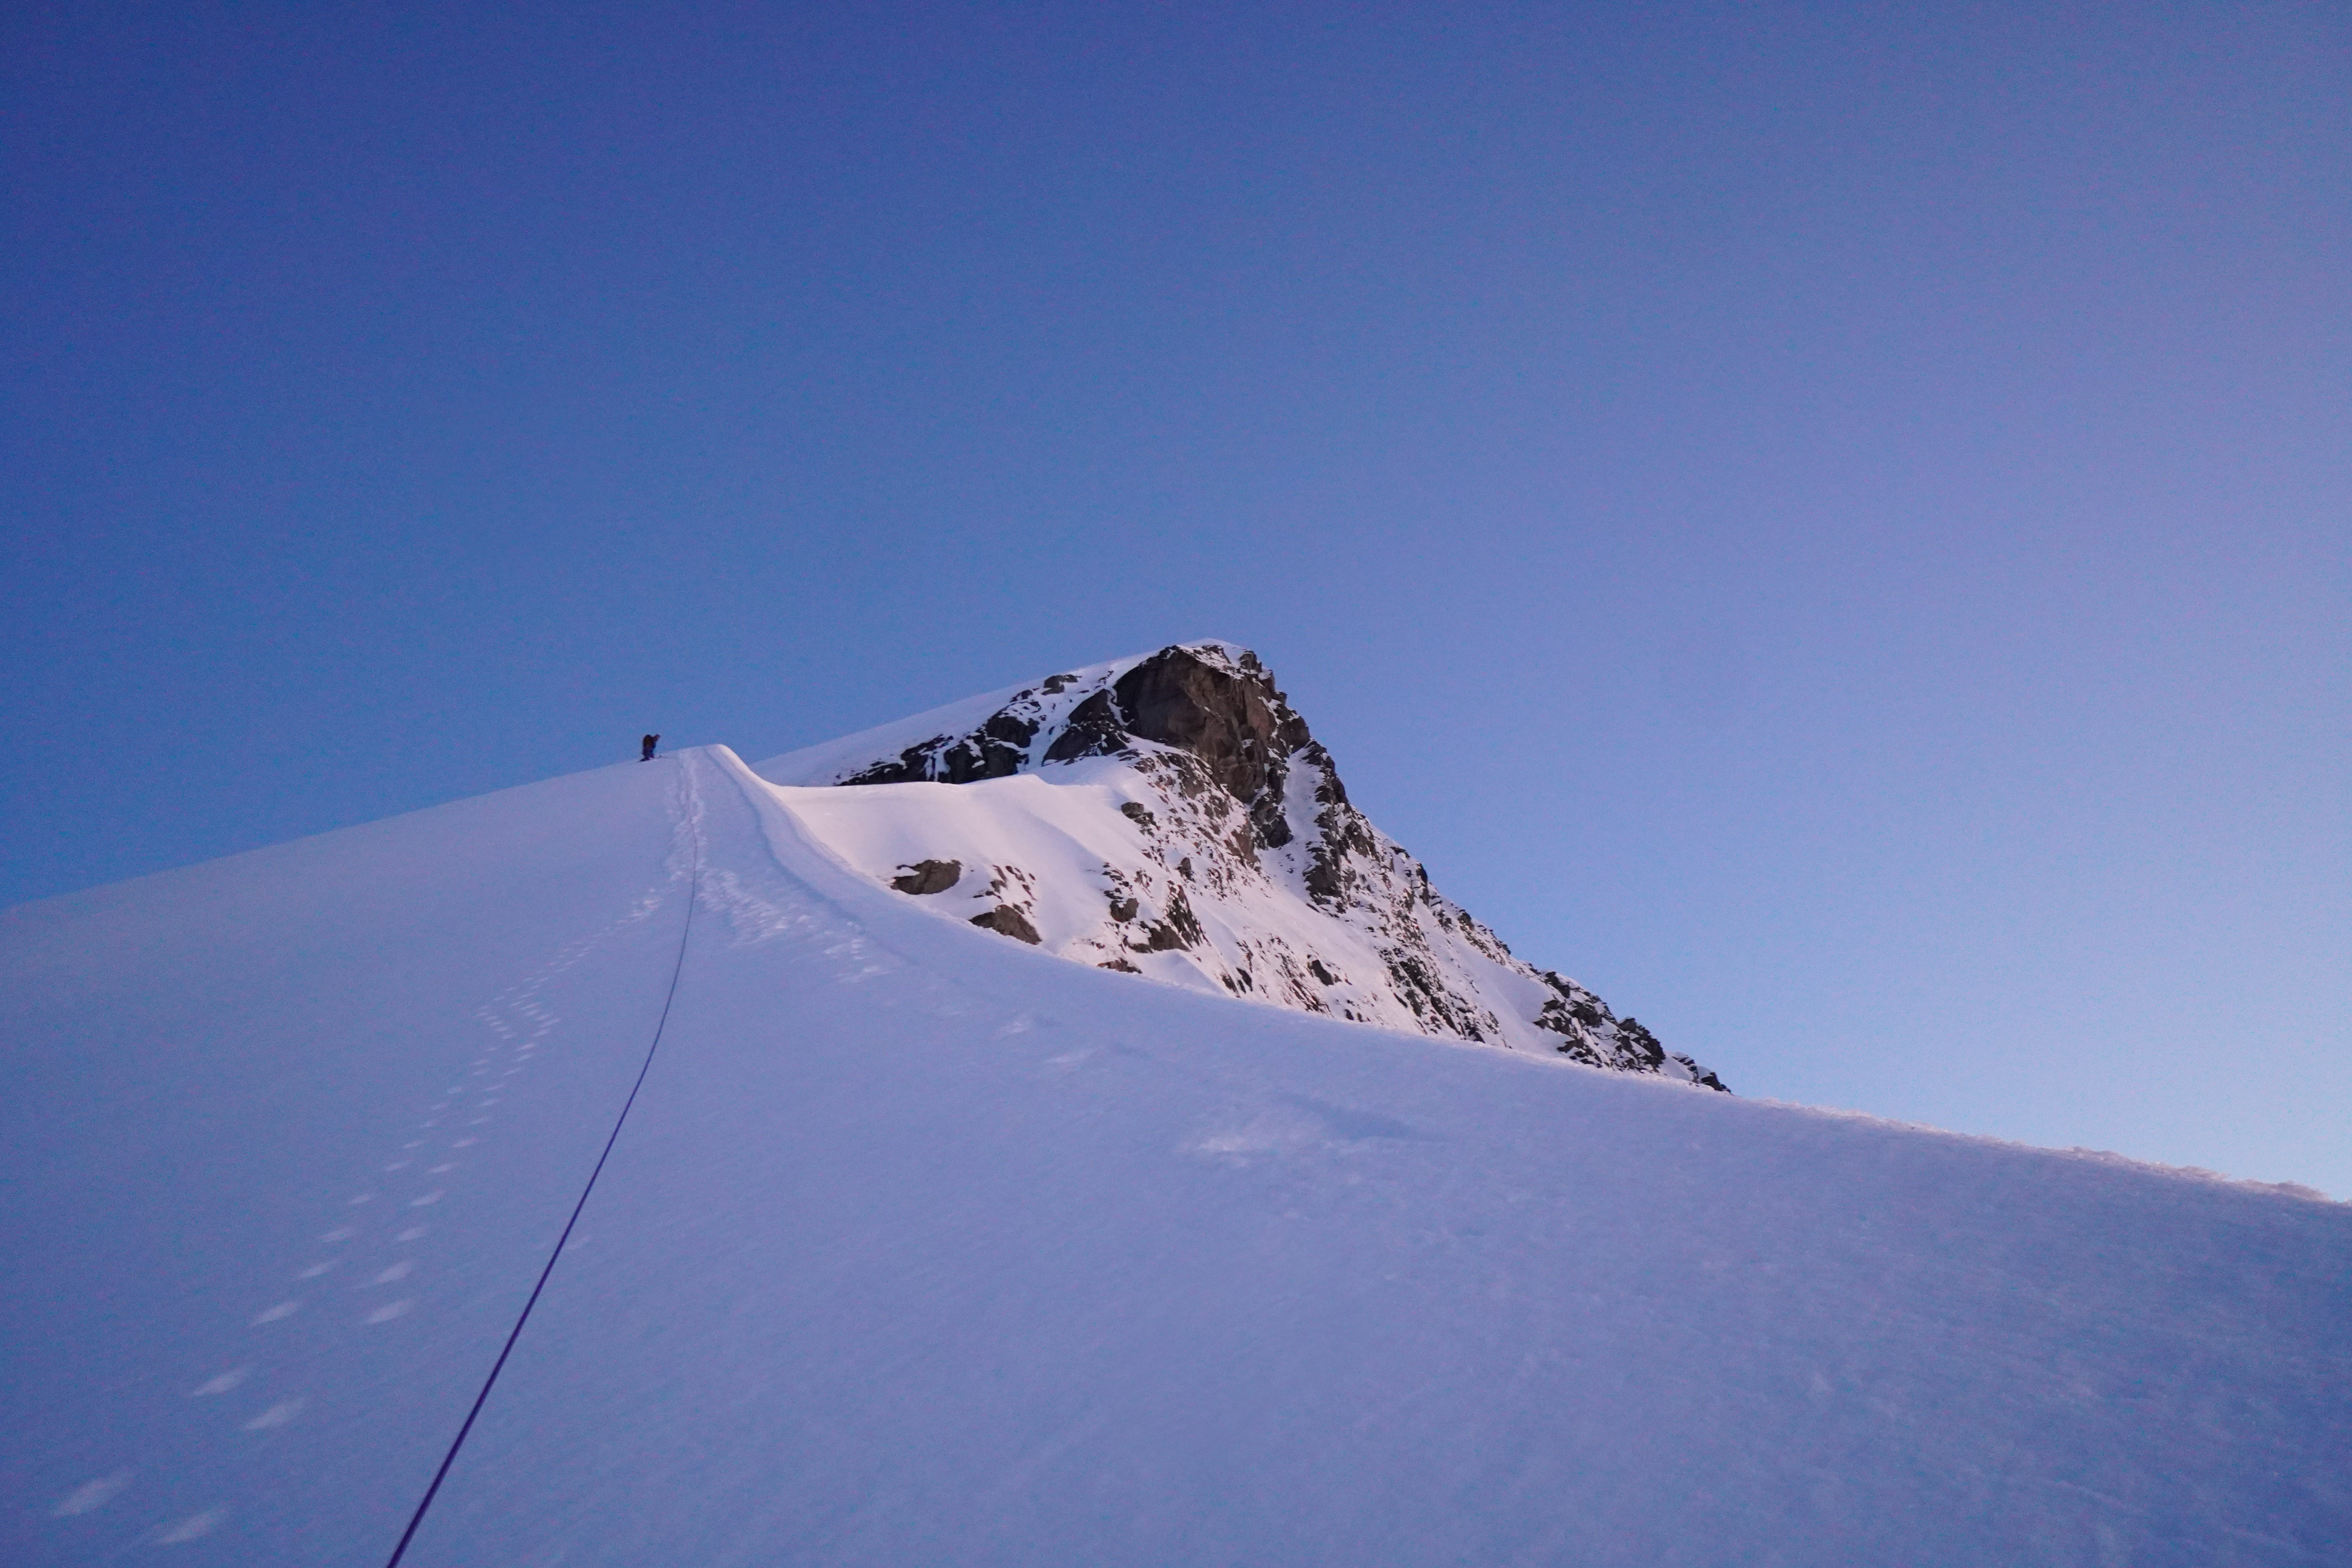
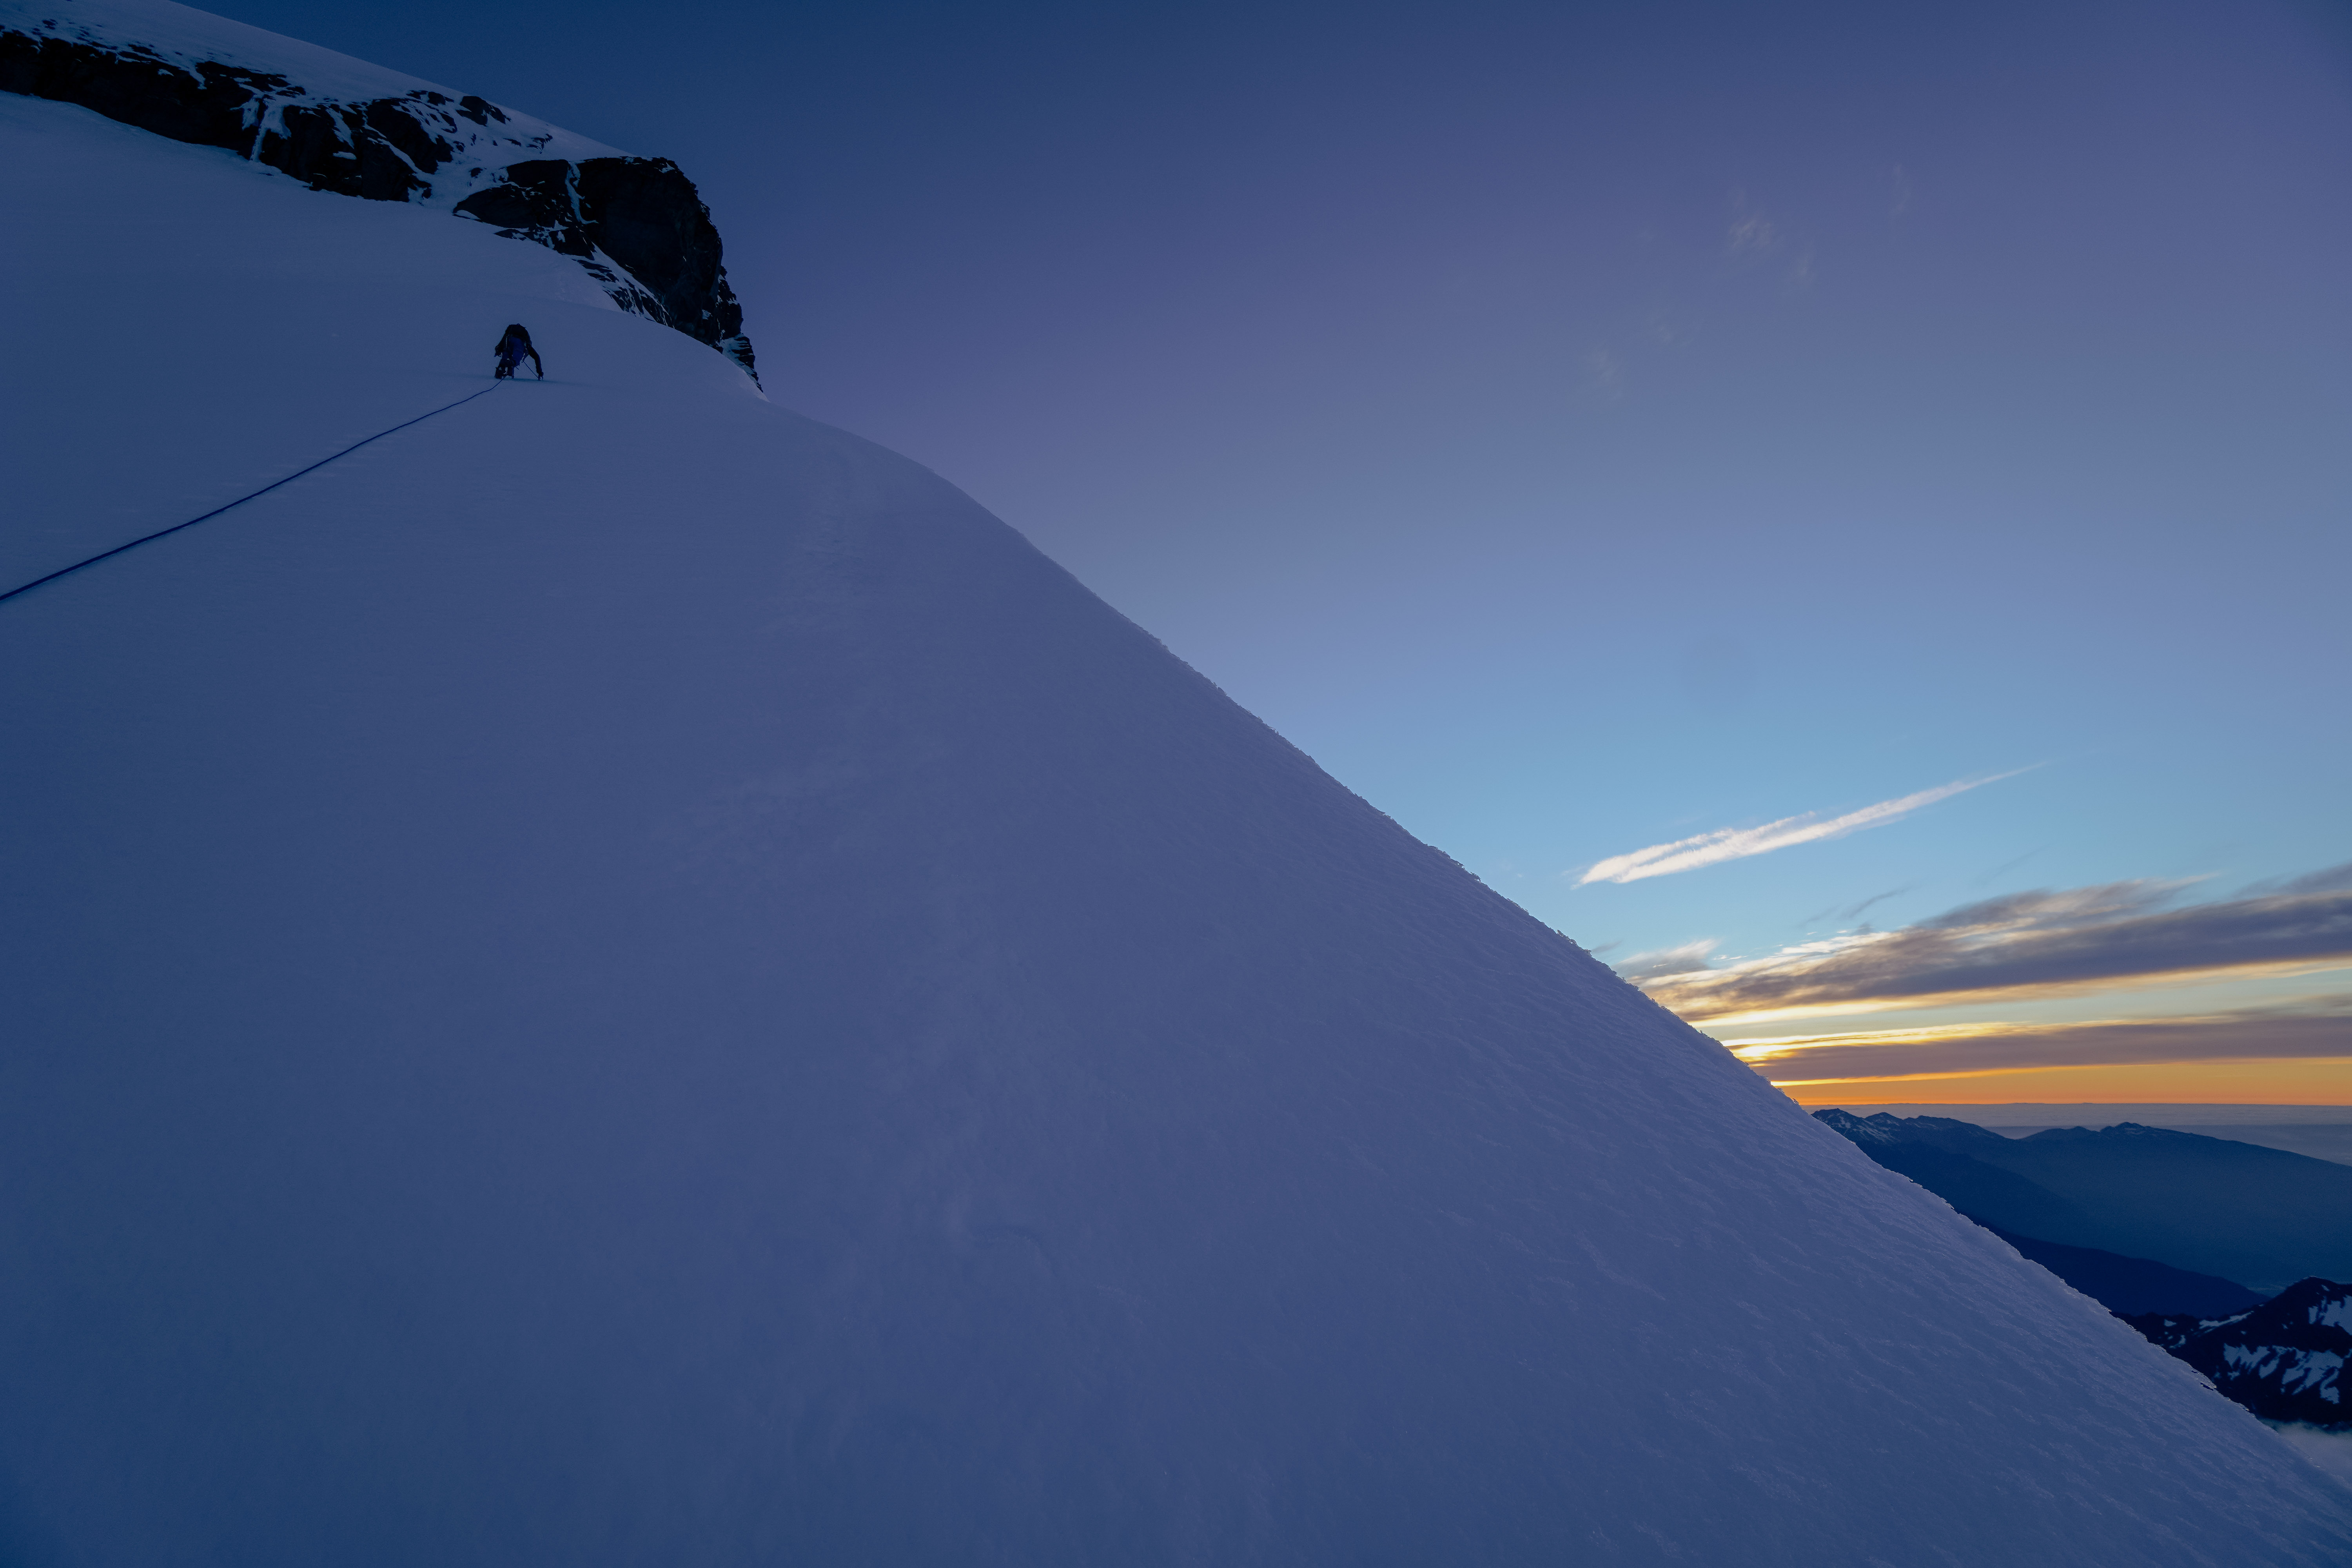
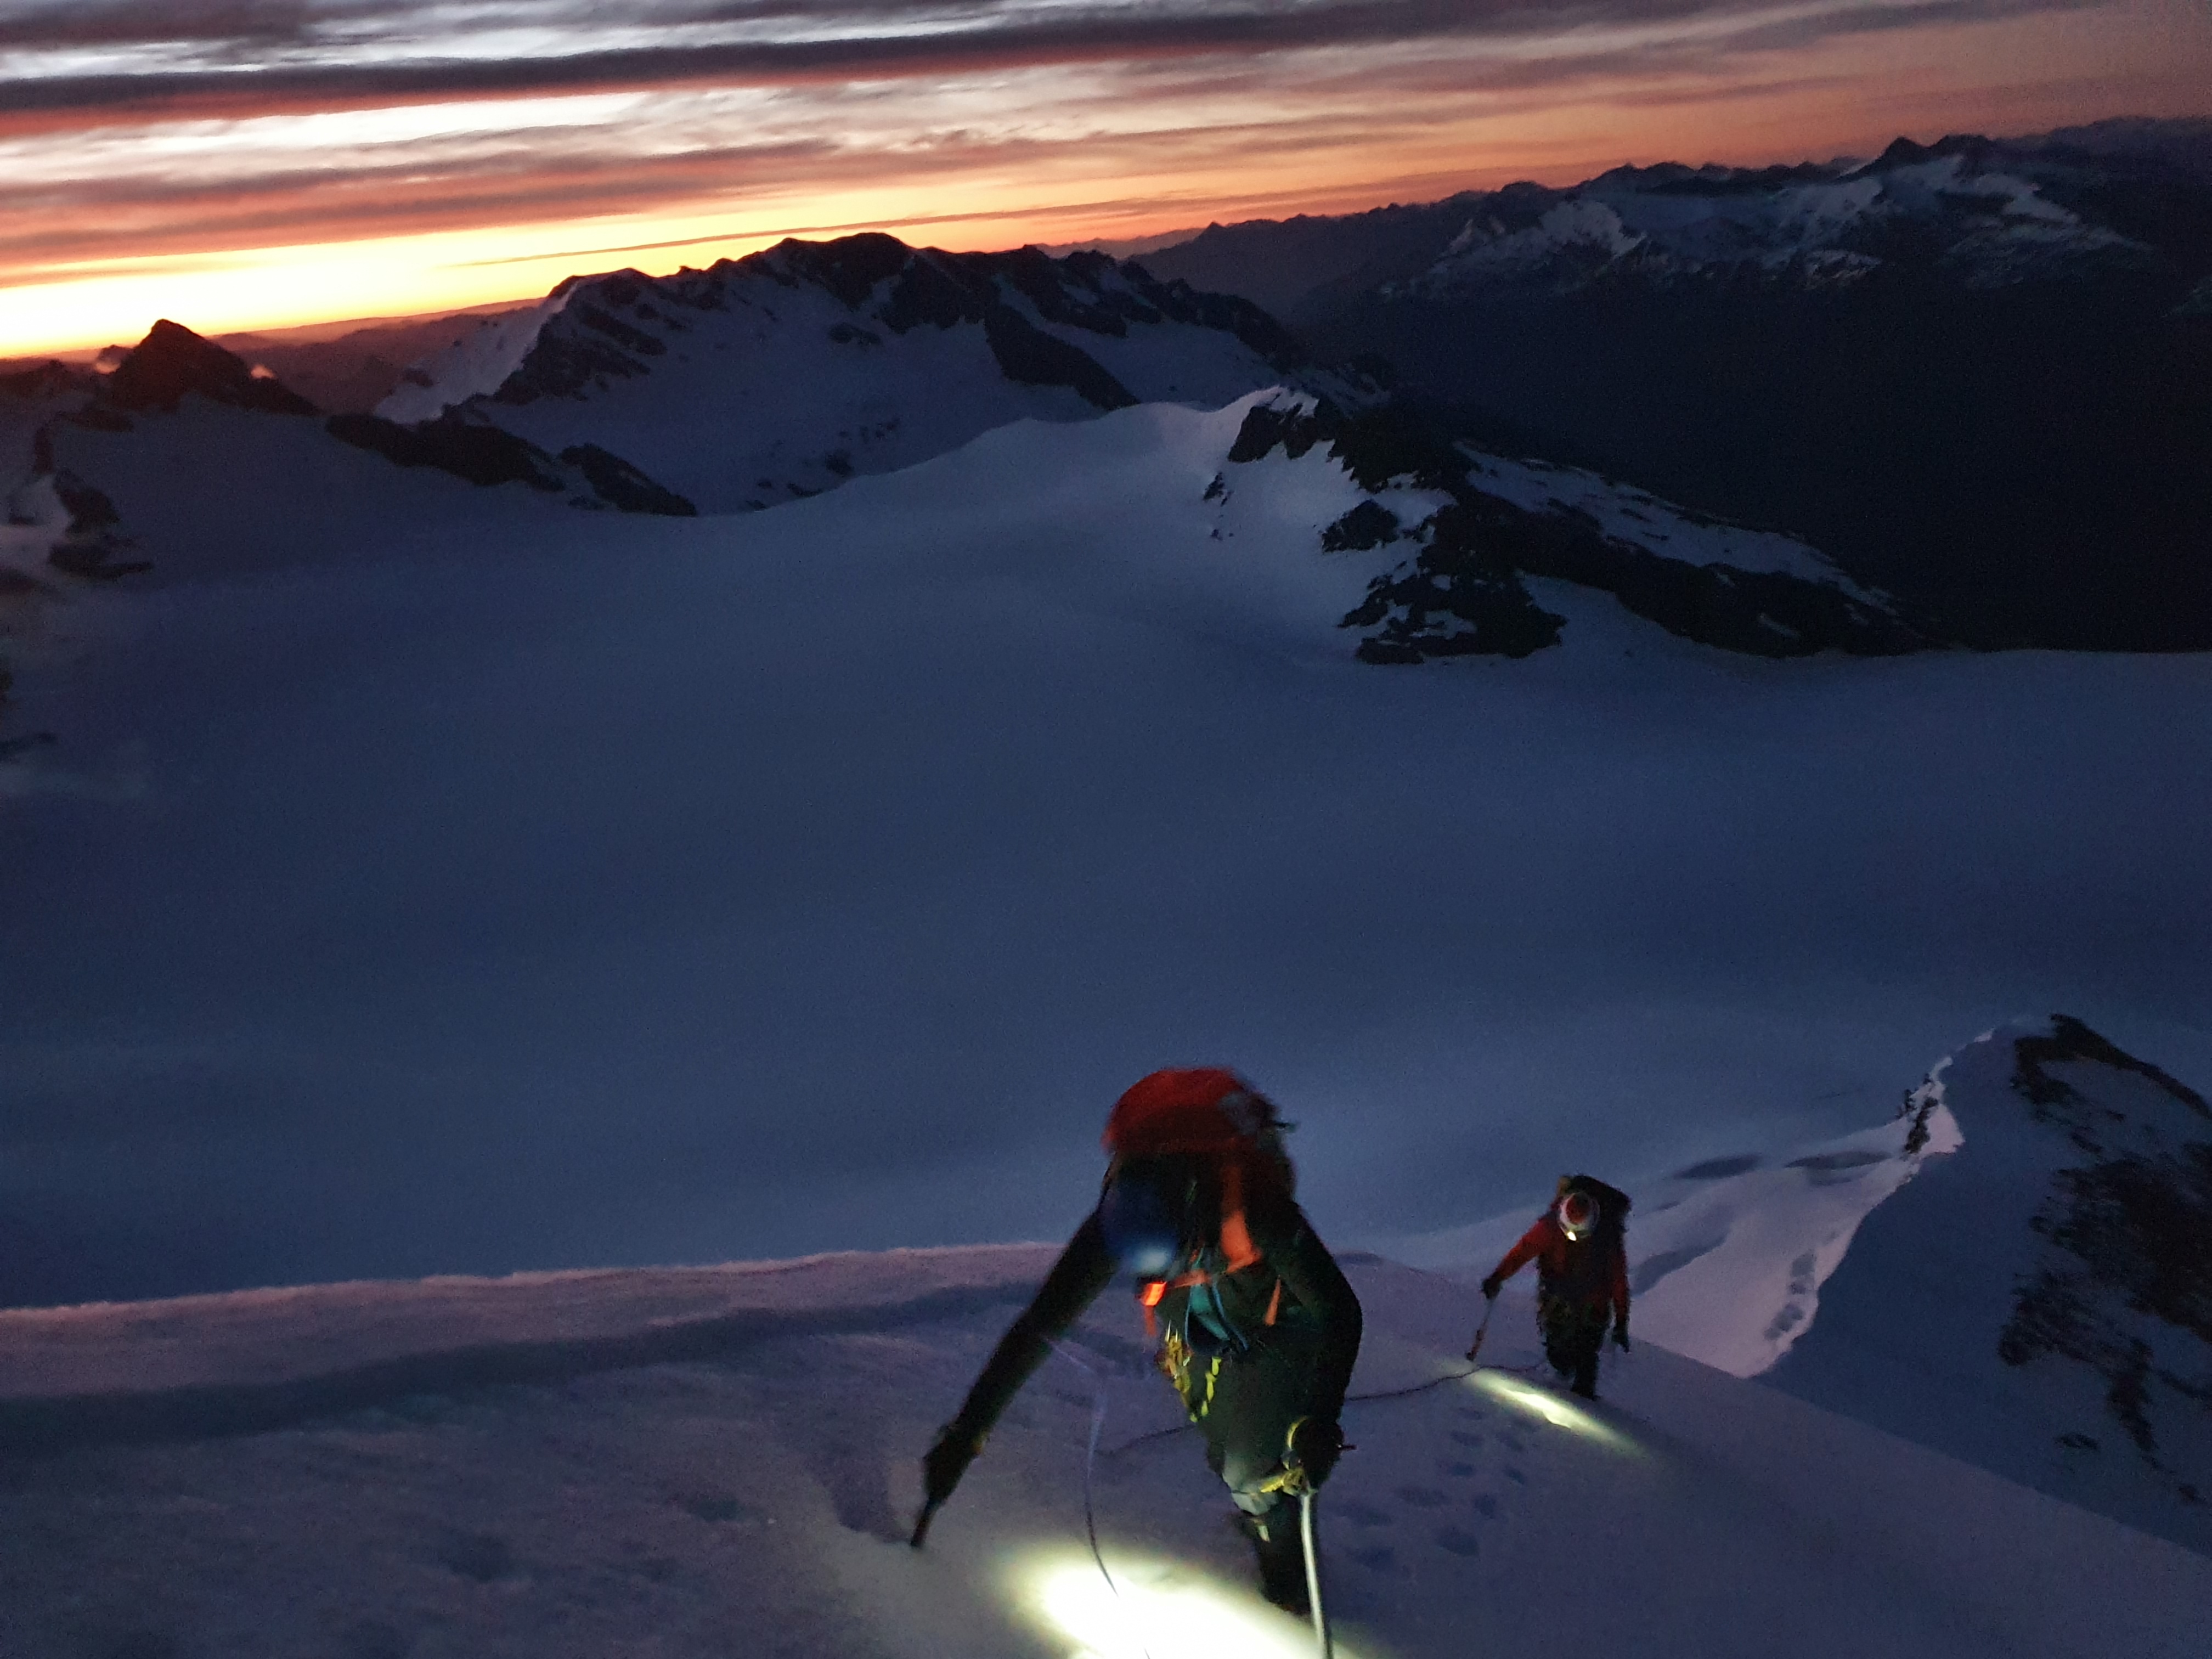
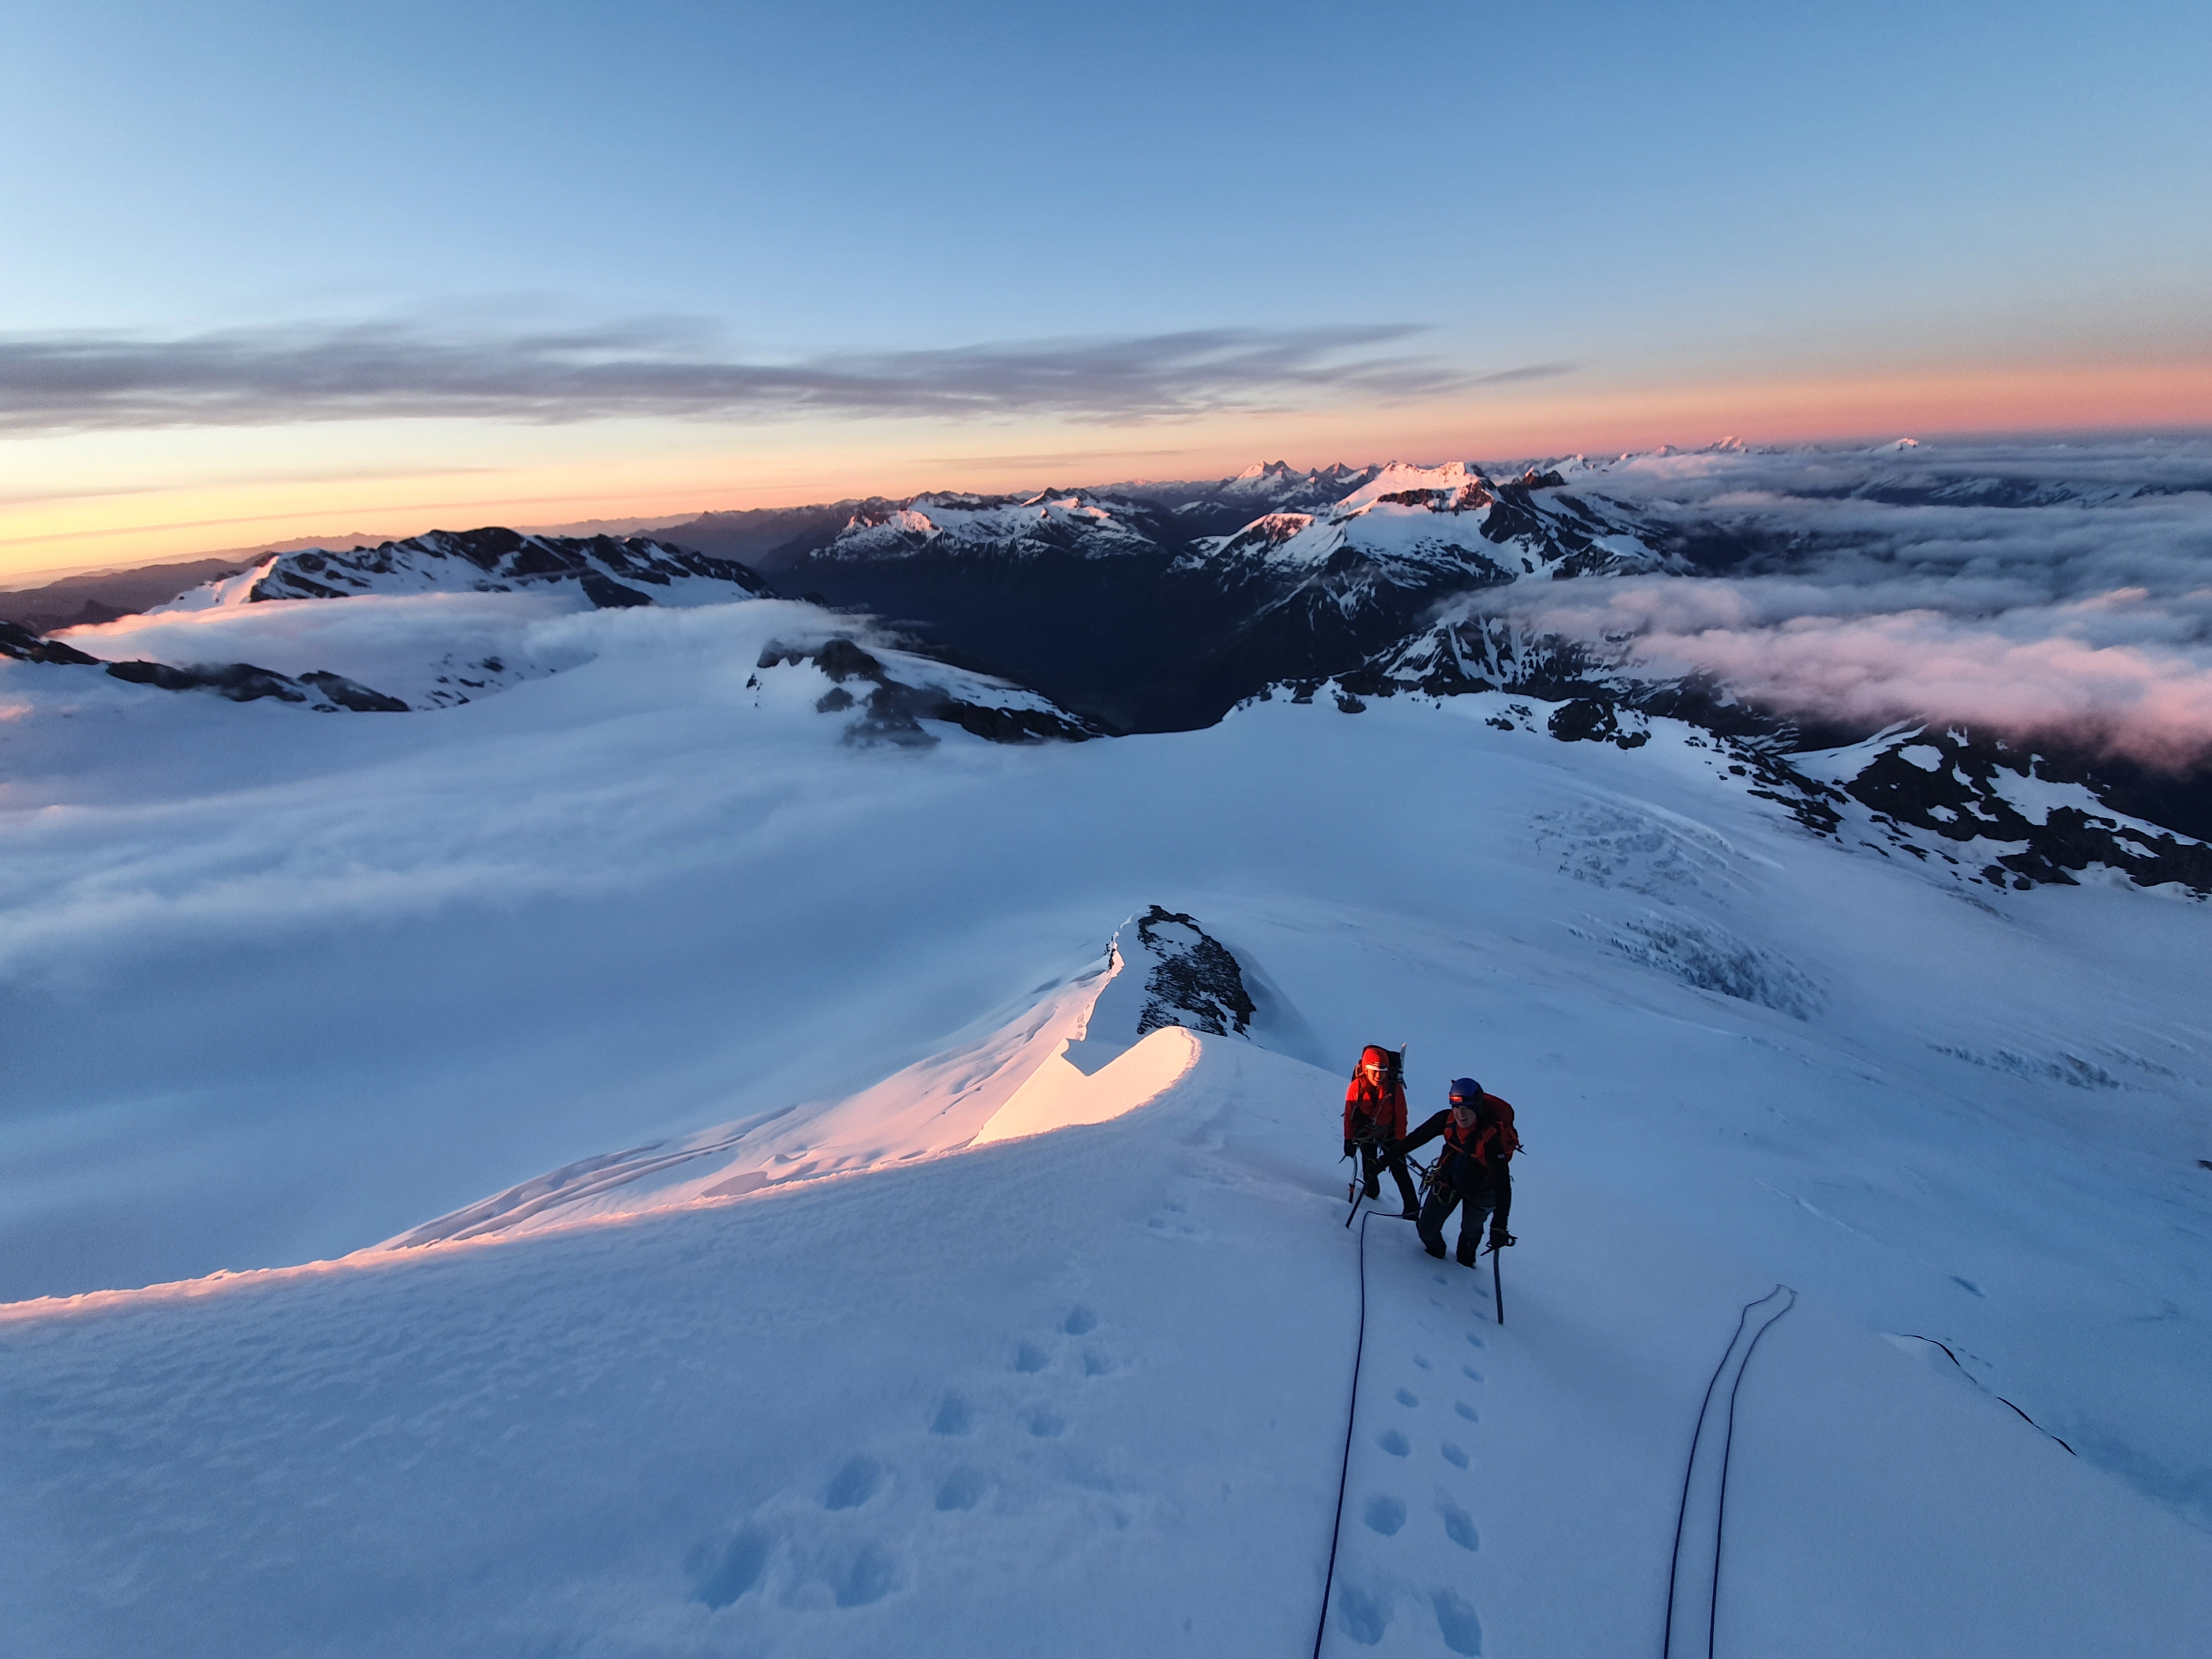
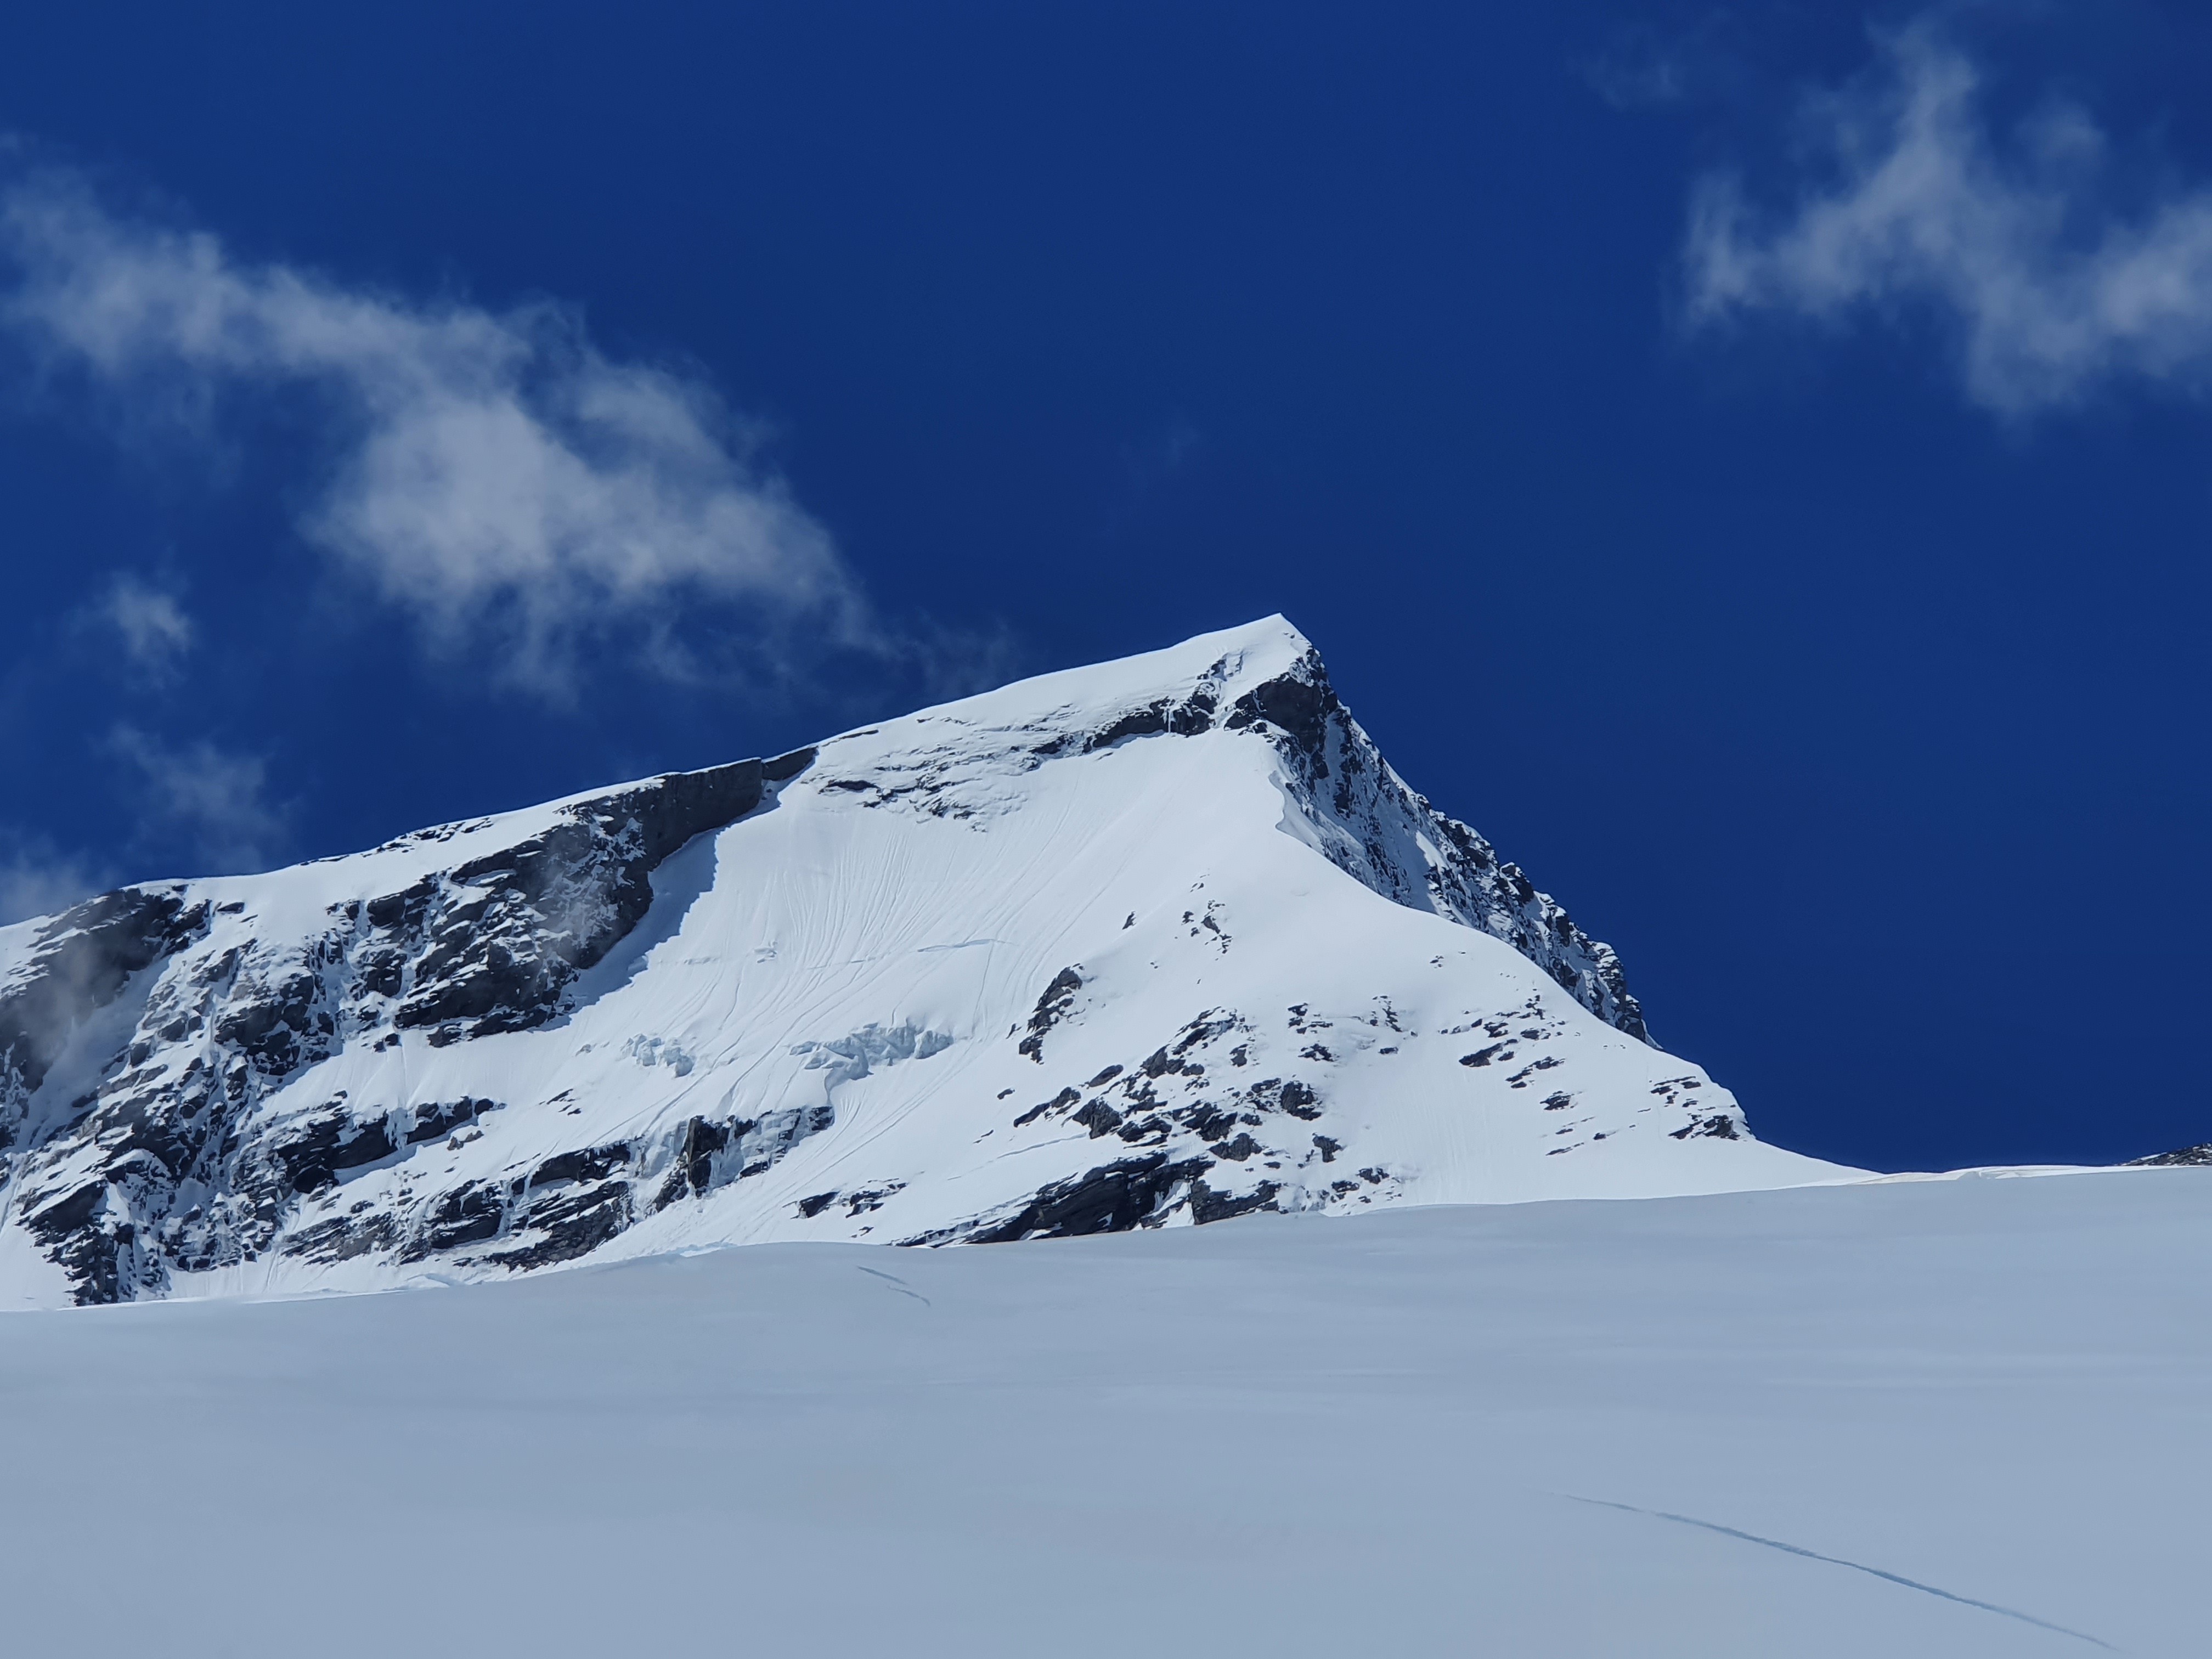
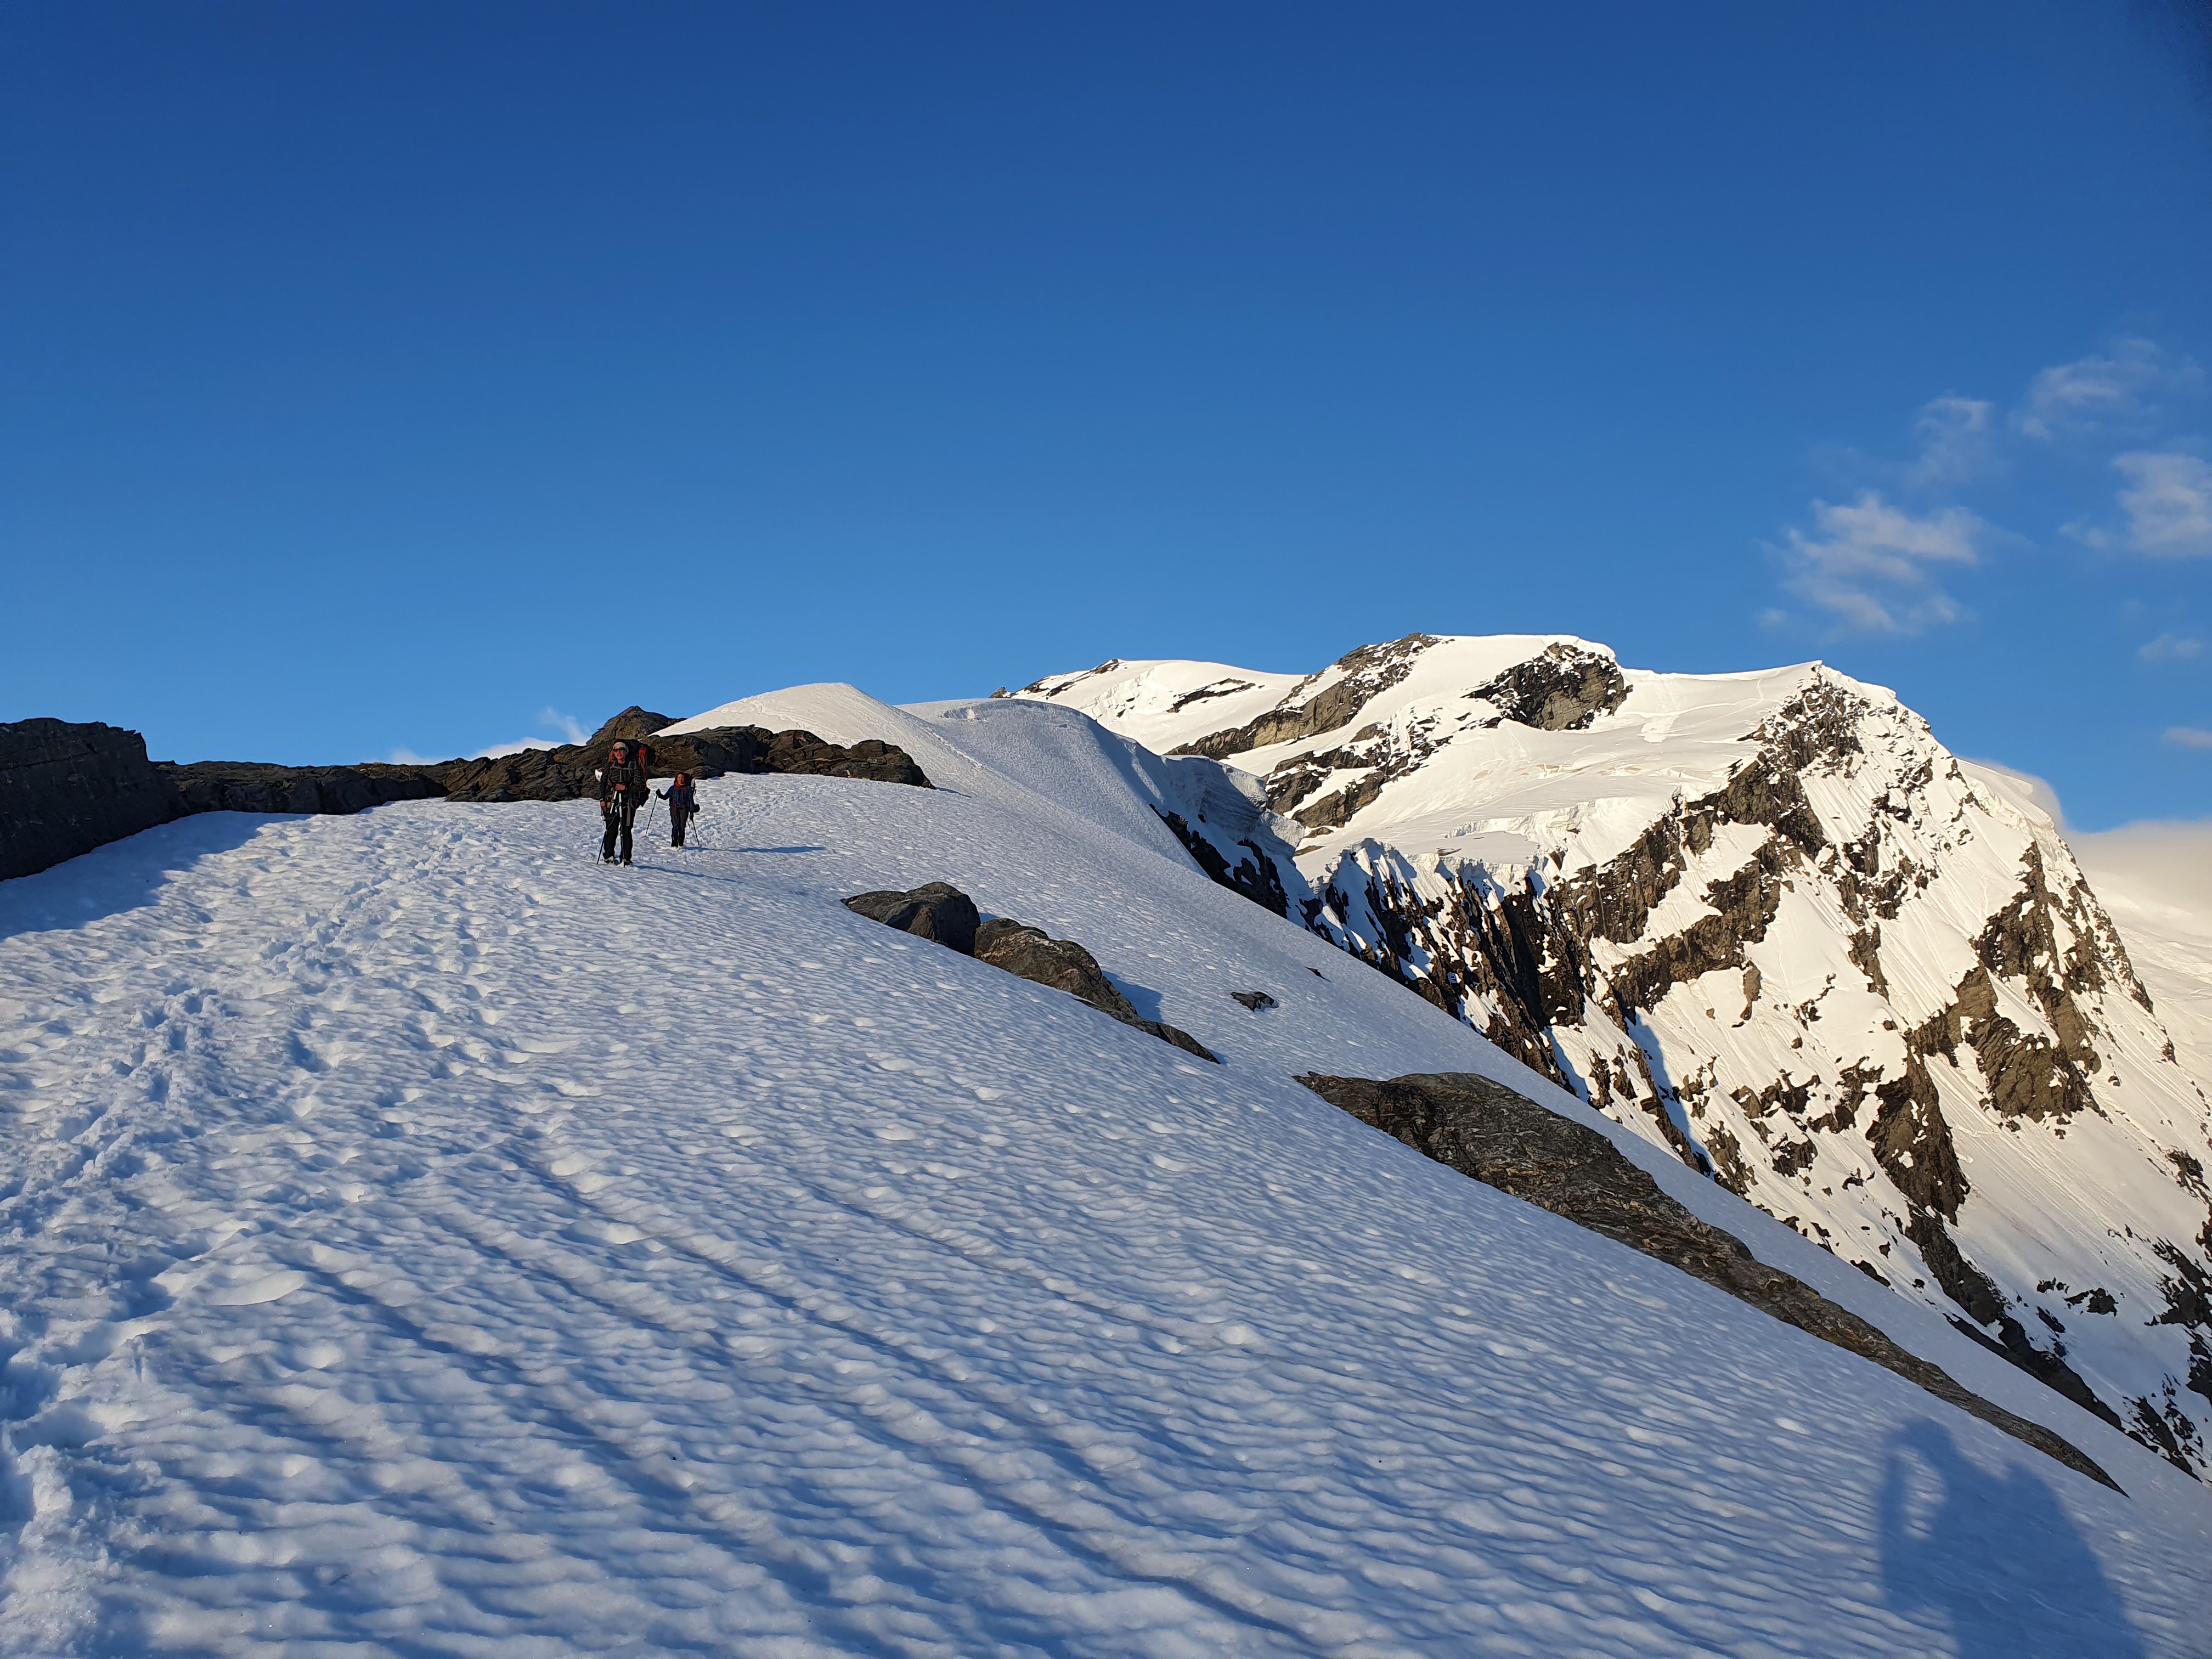
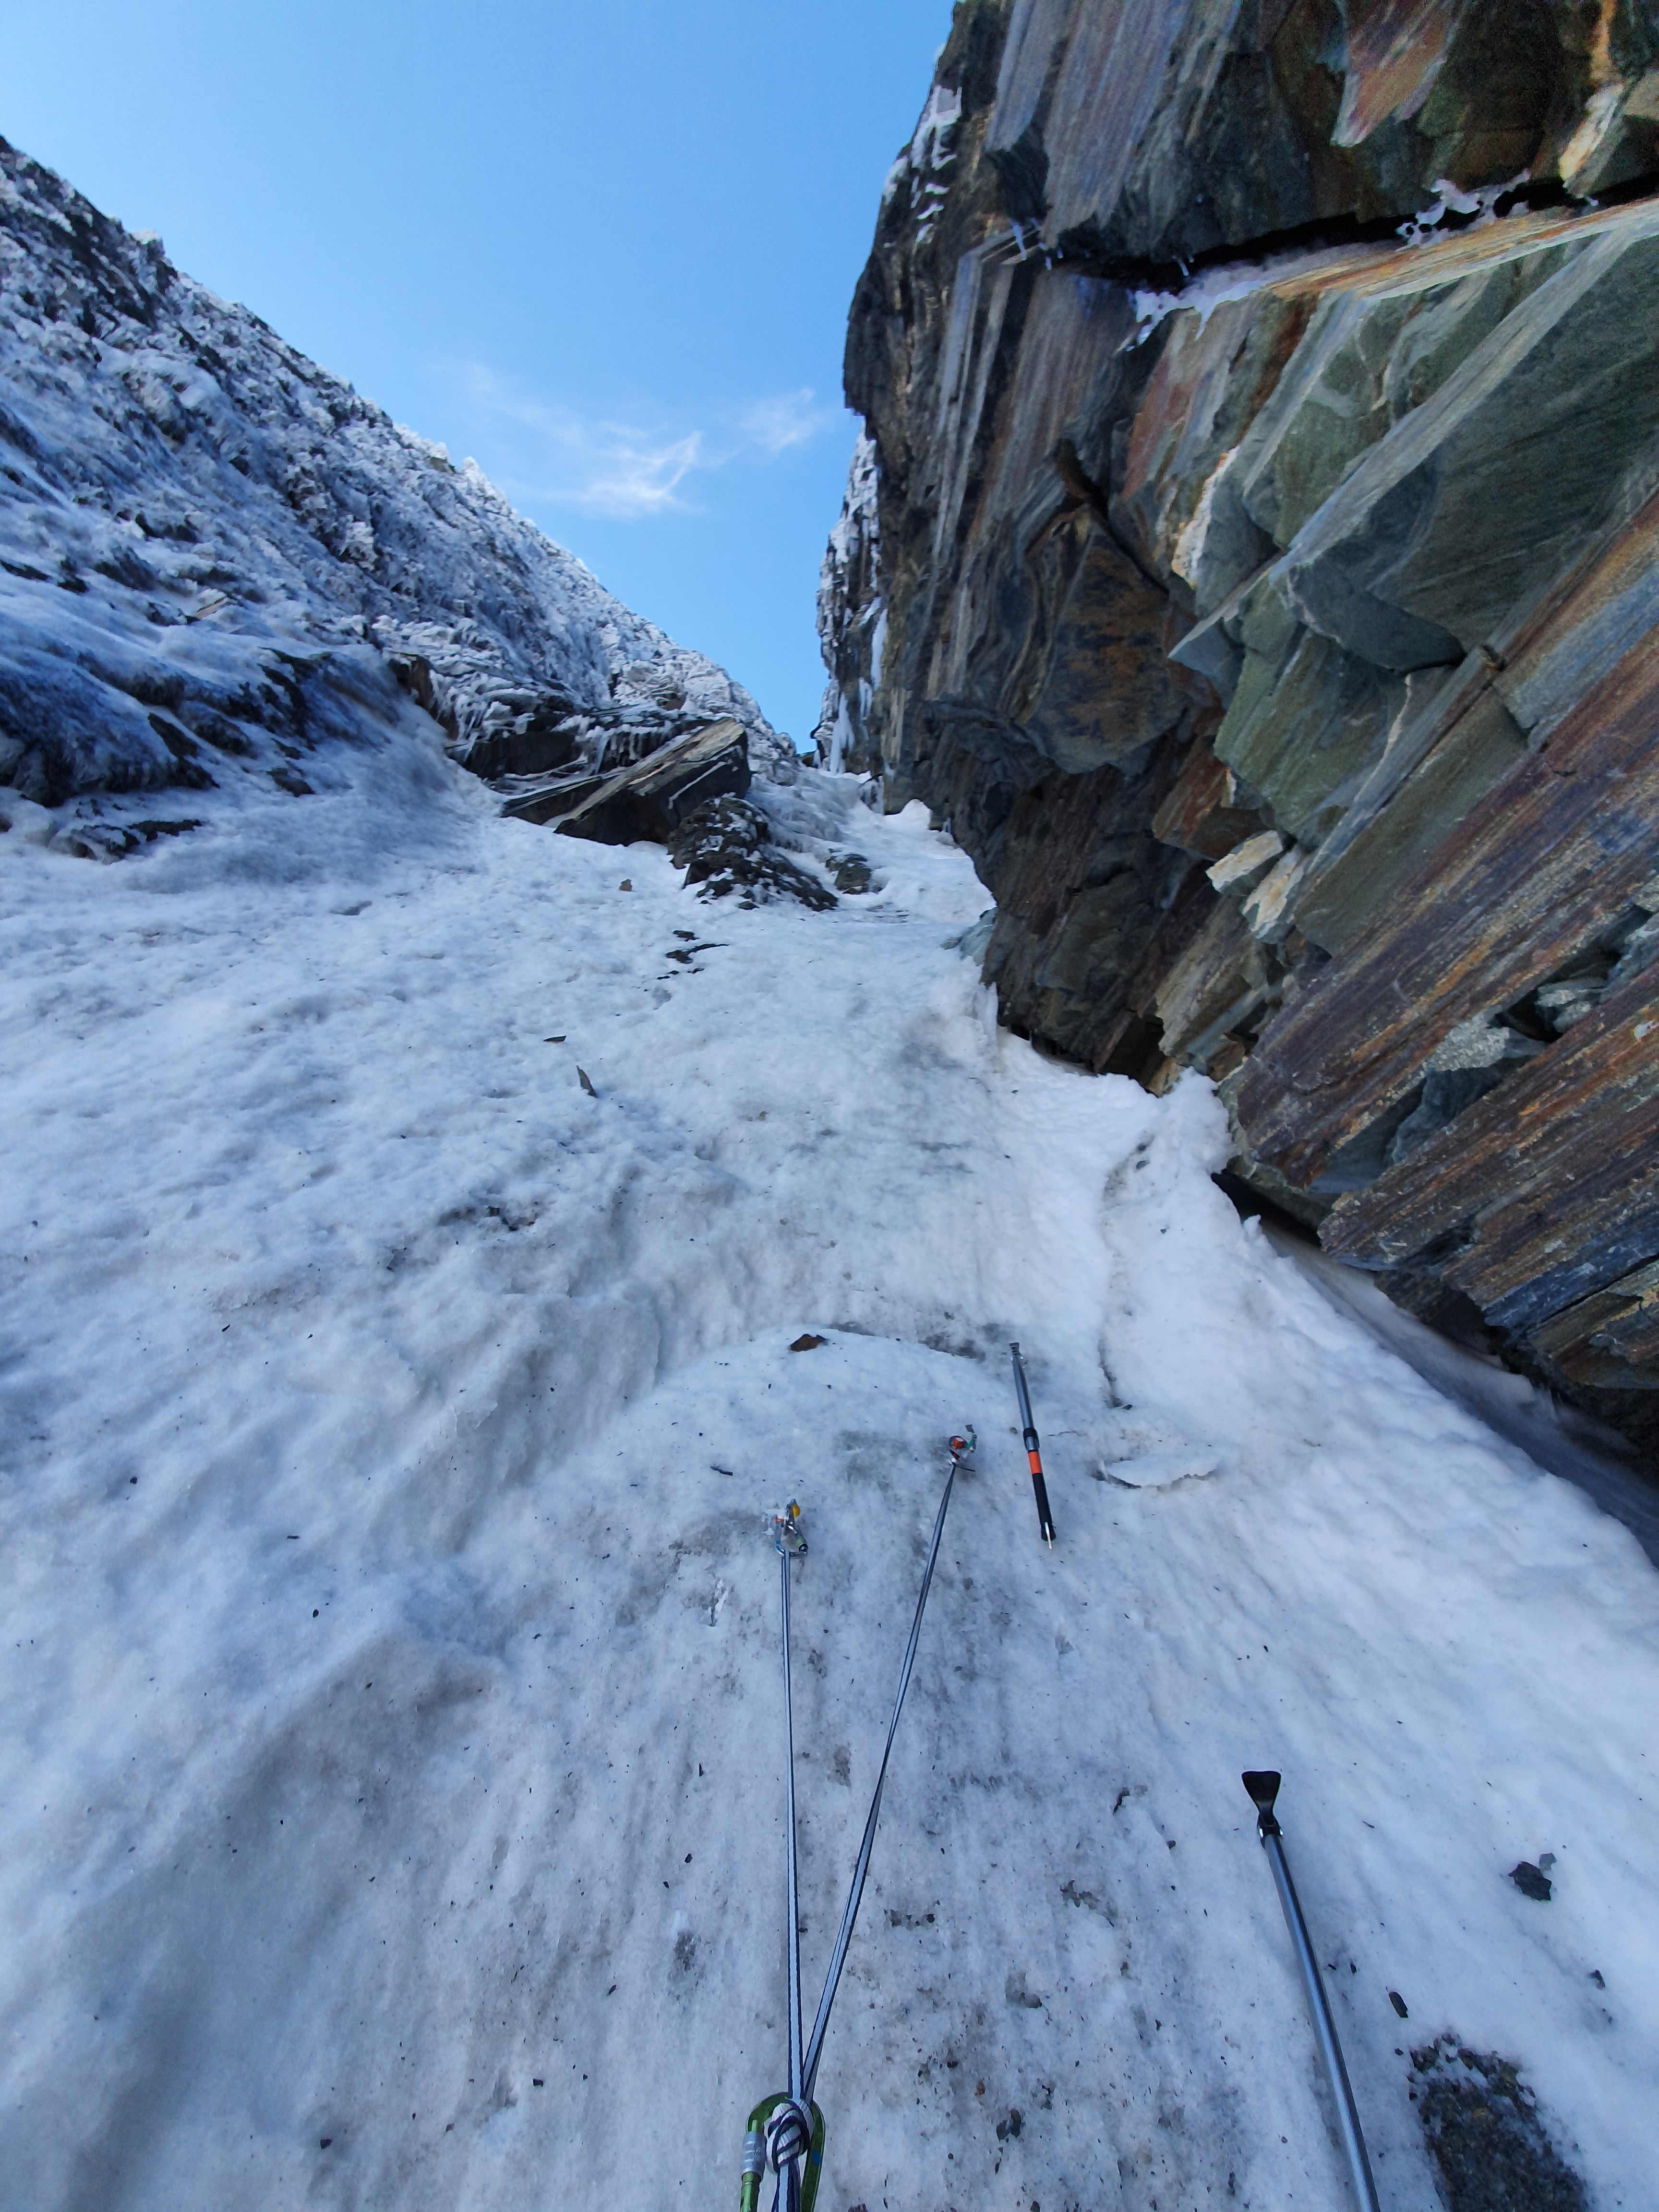
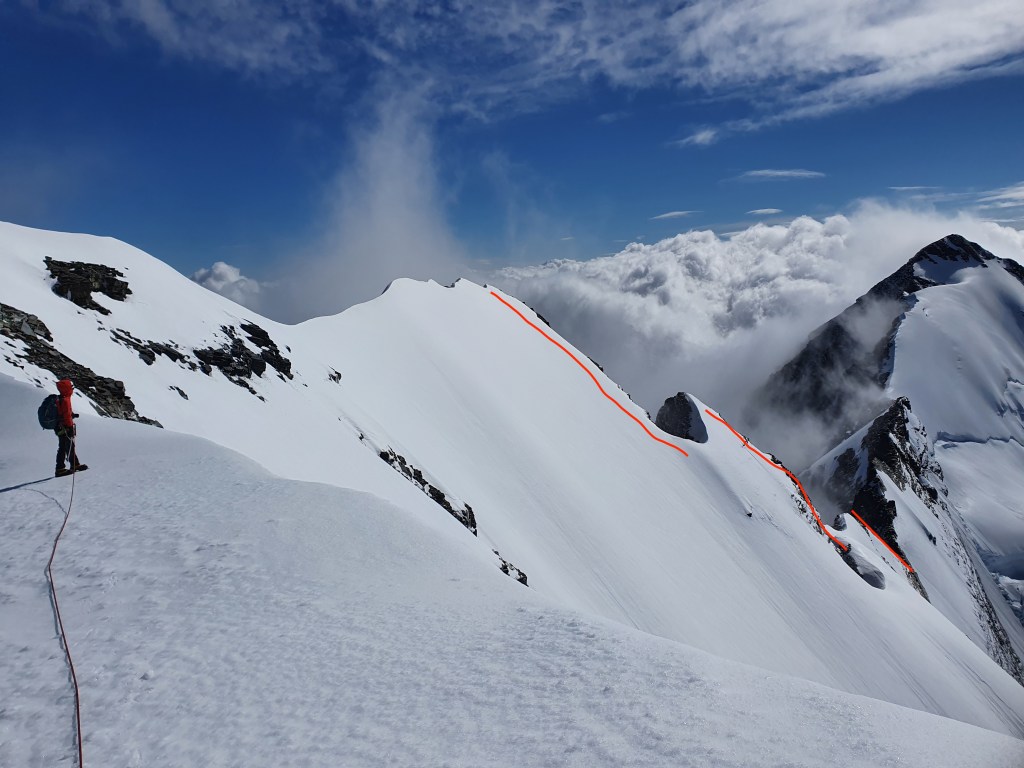
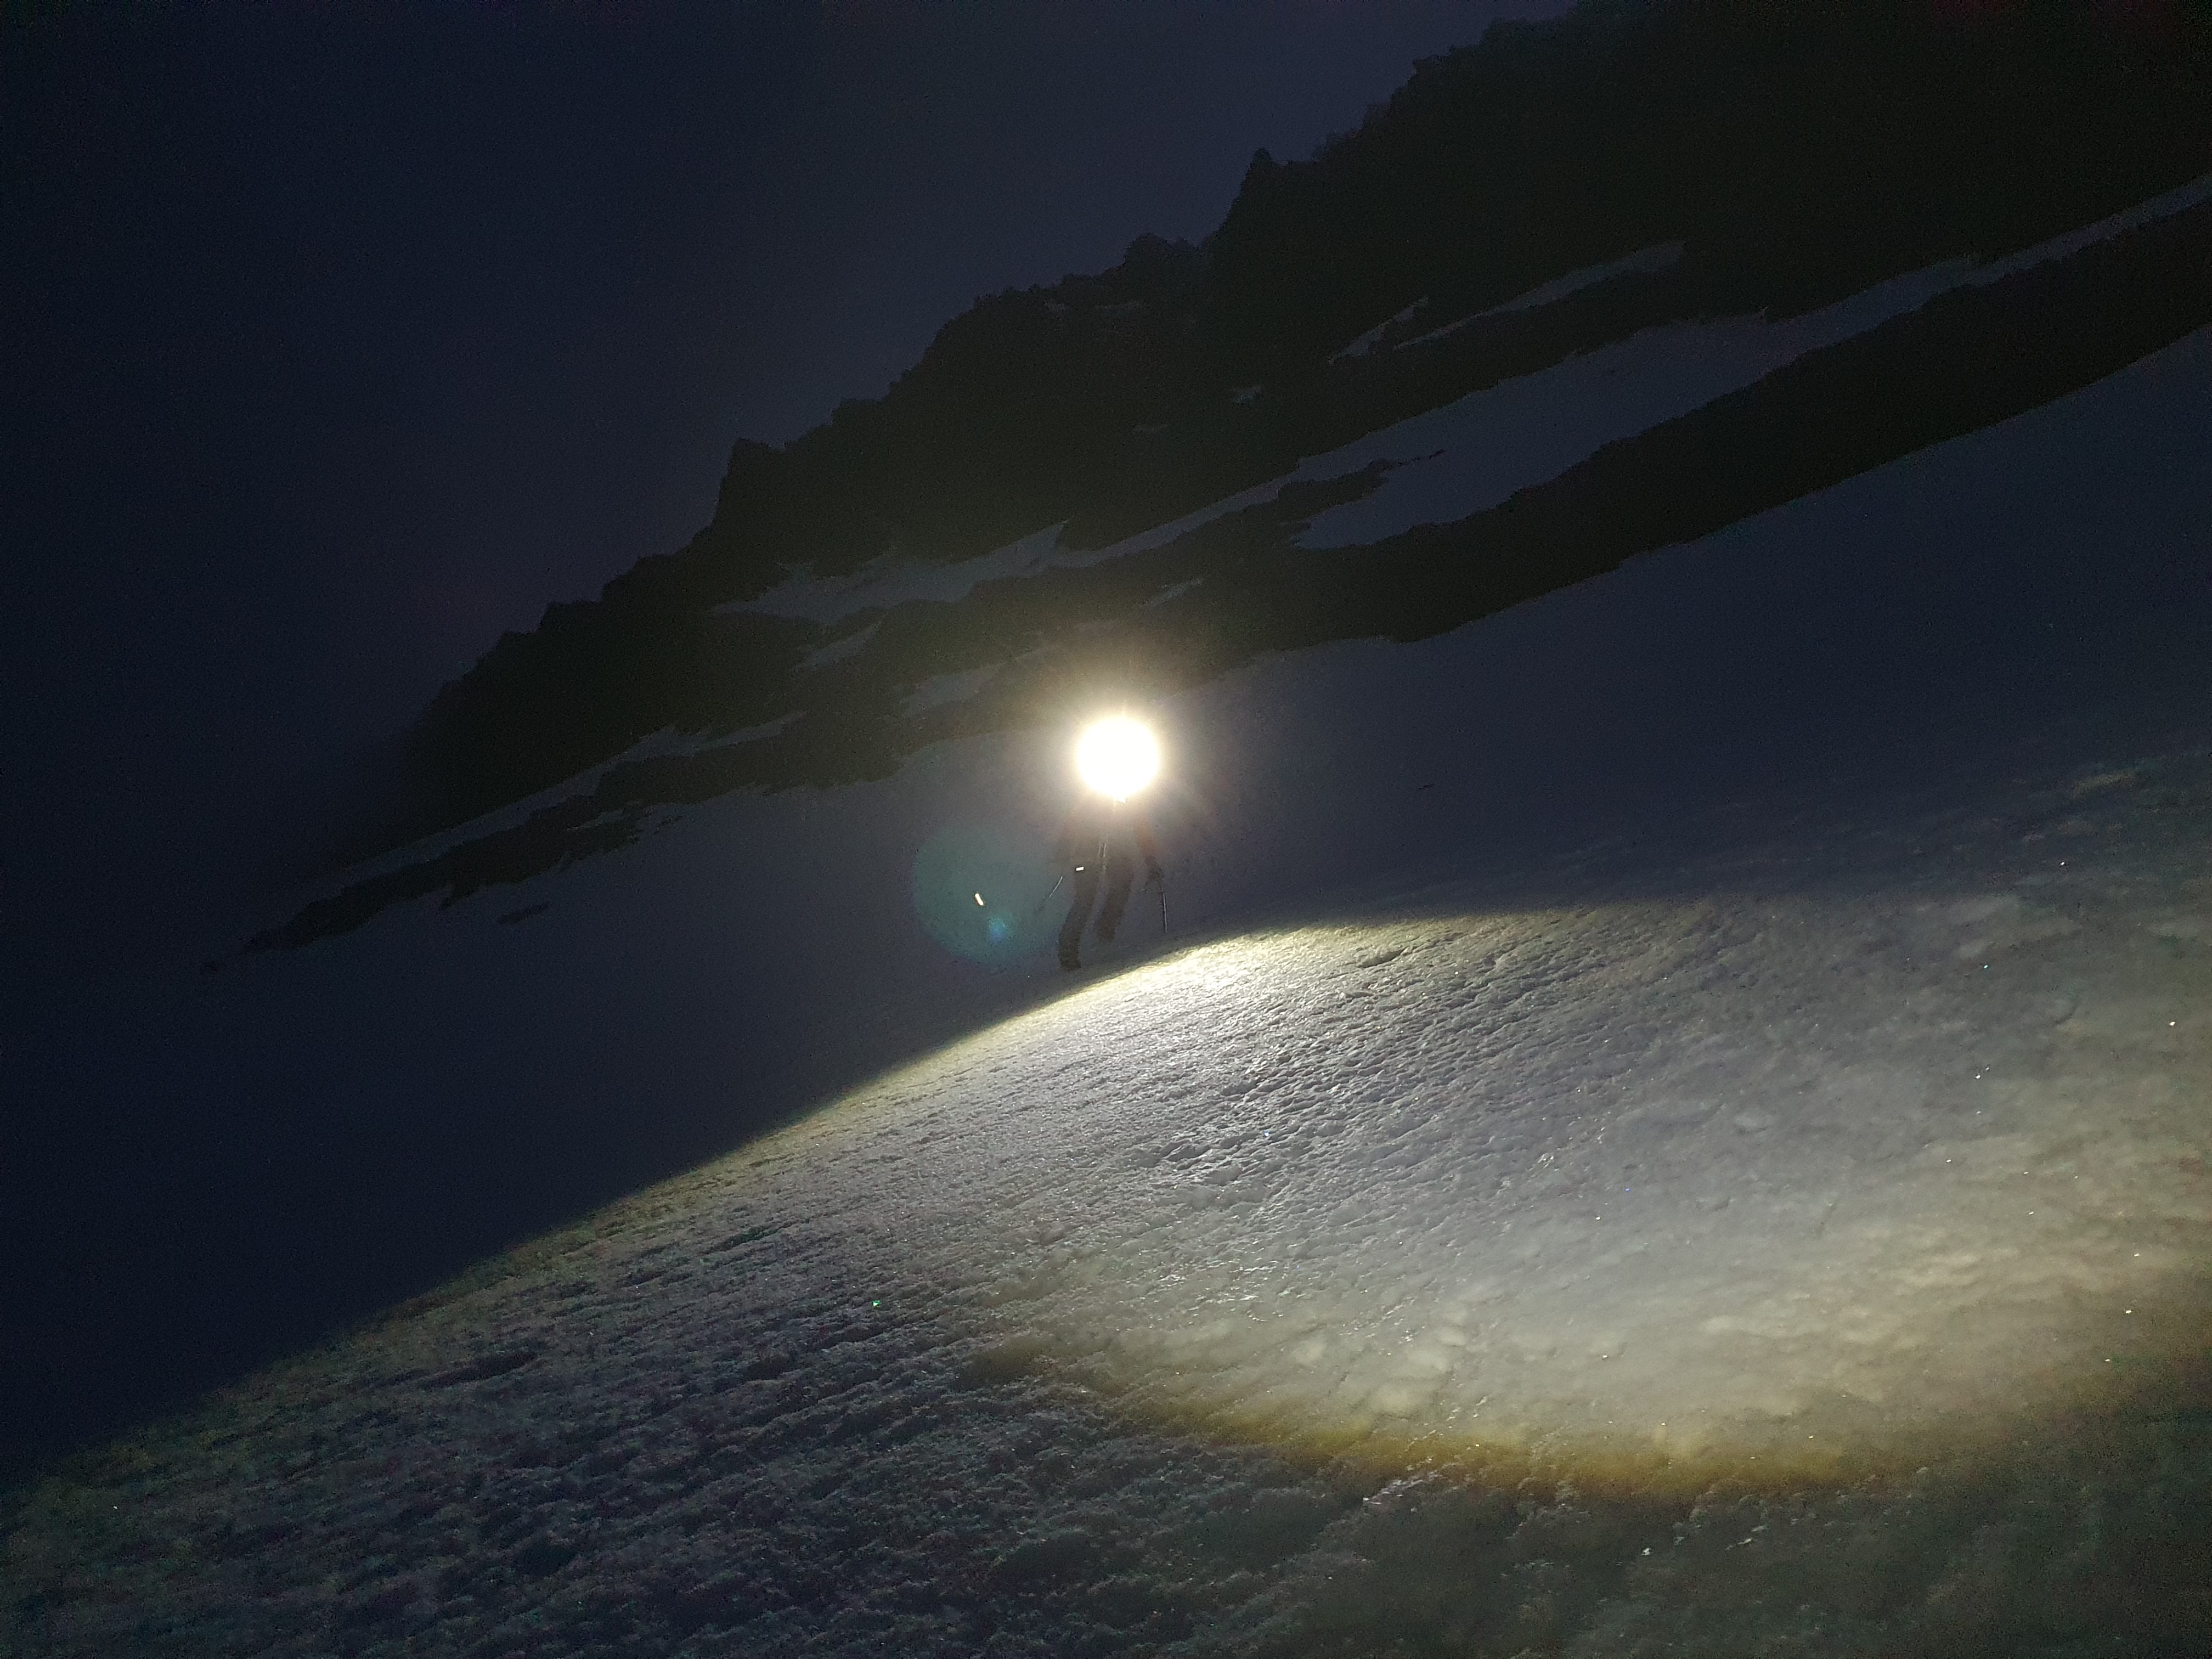
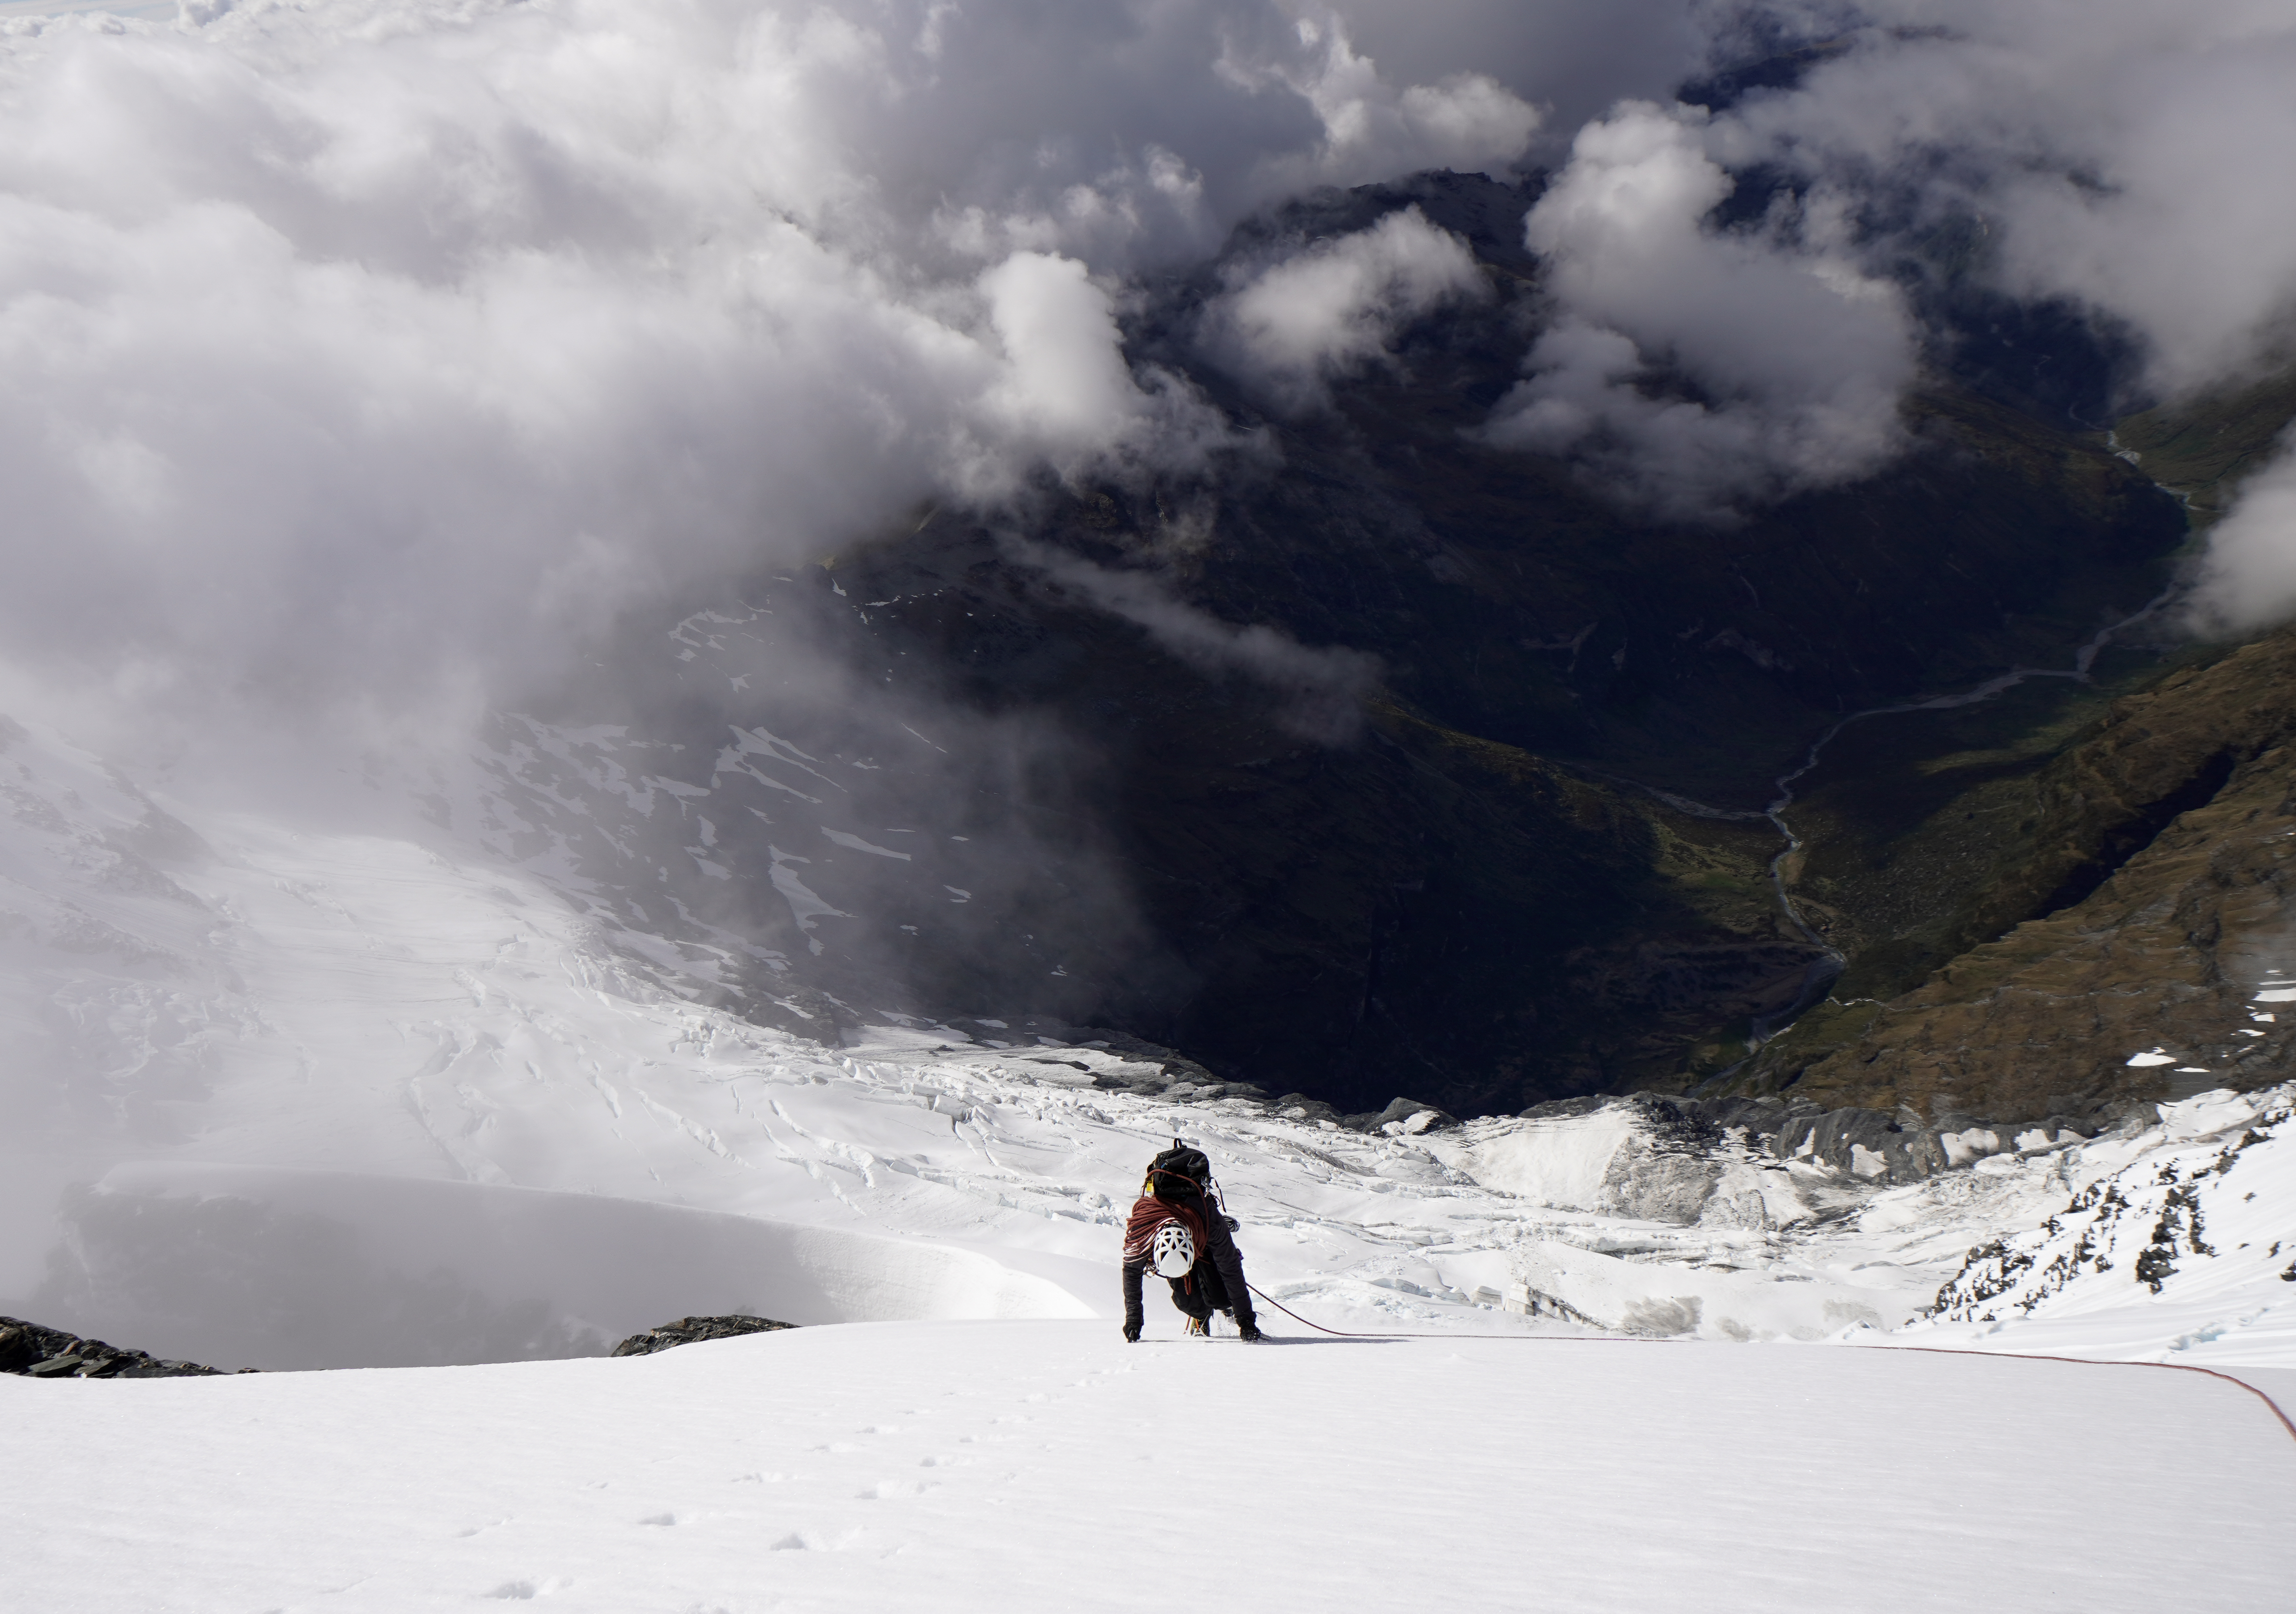
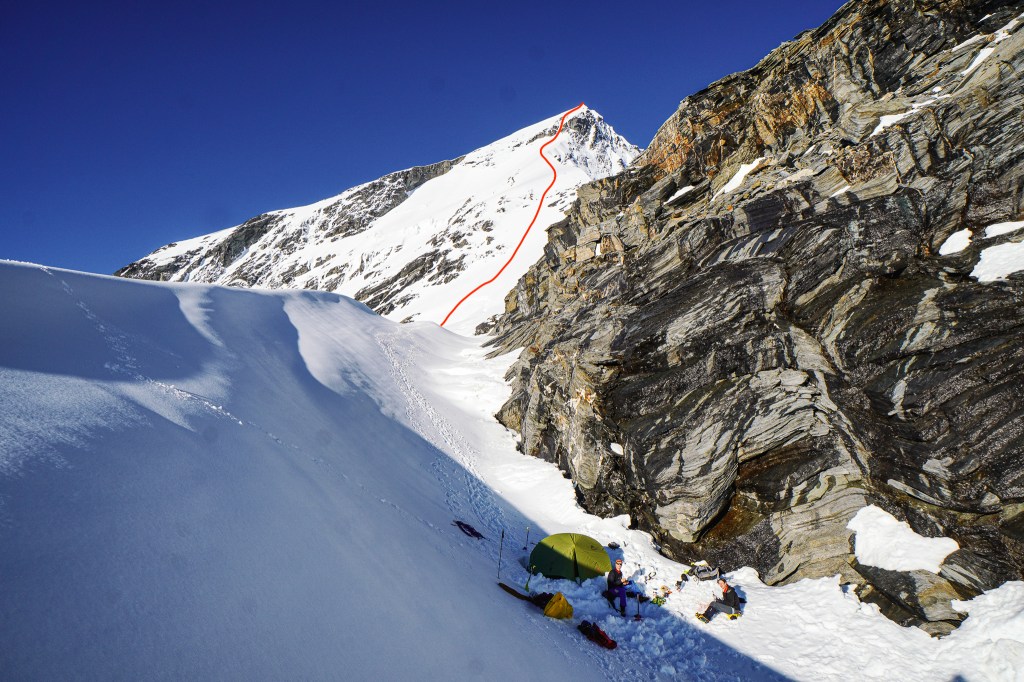
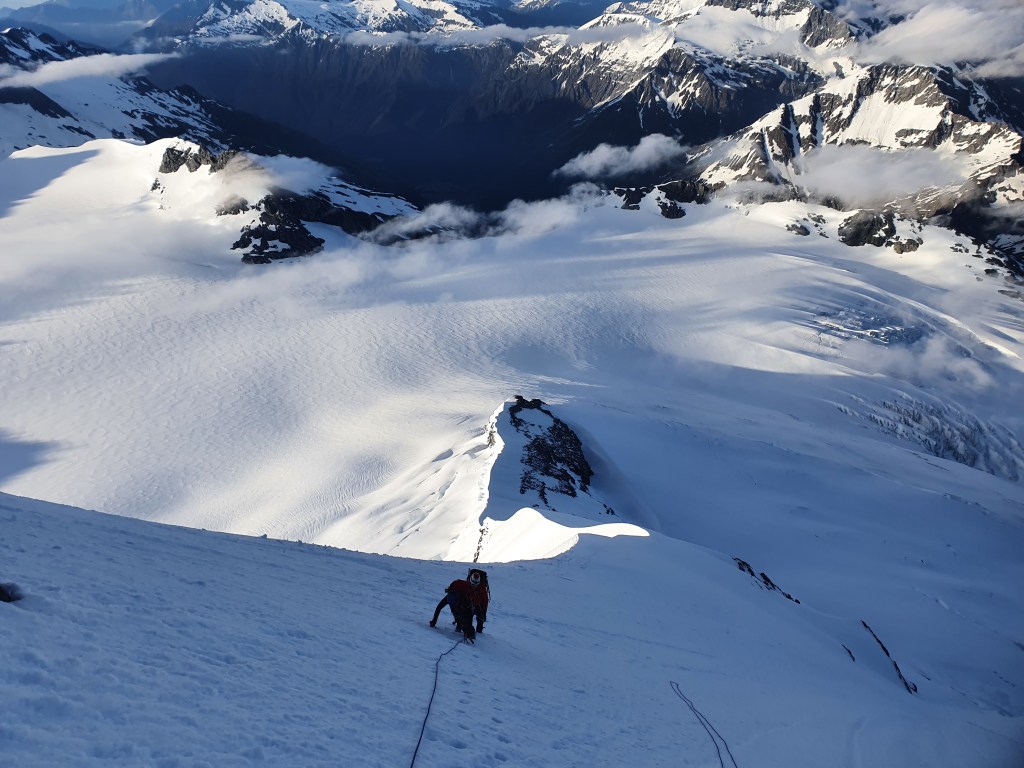
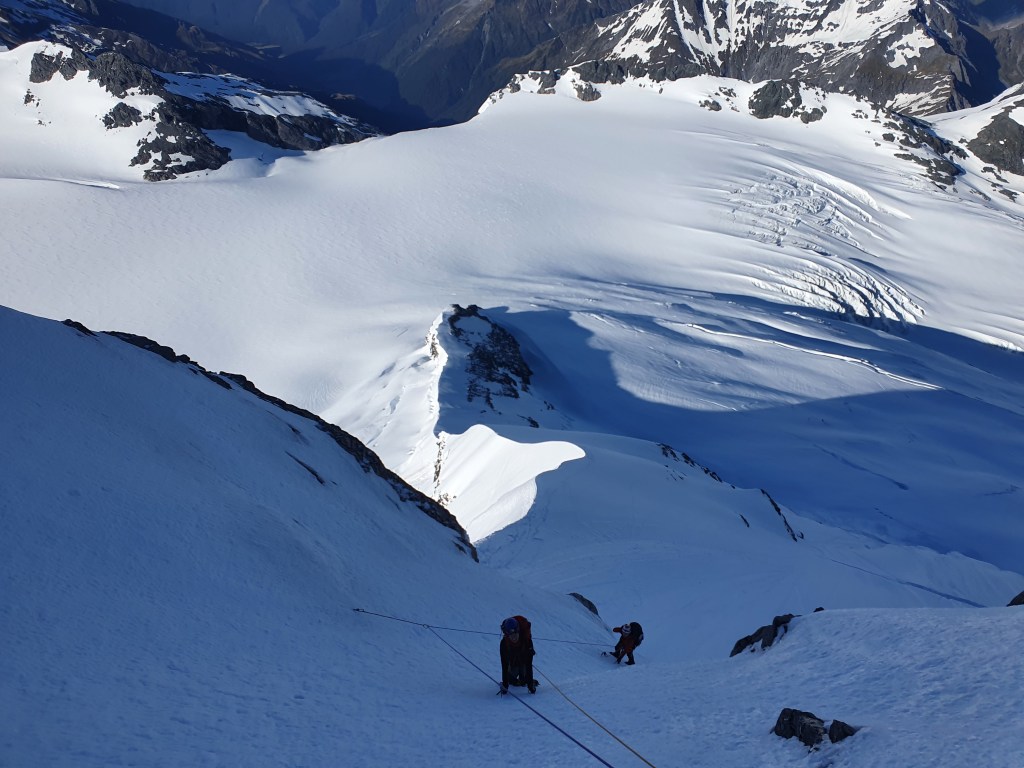
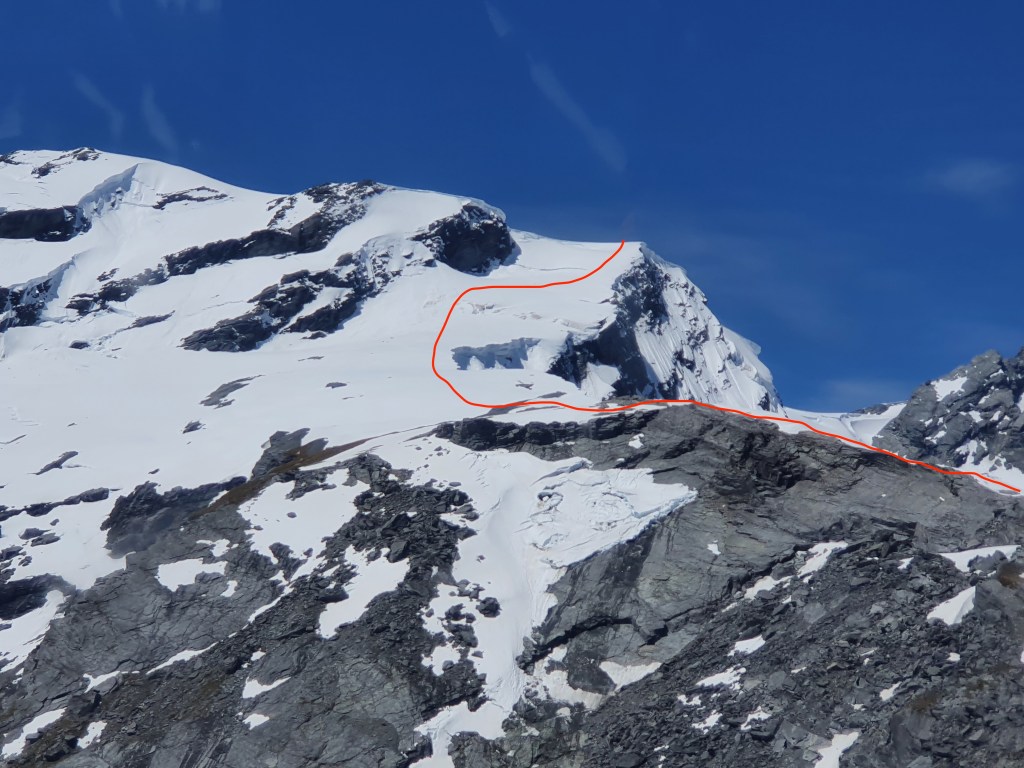
Woke up at 2am, packed up the camp and hid everything to keep away from cheeky keas! We were away by 3.30am. Our starting elevation was 2220m. The snow was in good condition for the climb – a solid overnight freeze made for an efficient climb up the 45 deg slopes. It looks quite intimidating from afar but once you’re on the ridge its actually pretty straightforward. Some groups would solo this part especially if the snow is soft and you’re making footprints. With the freeze a slip would have meant a long slide down to the Bonnar so we used running belay with microtraxions on pickets allowing 200m pitches on our 70m ropes. After 2 pitches and 2 hours we were at the base of the crux couloir at around 2800m.

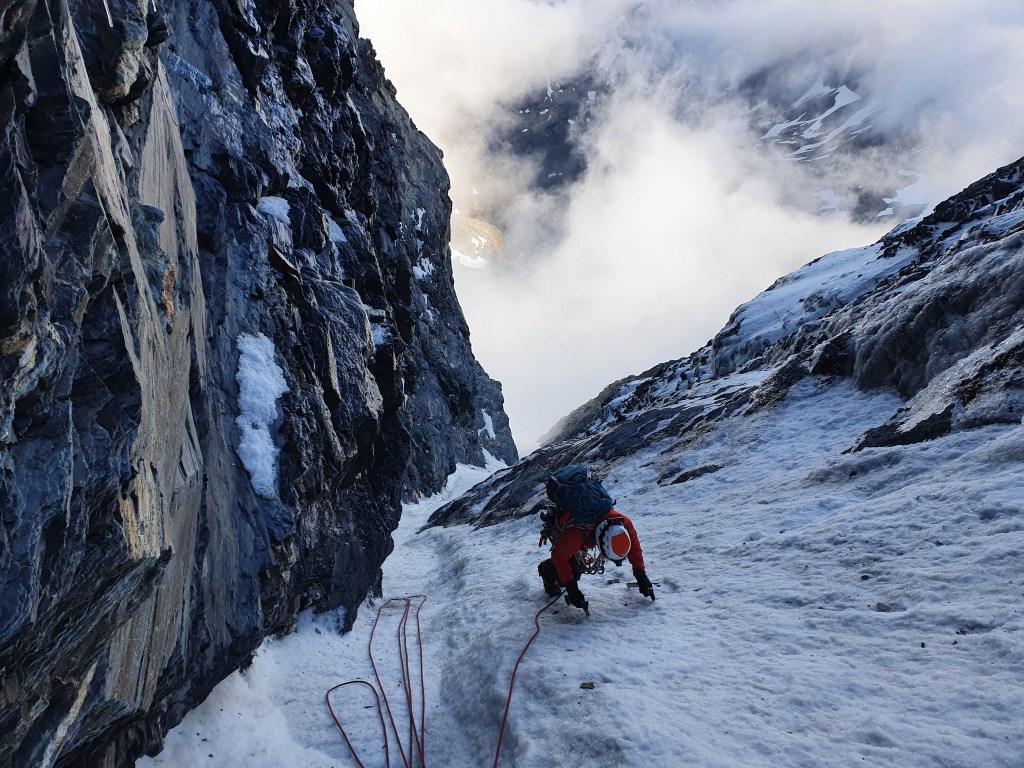
From the colouir was the crux – we made 2 pitches. The hardest climbing is as the start, with 20-30m or so of WI3, with short/less than body length near vertical bulges on a generally 80 degree ish slope. Pretty similar in difficulty to Altered States at the Remarkables. After this the angle eases off to low angle ice slopes, and after another 10m we found 2 fresh shiny pitons that had just been put in the day before in the rockband on the left which made an excellent belay. For us the ice was good enough for screw anchors, otherwise you would need a selection of small to very small rock gear. The second pitch gets you to the summit snow cap, and was more low angle ice sticking just to the right of the rockband which takes small gear.

This crux section is highly variable depending on the season – we got the ice in fat condition and had good screws the whole way.
When I skied the line with Sam a few years ago we were there in September and the ice was good but was steeper and harder with less snow built up. Later in the year there is bare rock and some mixed climbing is needed (never done it so can’t comment!). Depends what your preference is but personally I love ice so wouldrecommend getting there early in the year! Try and get some recent beta to work out what to expect before heading up.
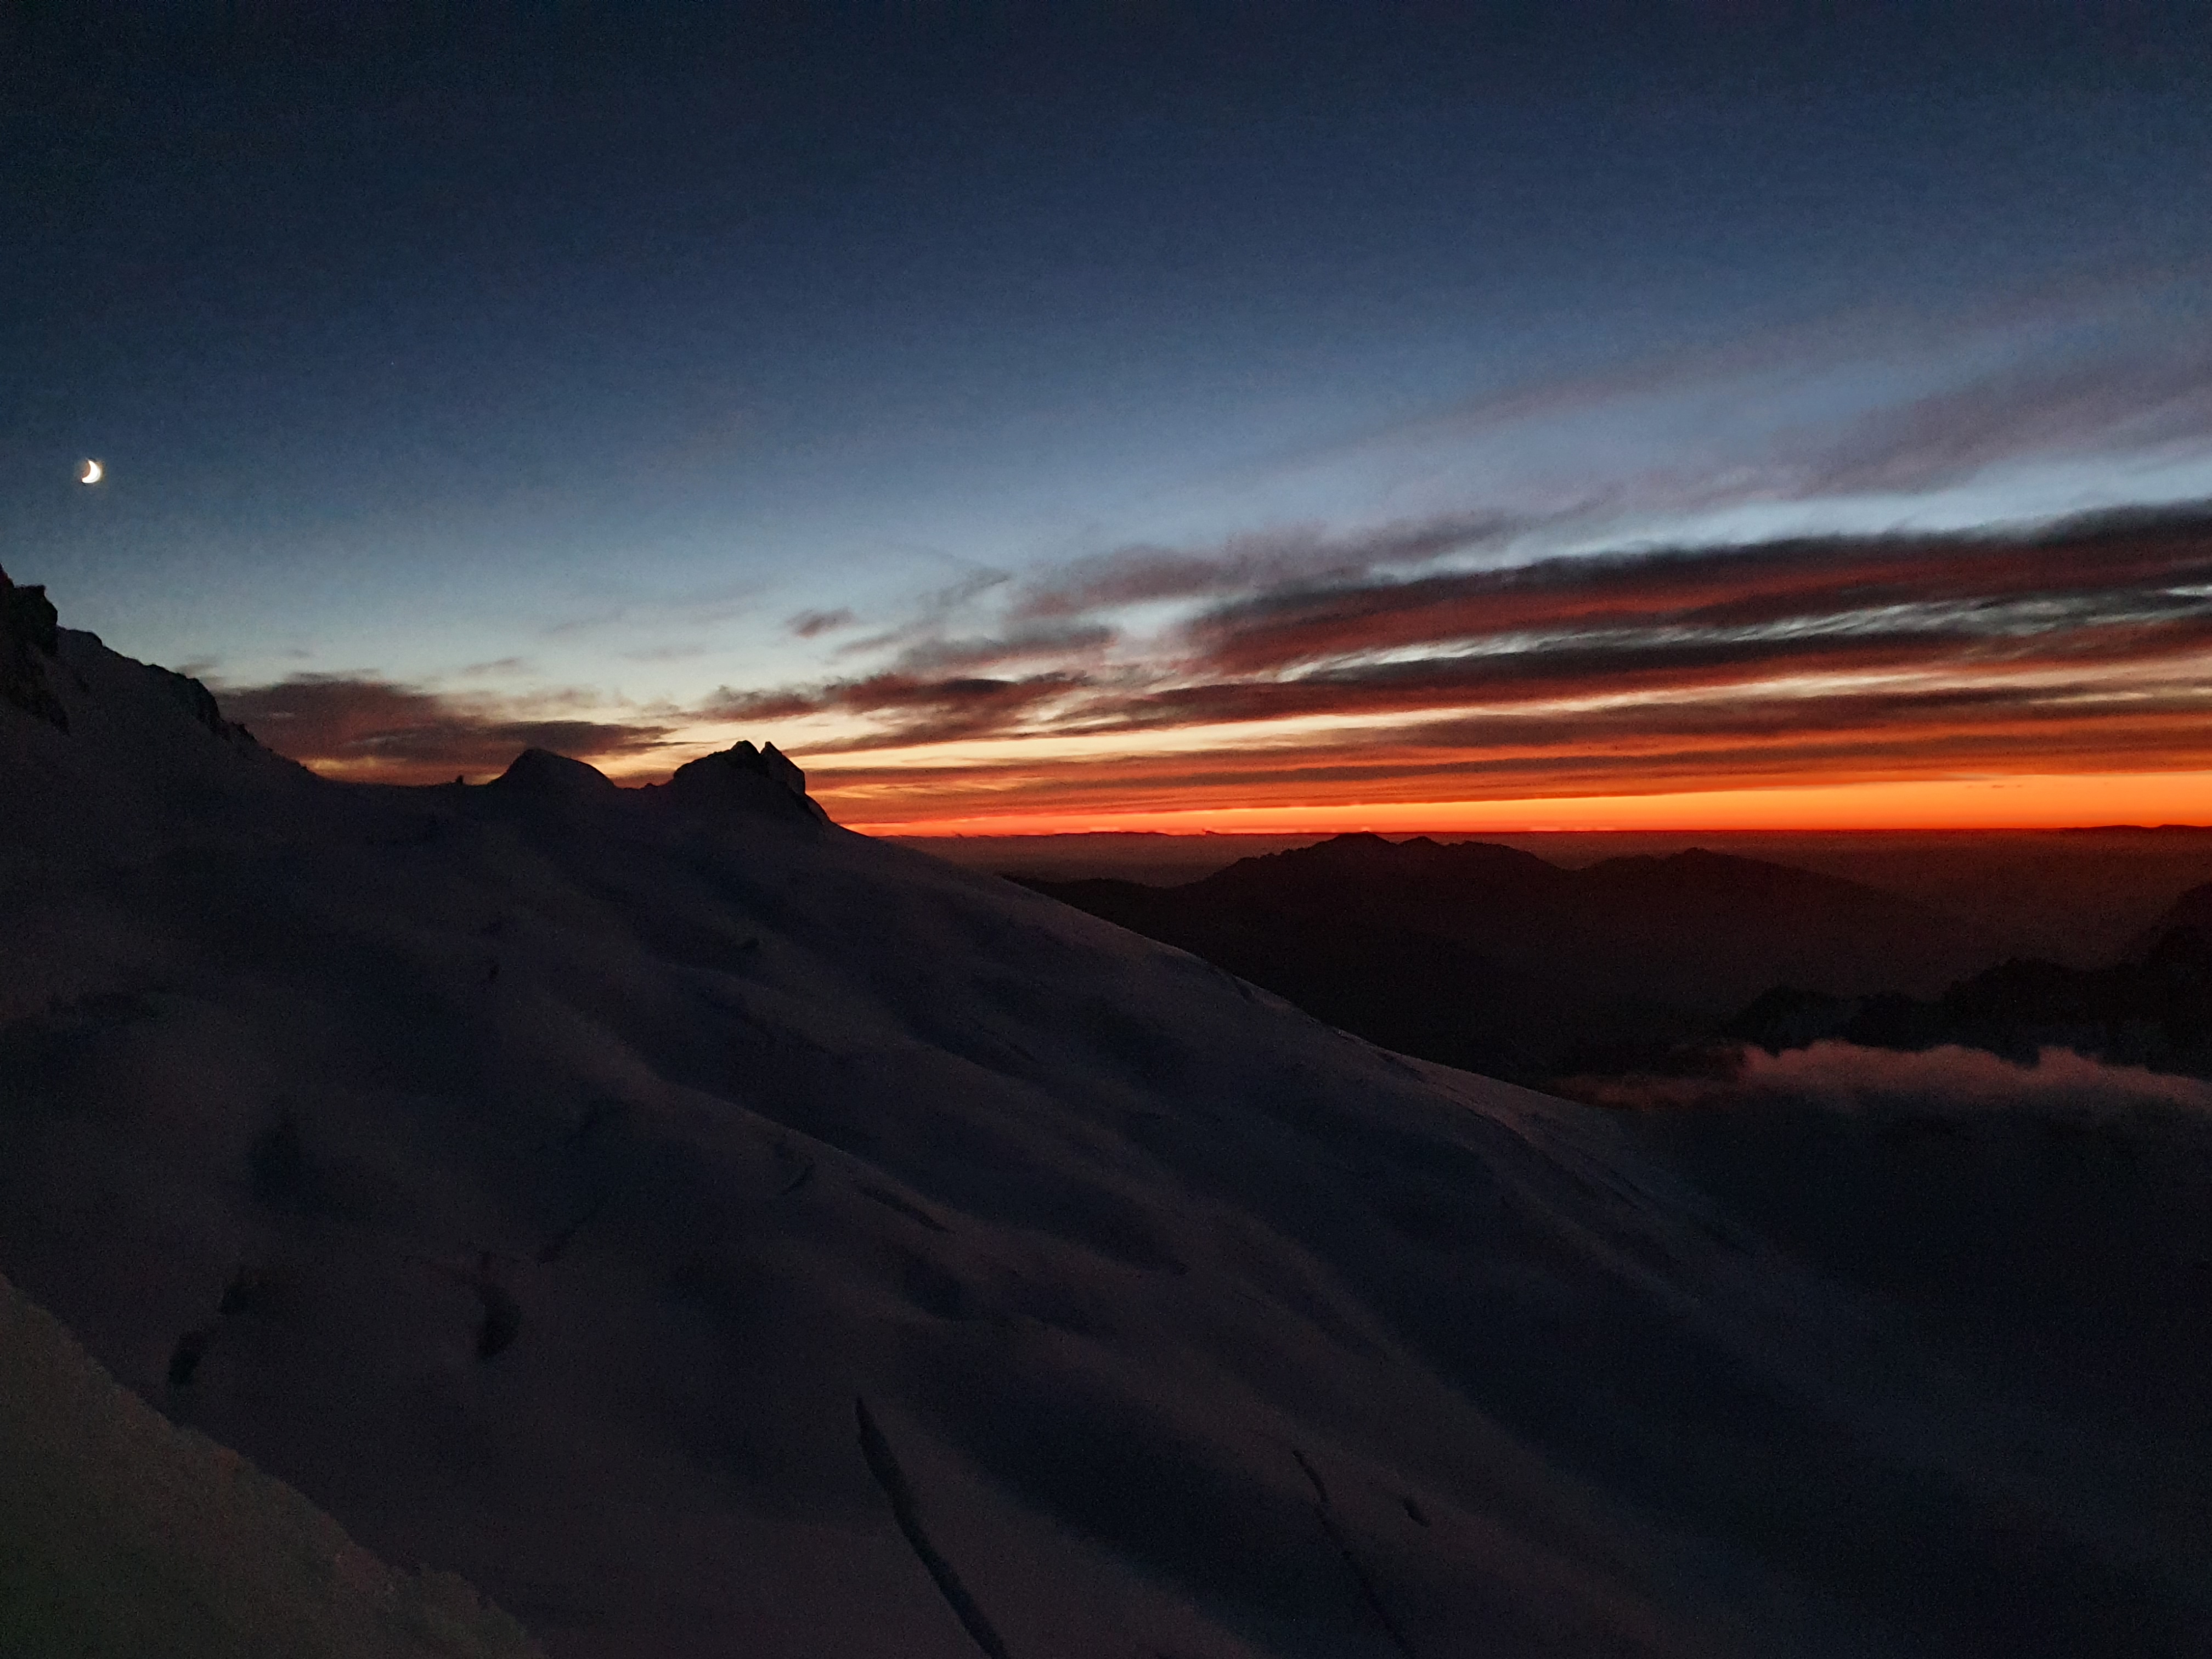
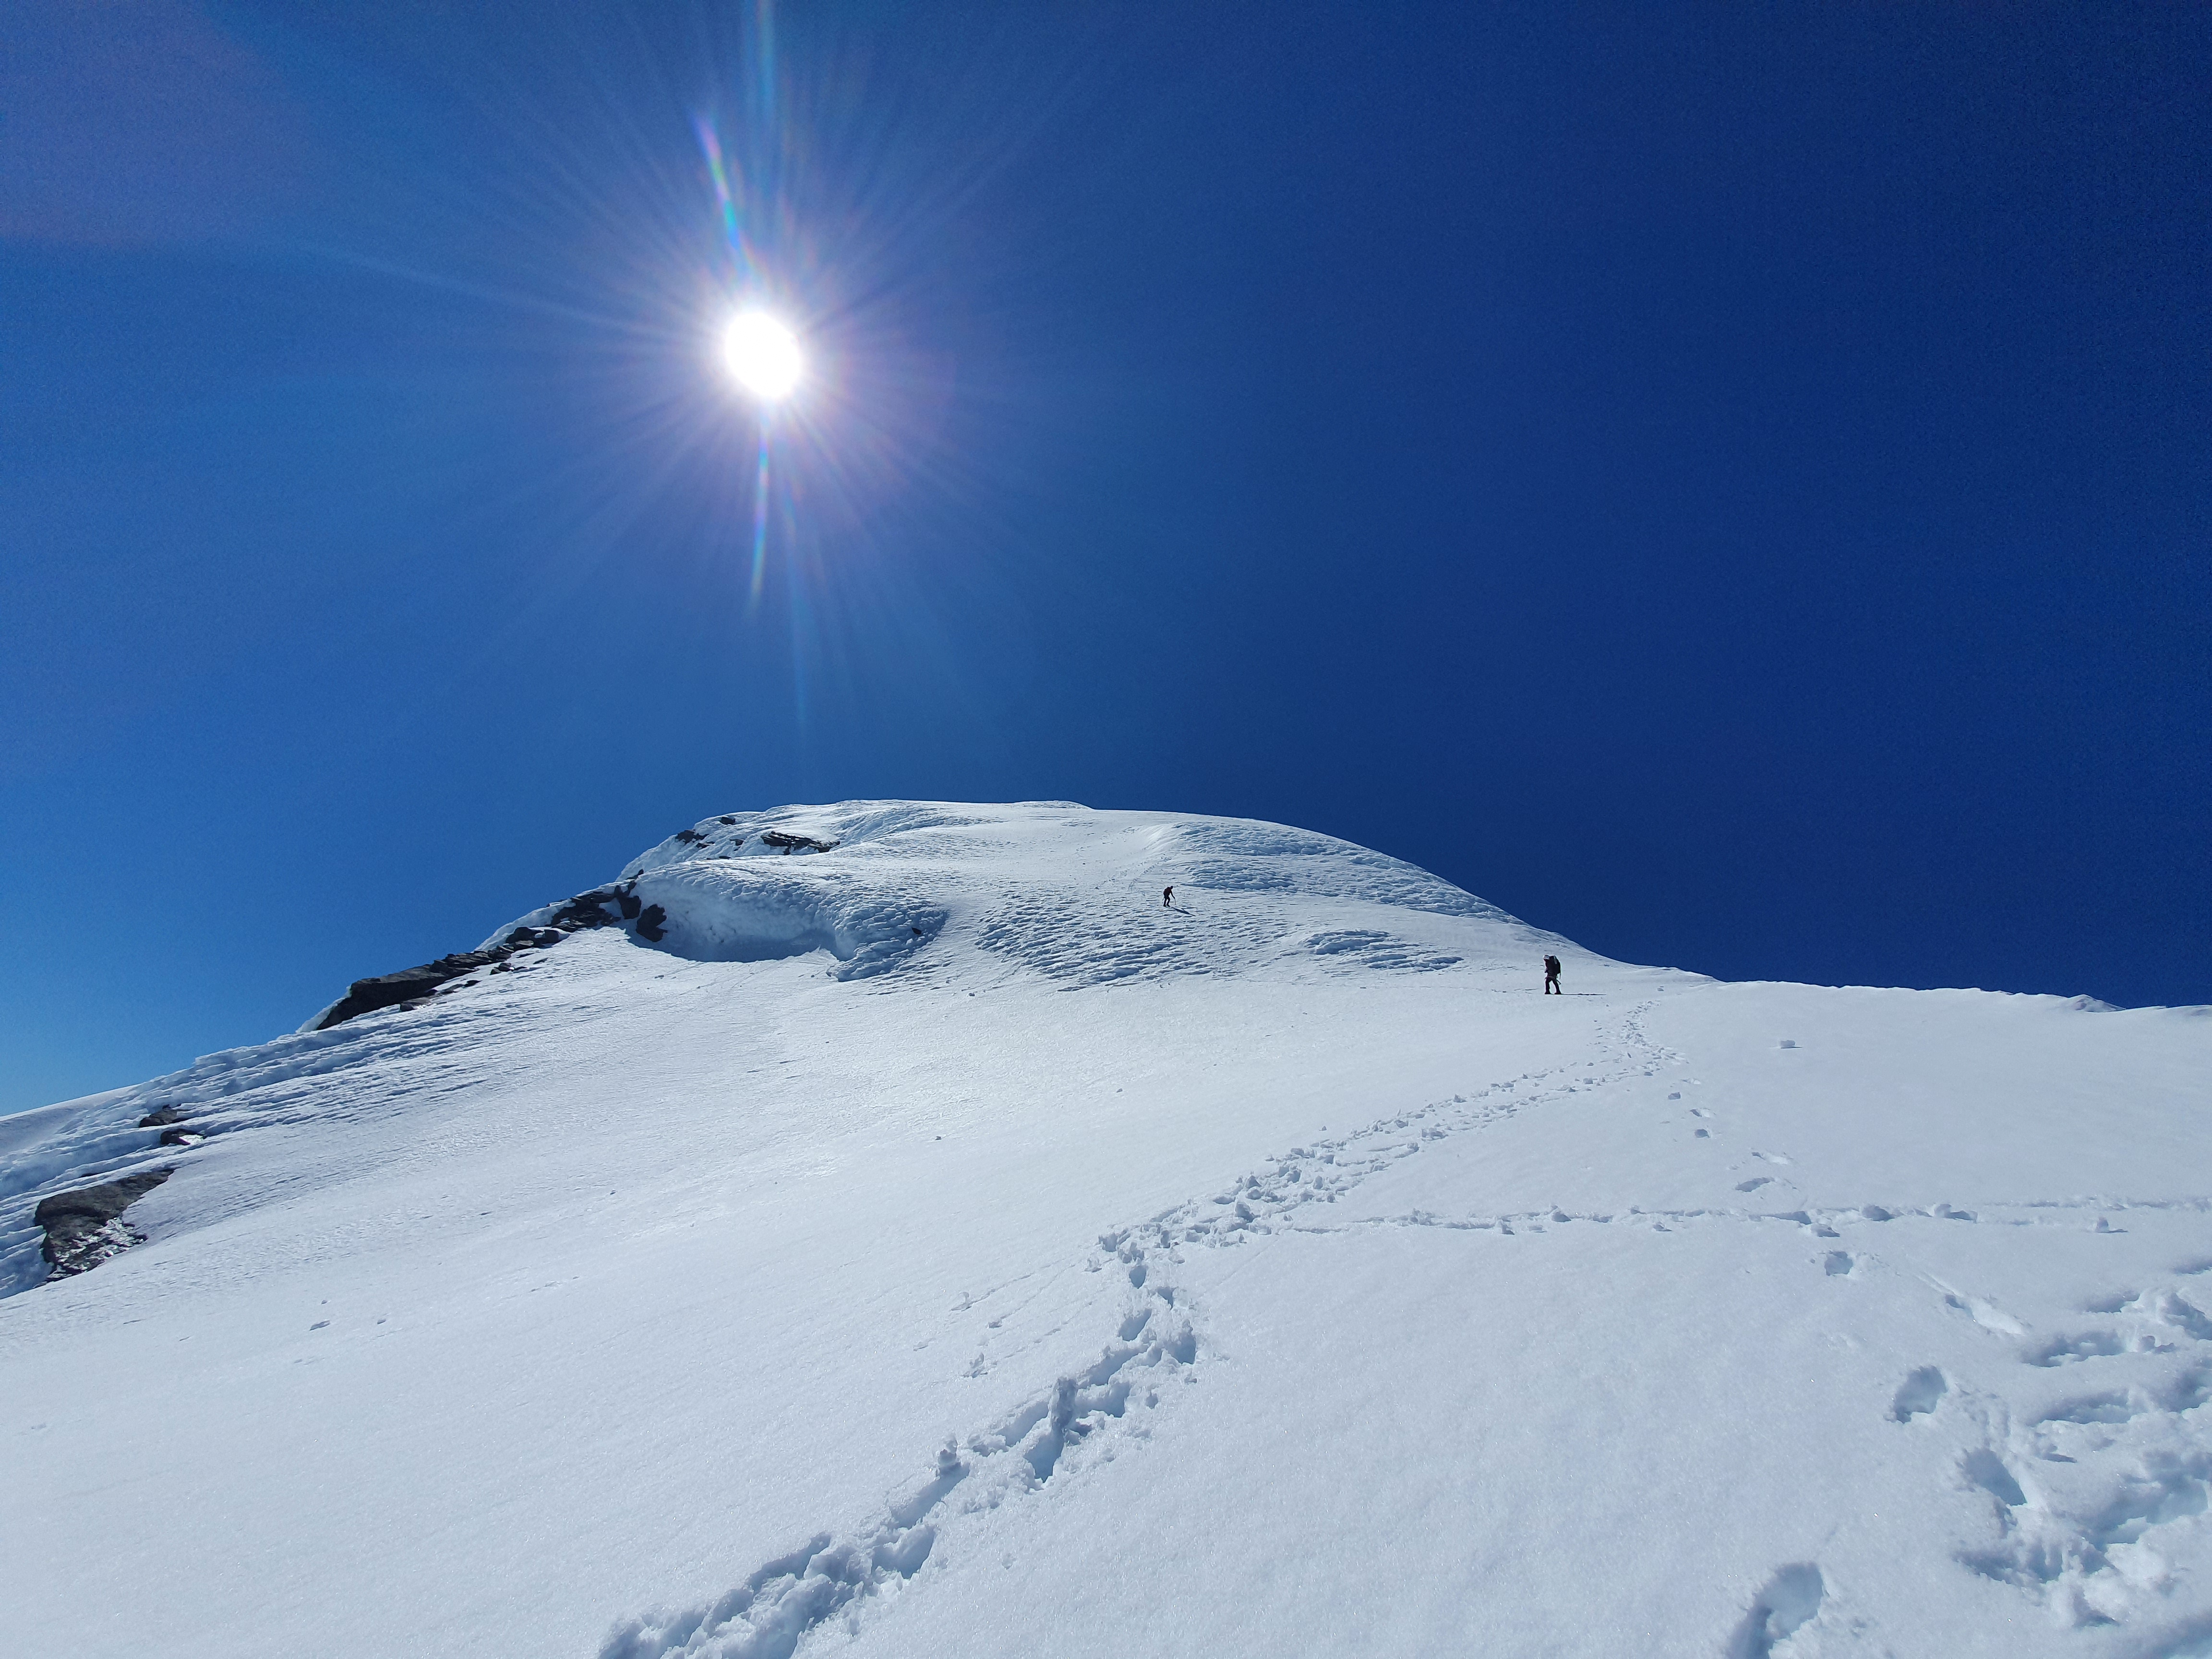
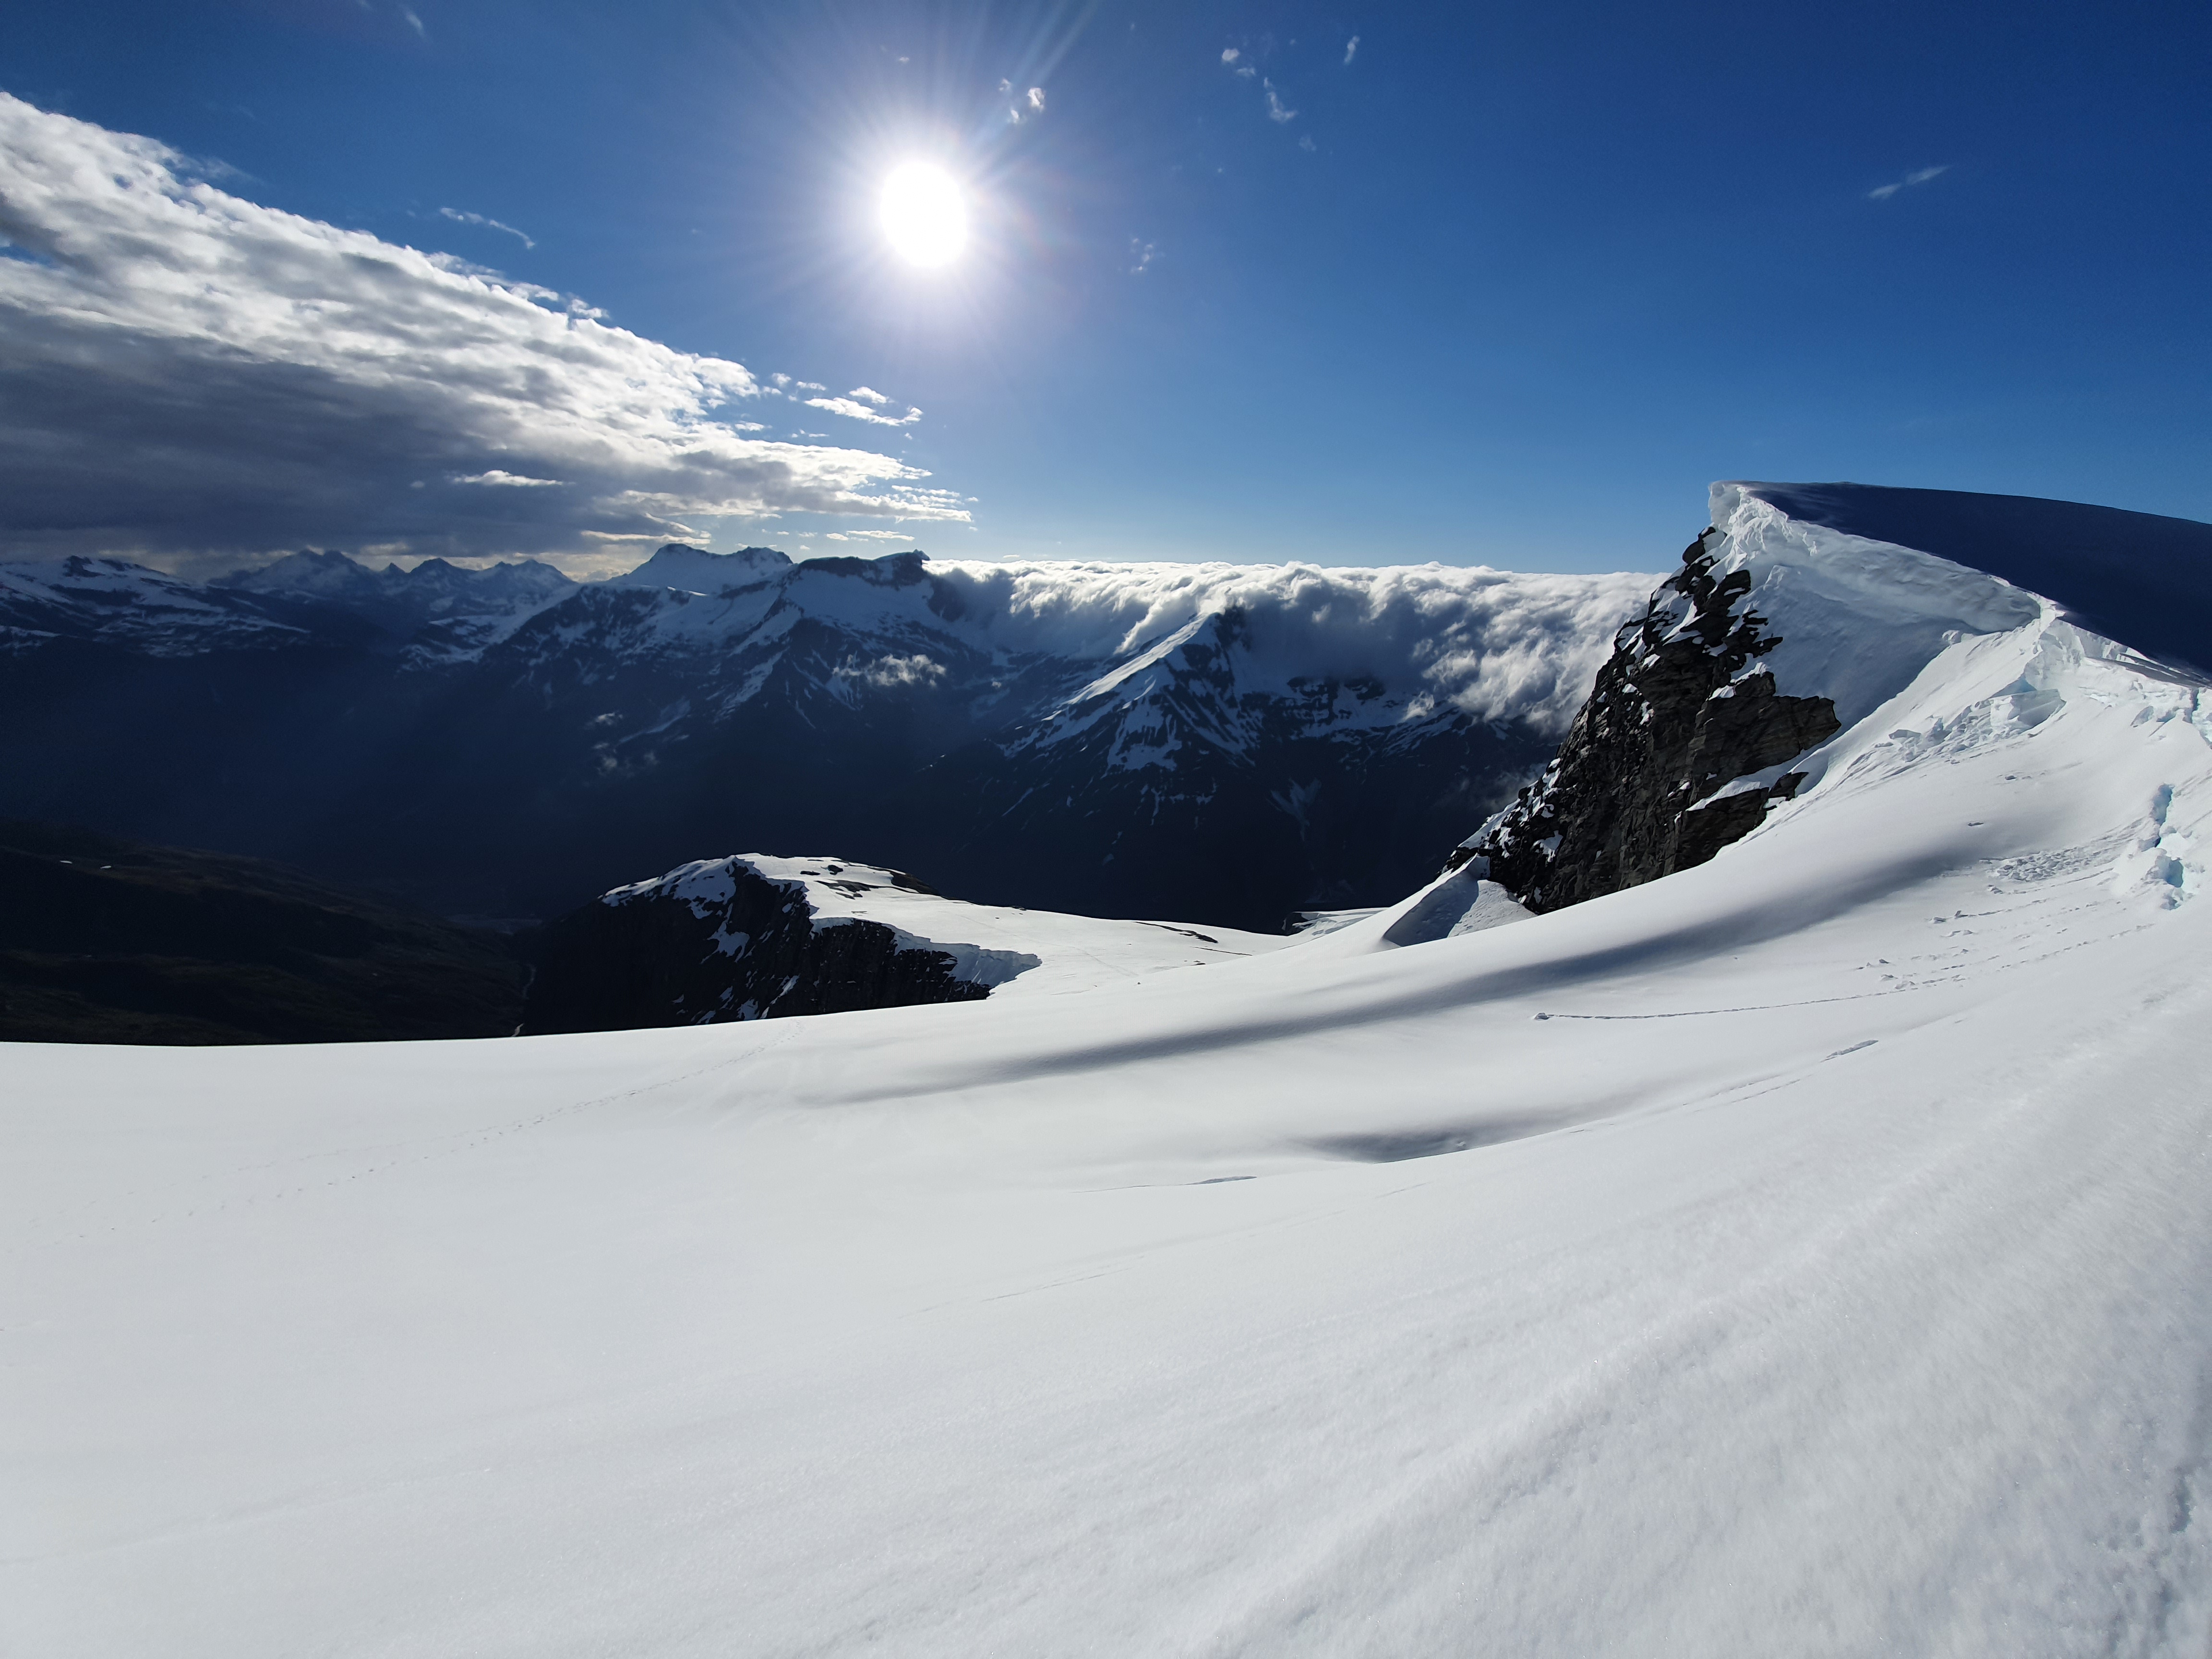
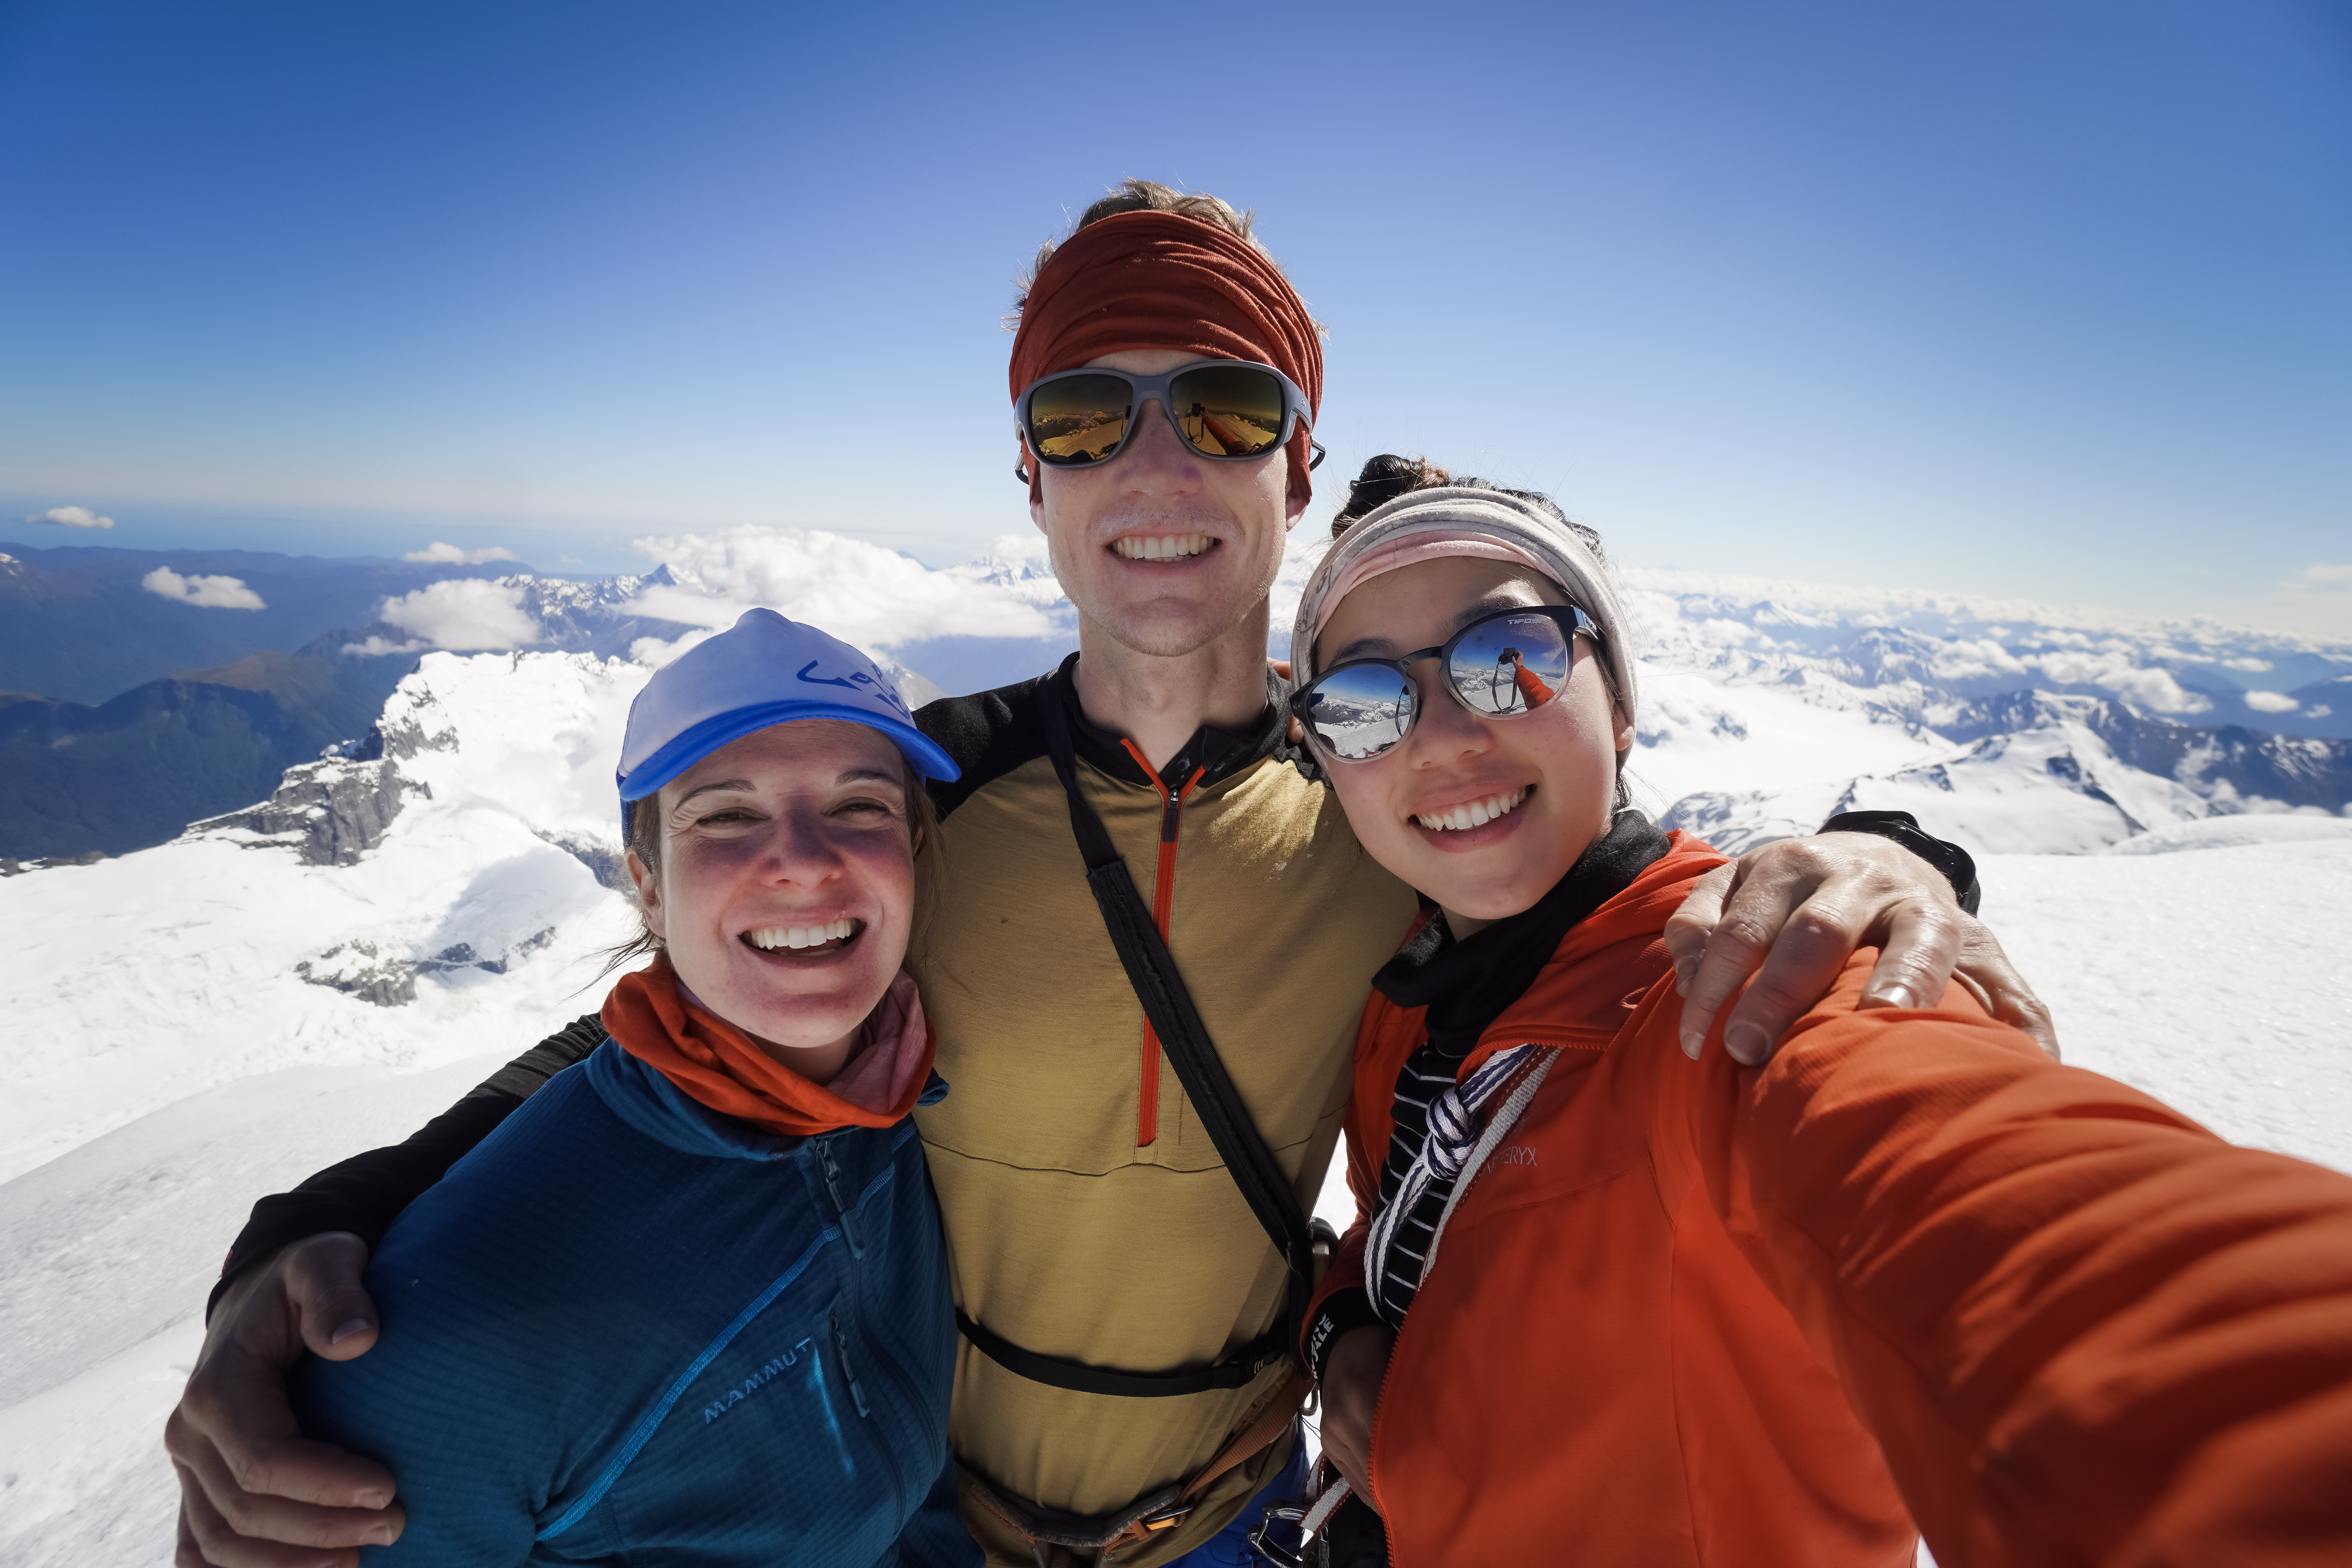
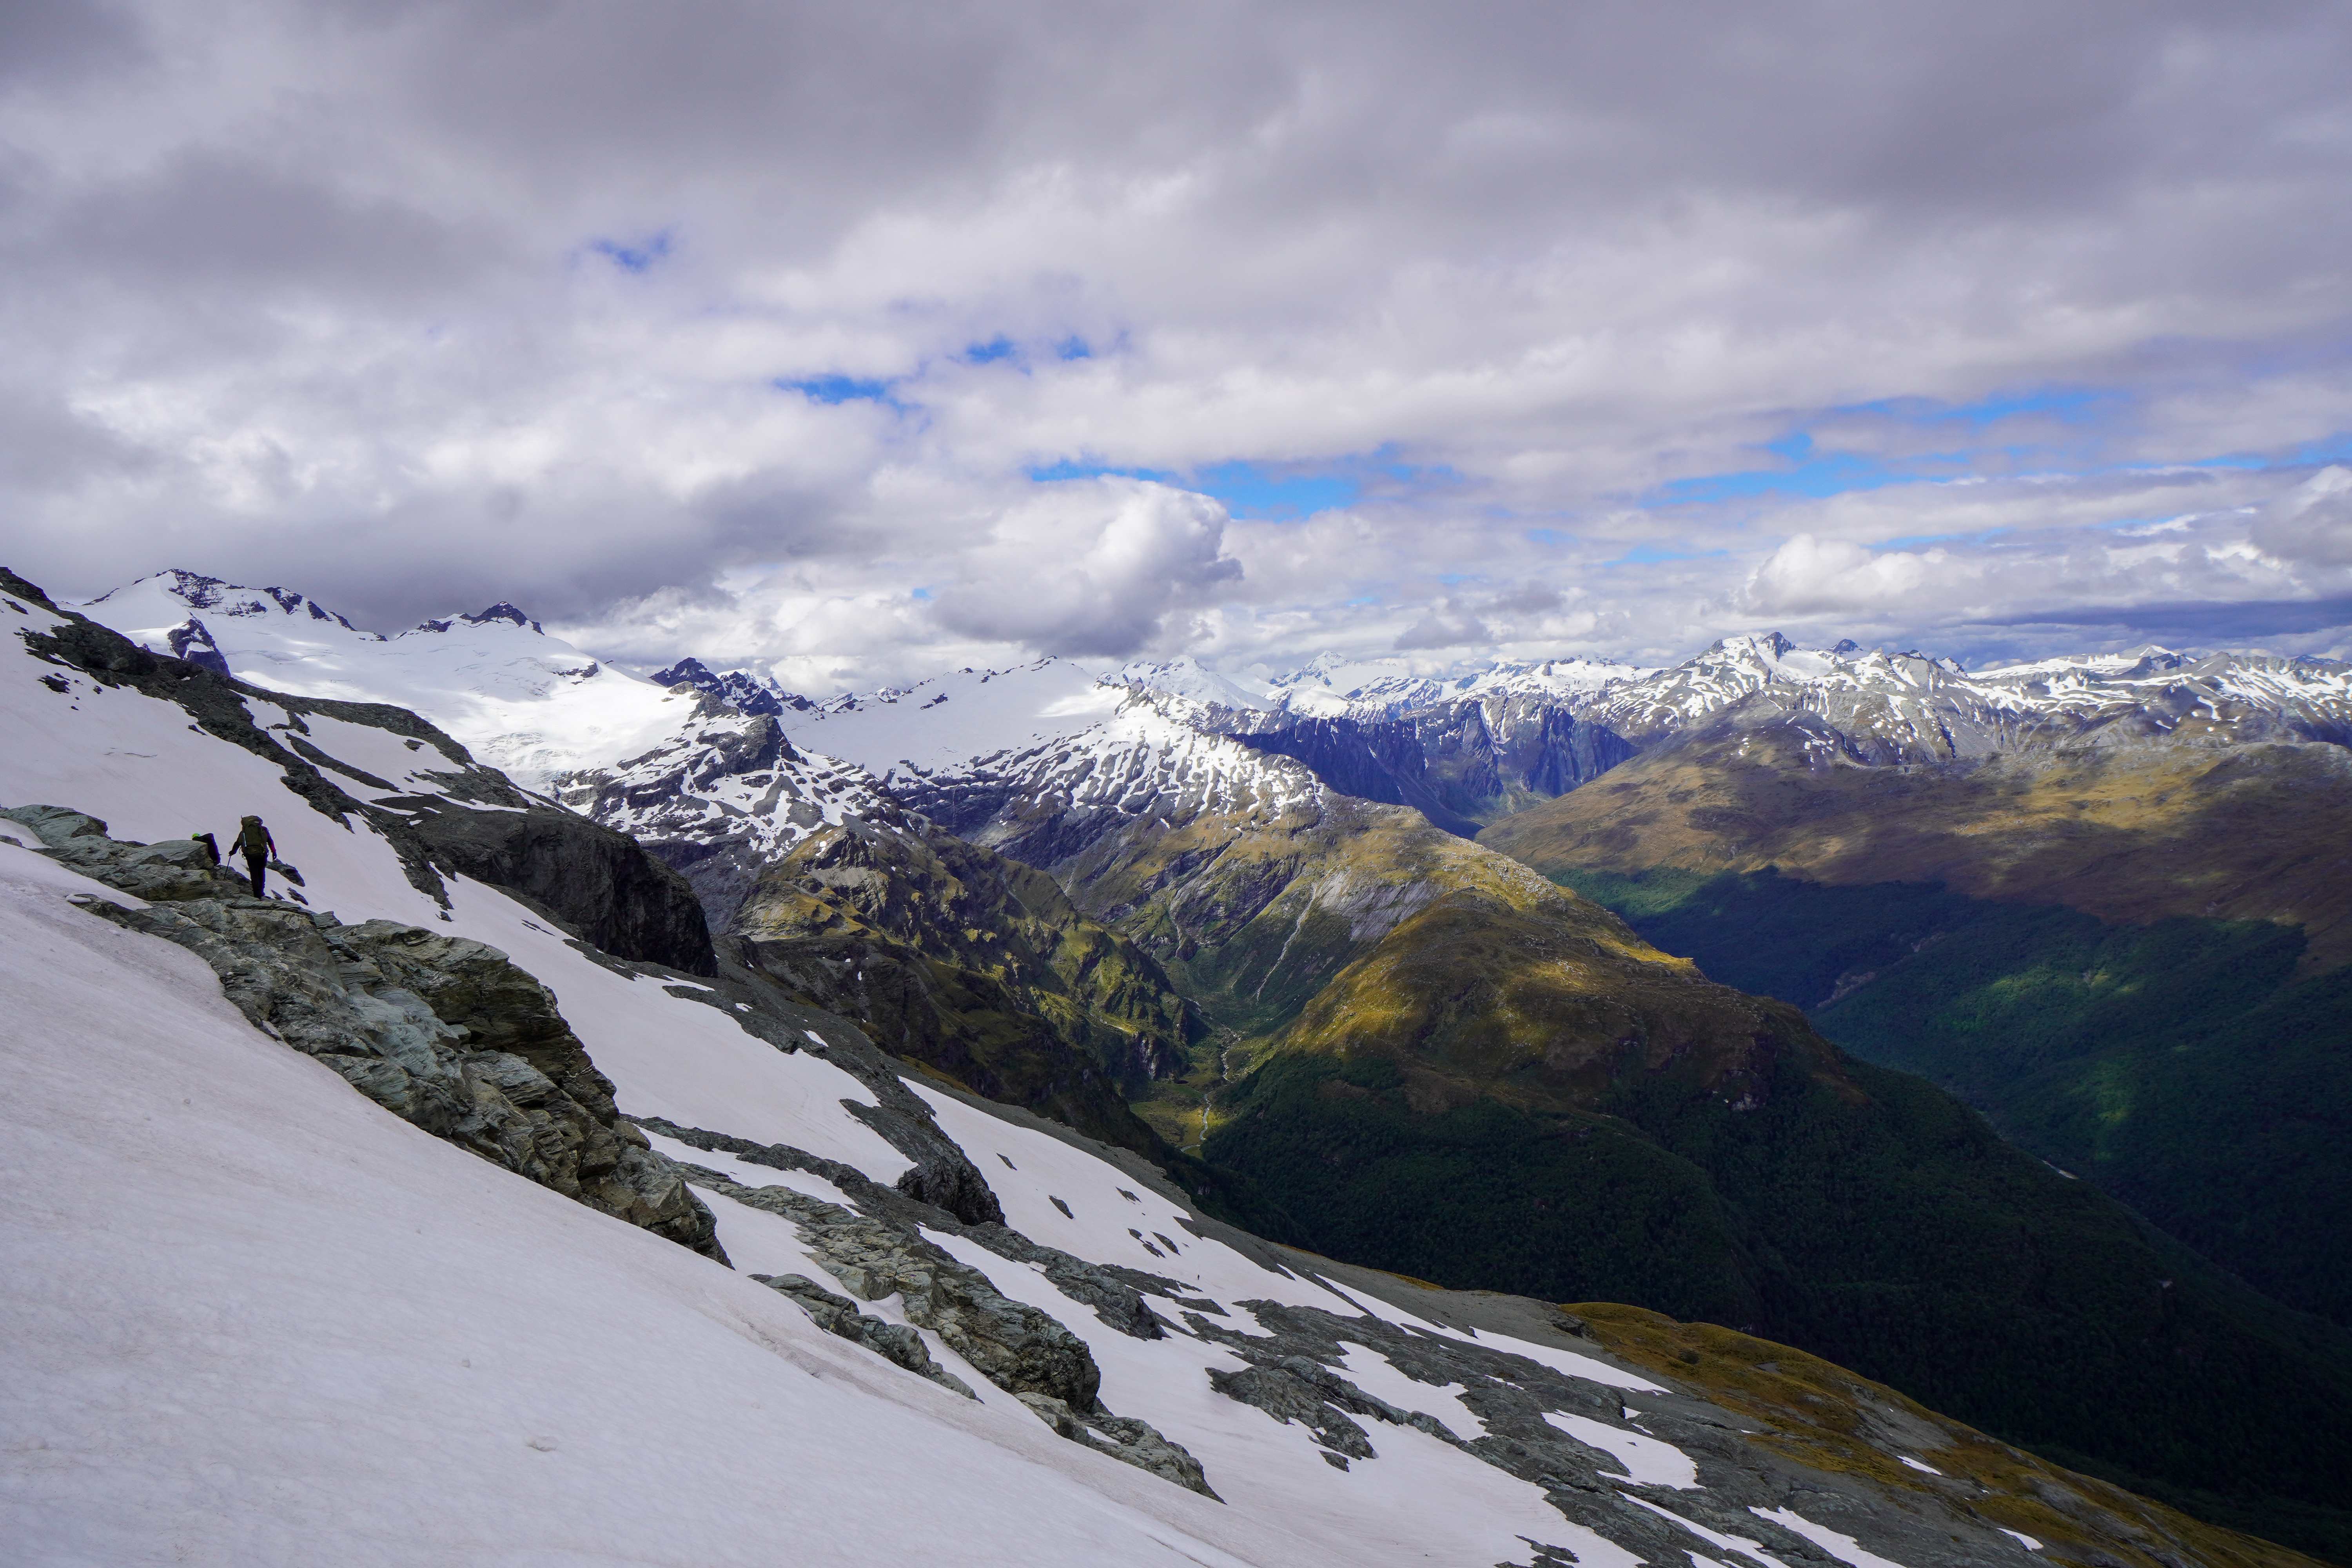
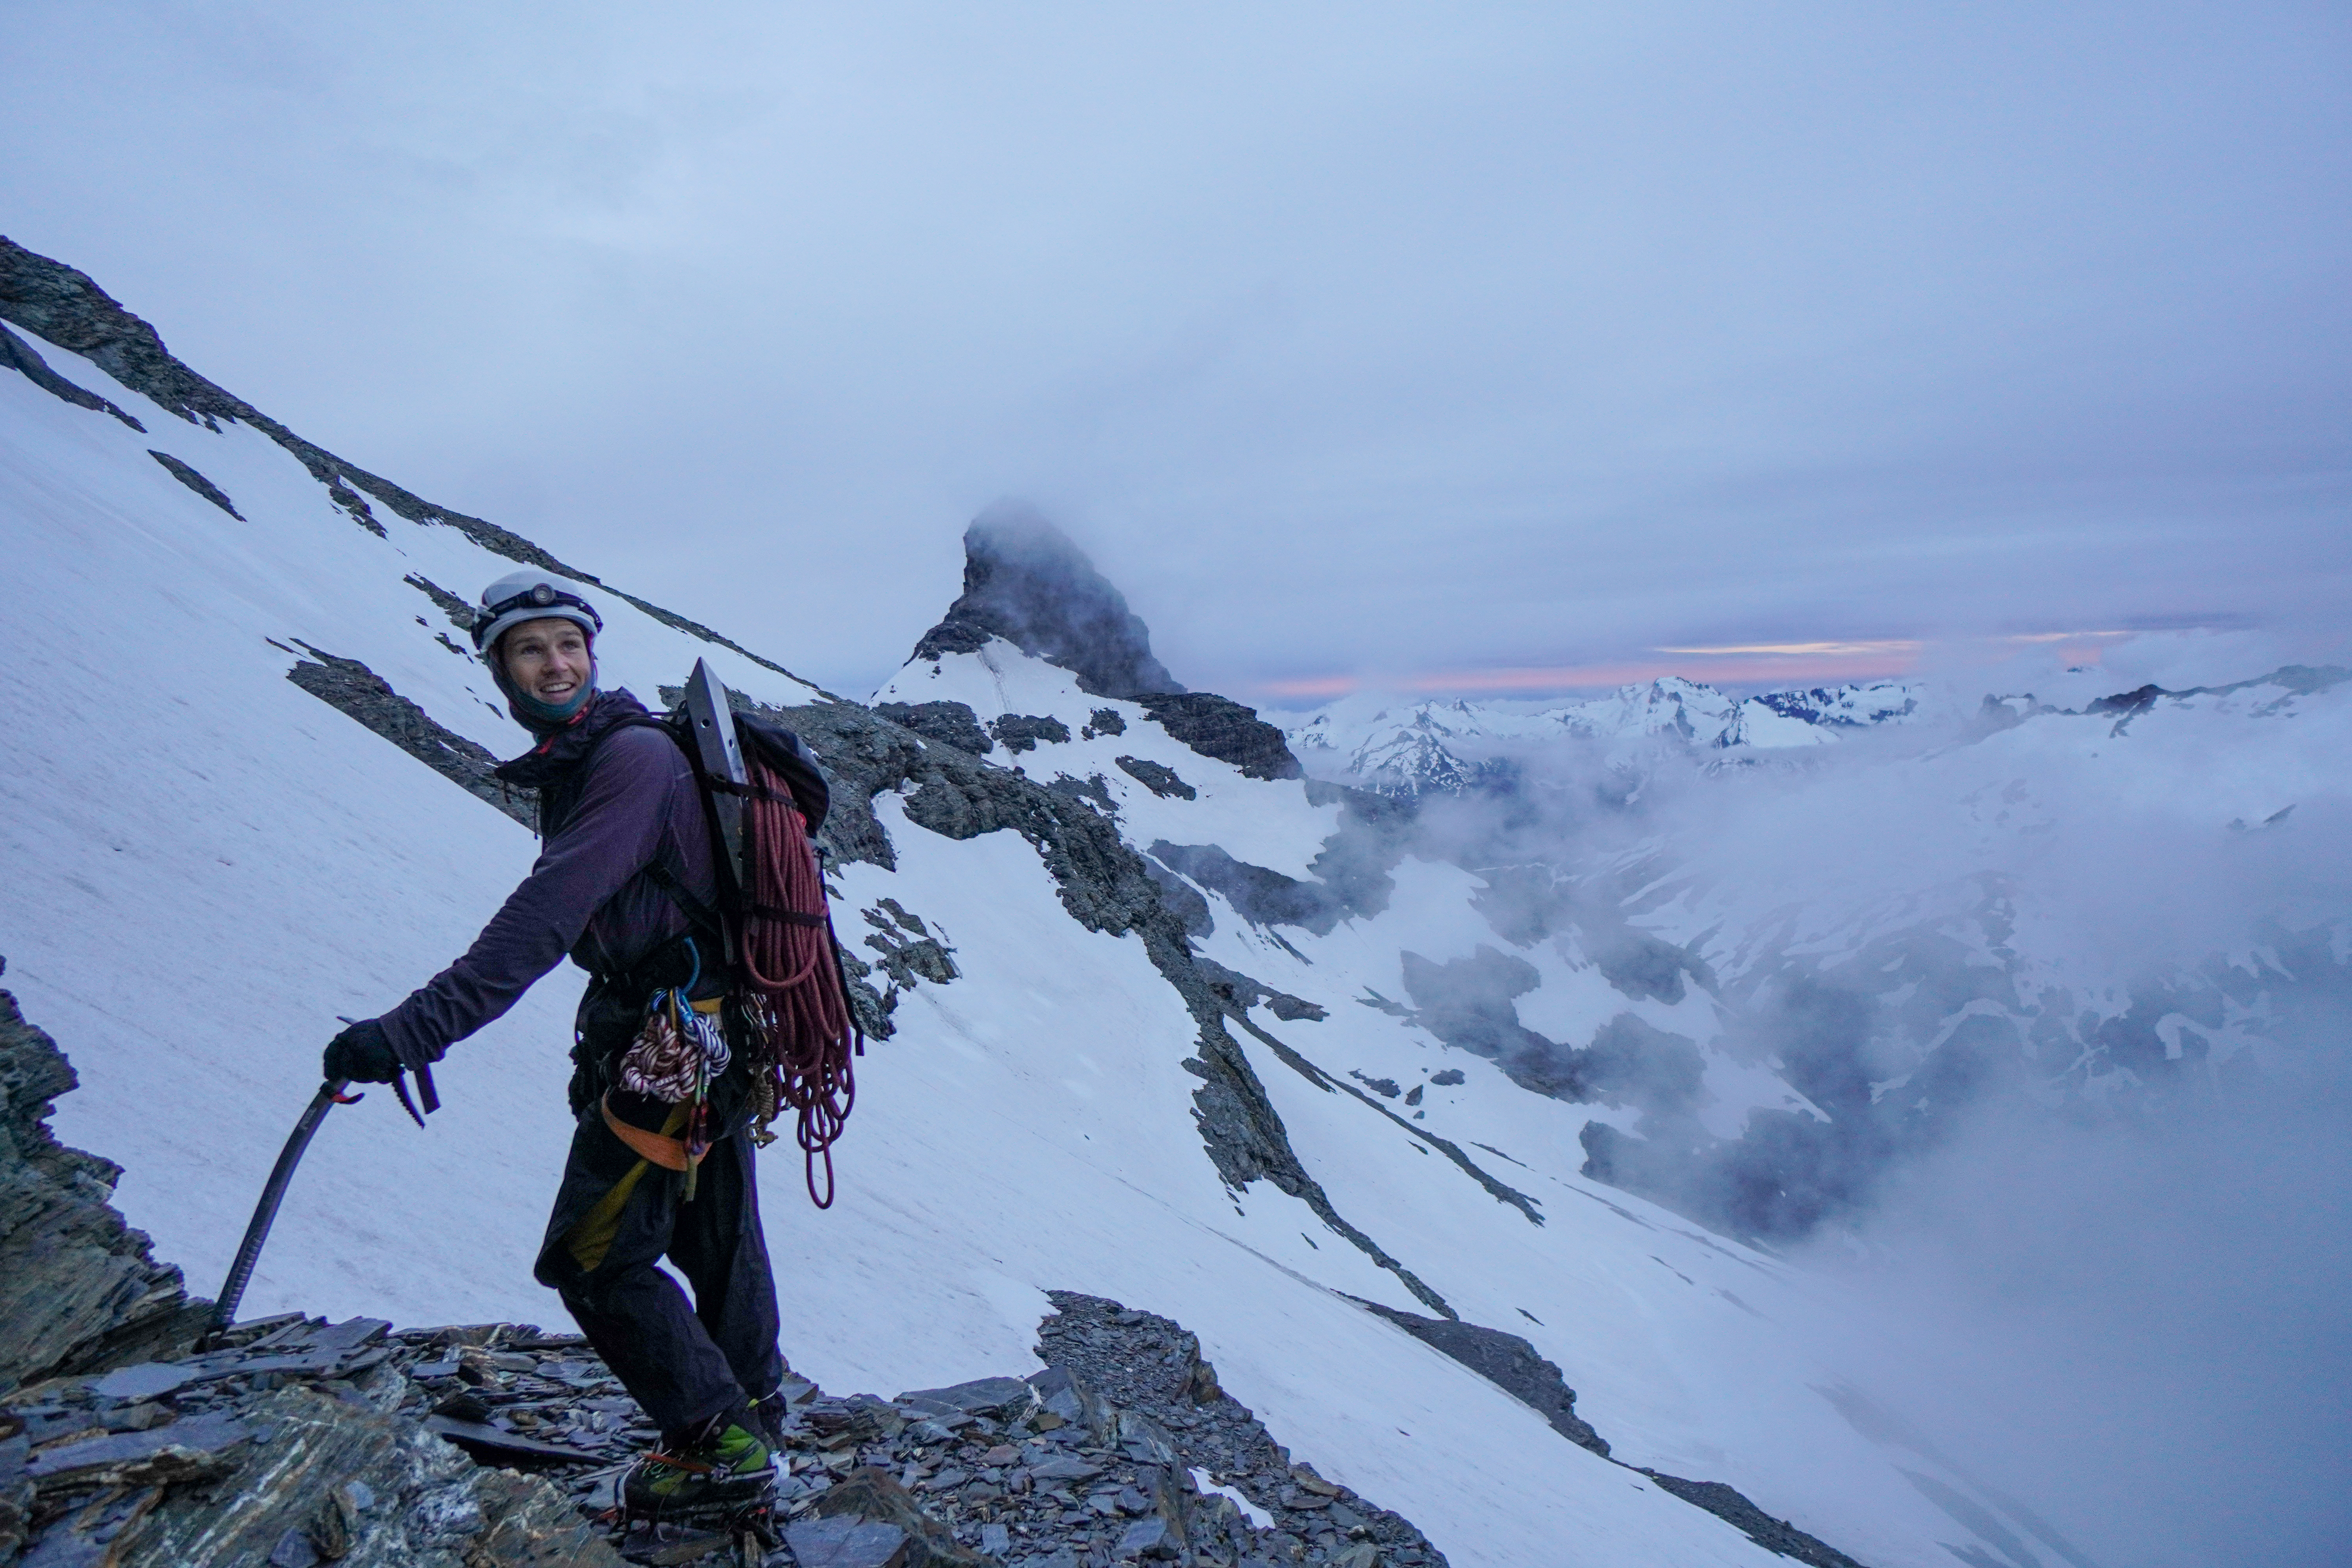
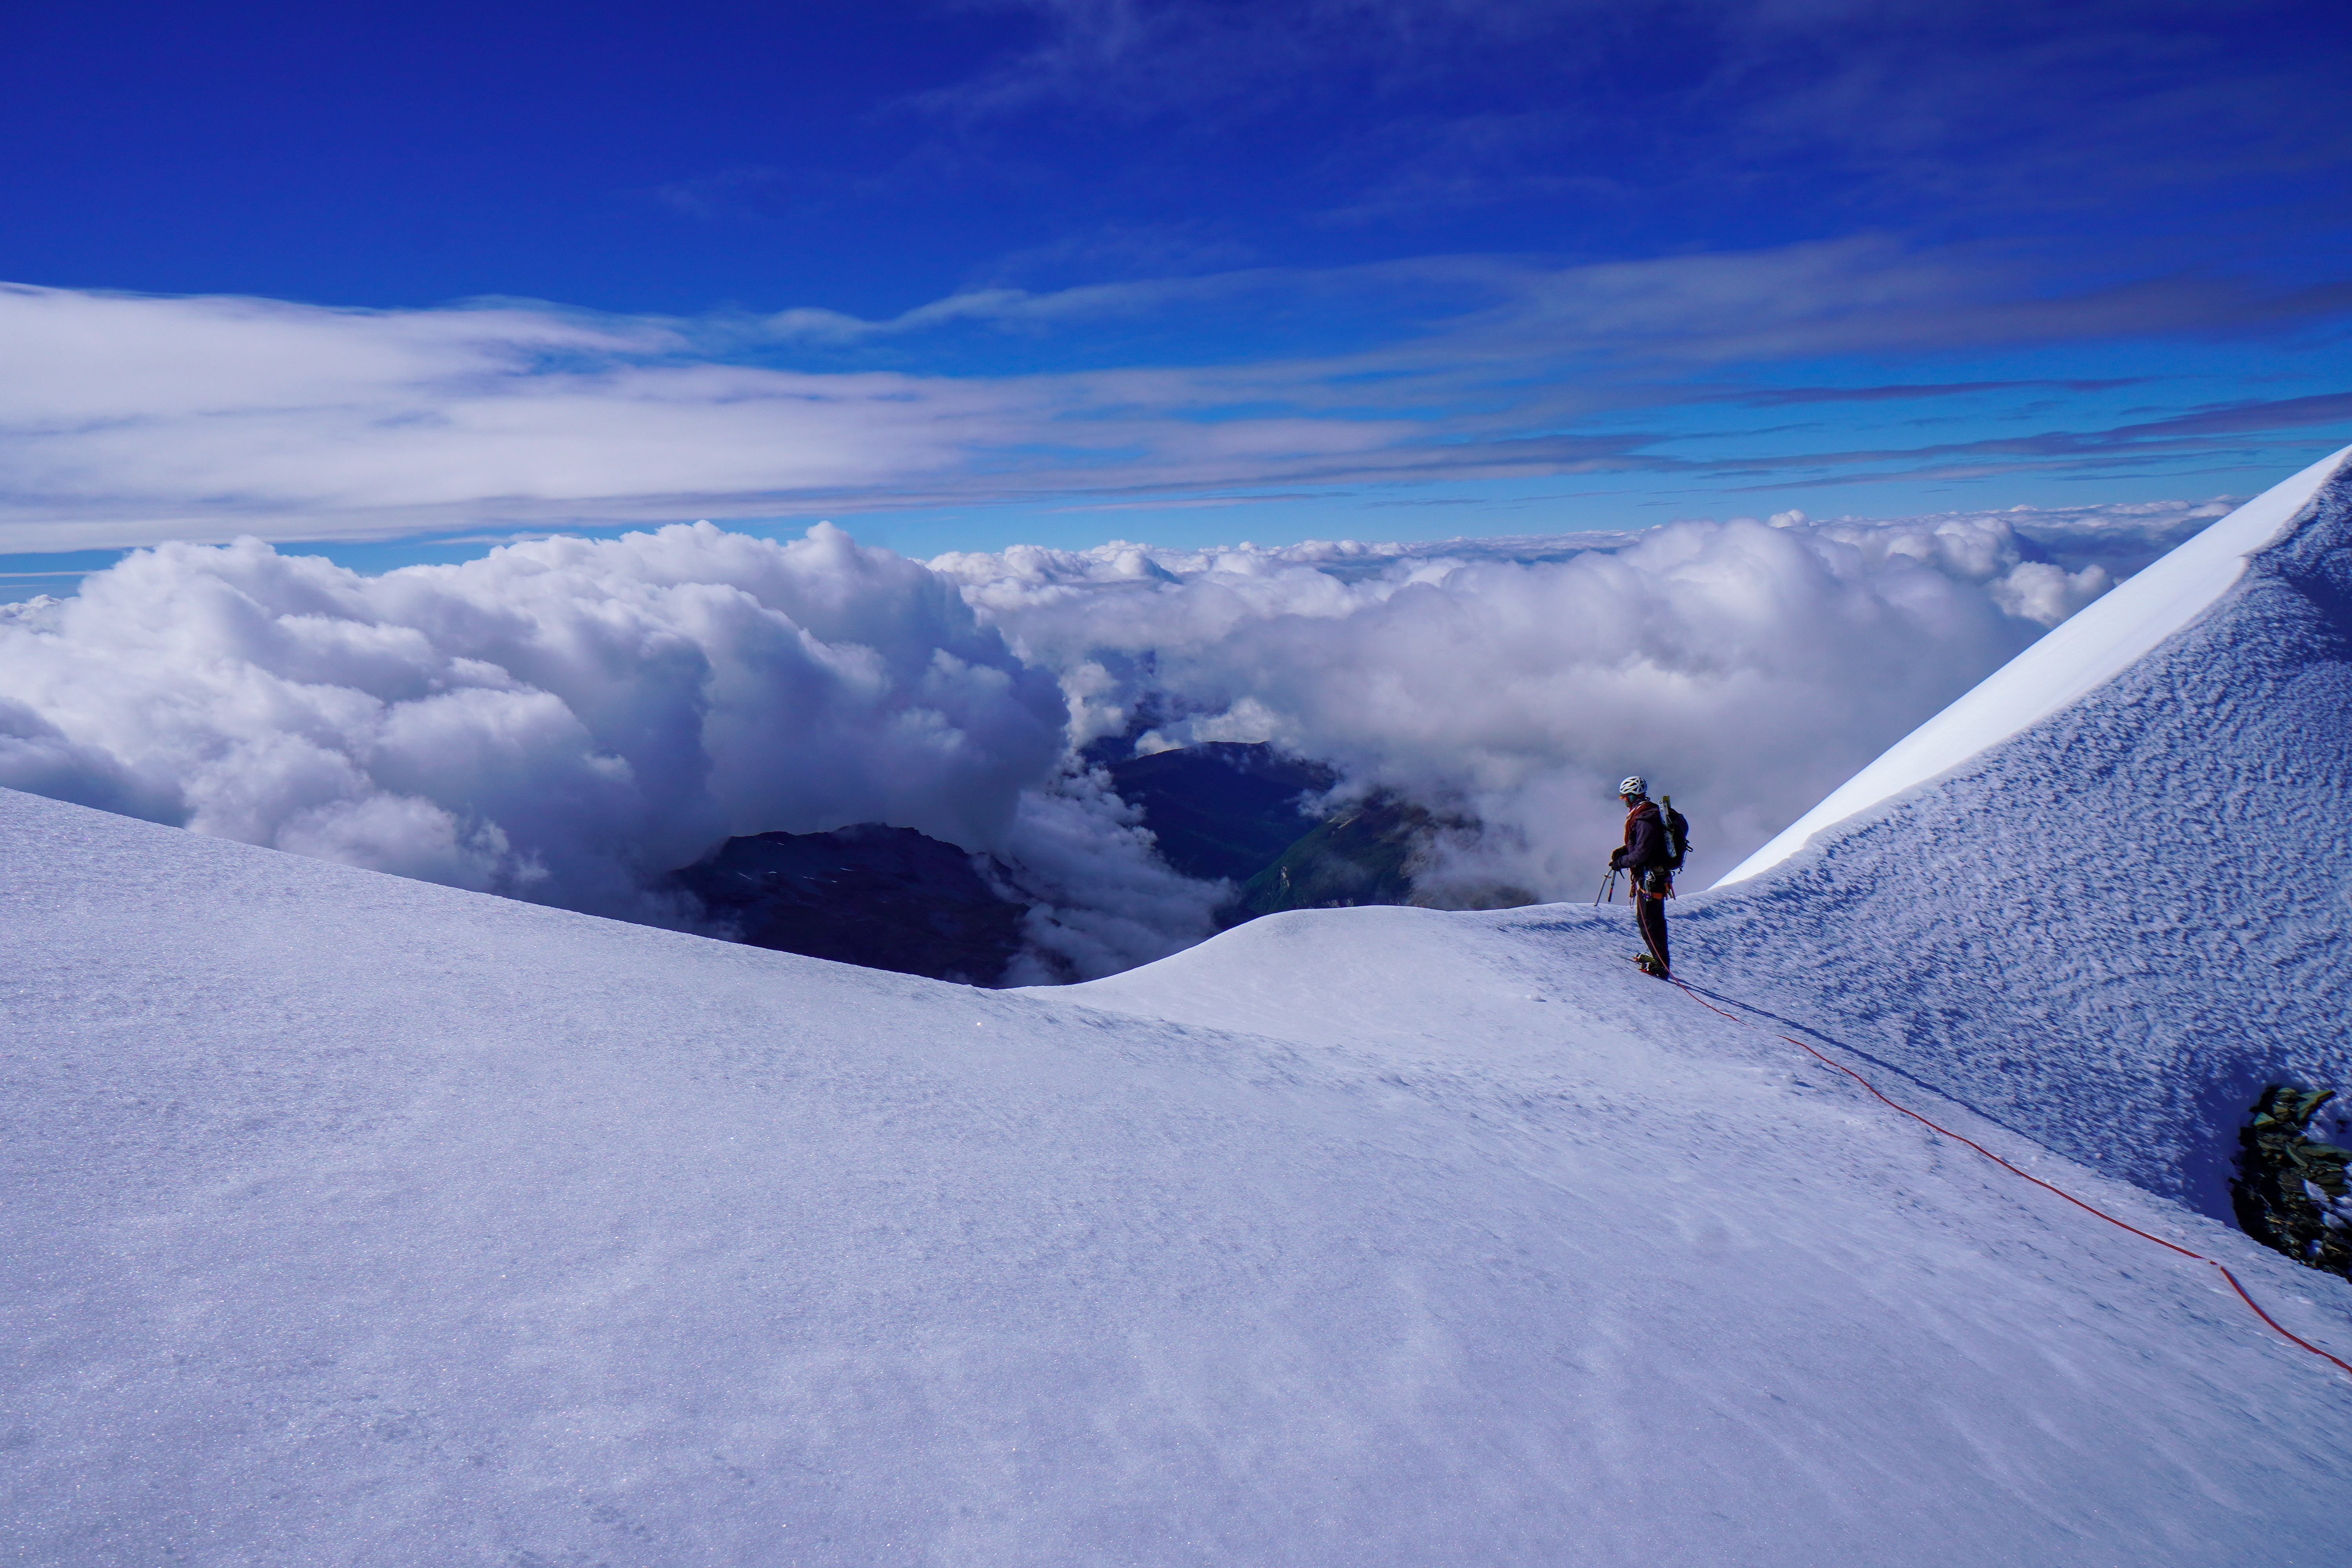
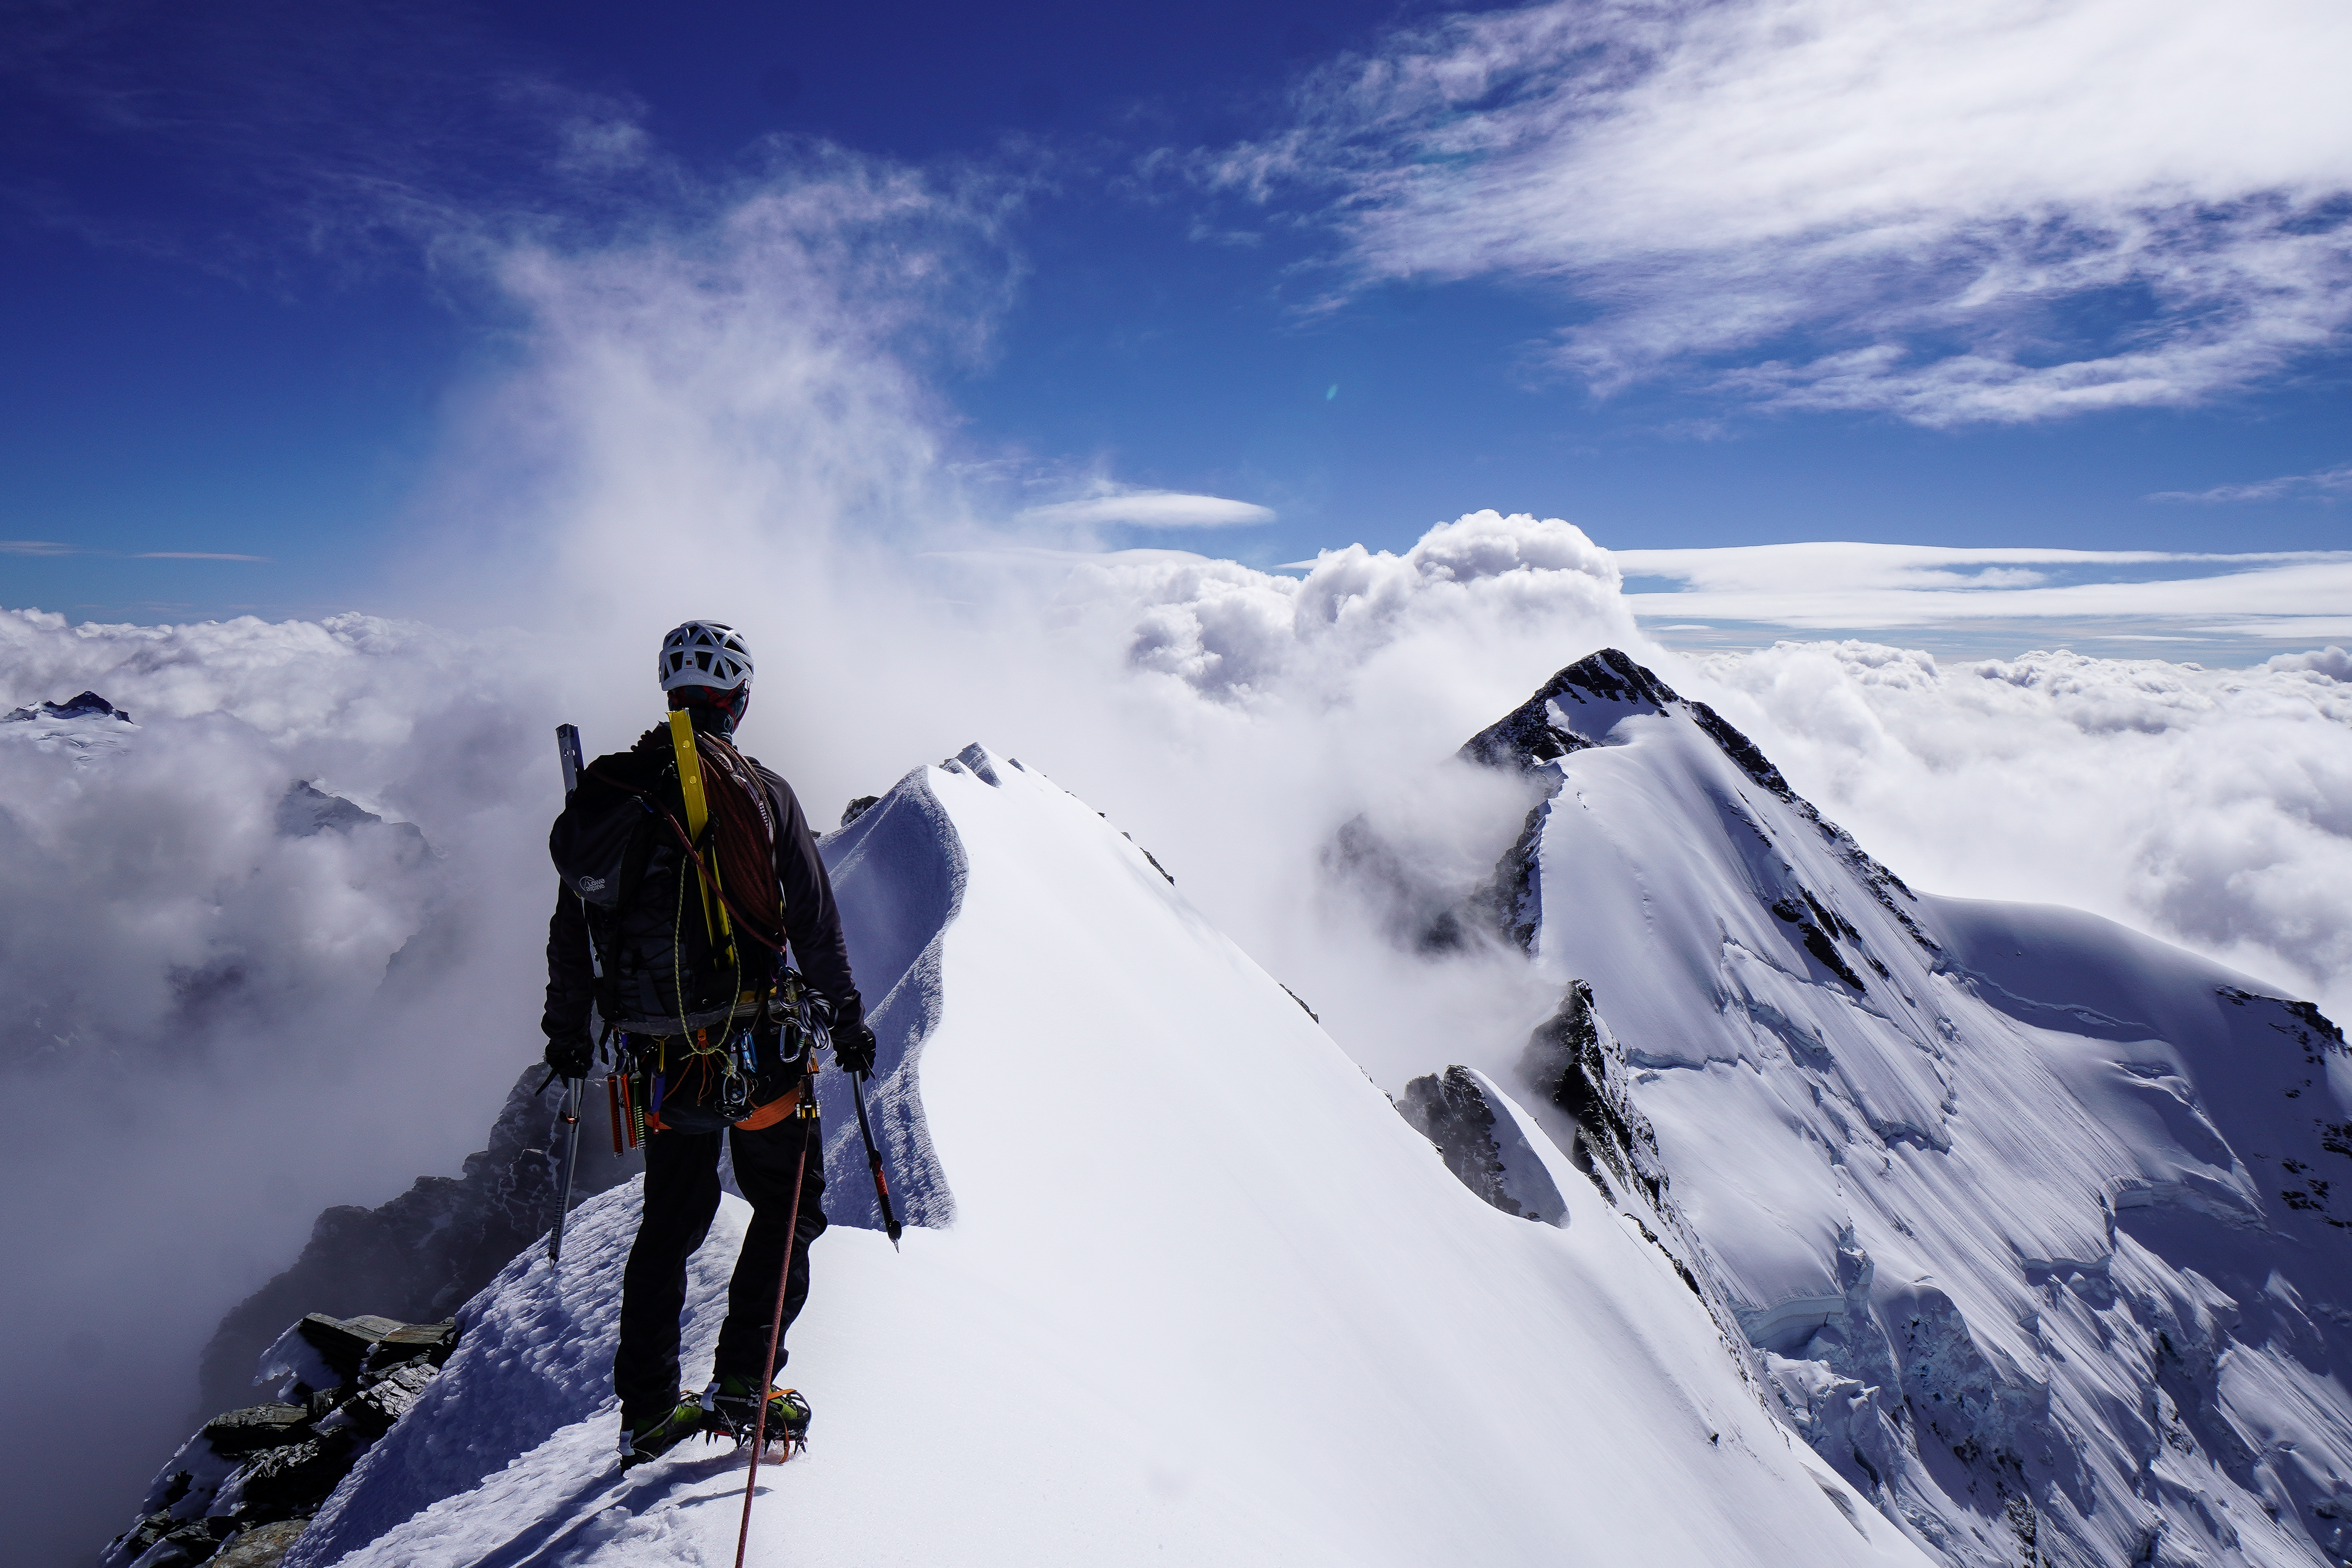
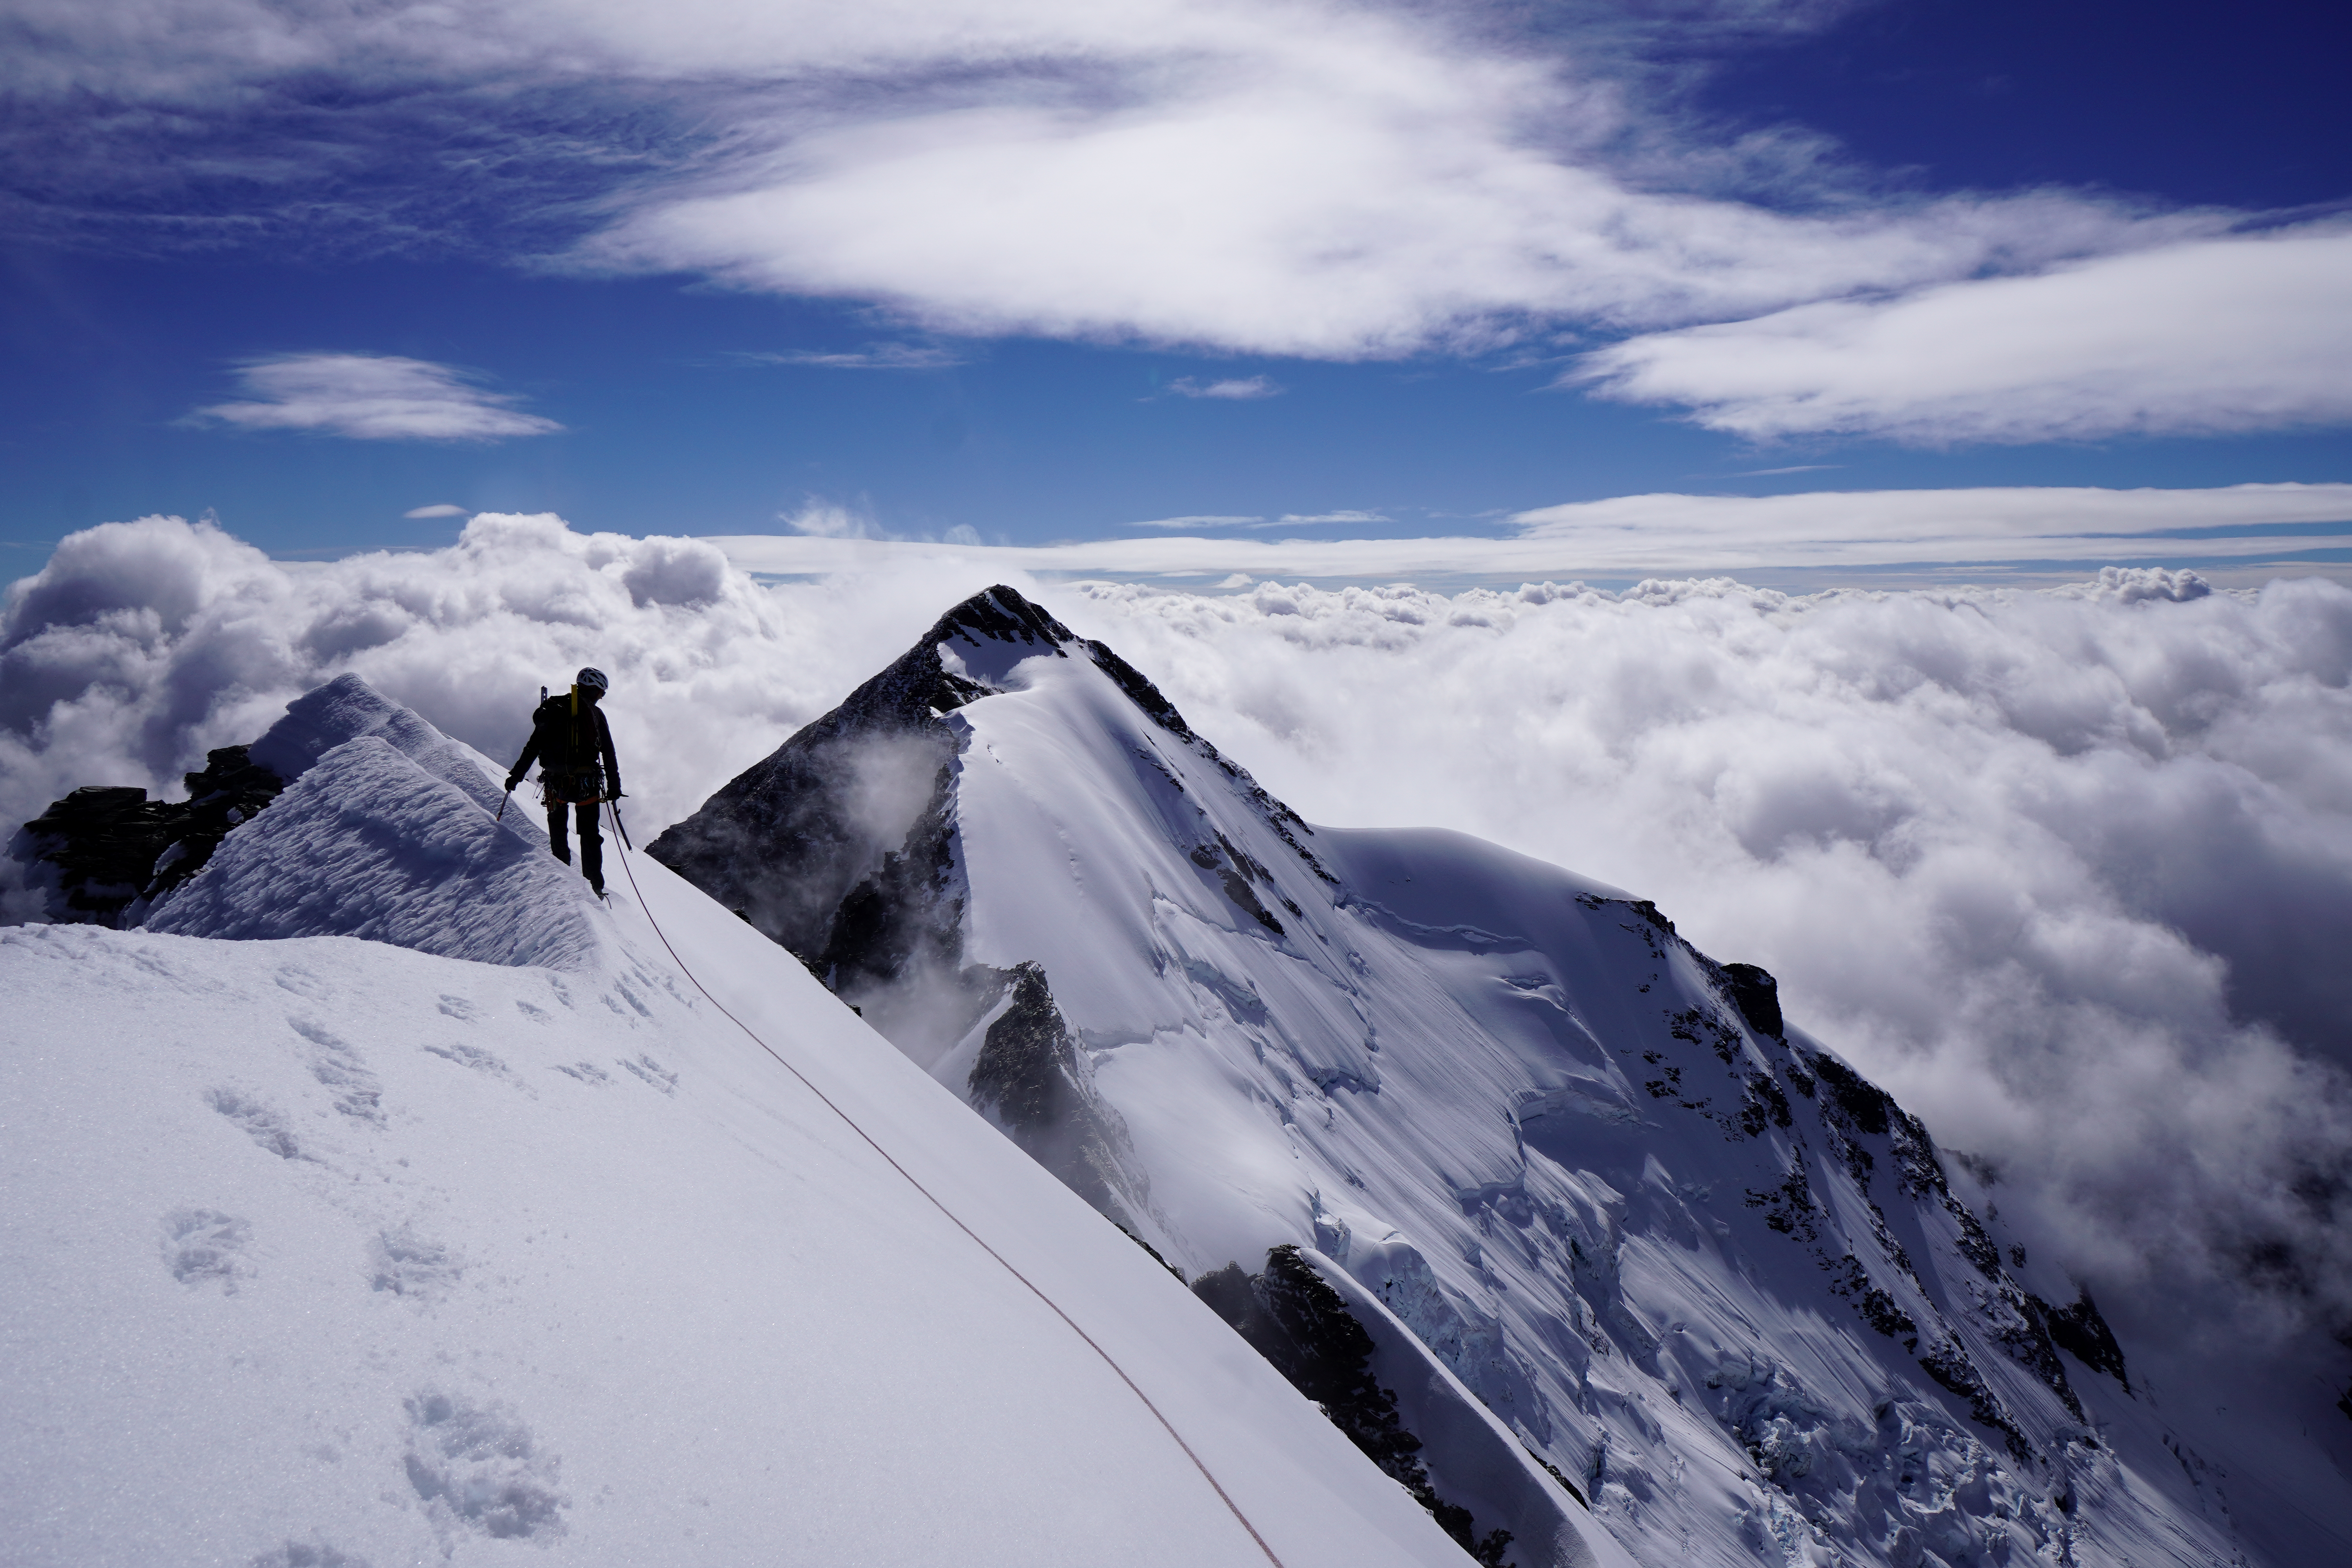
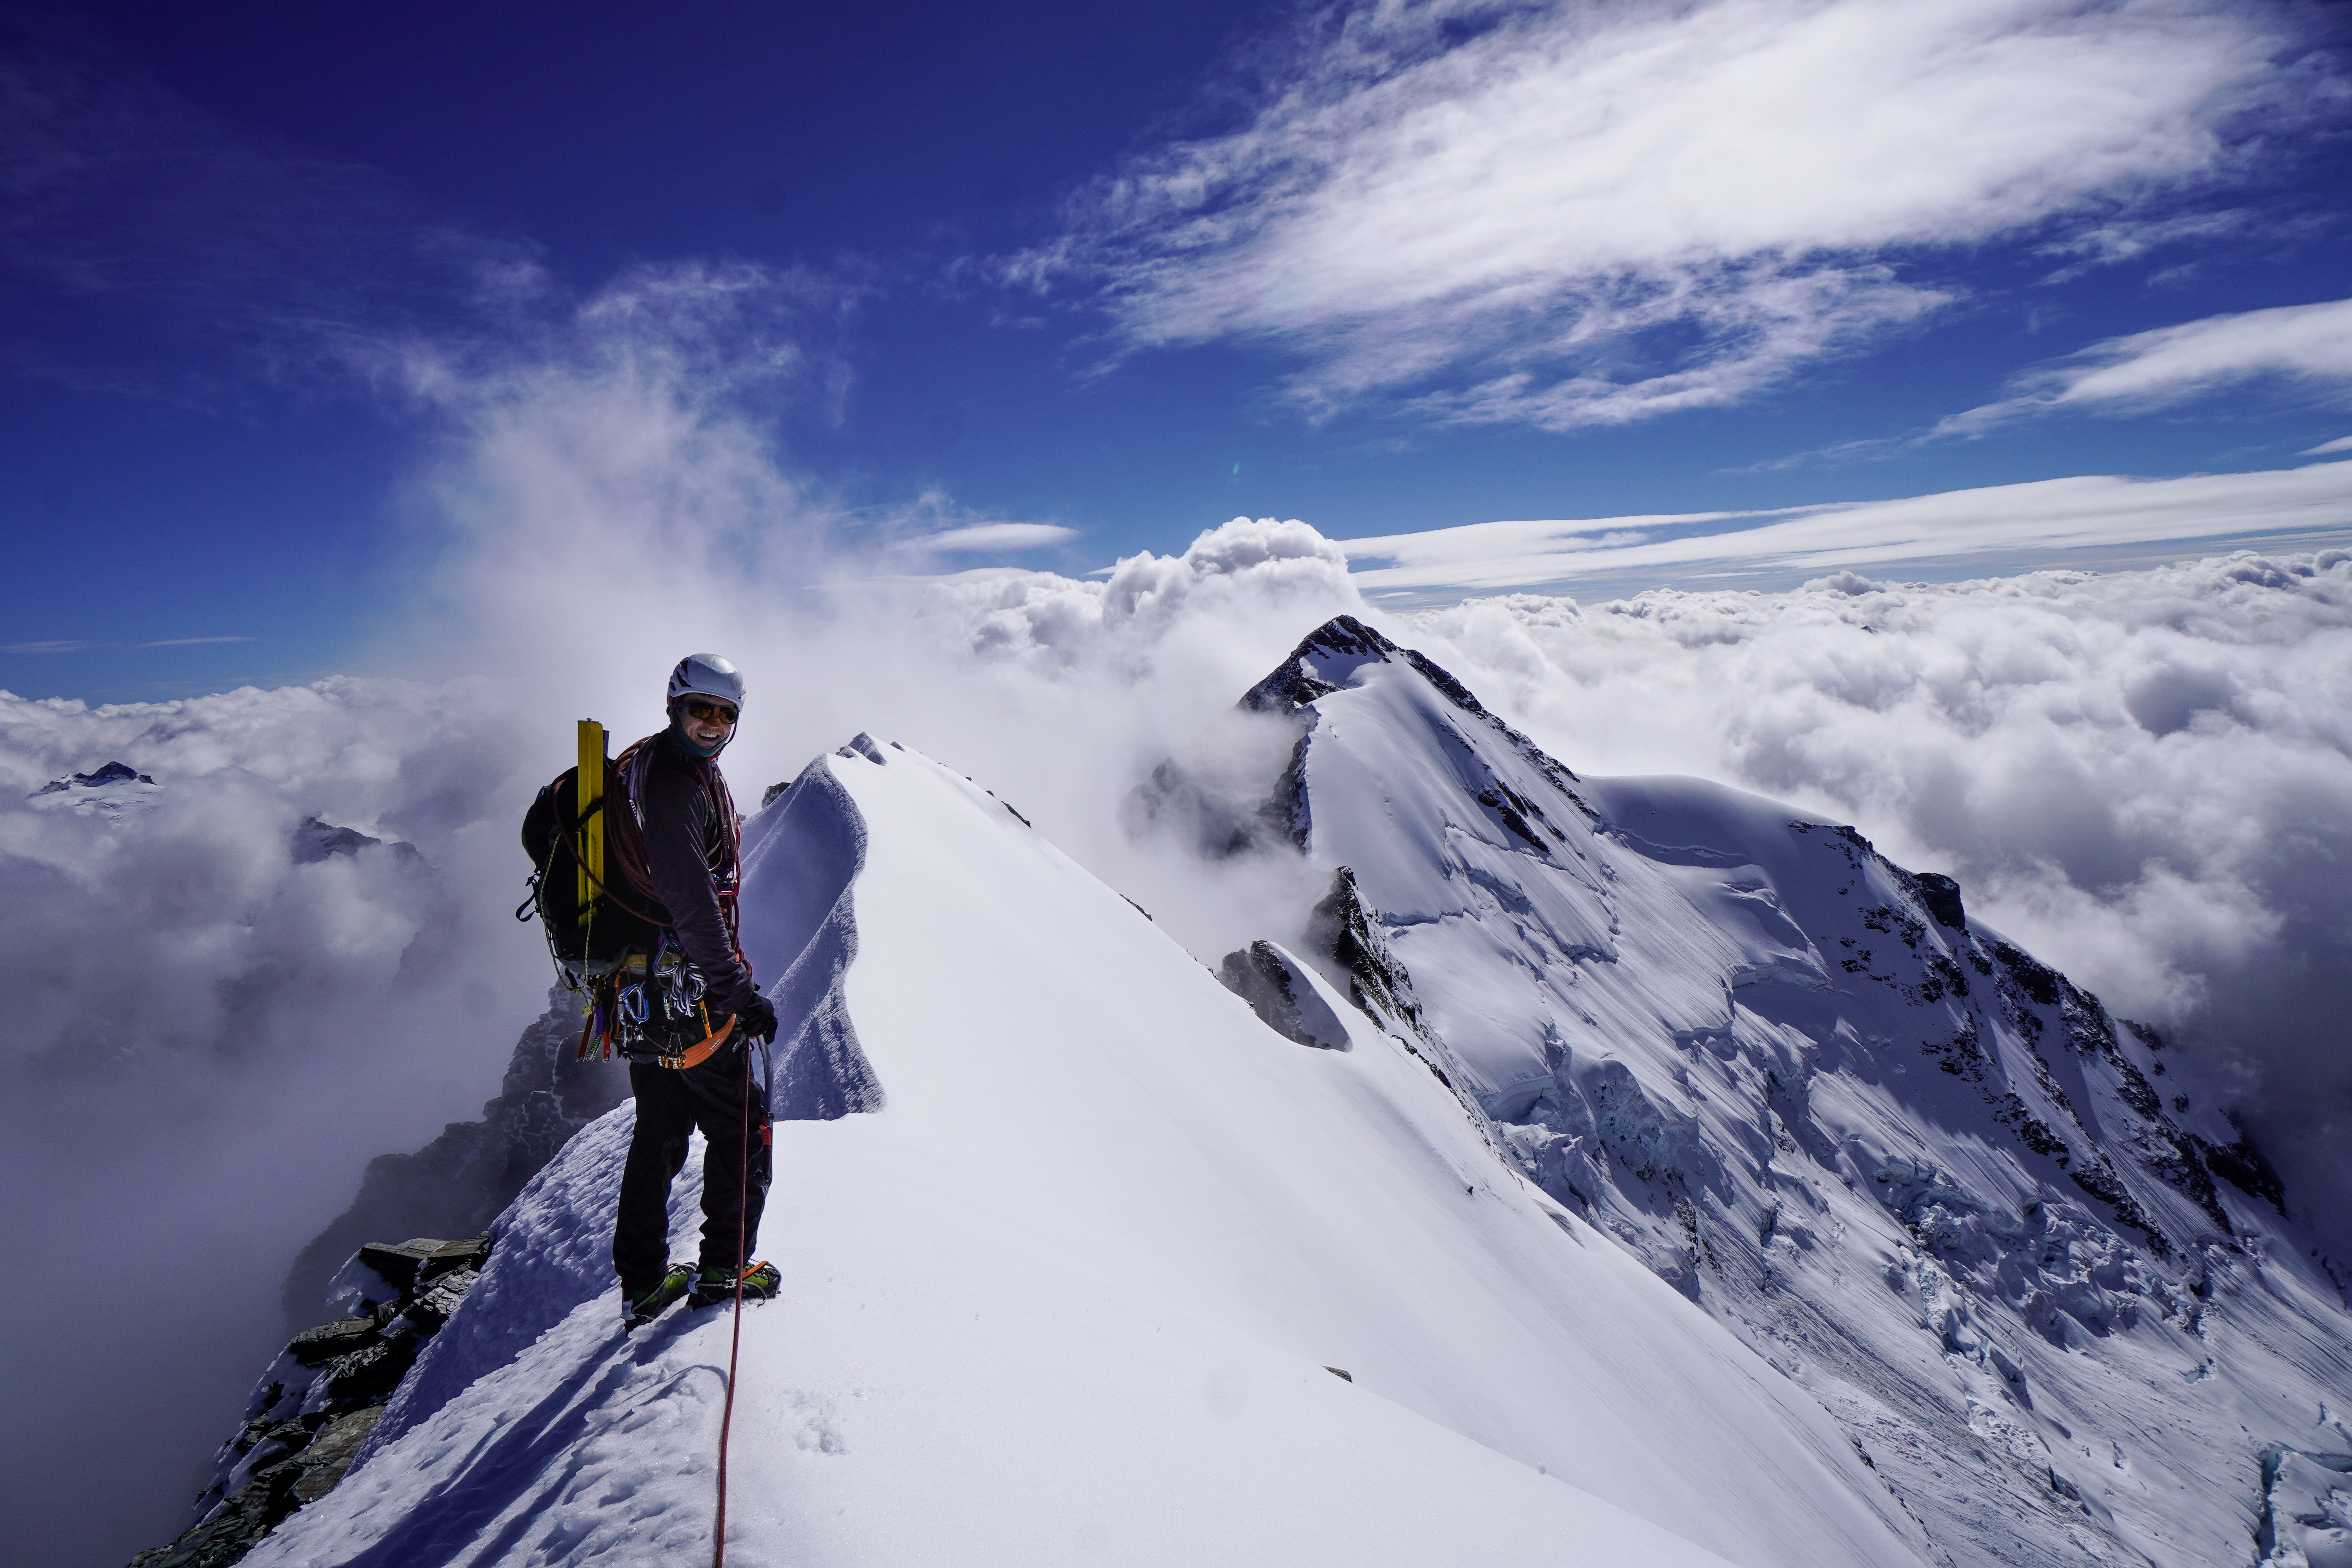
From the top of the crux it was an easy walk up to the summit where we were rewarded with an incredible panorama of the southern alps.

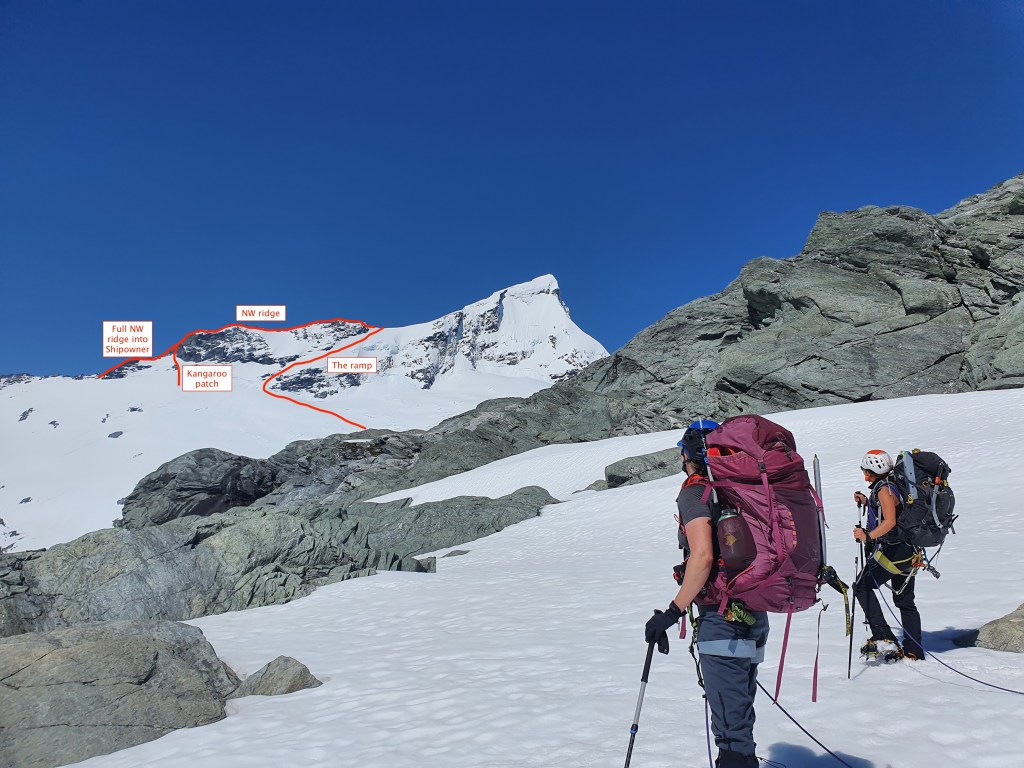
We went down the NW ridge via the ramp. It was cold enough that the snow wasn’t too soft so this was the quickest way down, as it also allows you to cut east at the base of the ramp back down towards the campsite and the Quaterdeck. The other option is to continue along the NW ridge down to the Shipowner ridge, where you can rap down to the kangaroo patch (near the start of the ramp) or continue on to French Ridge hut.
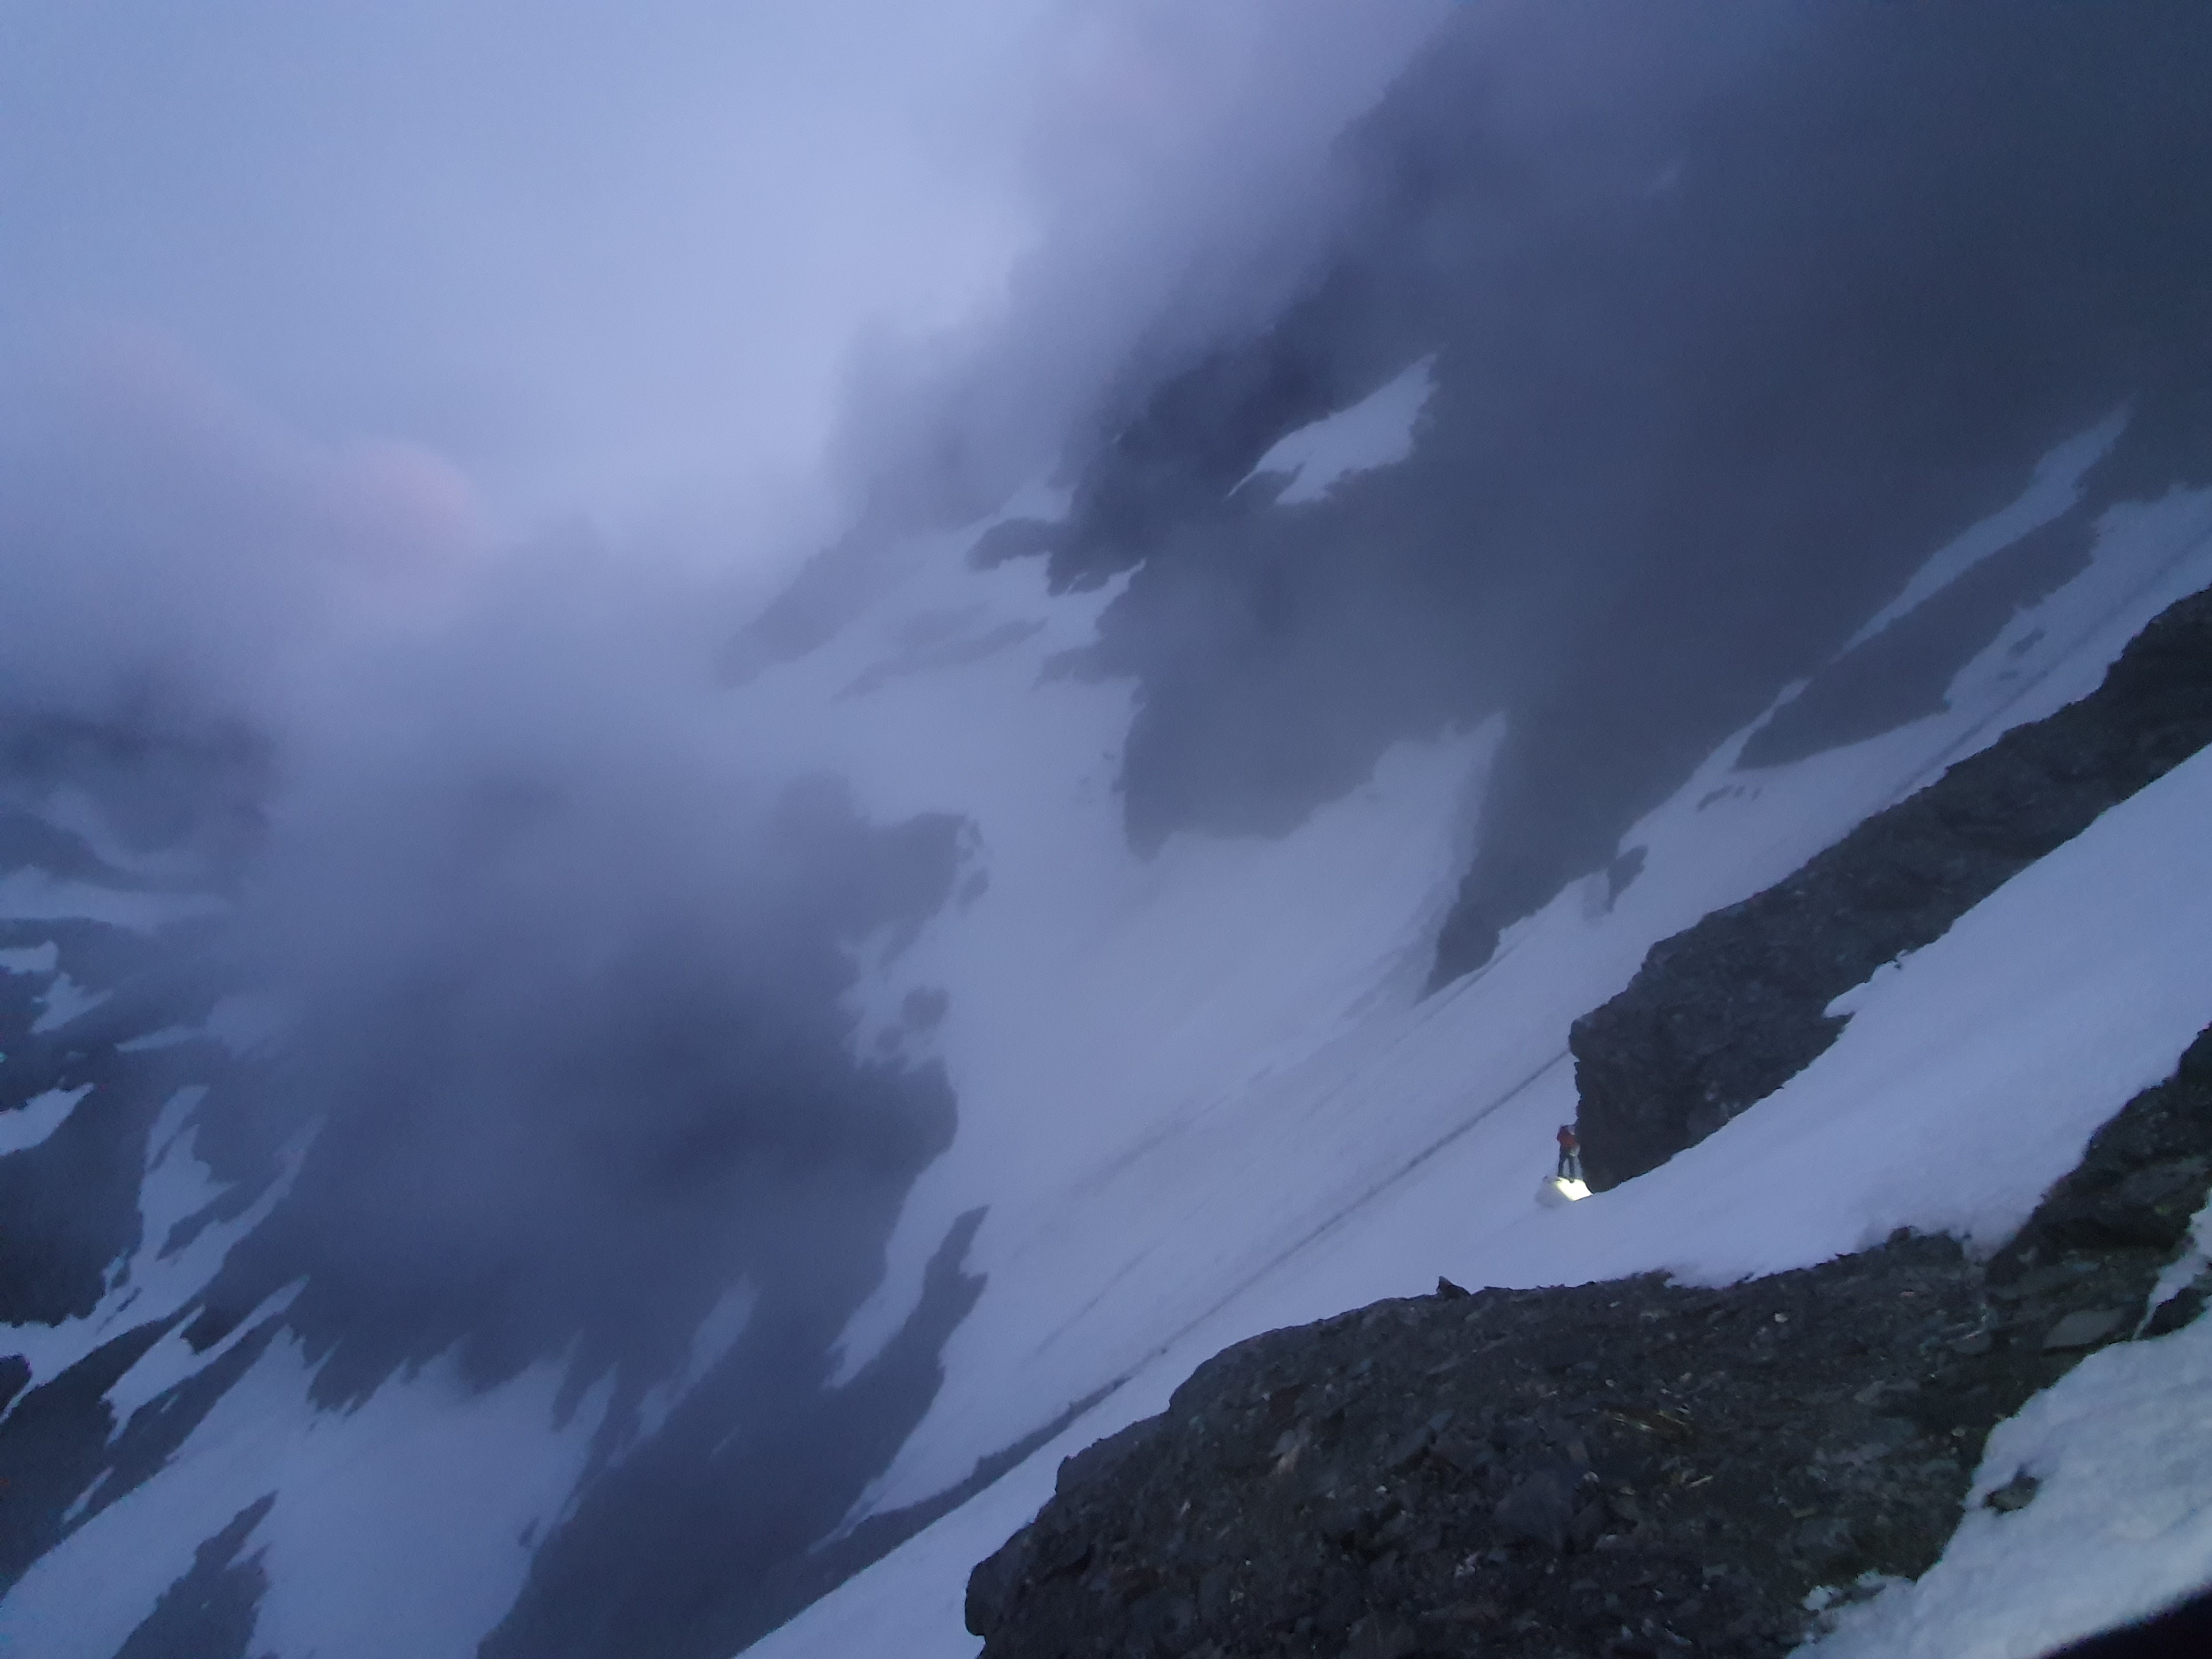
If you take the ramp as your descent route take care – it has been the site of several fatal accidents. It’s prone to wet loose slides and rockfall late in the day, and is exposed almost the whole way. The group on the route the day before us started descending the route but started getting bombarded by rockfall part way down and took shelter in a cave until it got dark and froze up. It was cooler and firmer for us but even so we had a couple of blocks shoot past us as well, and given we were in cloud at this point and couldn’t see them coming this was especially stressful. If its soft at the top of the ramp by the time you start your descent its only going to get worse and is probably best avoided….sticking to the NW ridge is probably overall safer than the ramp and we would probably go that way if doing the route again.
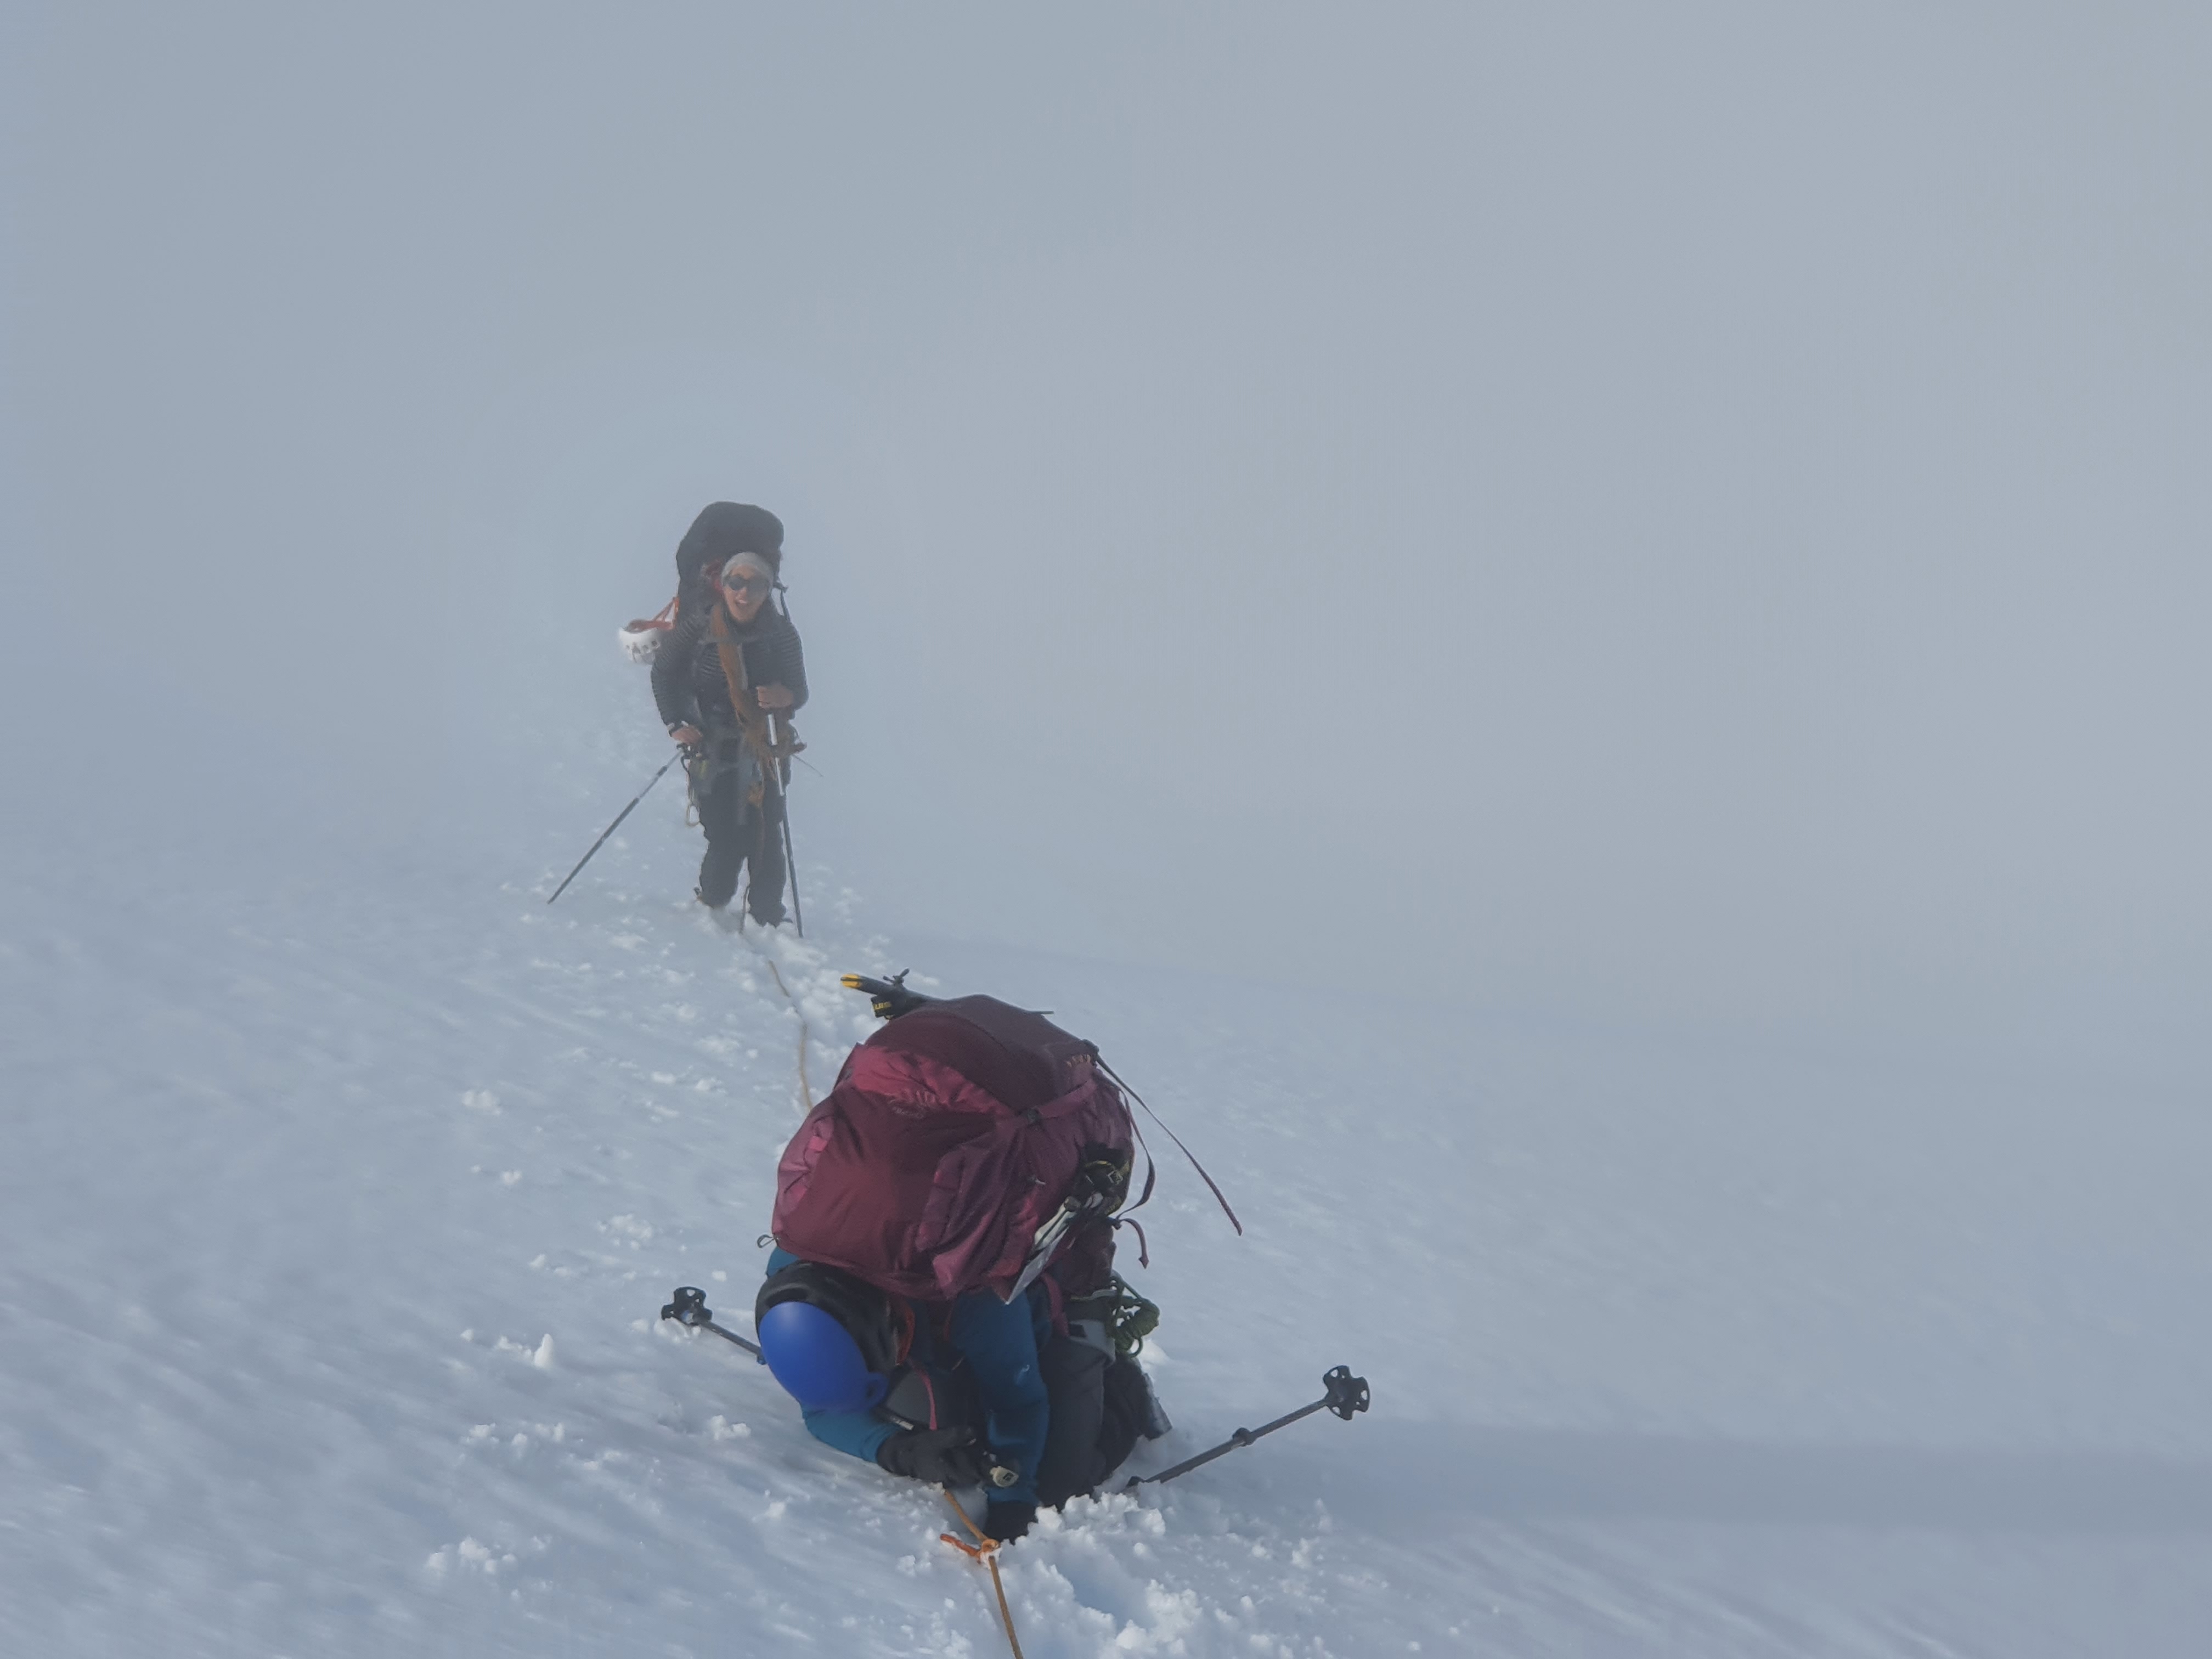
The walk along the Bonar glacier to Quaterdeck felt like a long slog. We went back towards the SW ridge to pick up the camping gear we’d stashed 12h prior. Here, we had a soup stop – never underestimate how much a salty beverage can boost energy levels. Feeling rejuvenated we headed towards Quarterdeck – the clouds were coming in thick and fast at this stage, making the vis terrible, but we just followed our GPS points from the previous day, and were lucky enough that there were footprints of a prior party heading in that direction! From the quarterdeck there is a large shrund right at the top – its generally easiest to pass on the far skiers left, and also means you avoid the ice cliffs threatening the other side. There are a couple more crevasses on the way down to French ridge hut – try and get a look on the way in to establish if this way will go before committing to it as its a long long way to walk back round to Bevan Col. If you fly in you get a great view of it, or take a peek from the Matukituki. By the time we were walking down French ridge, the snow was pretty soft and we were aware not to linger. We saw a huge cornice collapse from the ice cliffs between the Breakaway and Mt French – the ensuing wave of debris including car sized chunks of ice that came thundering down went on for a good 45 seconds.
When the iconic red French ridge hut came into view, I was beyond relieved – soon I could stop moving!! It was 8.30pm when we reached the hut. We chatted to other hut stayers in good
spirits, and when they saw Joe licking the inside of his dehy packaging, kindly offered up more food to us.
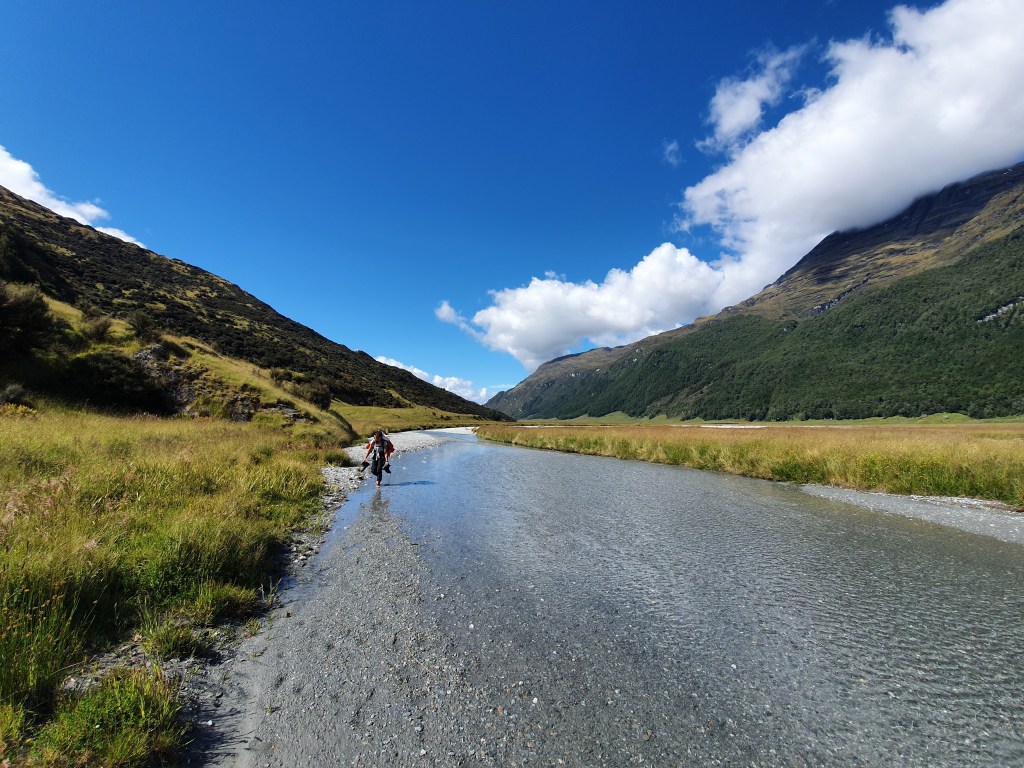
The next day it was a cruisey walk out the Matukituki. With the sun beating down certain members of the party stripped down to undies – giving the day walkers a show! We went for a dip in the river en route and were back to the car within 5.5h. And as all good trips should end finished with a feed at the Big Fig.