

A 550m grade 19 trad route on solid rock with varied interesting climbing, just a 3 hour hike from the Mount Cook Road. This route wasn’t really on our radar until Will suggested it, but turned out to be the best multi-pitch route we’ve climbed outside the Darrans. Better than Sabre peak!
- Grade: 6 IV 550m. Crux grade 19 (According to topo…I think more like 20). All trad including anchors.
- Equipment: full trad rack, doubles up to #2, full set of nuts. RPs/micronuts useful. 2x 240 slings for anchors. 5m of tat to sling the big boulder for the descent (its a massive boulder). 12-14 alpine draws including some 120s especially if your planning on doing long pitches like we did. Wandering route, 2x ropes definitely better than a single.
- Approach time: 3.5 hour hike from road or 5 min heli and 30 min walk
- Climbing time: 7.5 hours
- Season: Best in Summer, you want long days and no snow on the route. It’s South facing so you dont get any sun. I wouldn’t have wanted to climb it any later in the year than we did, it was pretty cold and we just got it done before dark
- Team: Joe, Maria and Will Rowntree 09/4/2022
Approach
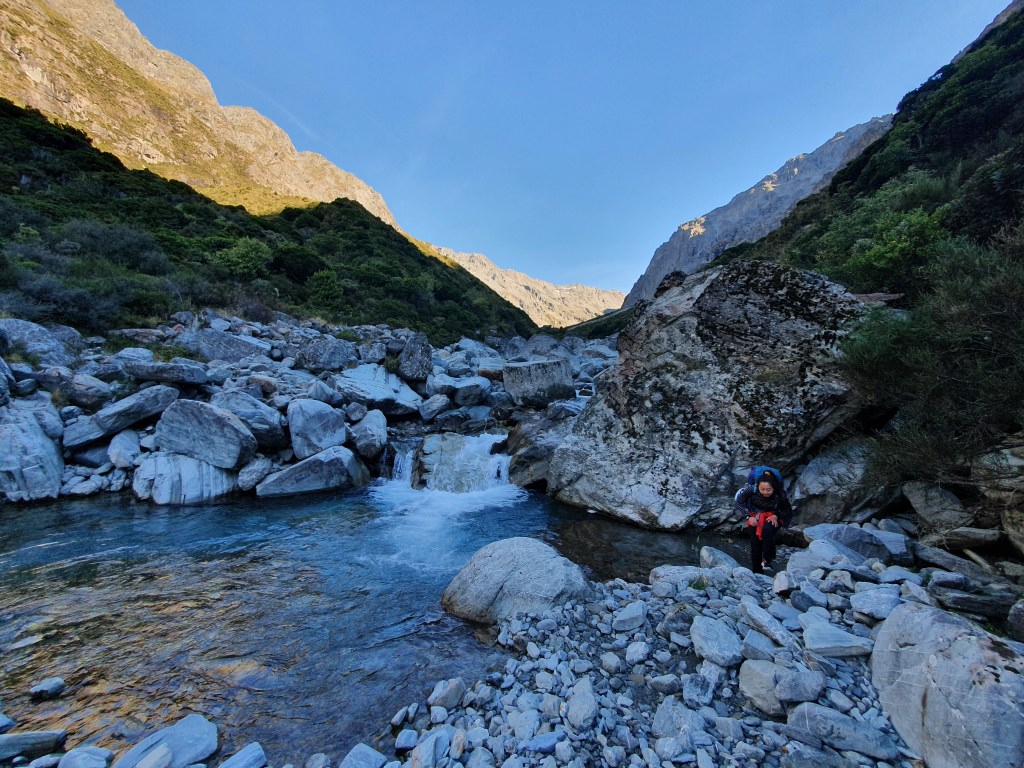
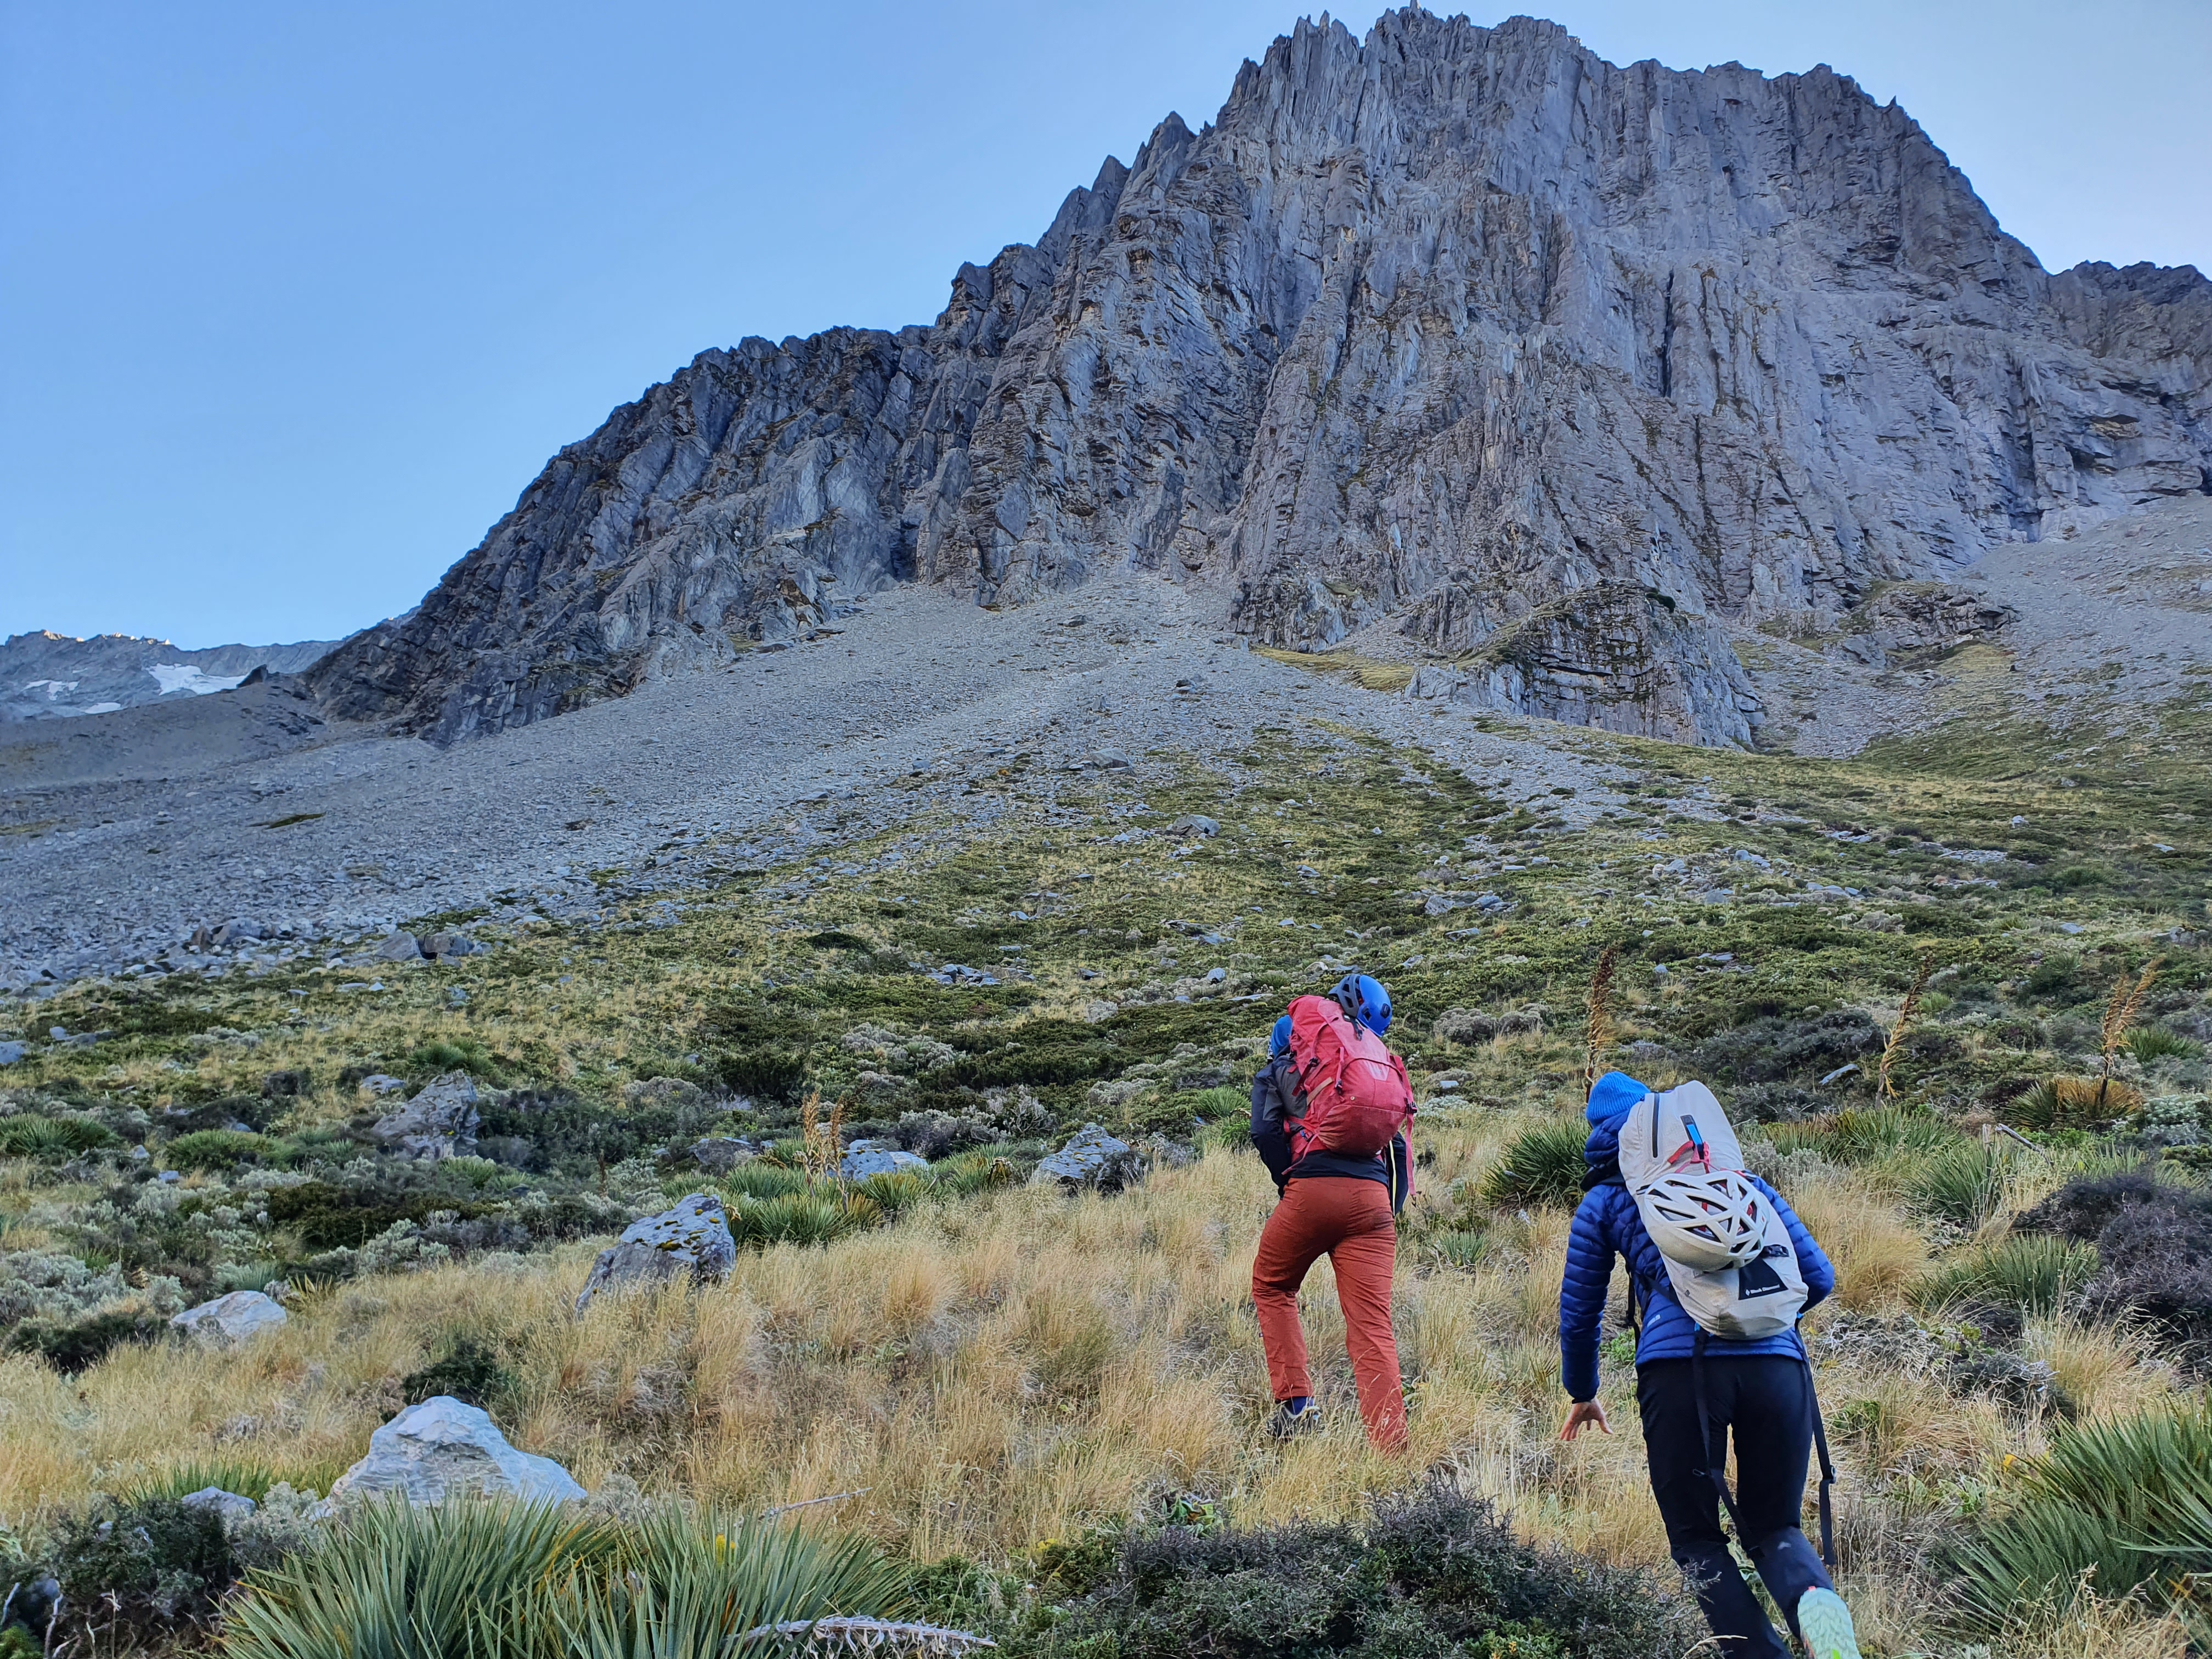
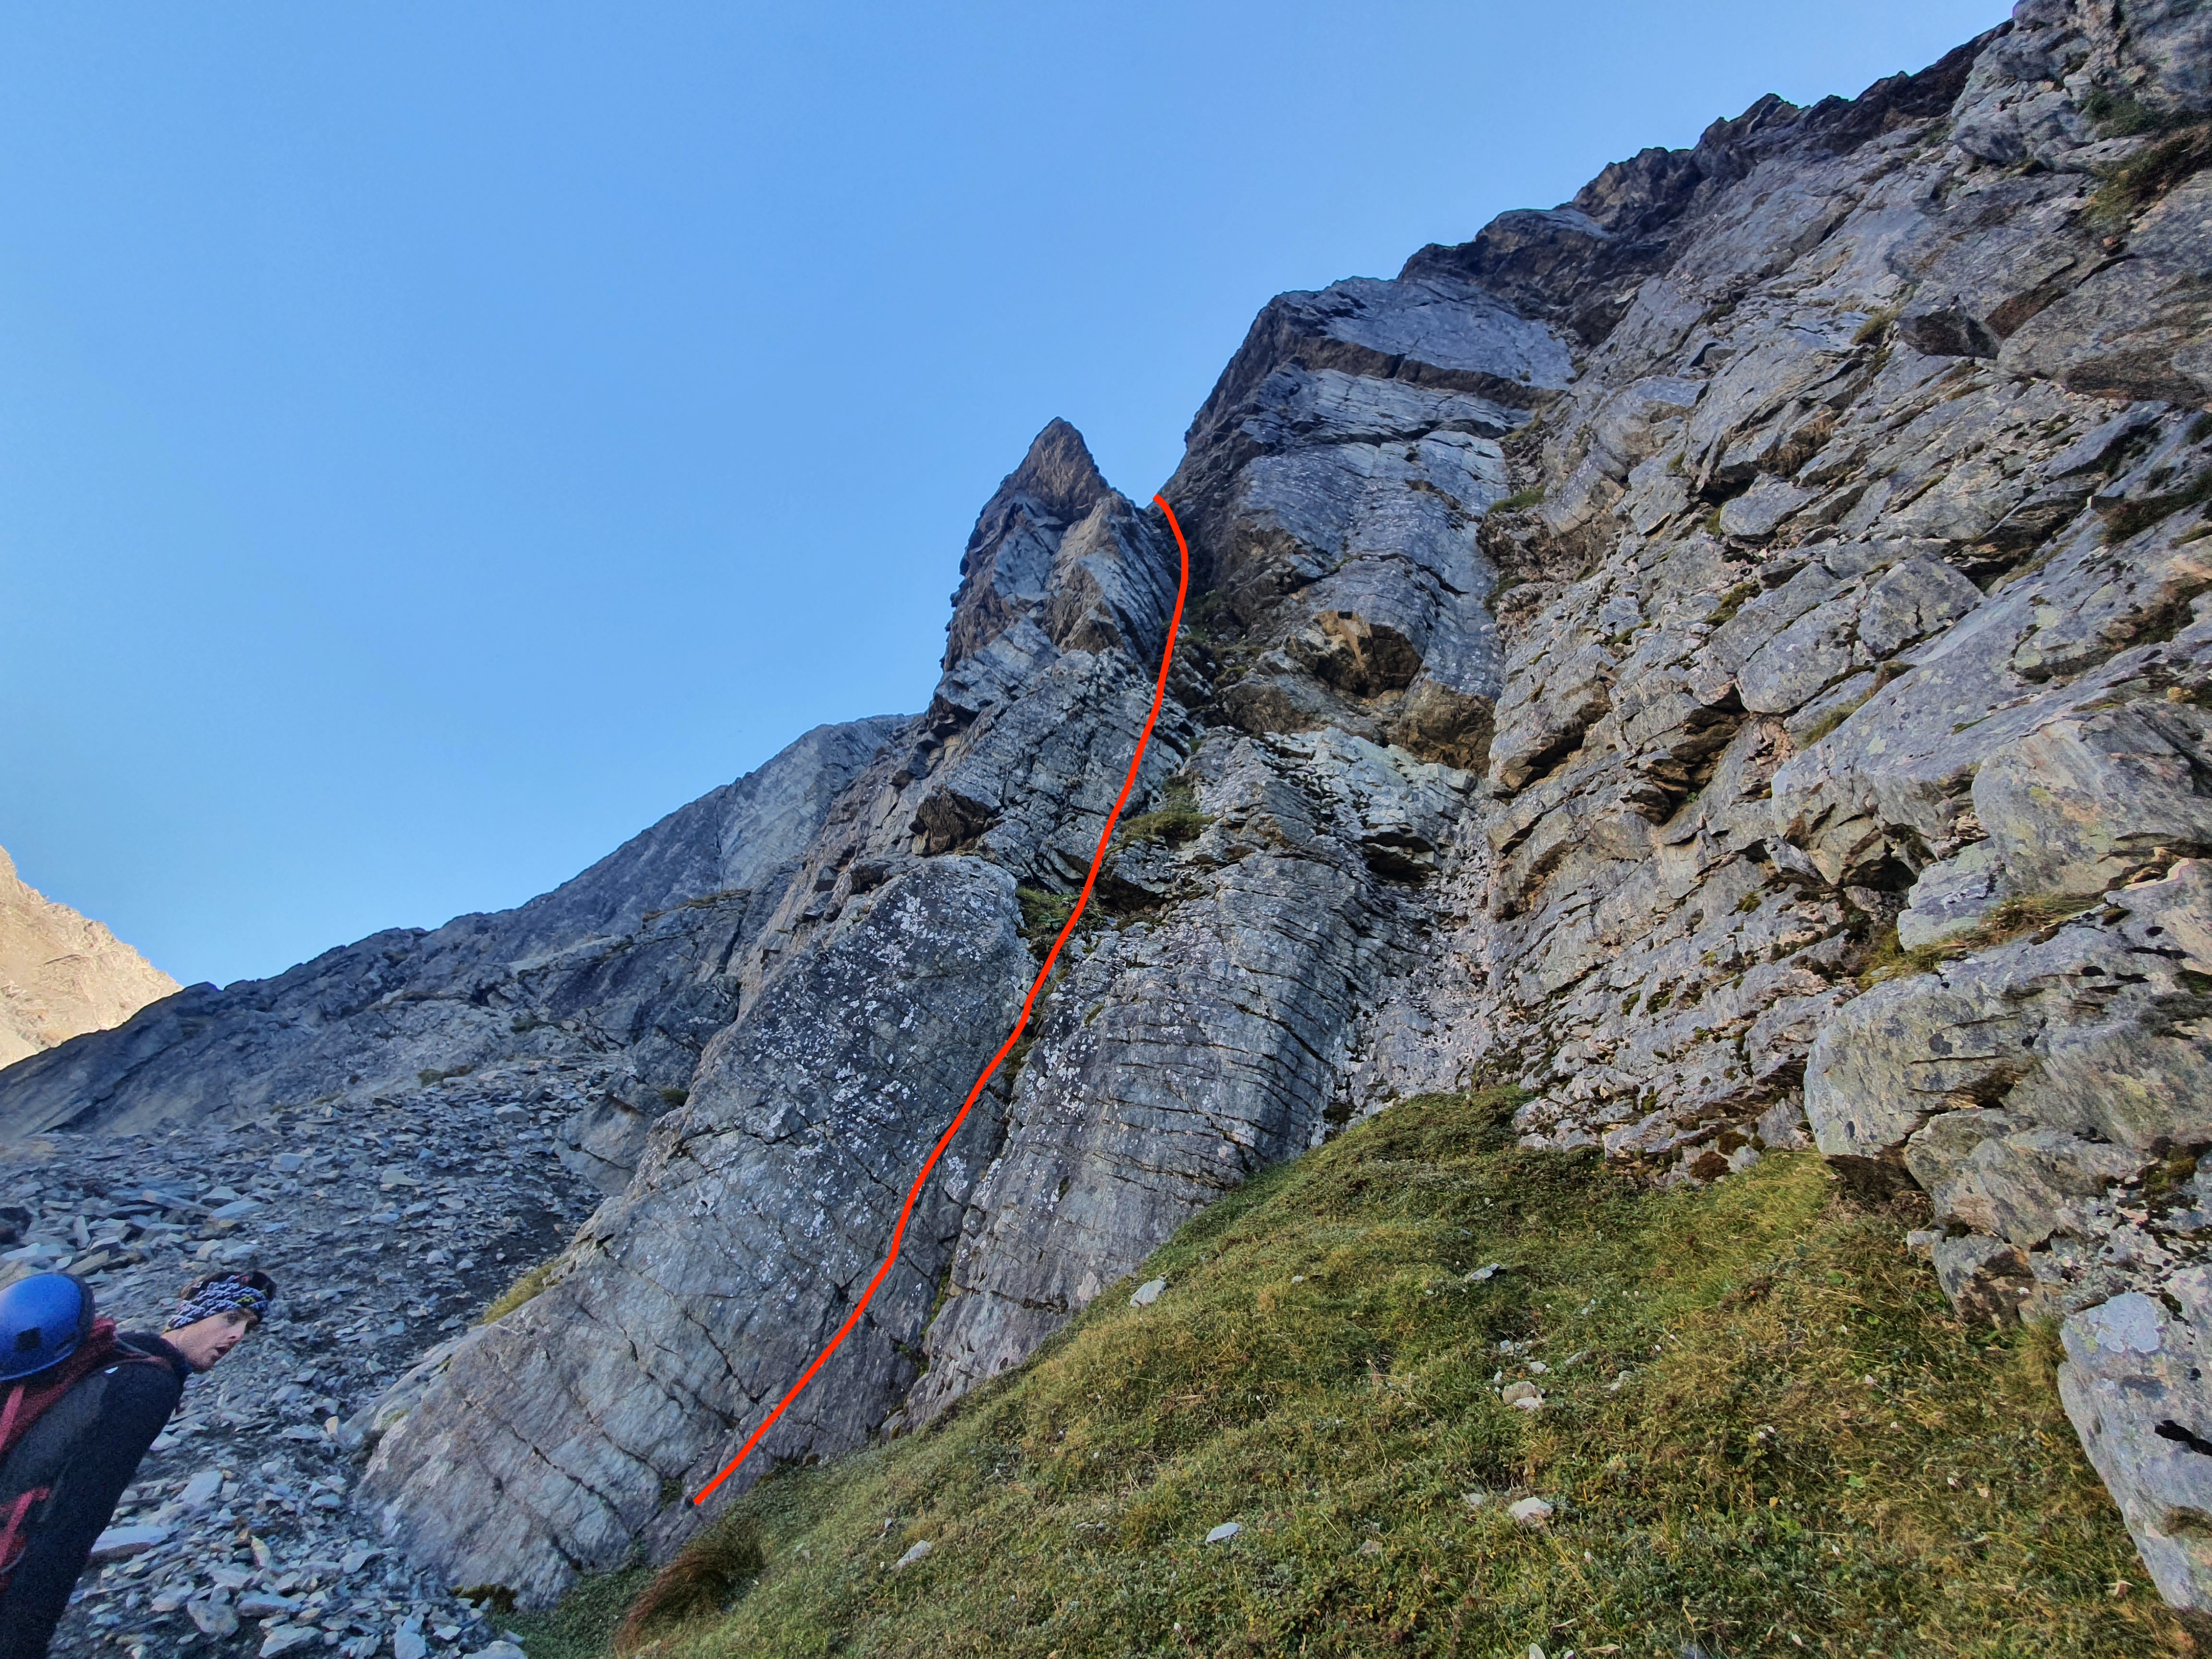
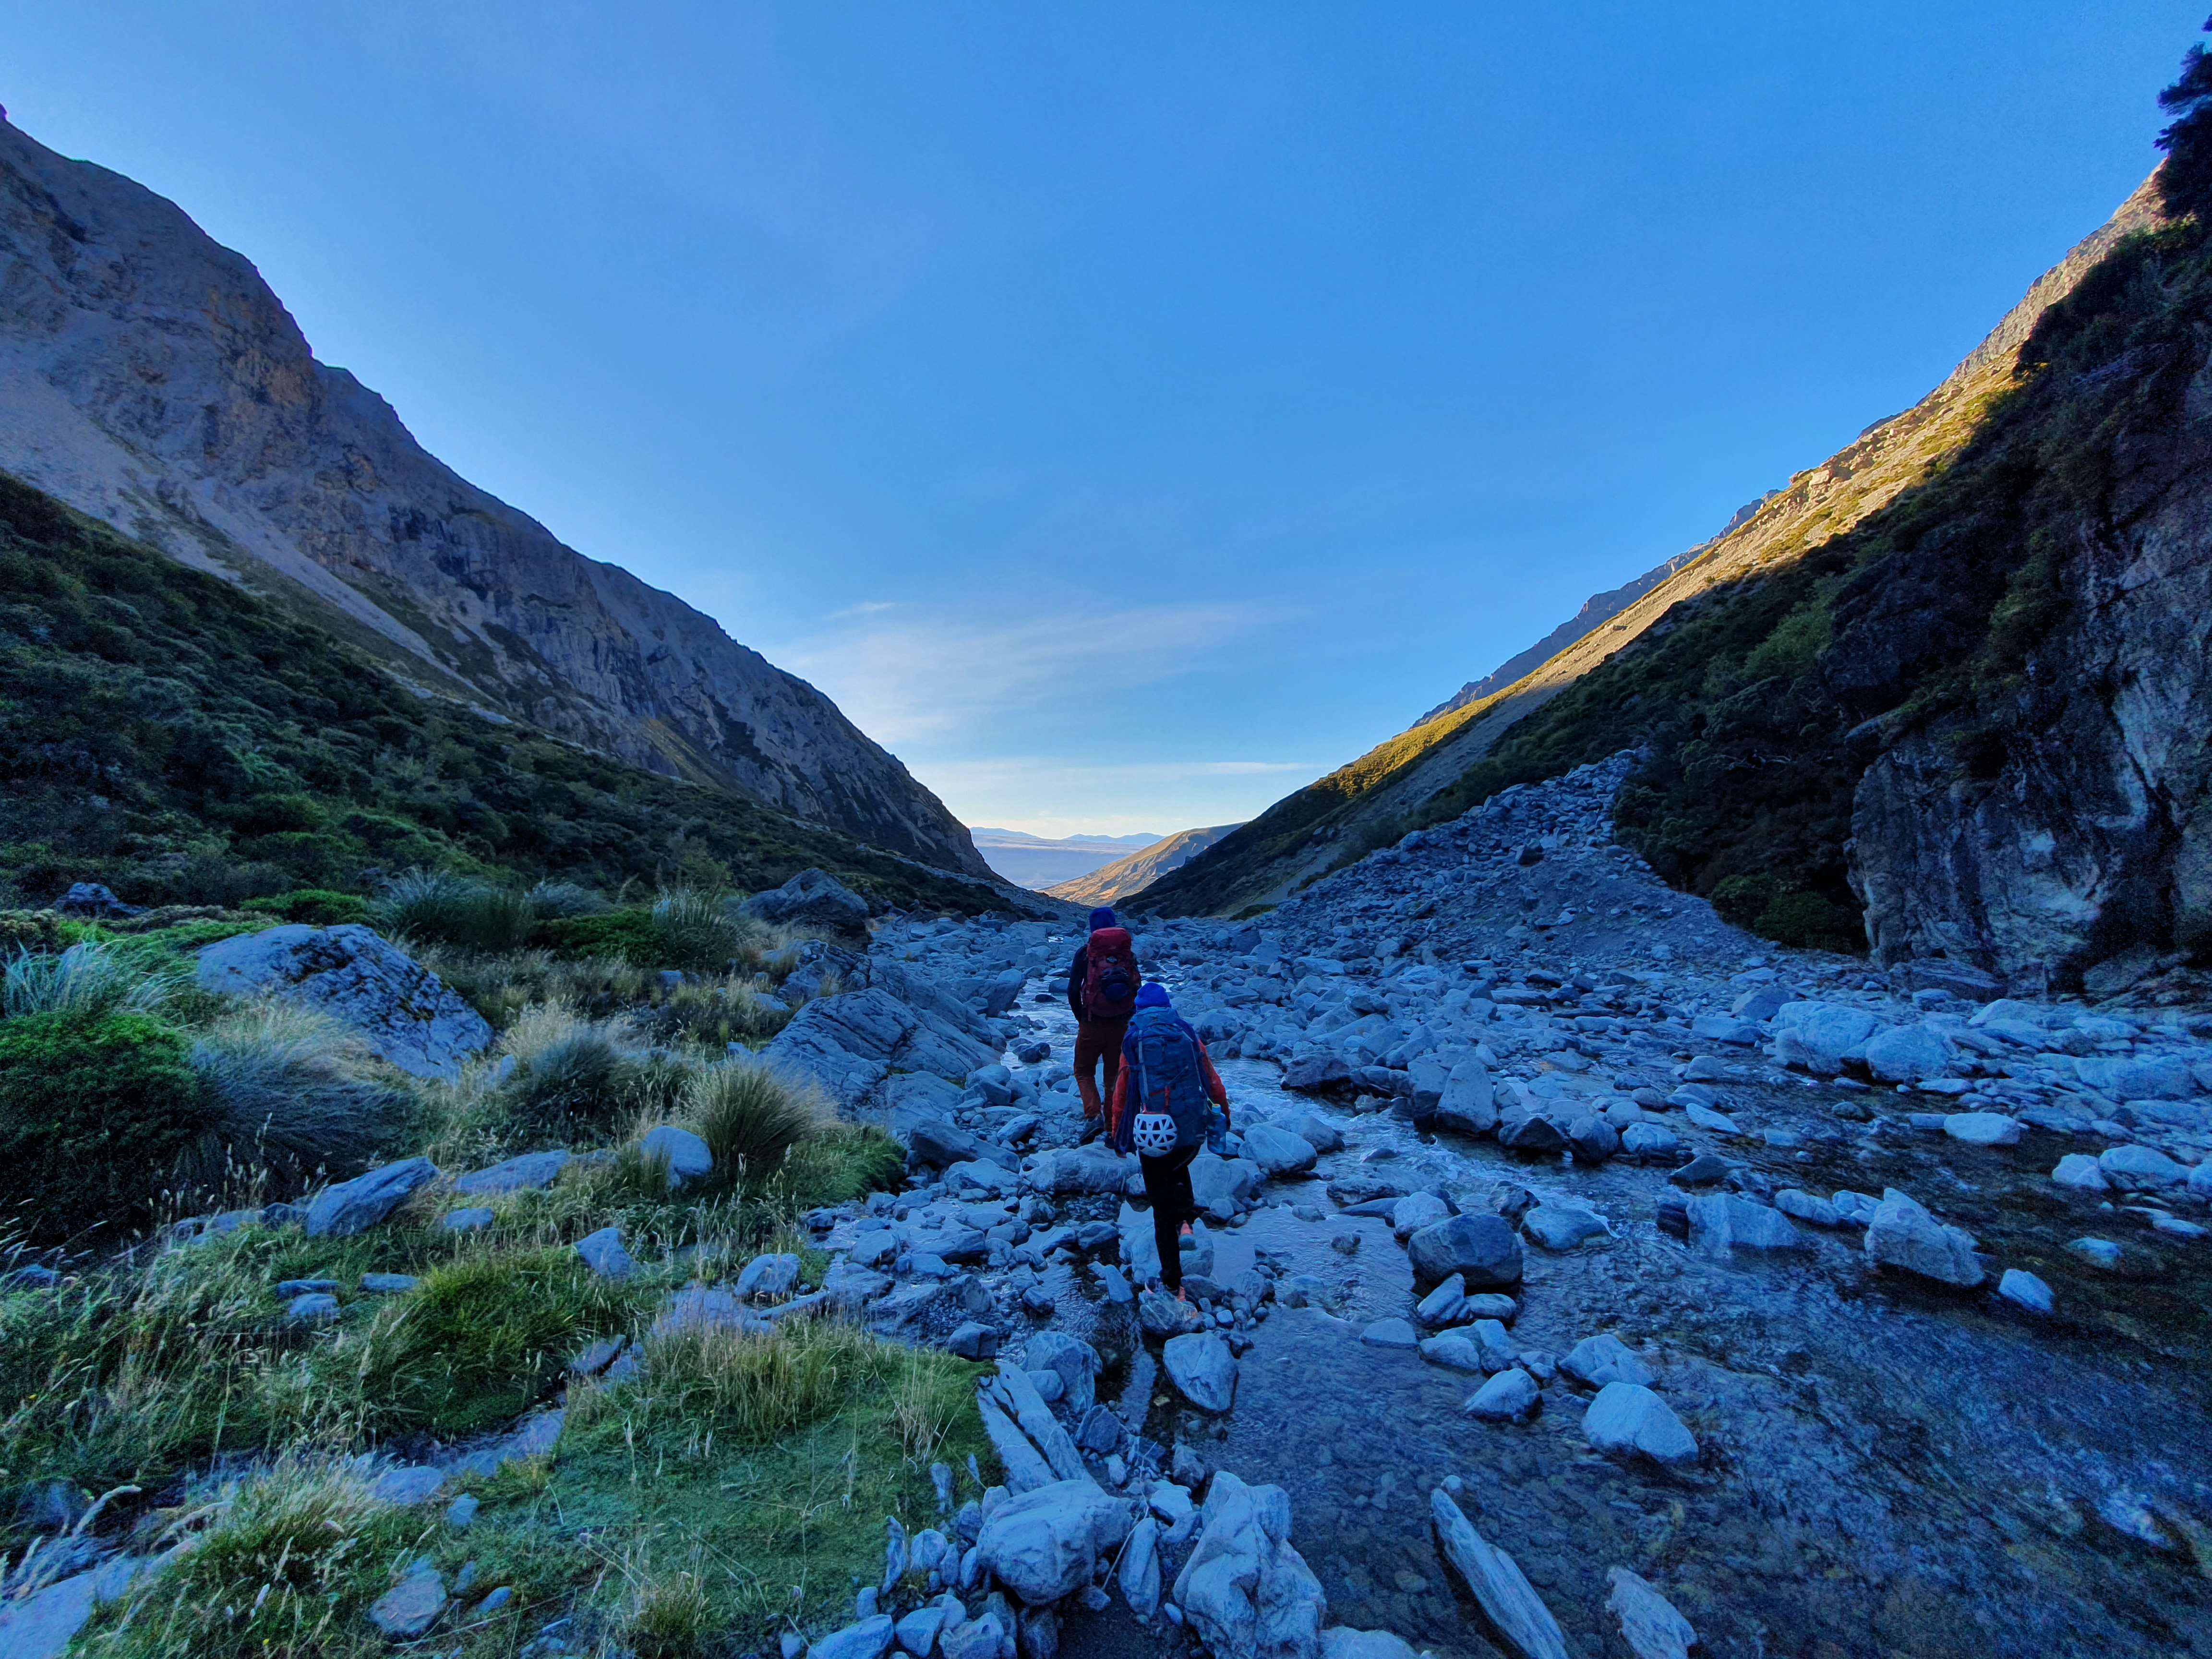
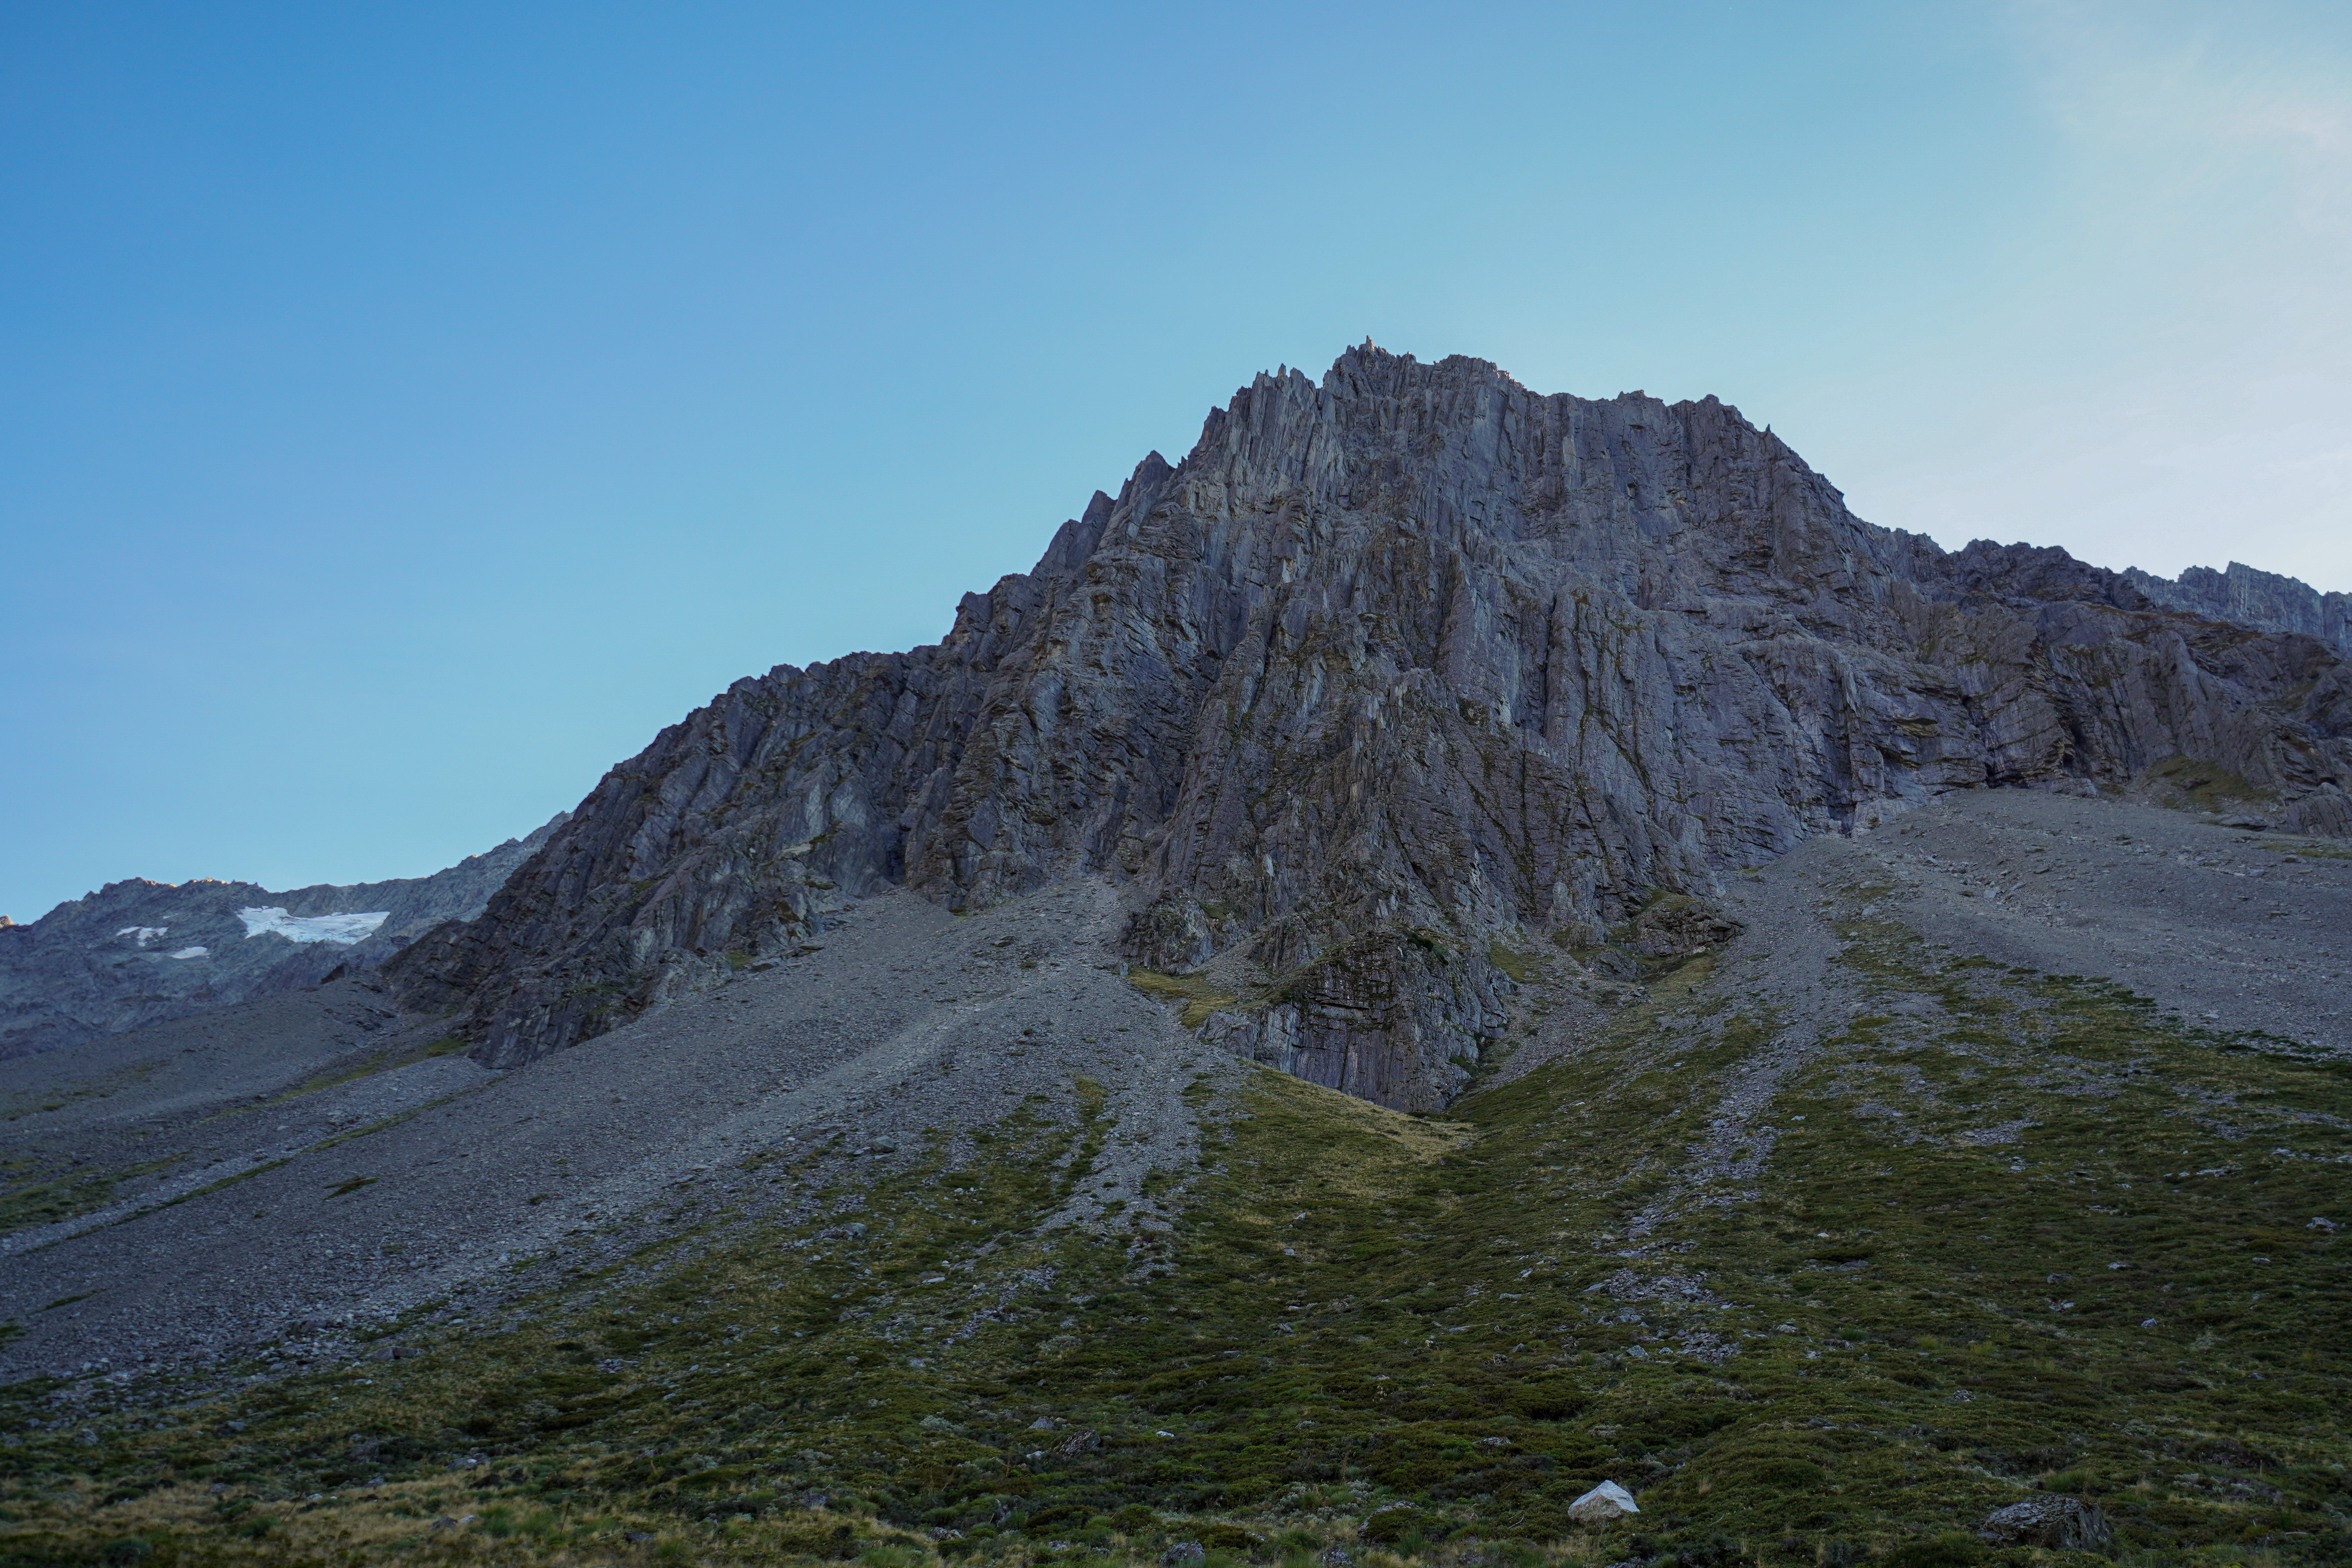
If hiking in, park up in the lay by just south of the bridge at the end of Bush stream. The track is initially fairly well trodden but after a km or two you’re rock hopping up the river bed, crossing multiple times. It’s uneven ground but fairly easy going, and no bush bashing is required. The climbing line is super obvious as you come up the valley, dominating the skyline on the northern side. As you get to the upper valley under the route the river bed flattens up and you can cruise up scree slopes to the base of the route. It should take around 3.5 hours to get to the base of the route from the car (it would be pretty difficult in the dark though). The alternative (and what we opted for due to only a short time window) was to fly in from Glentanner airport and then walk out. A flight was $580 so pretty affordable between 3, and the 08:30 had us at the base of the route and climbing by 09:30.
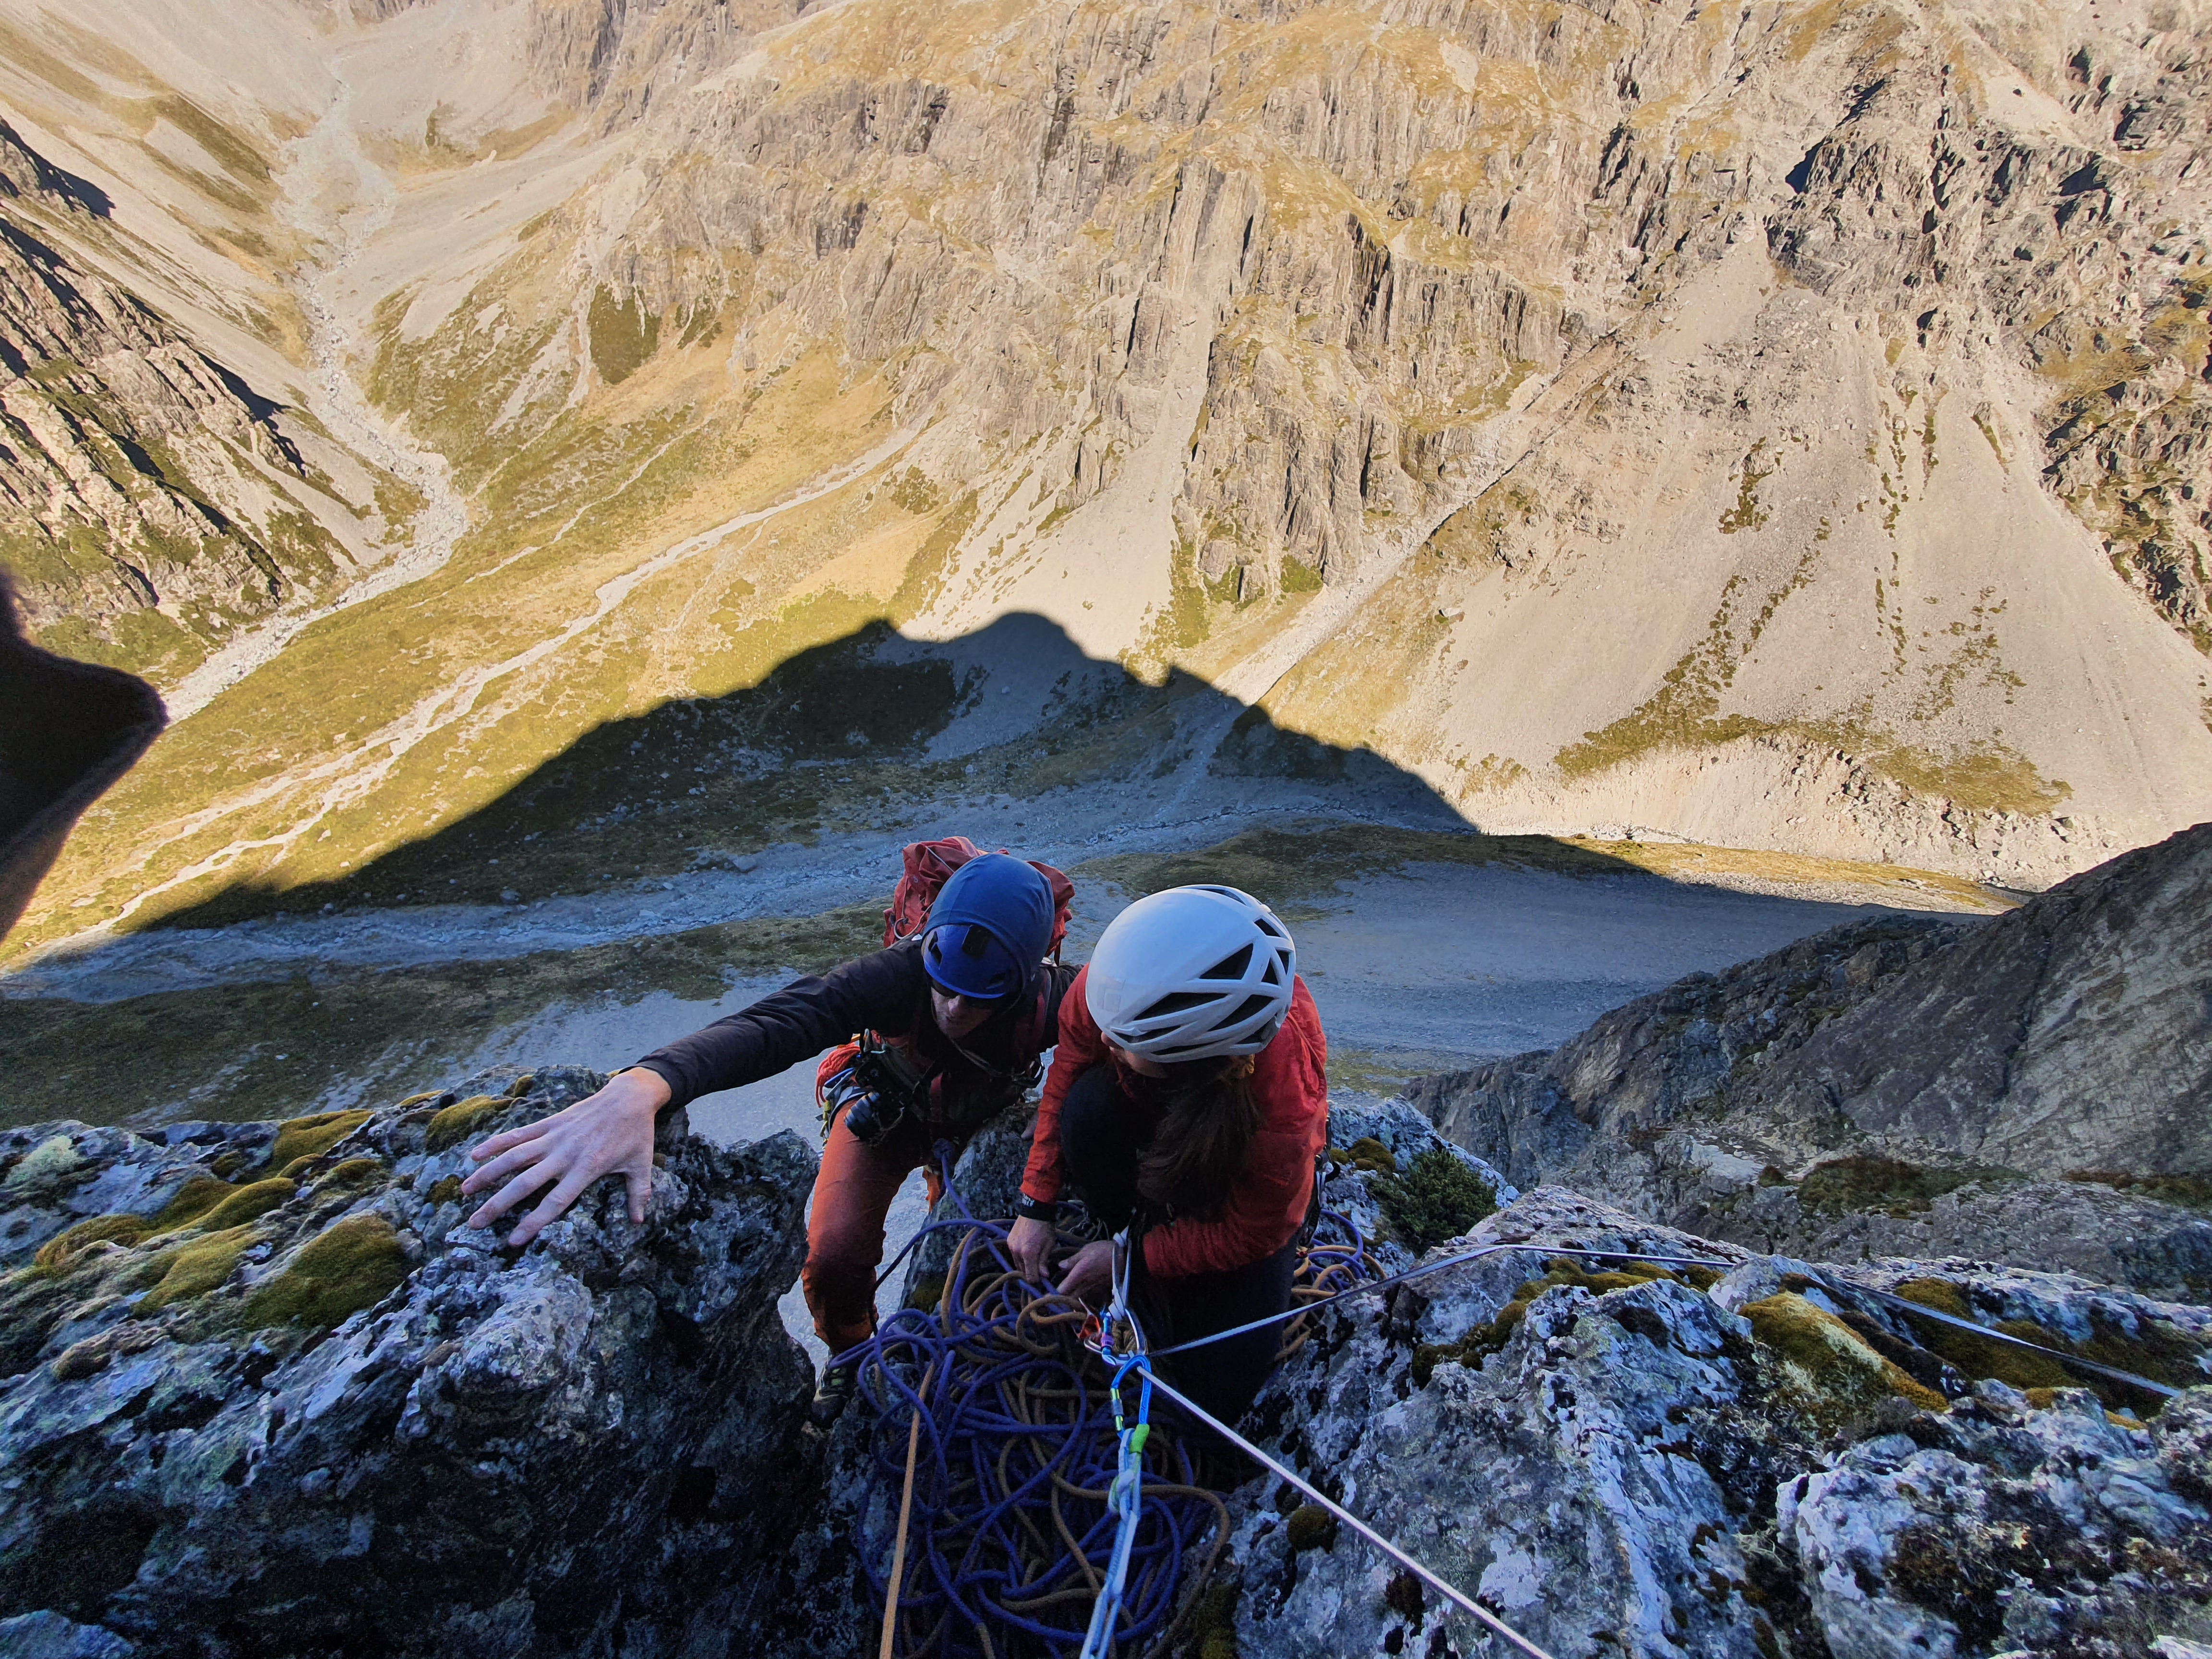
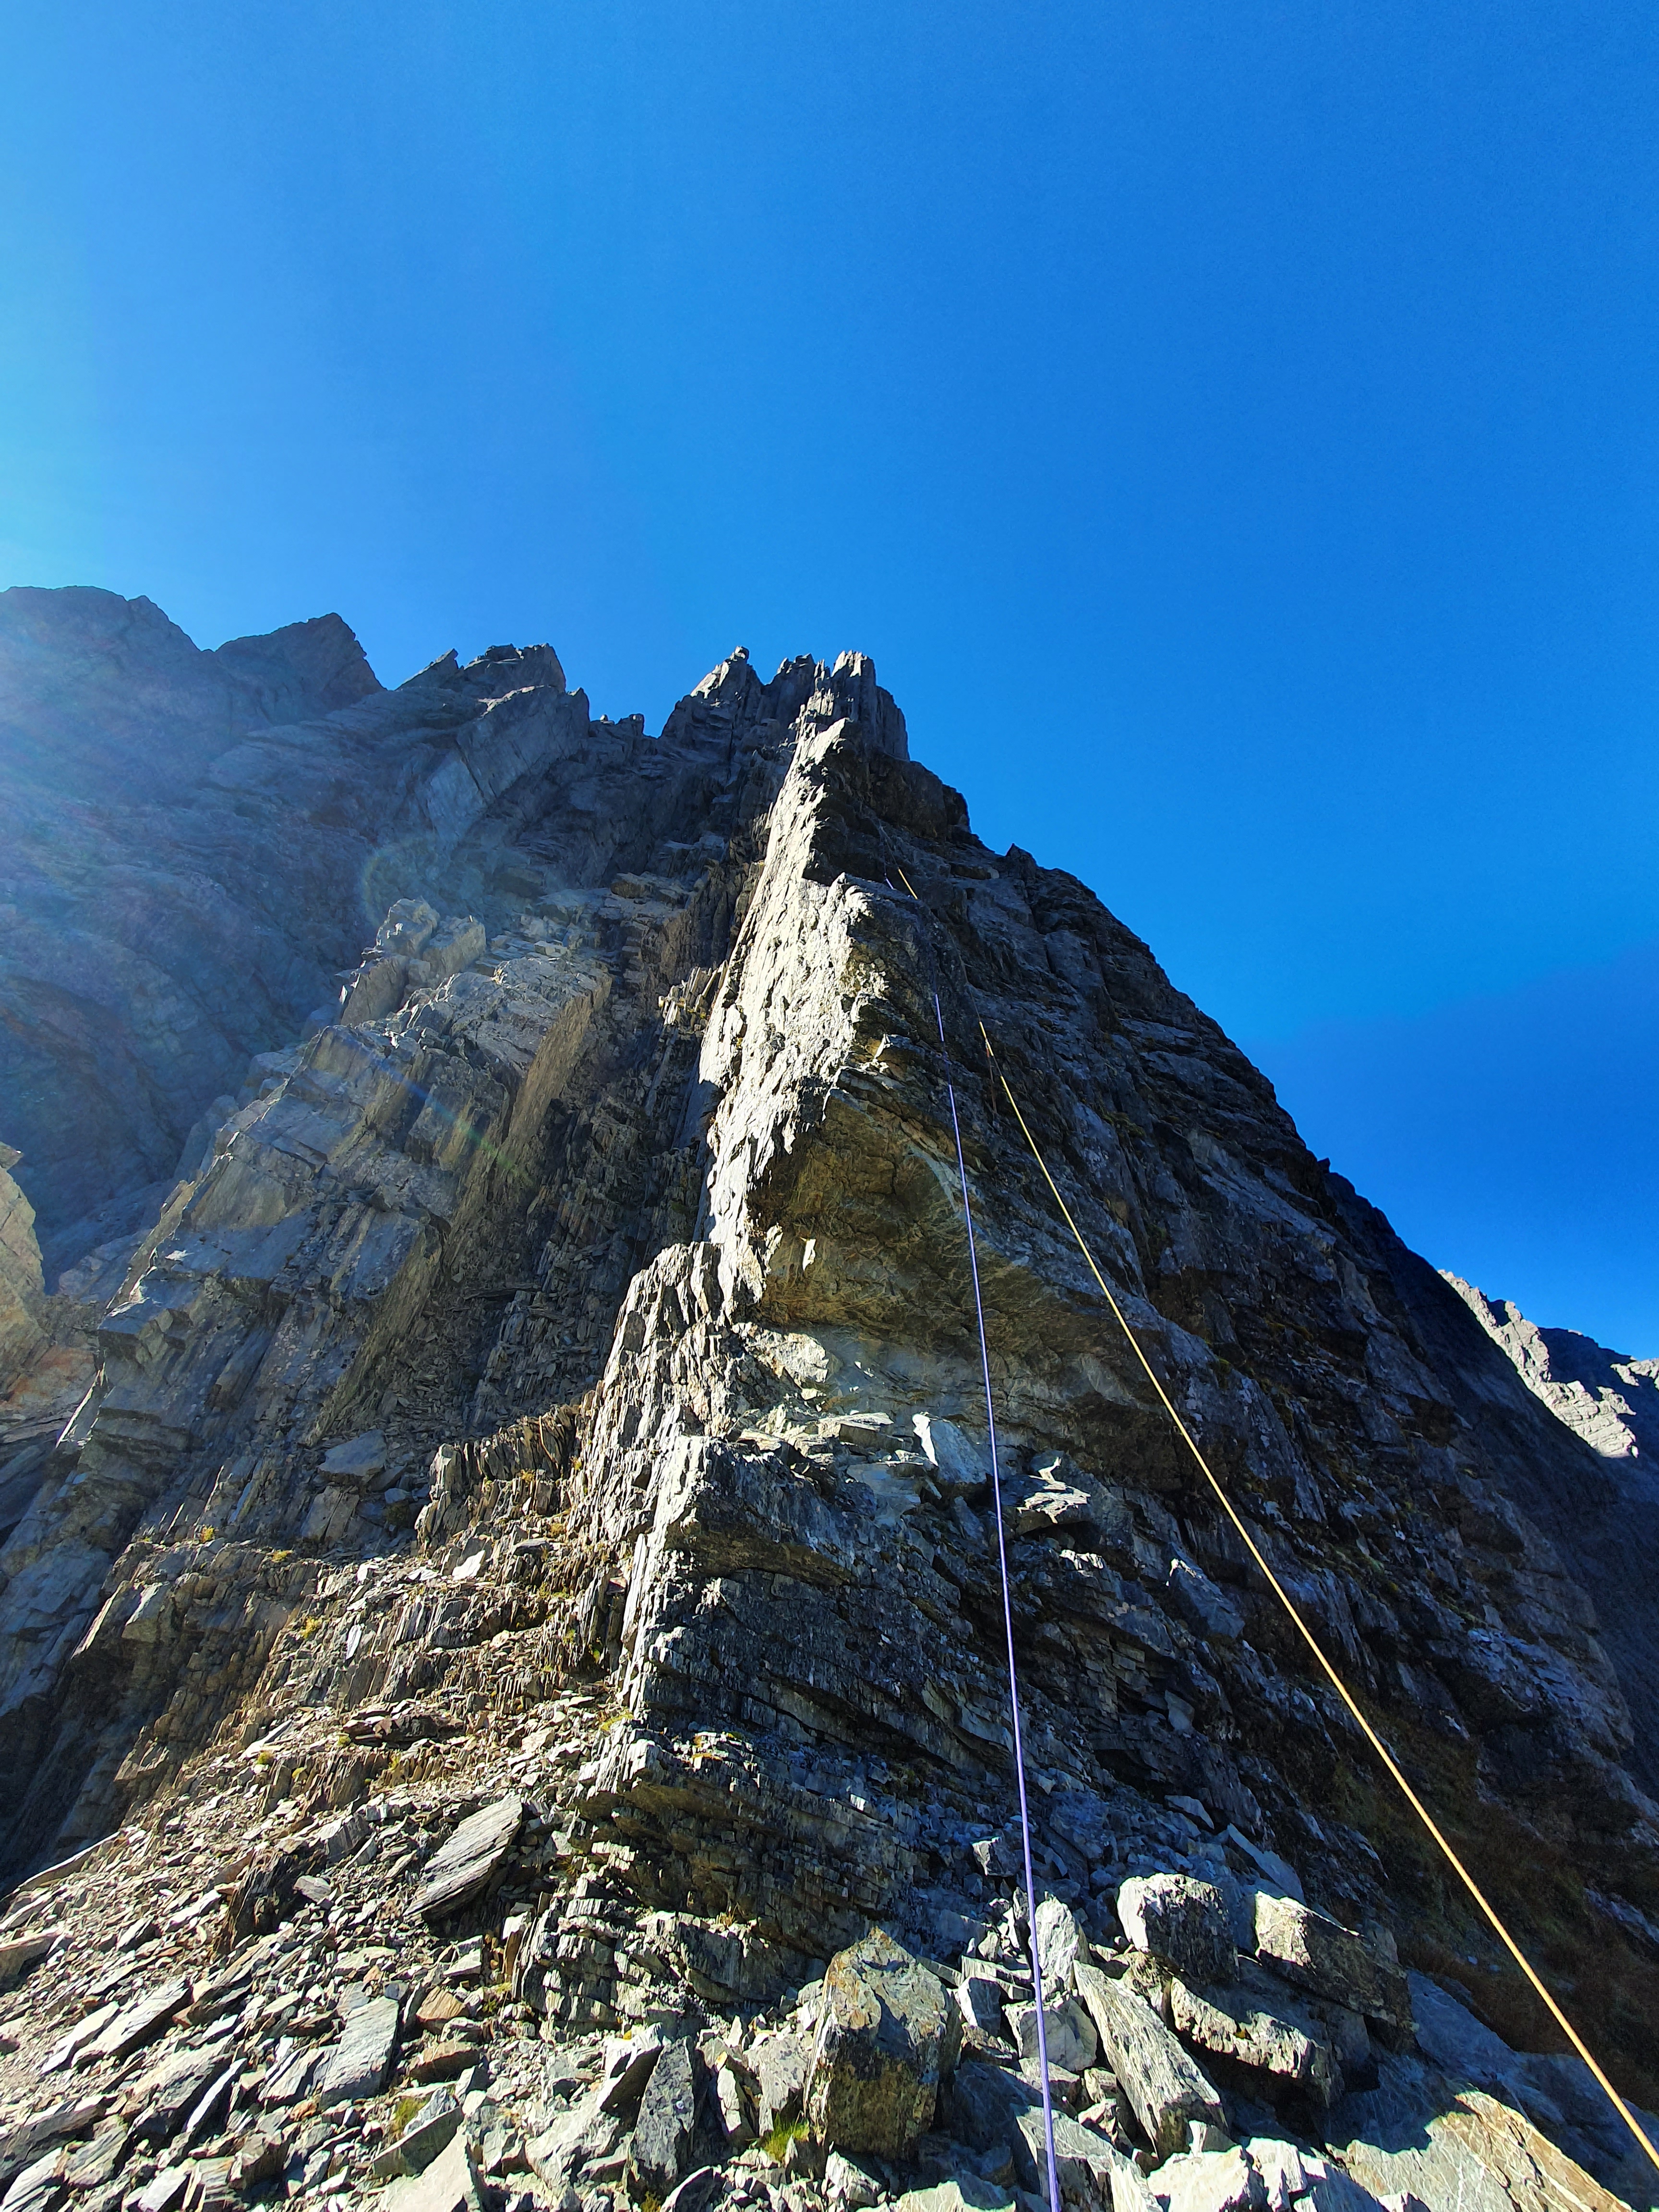
the route
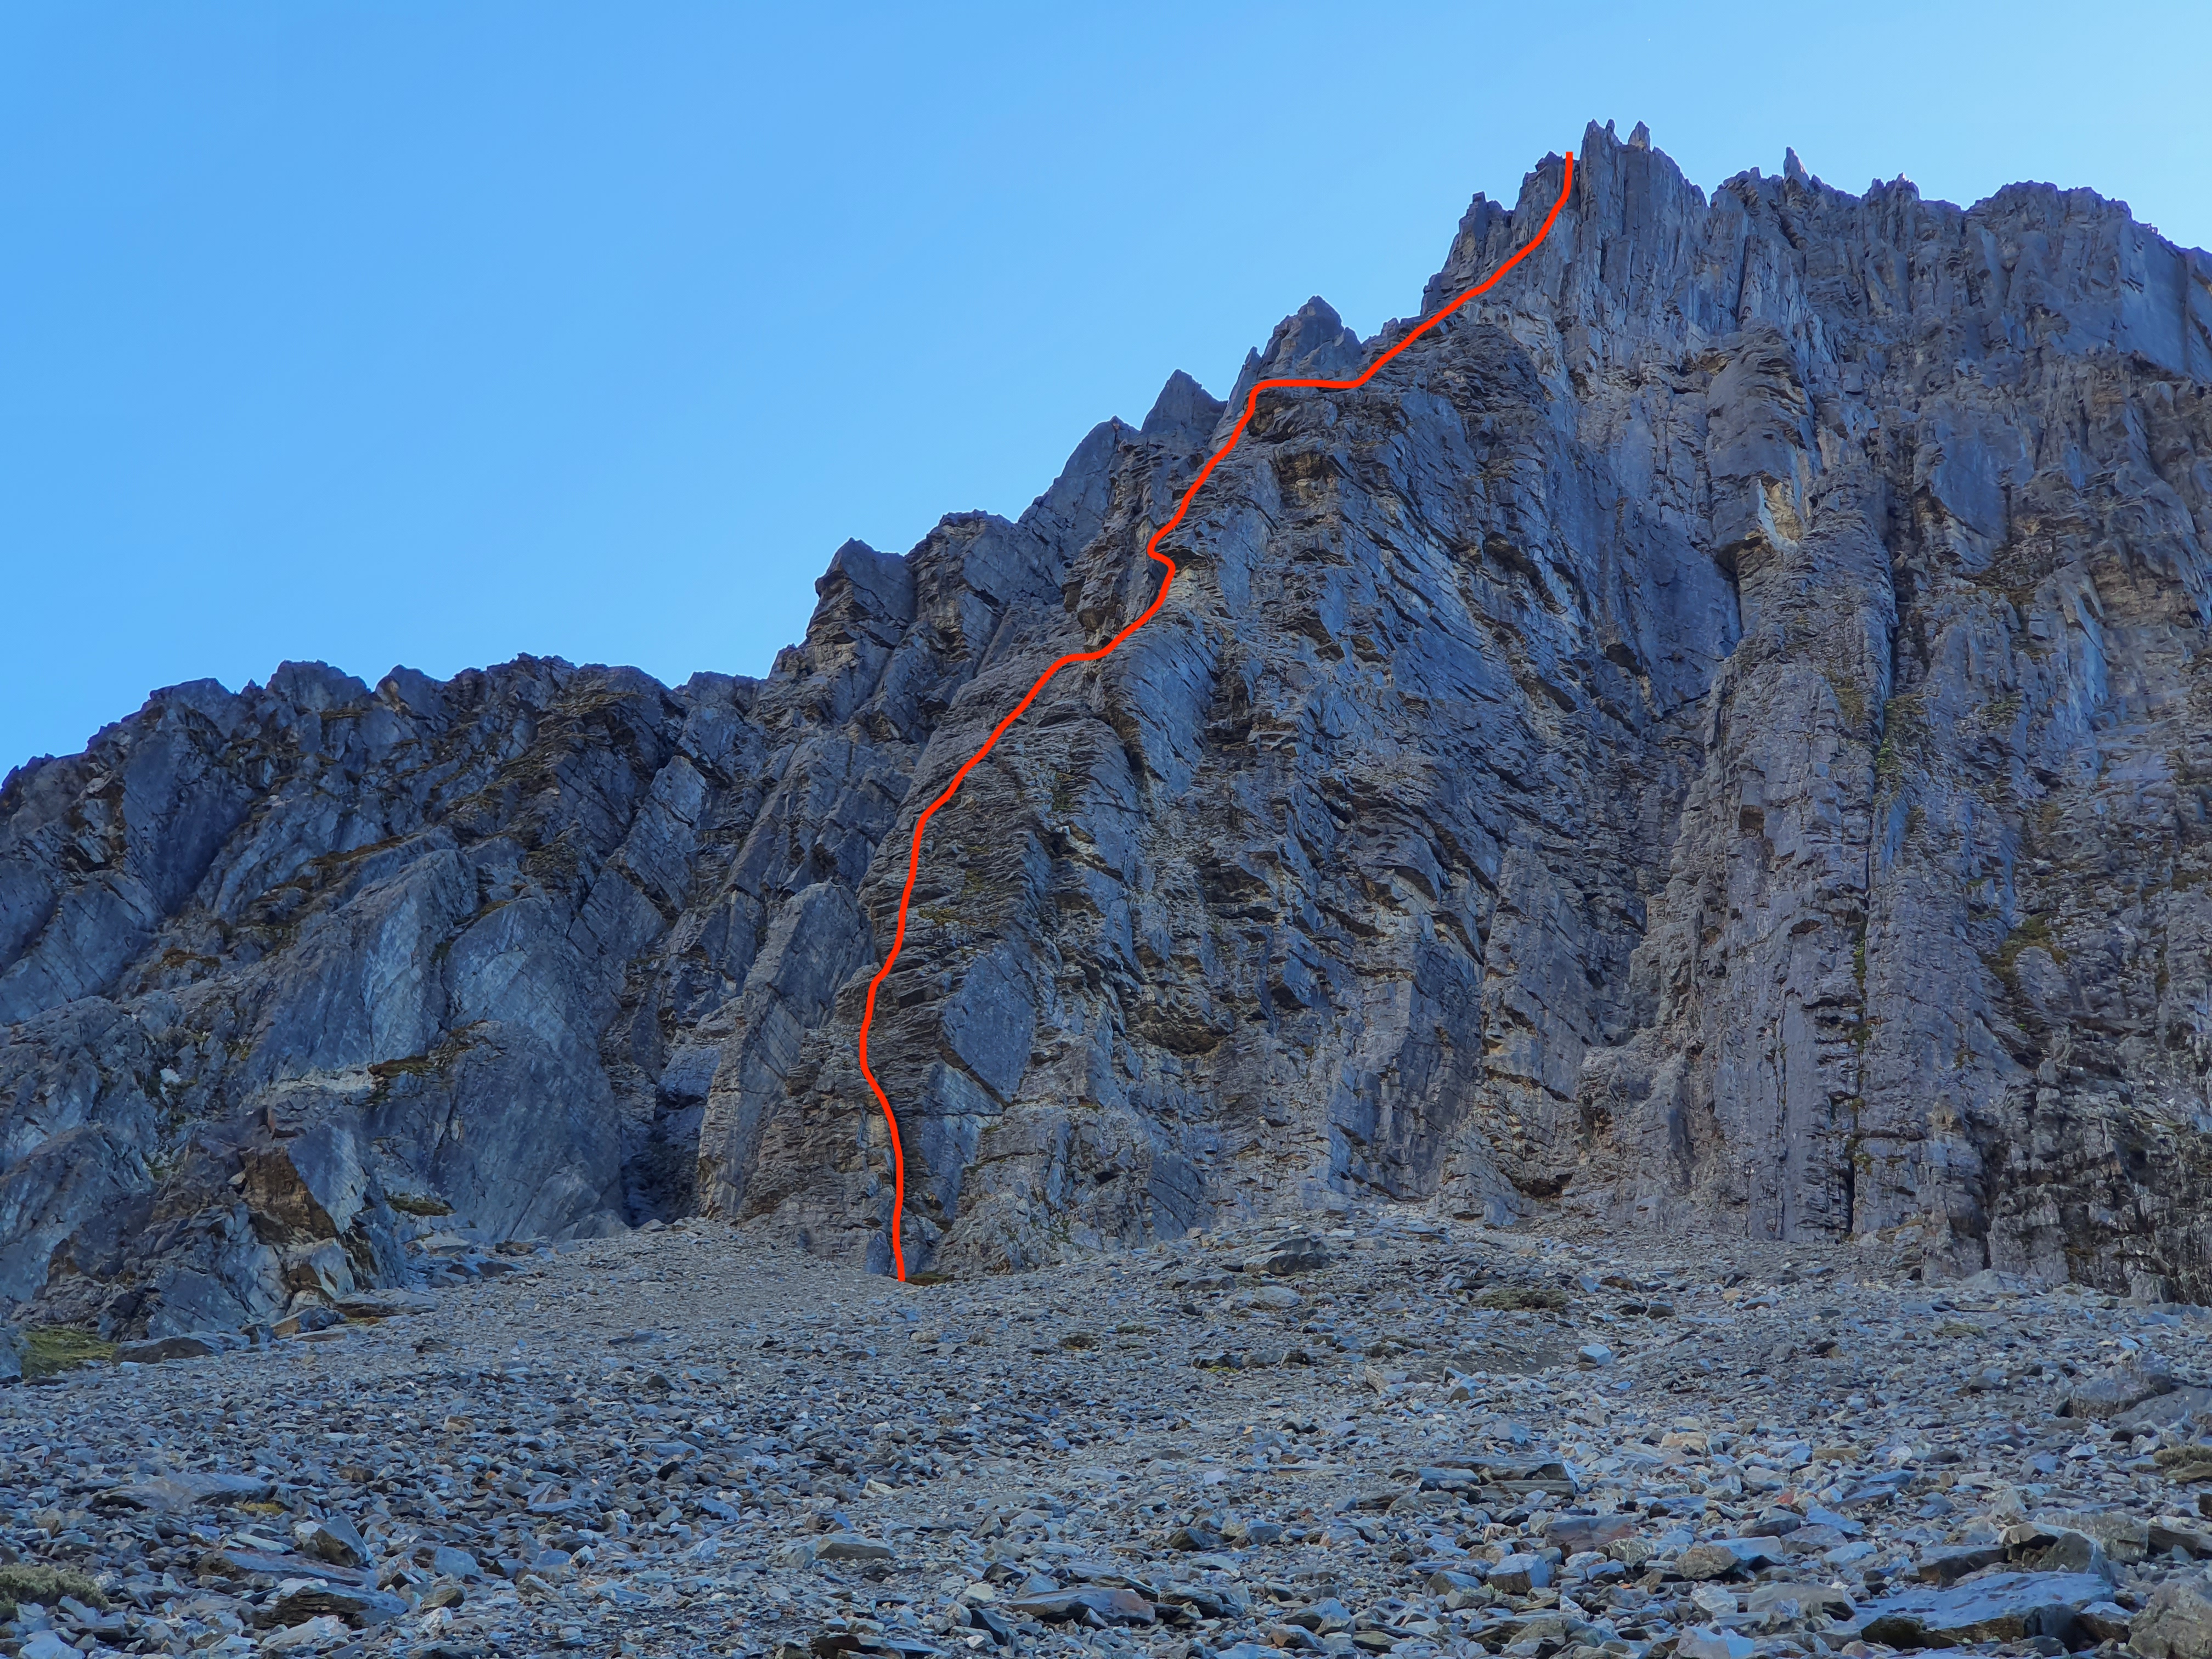
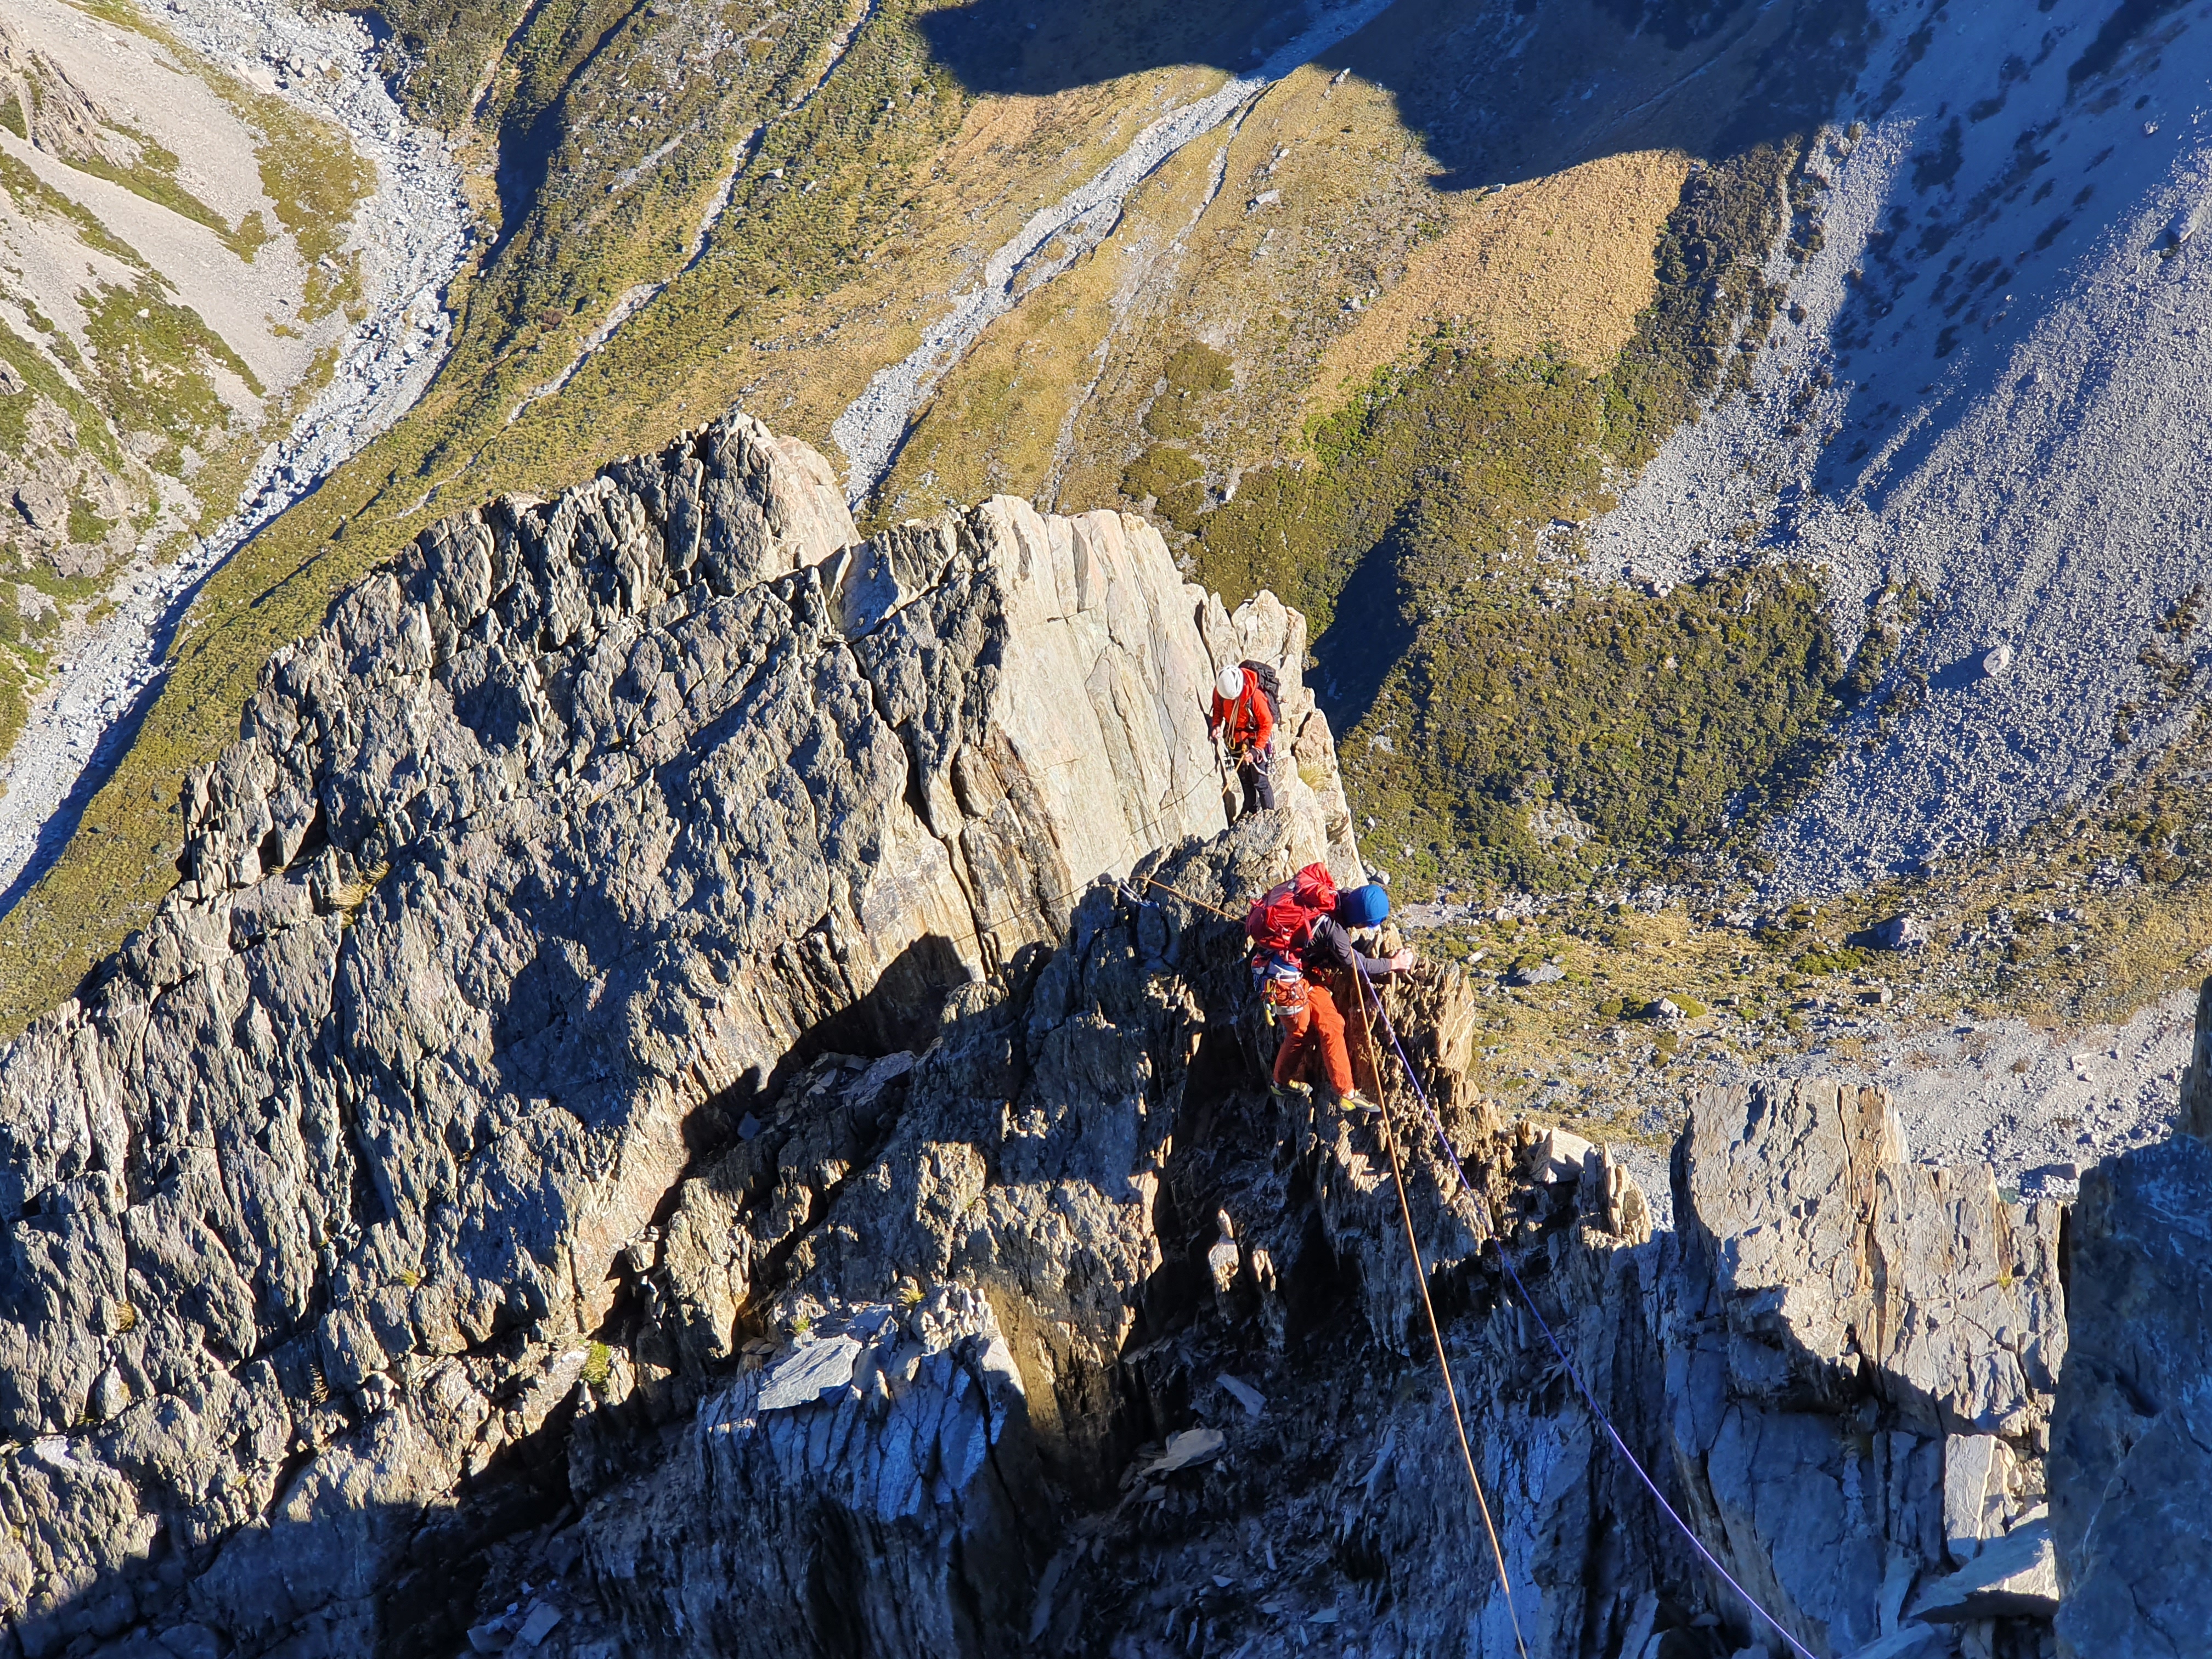
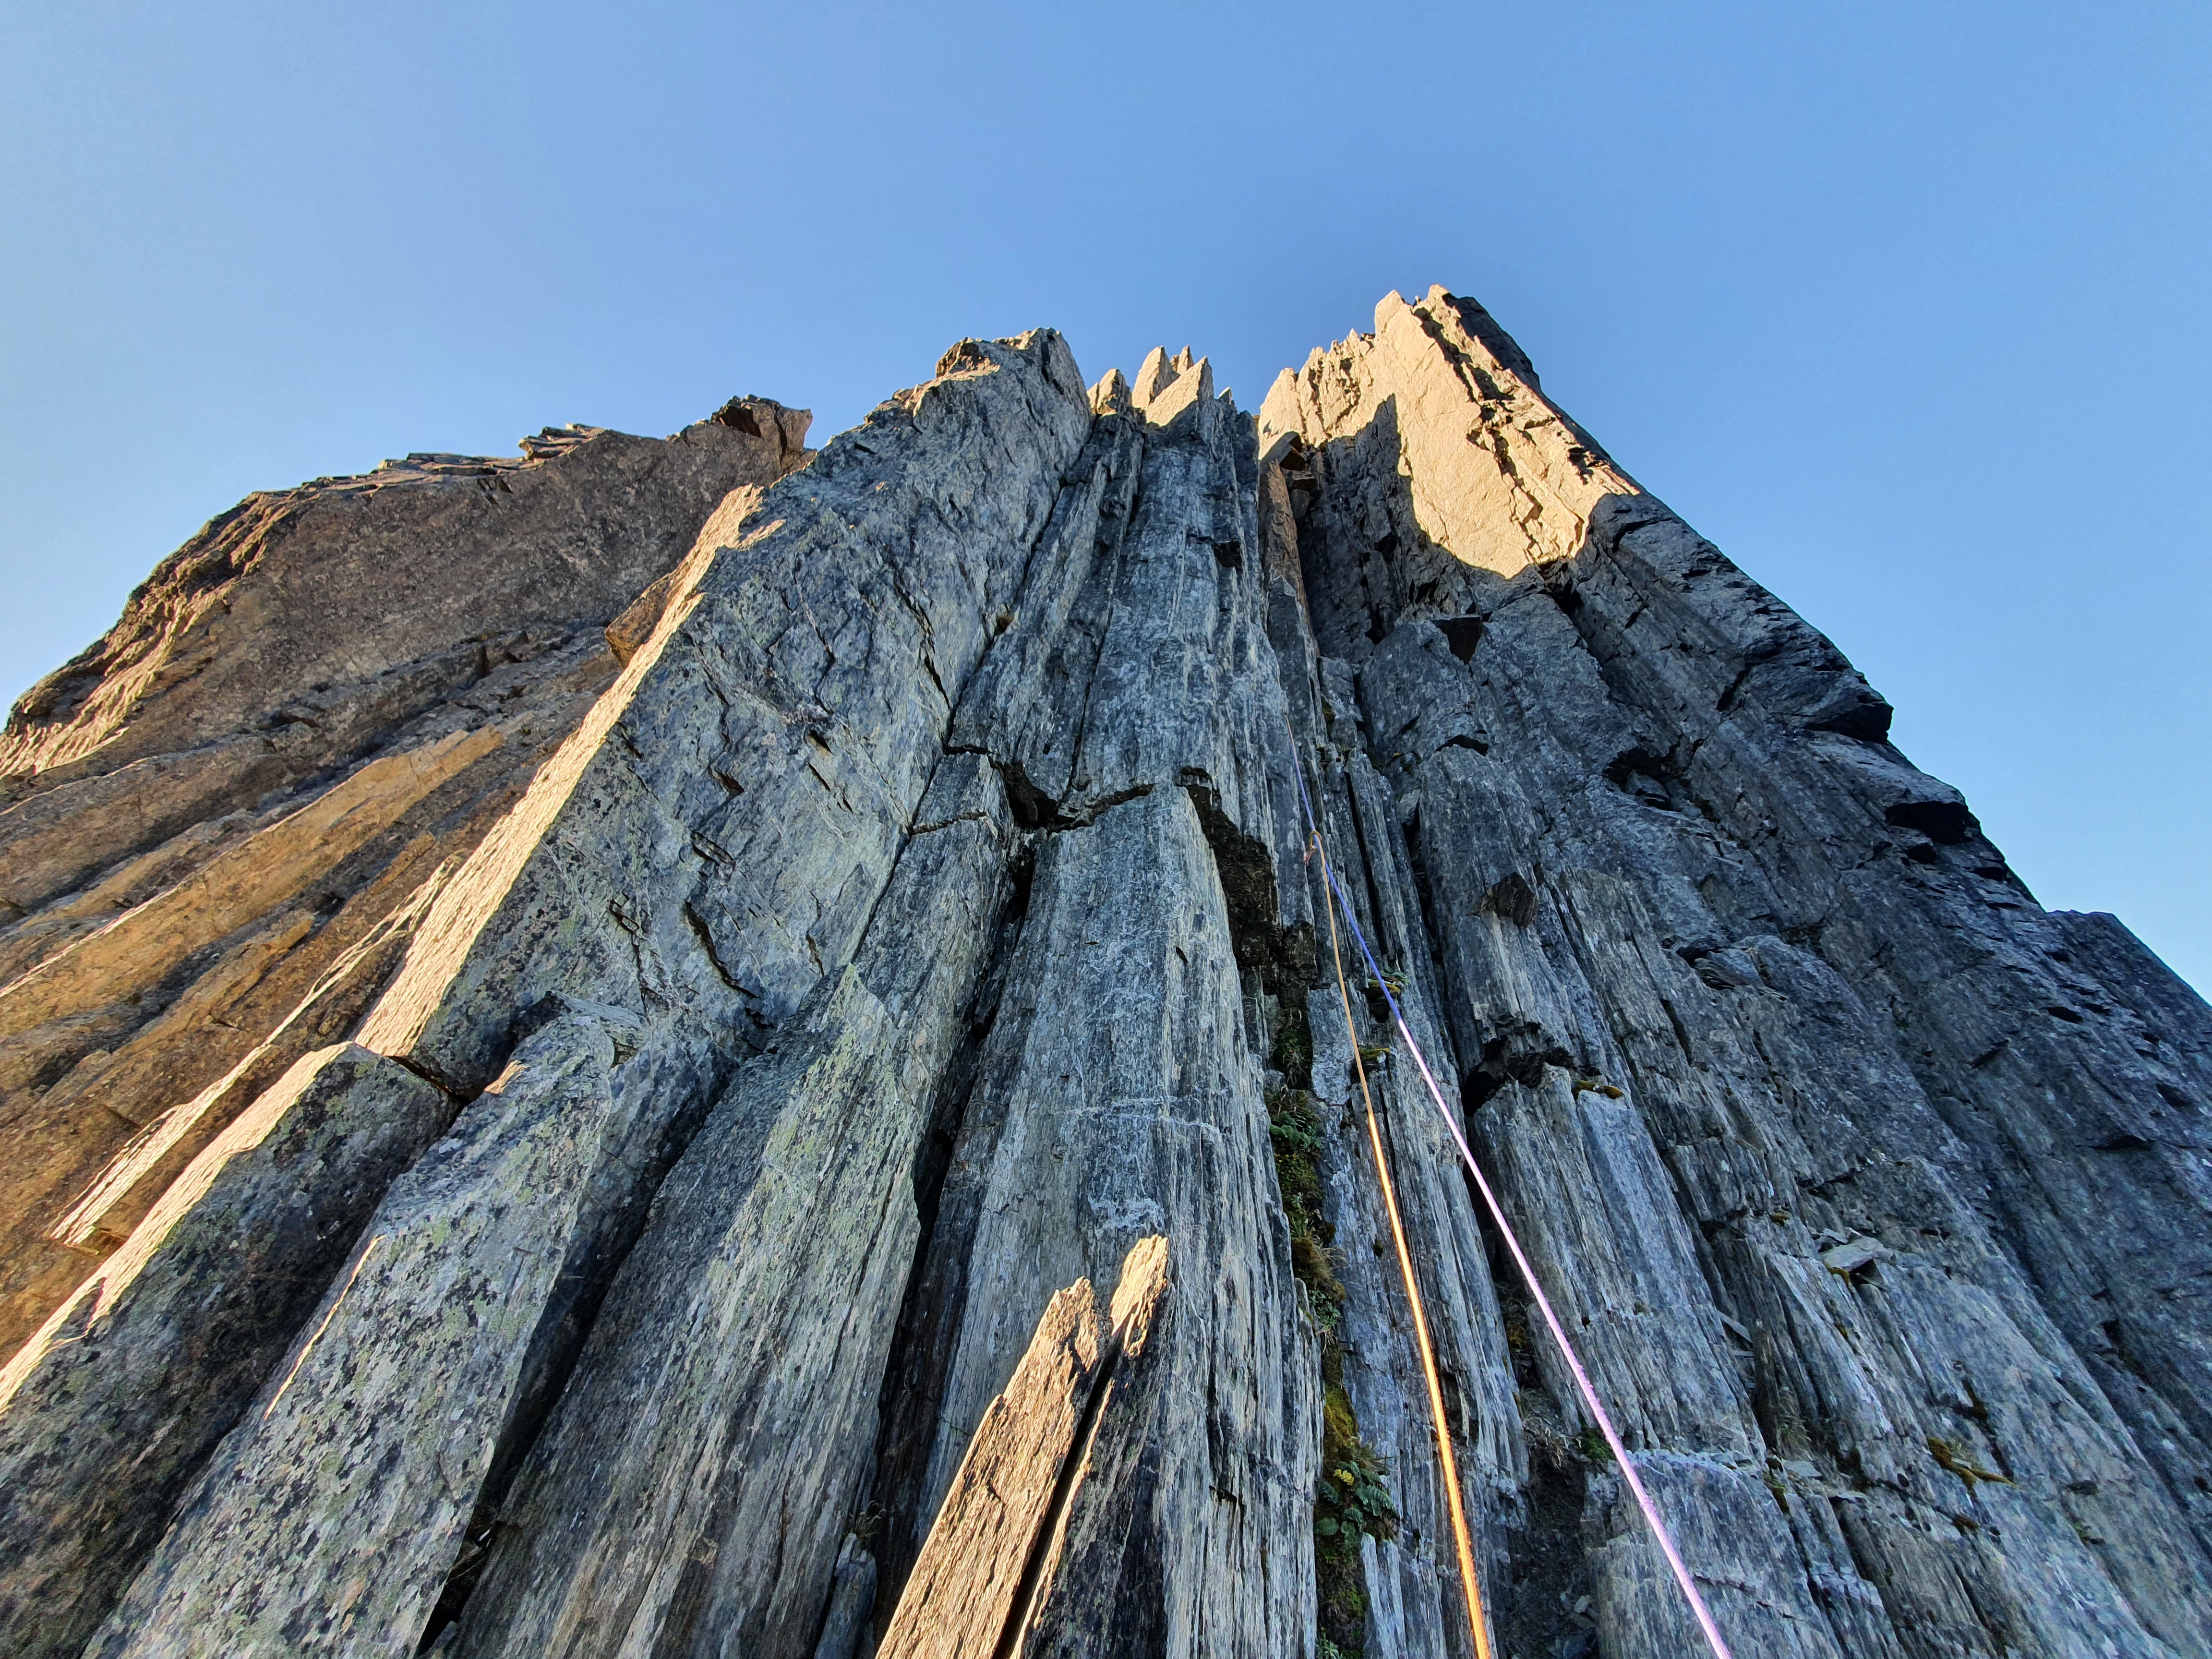
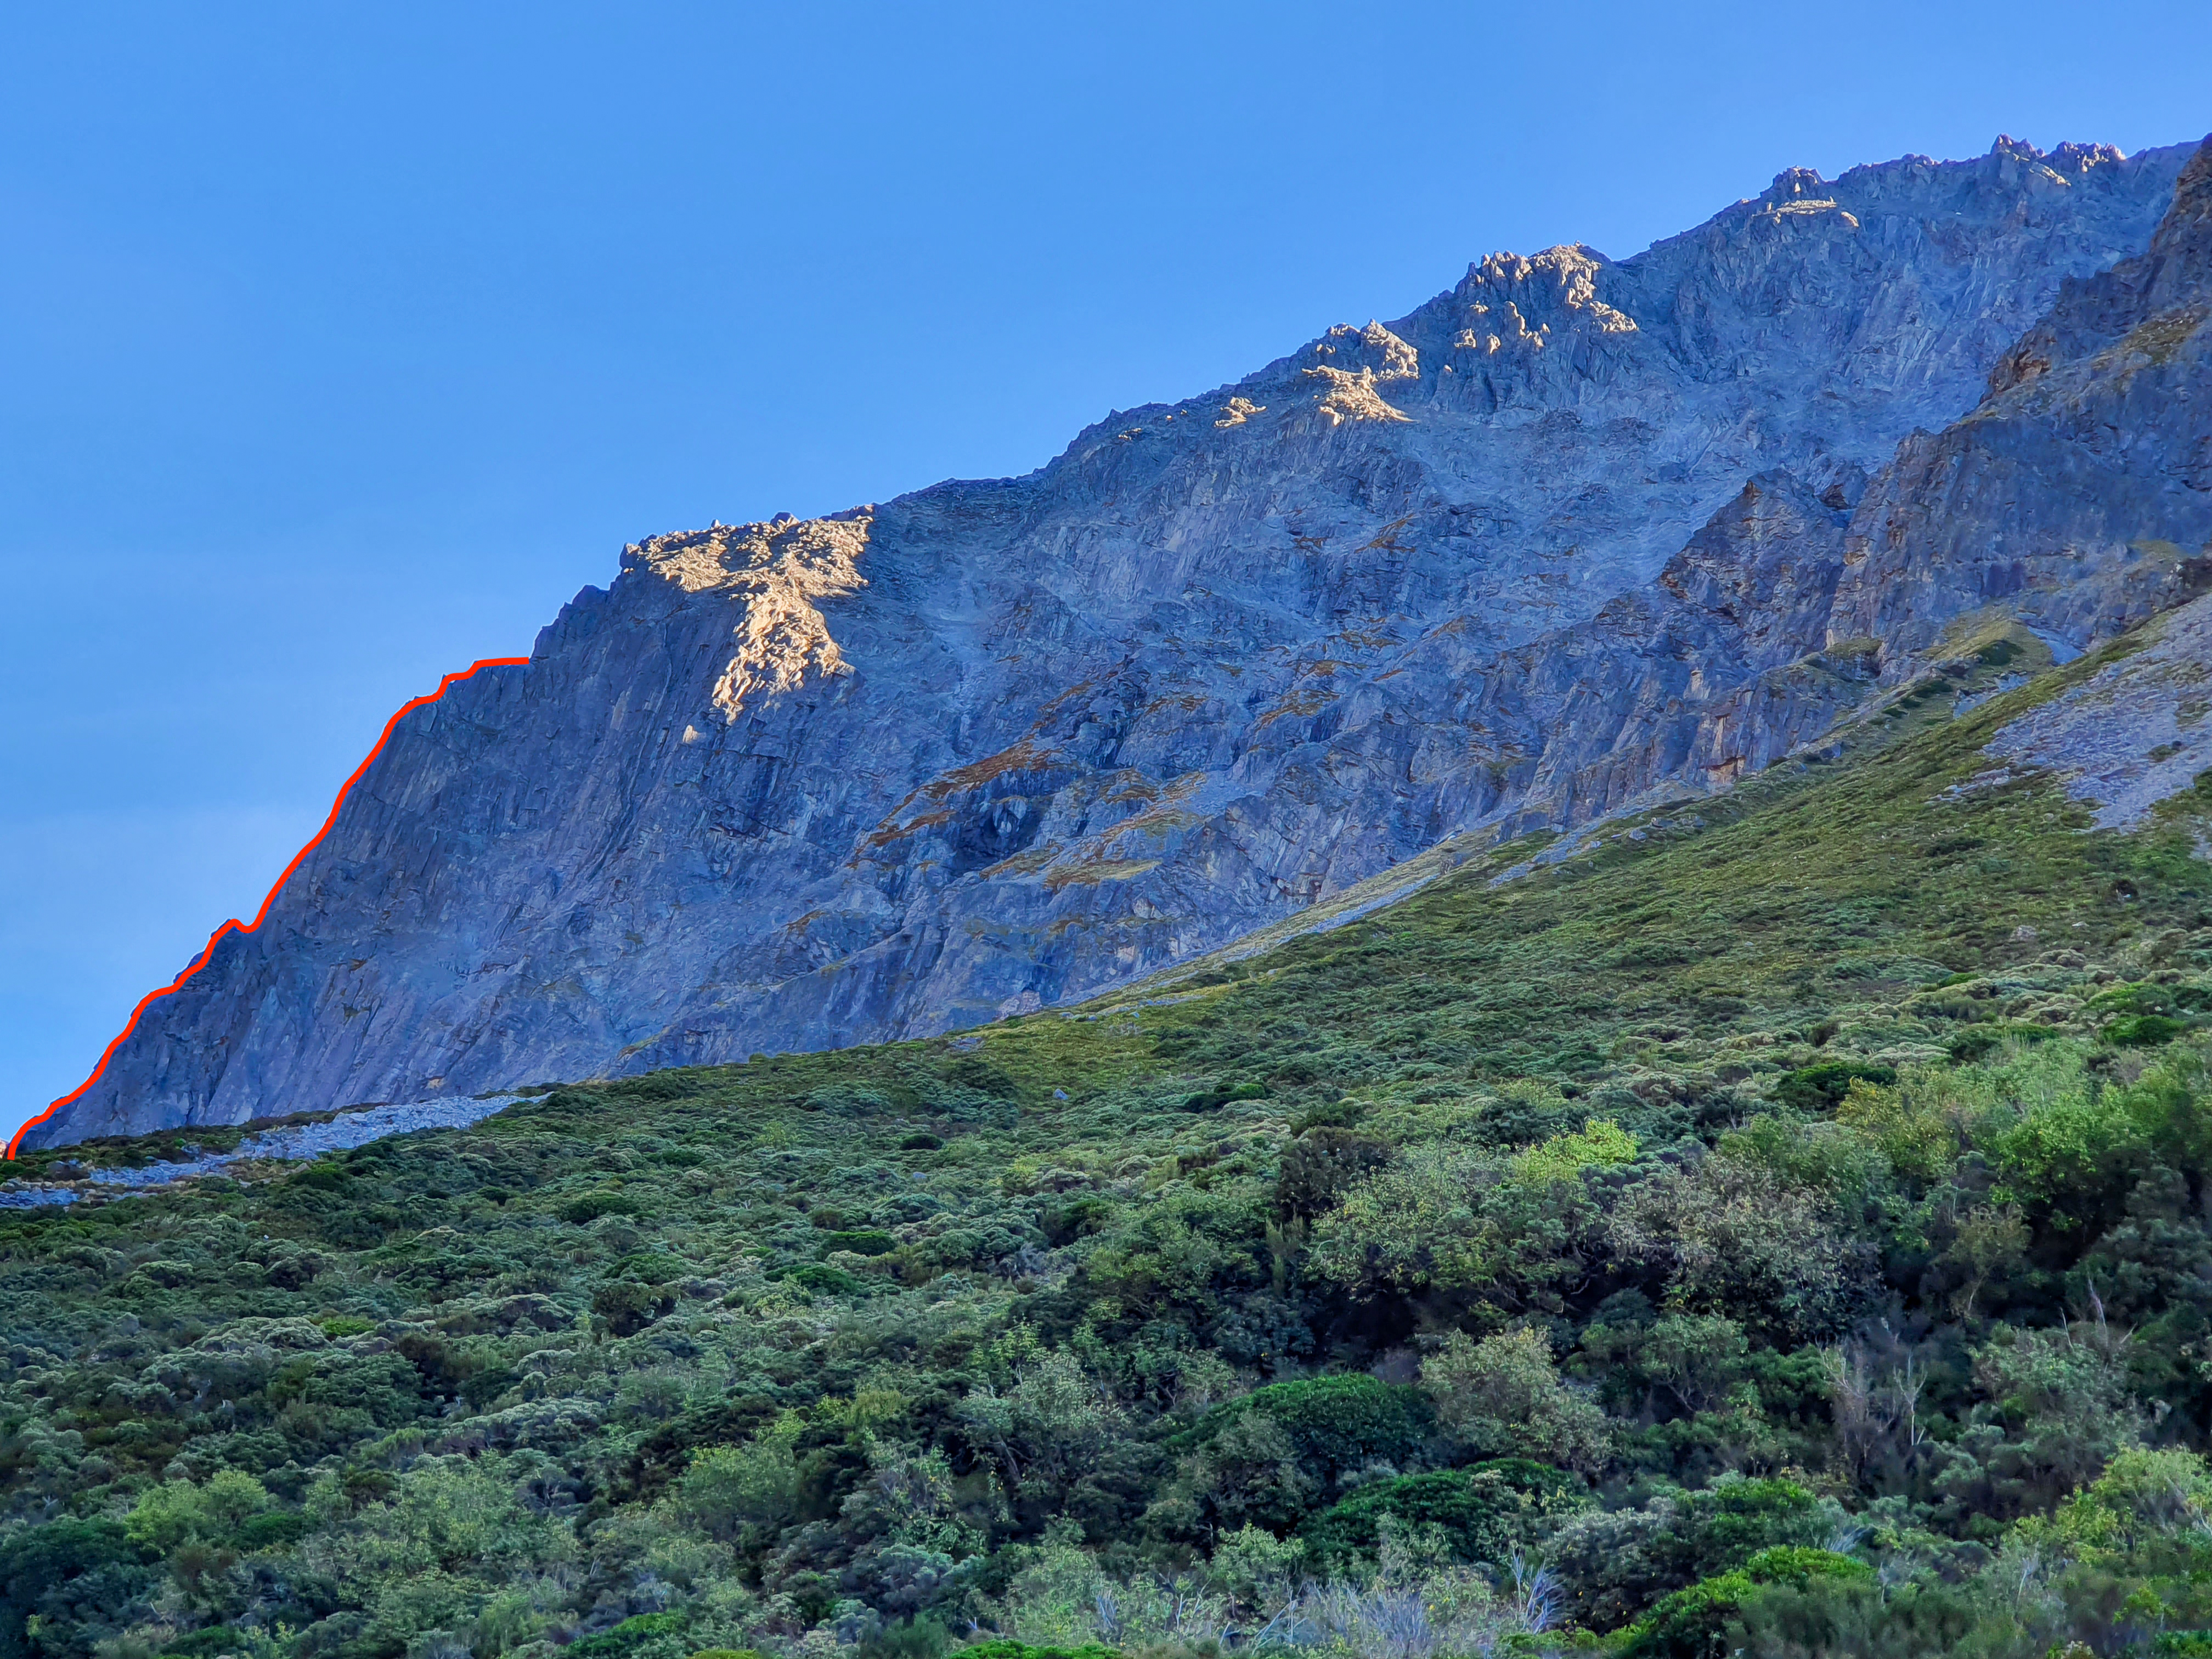
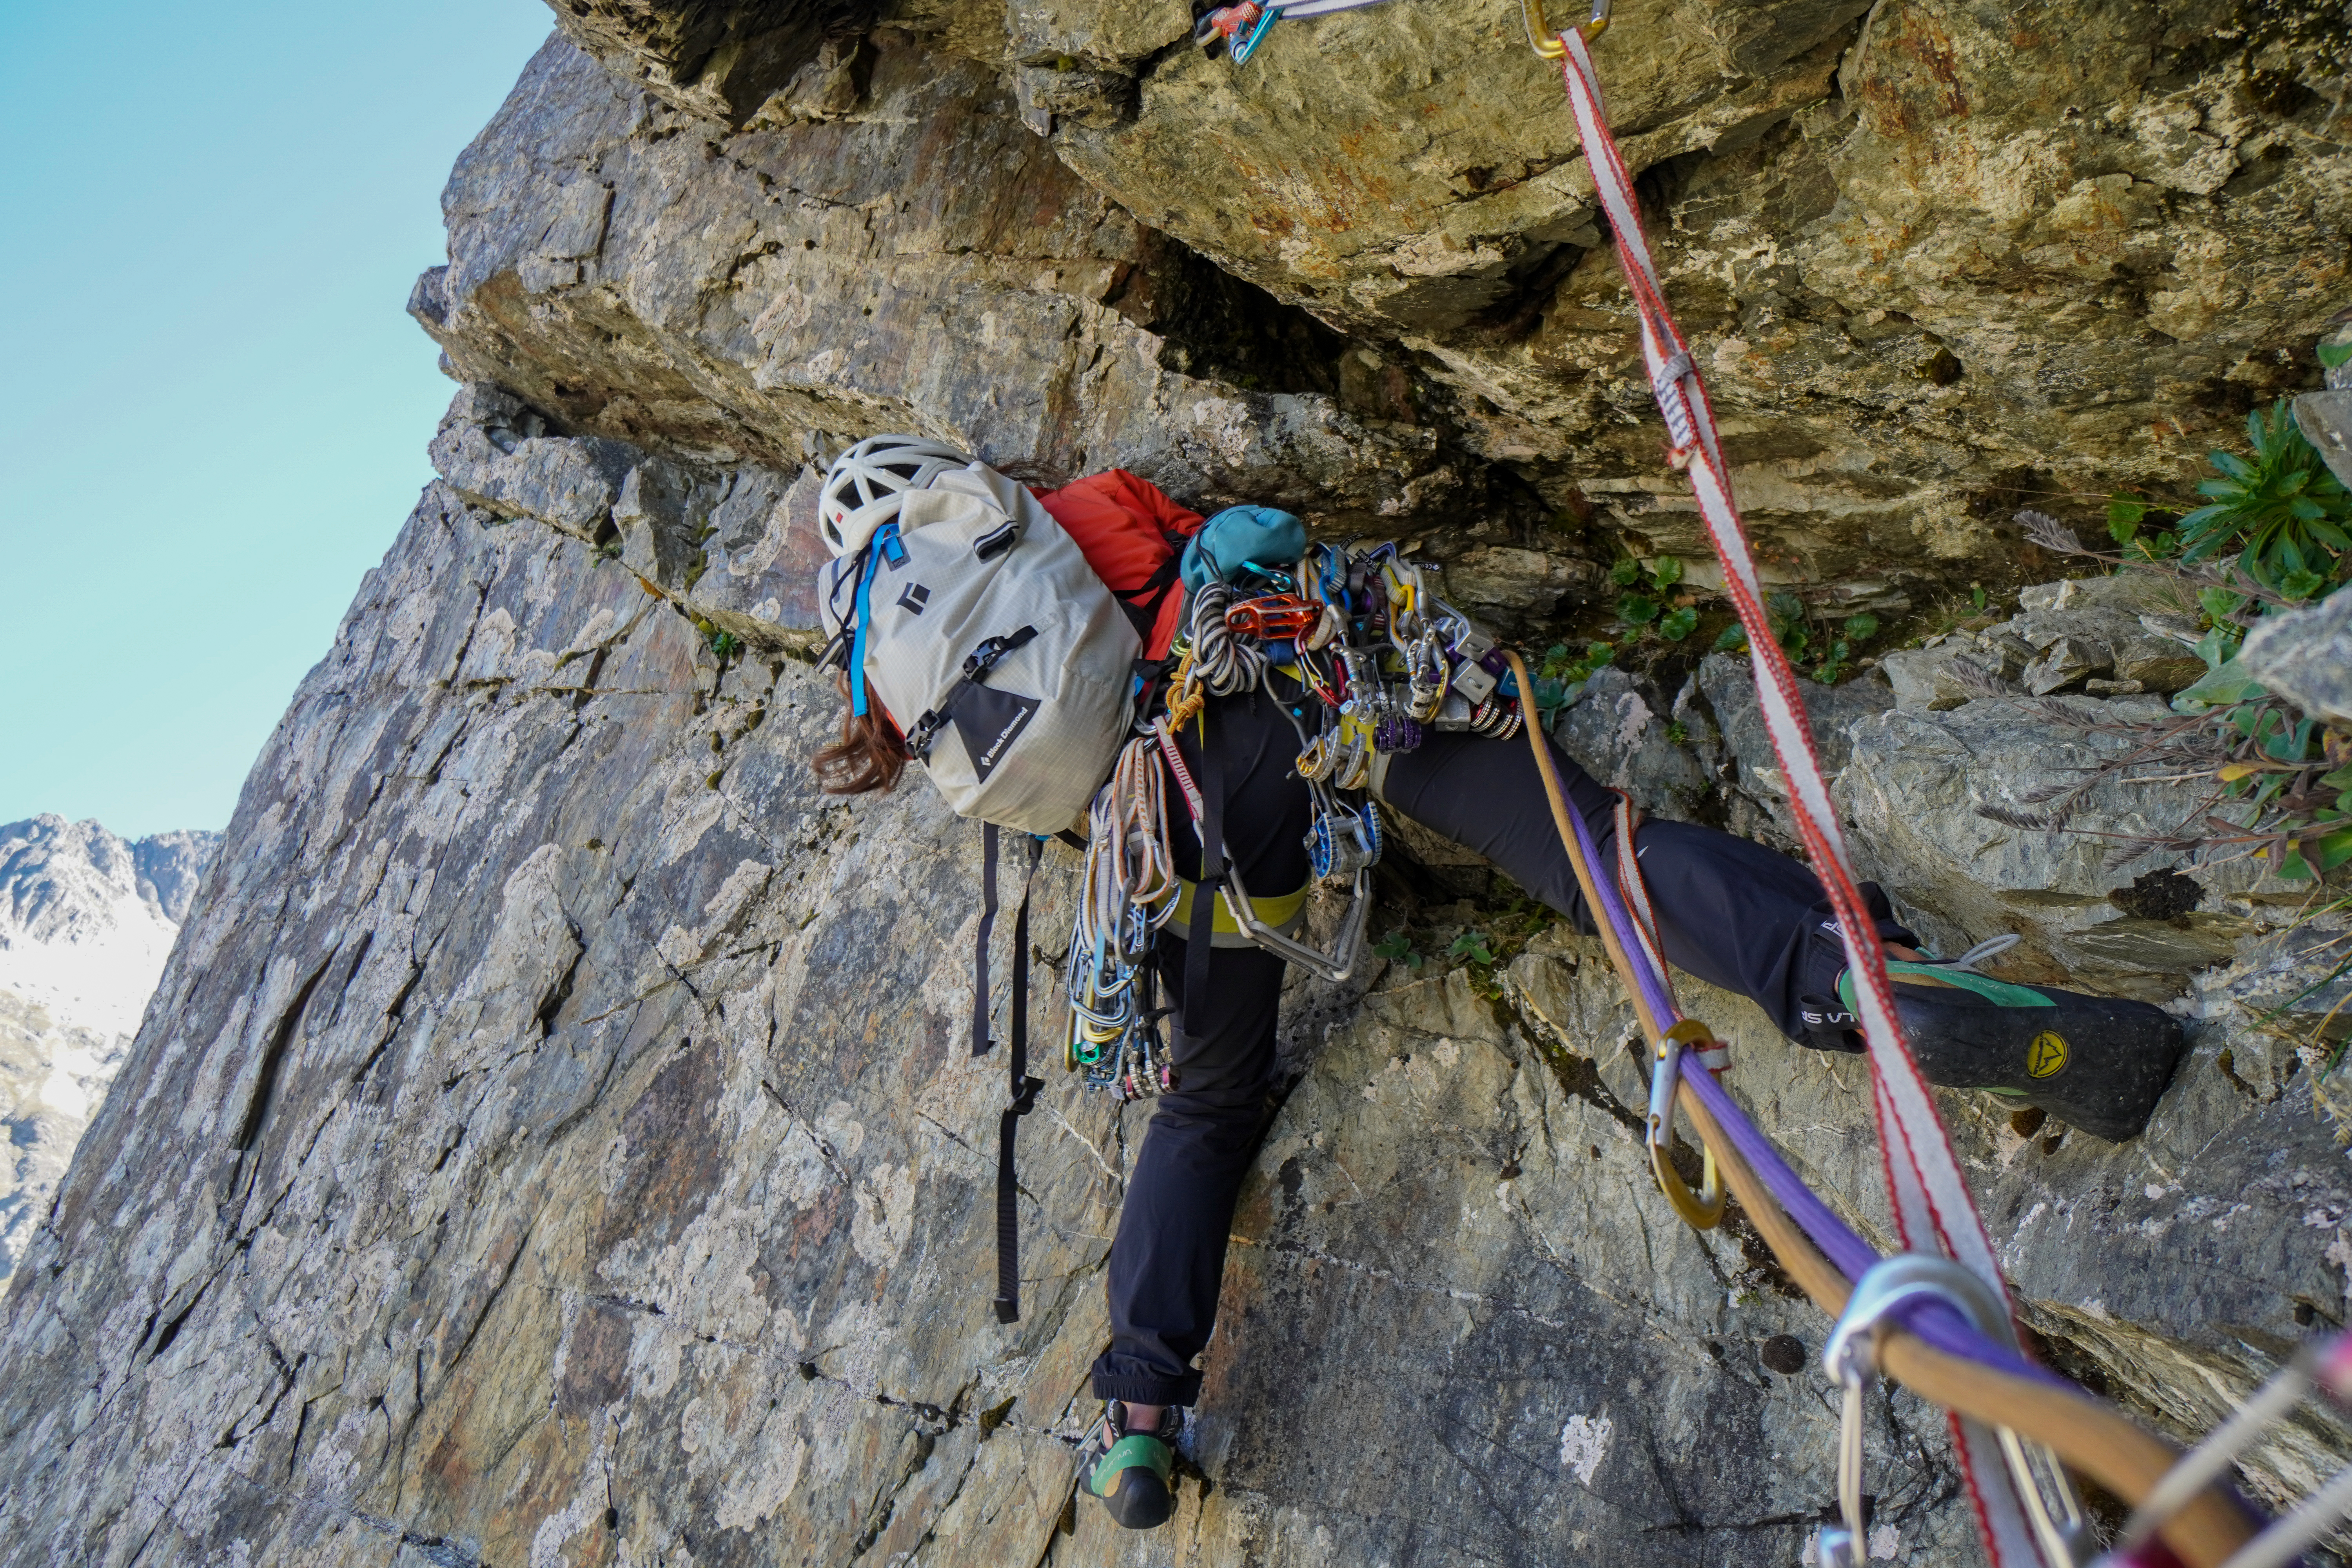
Follow a line up the obvious prominent buttress. Varied climbing with delicate slabs, stemming corners, excellent finger and fist cracks and juggy overhangs. There are multiple short defined cruxes which are generally 4-5 moves long before the difficulty eases again. You generally follow the ridge apart from one section – the most obvious feature from the ground is the right facing black corner about halfway up that ends with a big yellow roof. You stem up this corner and traverse left back onto the ridge under the roof. The gear and rock quality is pretty consistently good and it never felt particularly run out or scary. The route finishes at about 1700m (so significantly lower than the summit of Mt Brown), from here you can either make one 30m rap to a scree field and descend or continue on to the very top which is a lot of scrambling and it looks like a few more pitches of climbing.
The topo on climb nz describes 14 pitches, but we ran a few of these together to end up with 9.
Pitch 1: (14 40m) Don’t judge the route by this pitch! Start at the base of a mossy grassy gully which trends up and left. Either stay in the gully for easier but mossier climbing or step left onto the slab for harder but cleaner climbing. Marginal gear on this first section but it isnt too difficult. Once past this mossy section the gear gets better, and you pull over a slightly steeper section onto a large low angle slab with a great fist sized crack that takes #3/#2 cams to make an anchor.
Pitch 2: (16 40m) The start of the good climbing. Fantastic layback crack from the anchor. Eases into low angle slab after 3-4 moves. 2 more of these steps up to a spike belay on a boulder on left hand side of the ridge.

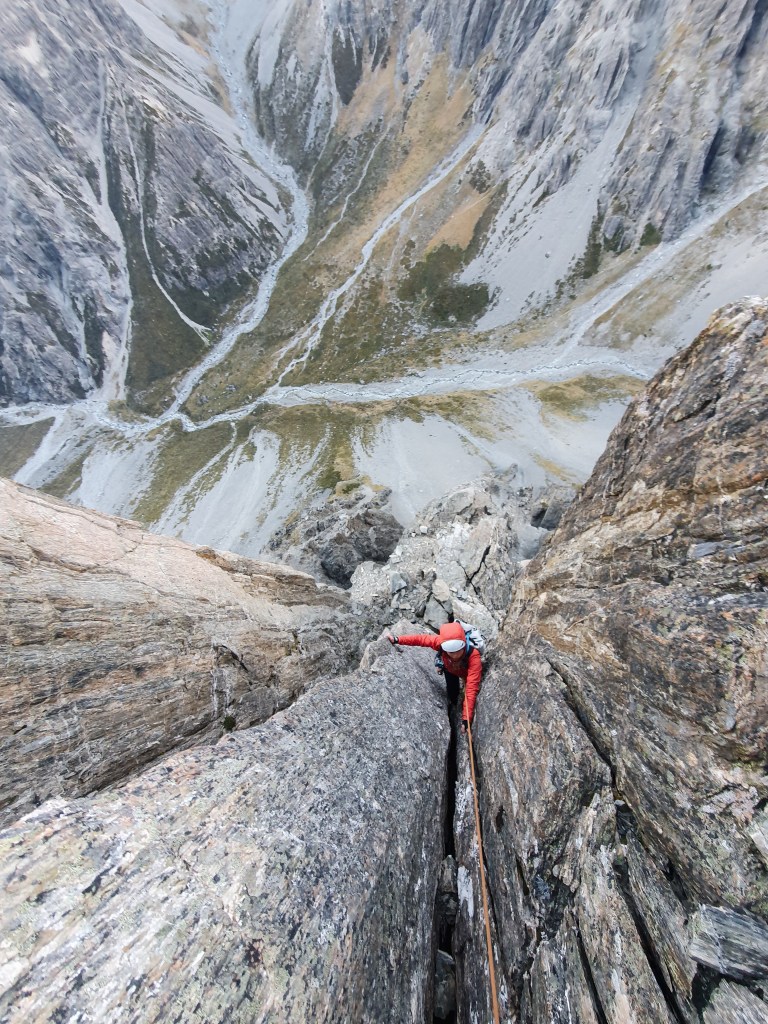
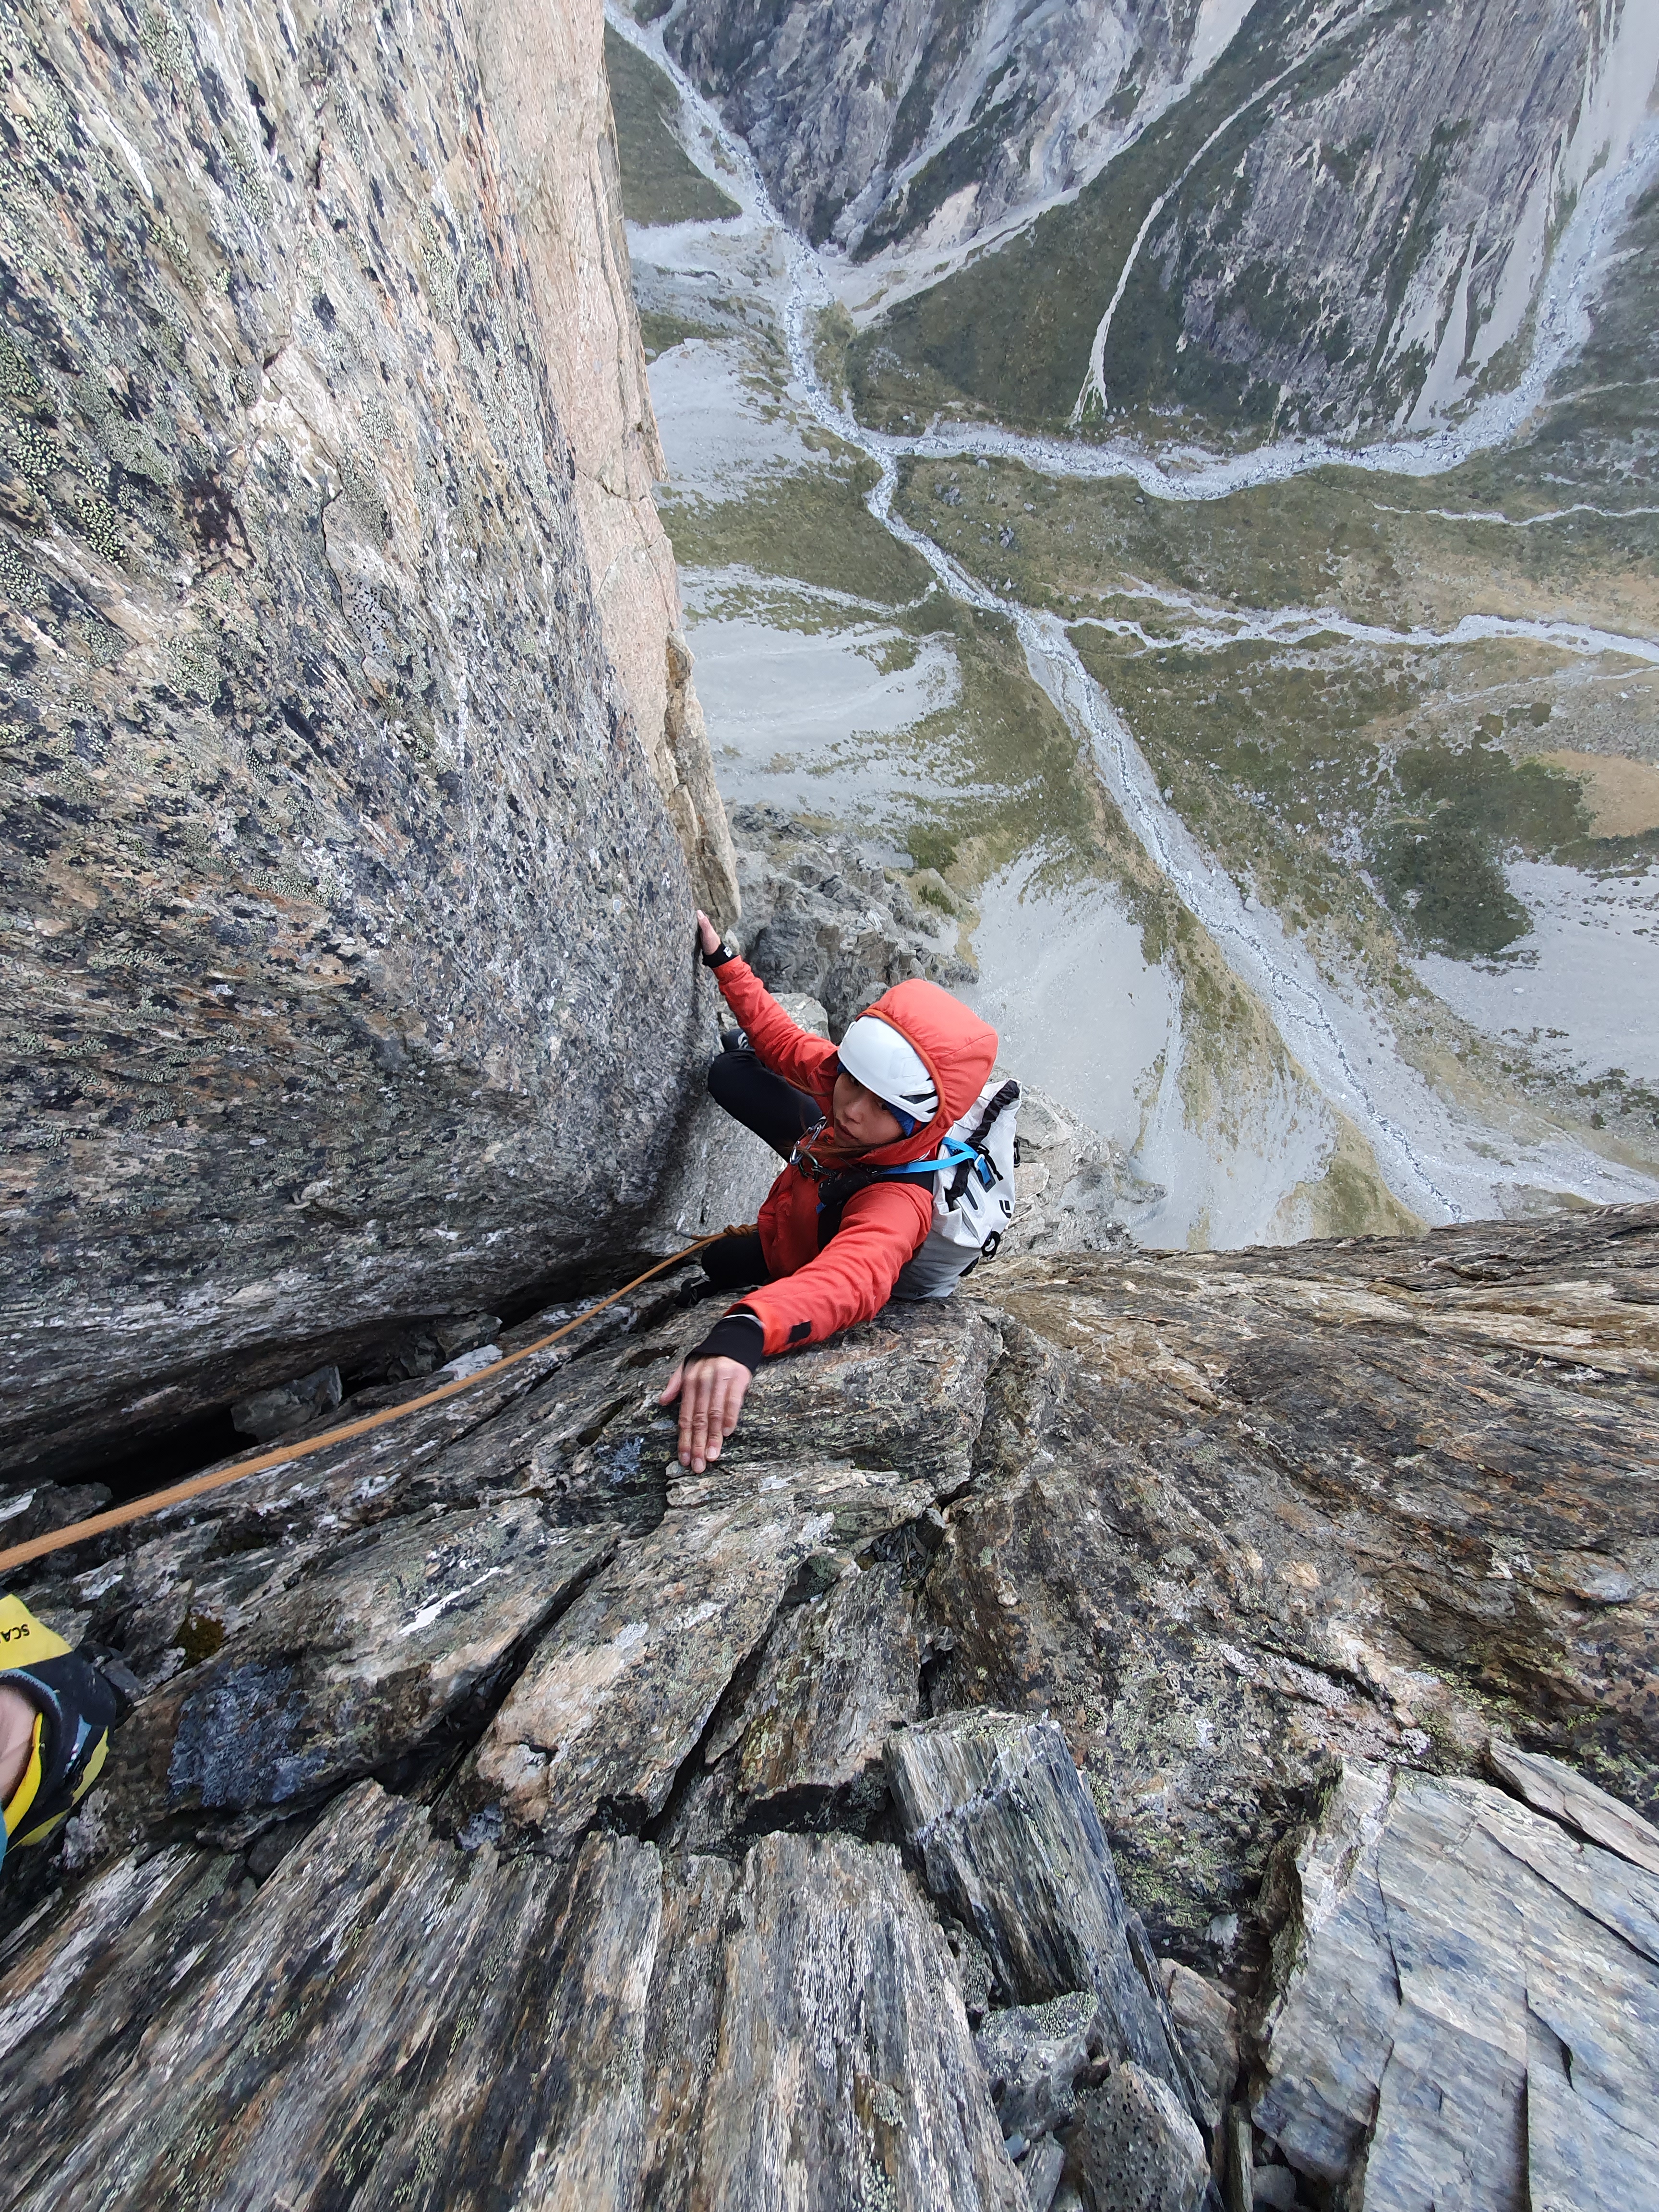
Pitch 3: (17 40m) Head up and right from the belay to the top of the arete. From the flat platform step right onto the steep wall hanging out over the edge and traverse up and round to the right. Mega exposure! Big jugs and good gear. Once you’re up over this section the angle eases off. Aim for the right hand side of the ridge to make your belay.
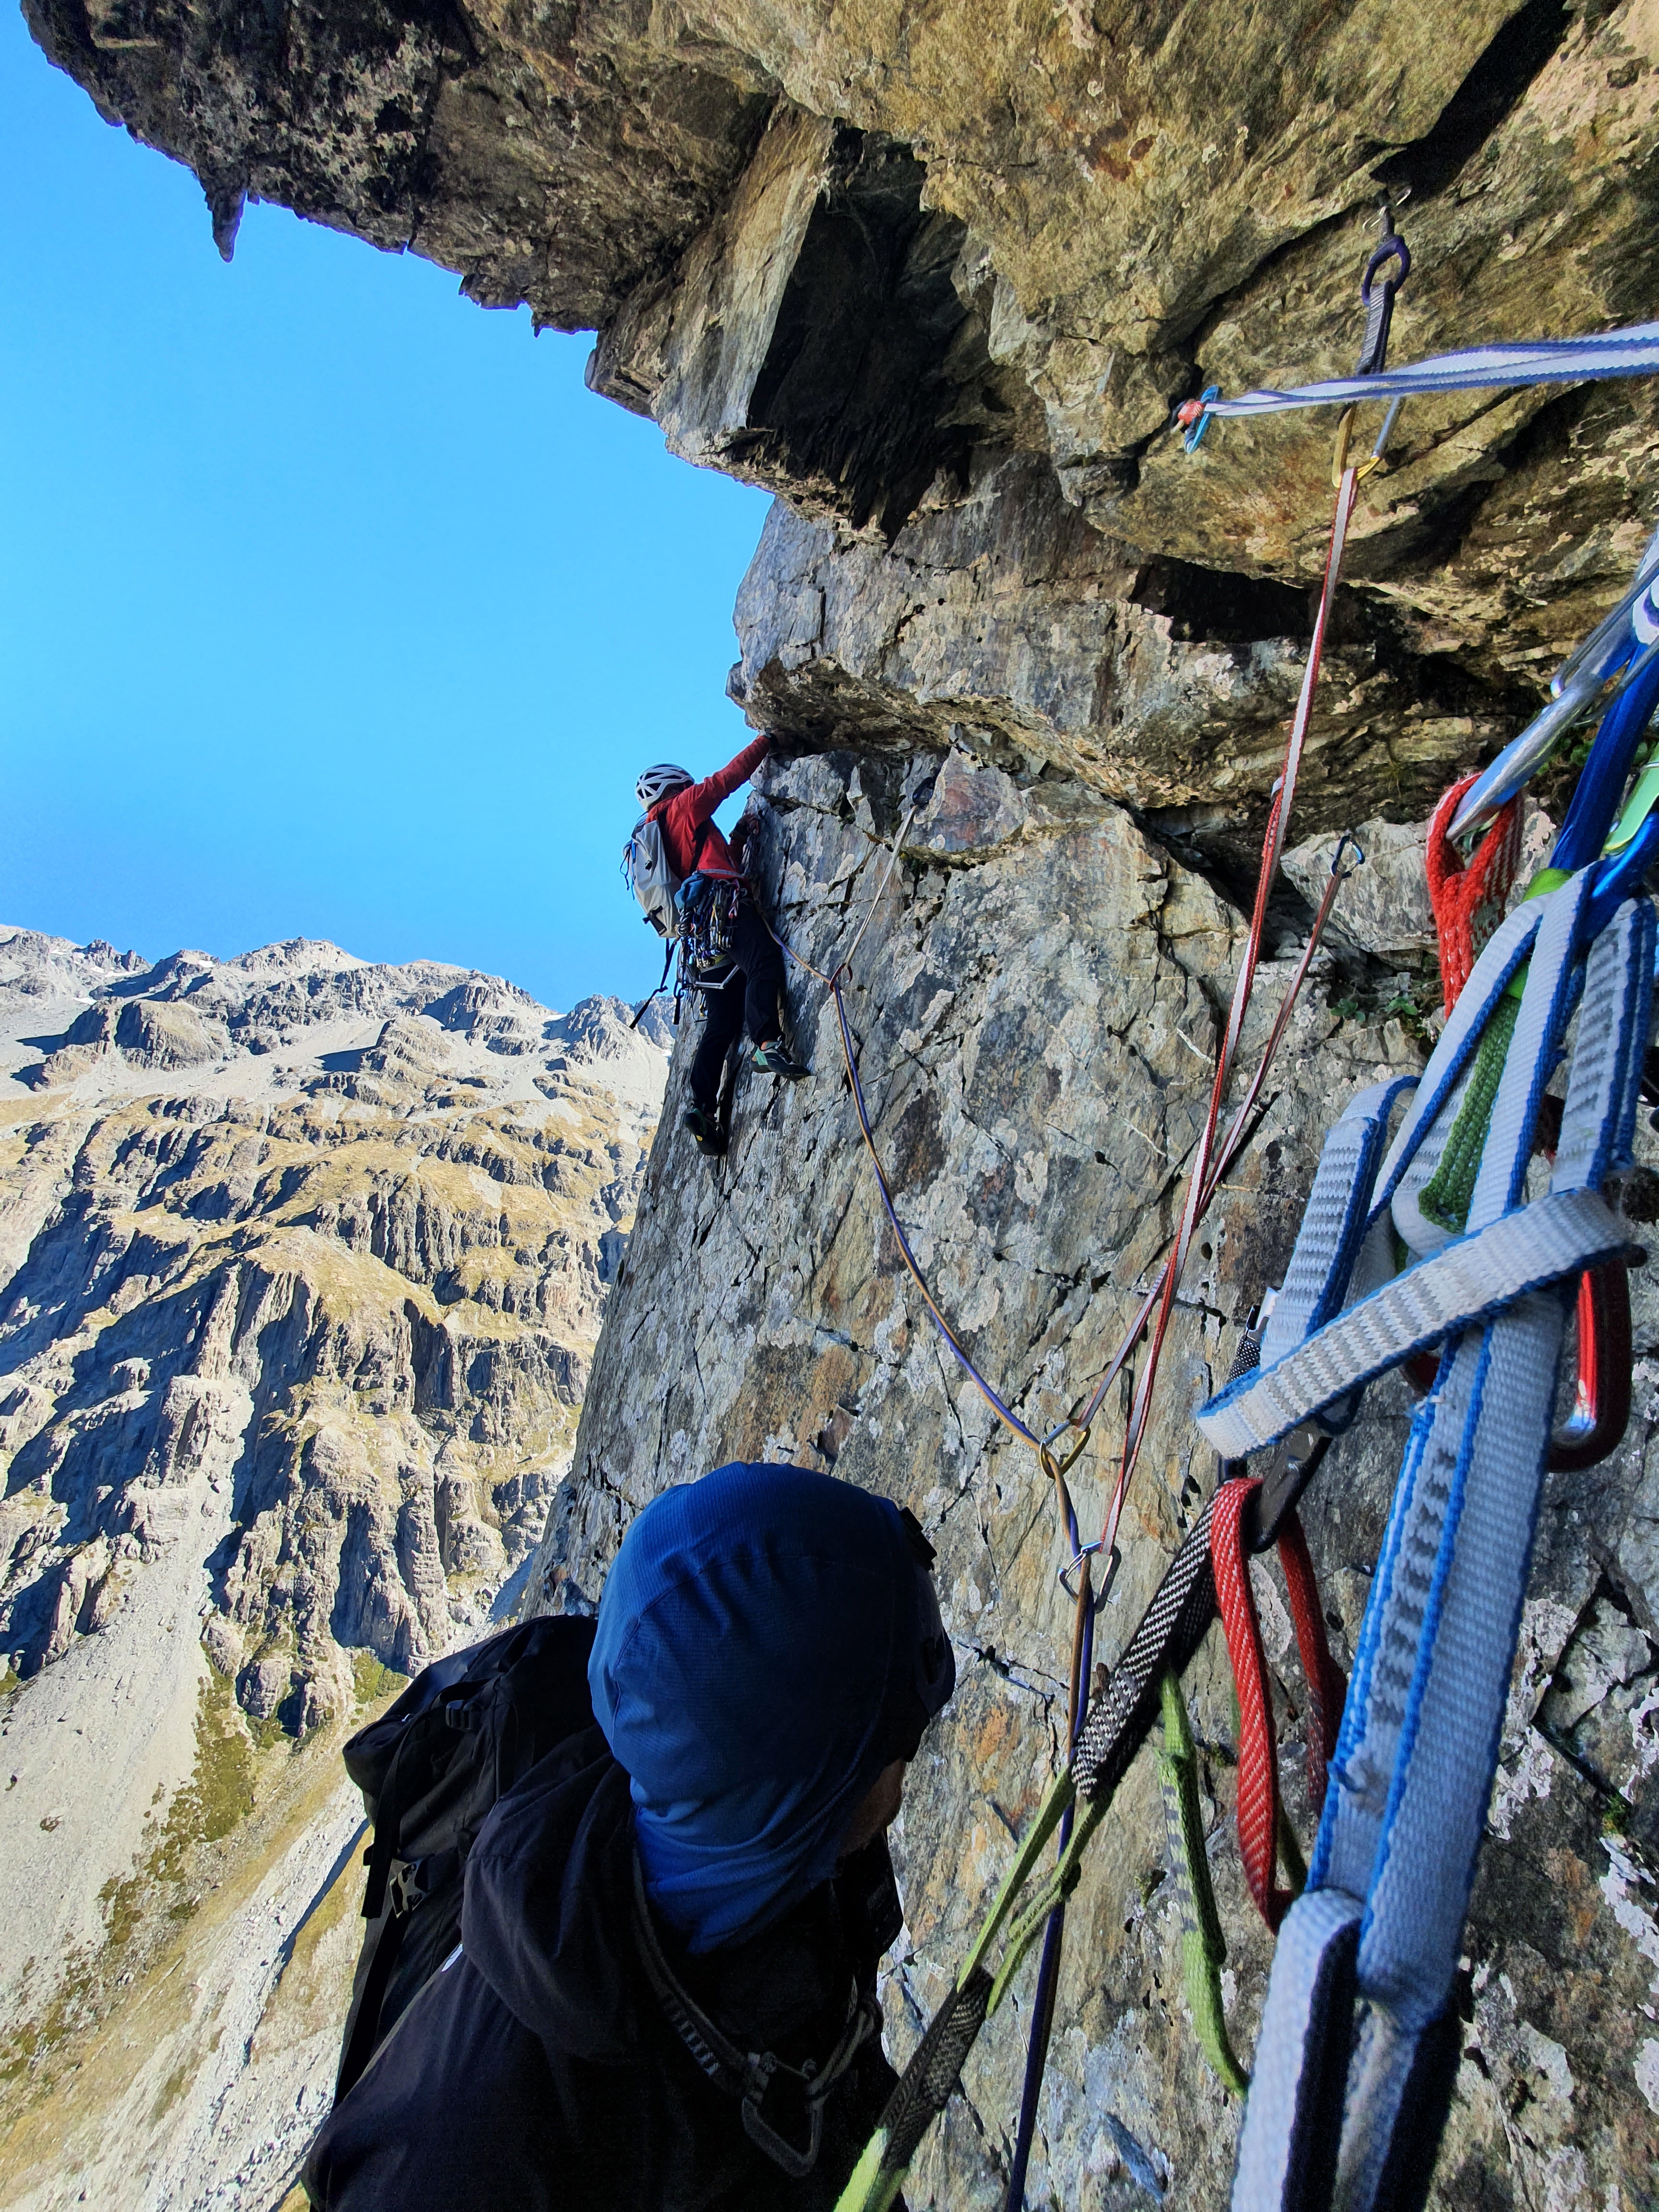
Pitch 4: (19/20 50m) First crux pitch. Traverse right from the belay on a balancey slab with underclings on a small roof. Try and stay low and use long runners on the traverse to reduce drag. After the traverse head up the black right facing corner to the roof where you make a hanging belay. Really cool technical climbing with stemming in the corner. A stuck in #1 red cam and 2x abandoned nuts on the right mark where you’re aiming for! There’s good gear up the corner, gobbles up small cams, especially #0.5 and smaller. The crux is the last move before the anchor, with delicate moves pulling up over a blank black overhang. Save a #2 cam and a micronut / RP to protect this move. Try not to use your #3 in the anchor as you’ll want it for the next pitch.
Pitch 5: (19 40m) From the hanging belay head left under the roof along the crack to the arete. Solid gear (#3 cam) and big jugs for hands but delicate feet and great exposure! Crank up and over onto easier ground.
Pitch 6: (16 50m) Low angle scrambling straight up the ridge to a large flat platform several metres wide. Cranky move to get up over onto the next section.
Pitch 7: (14 50m) Head up towards the top of the ridge. Stay to the left and traverse along the ledge – it’s tempting to go right up onto the very top but if you do there’s a difficult downclimb of a few metres. From here you get to a knife-edge ridge about 20m long made of quite loose flaky rock. Take care traversing this and get to the base of a series of steps up blocky ground.
Pitch 8: (17 50m) Head straight up a series of corners / cracks which initially is quite loose but the quality improves as you go up. Some great stemming and laybacking towards the top. Good spike belay.
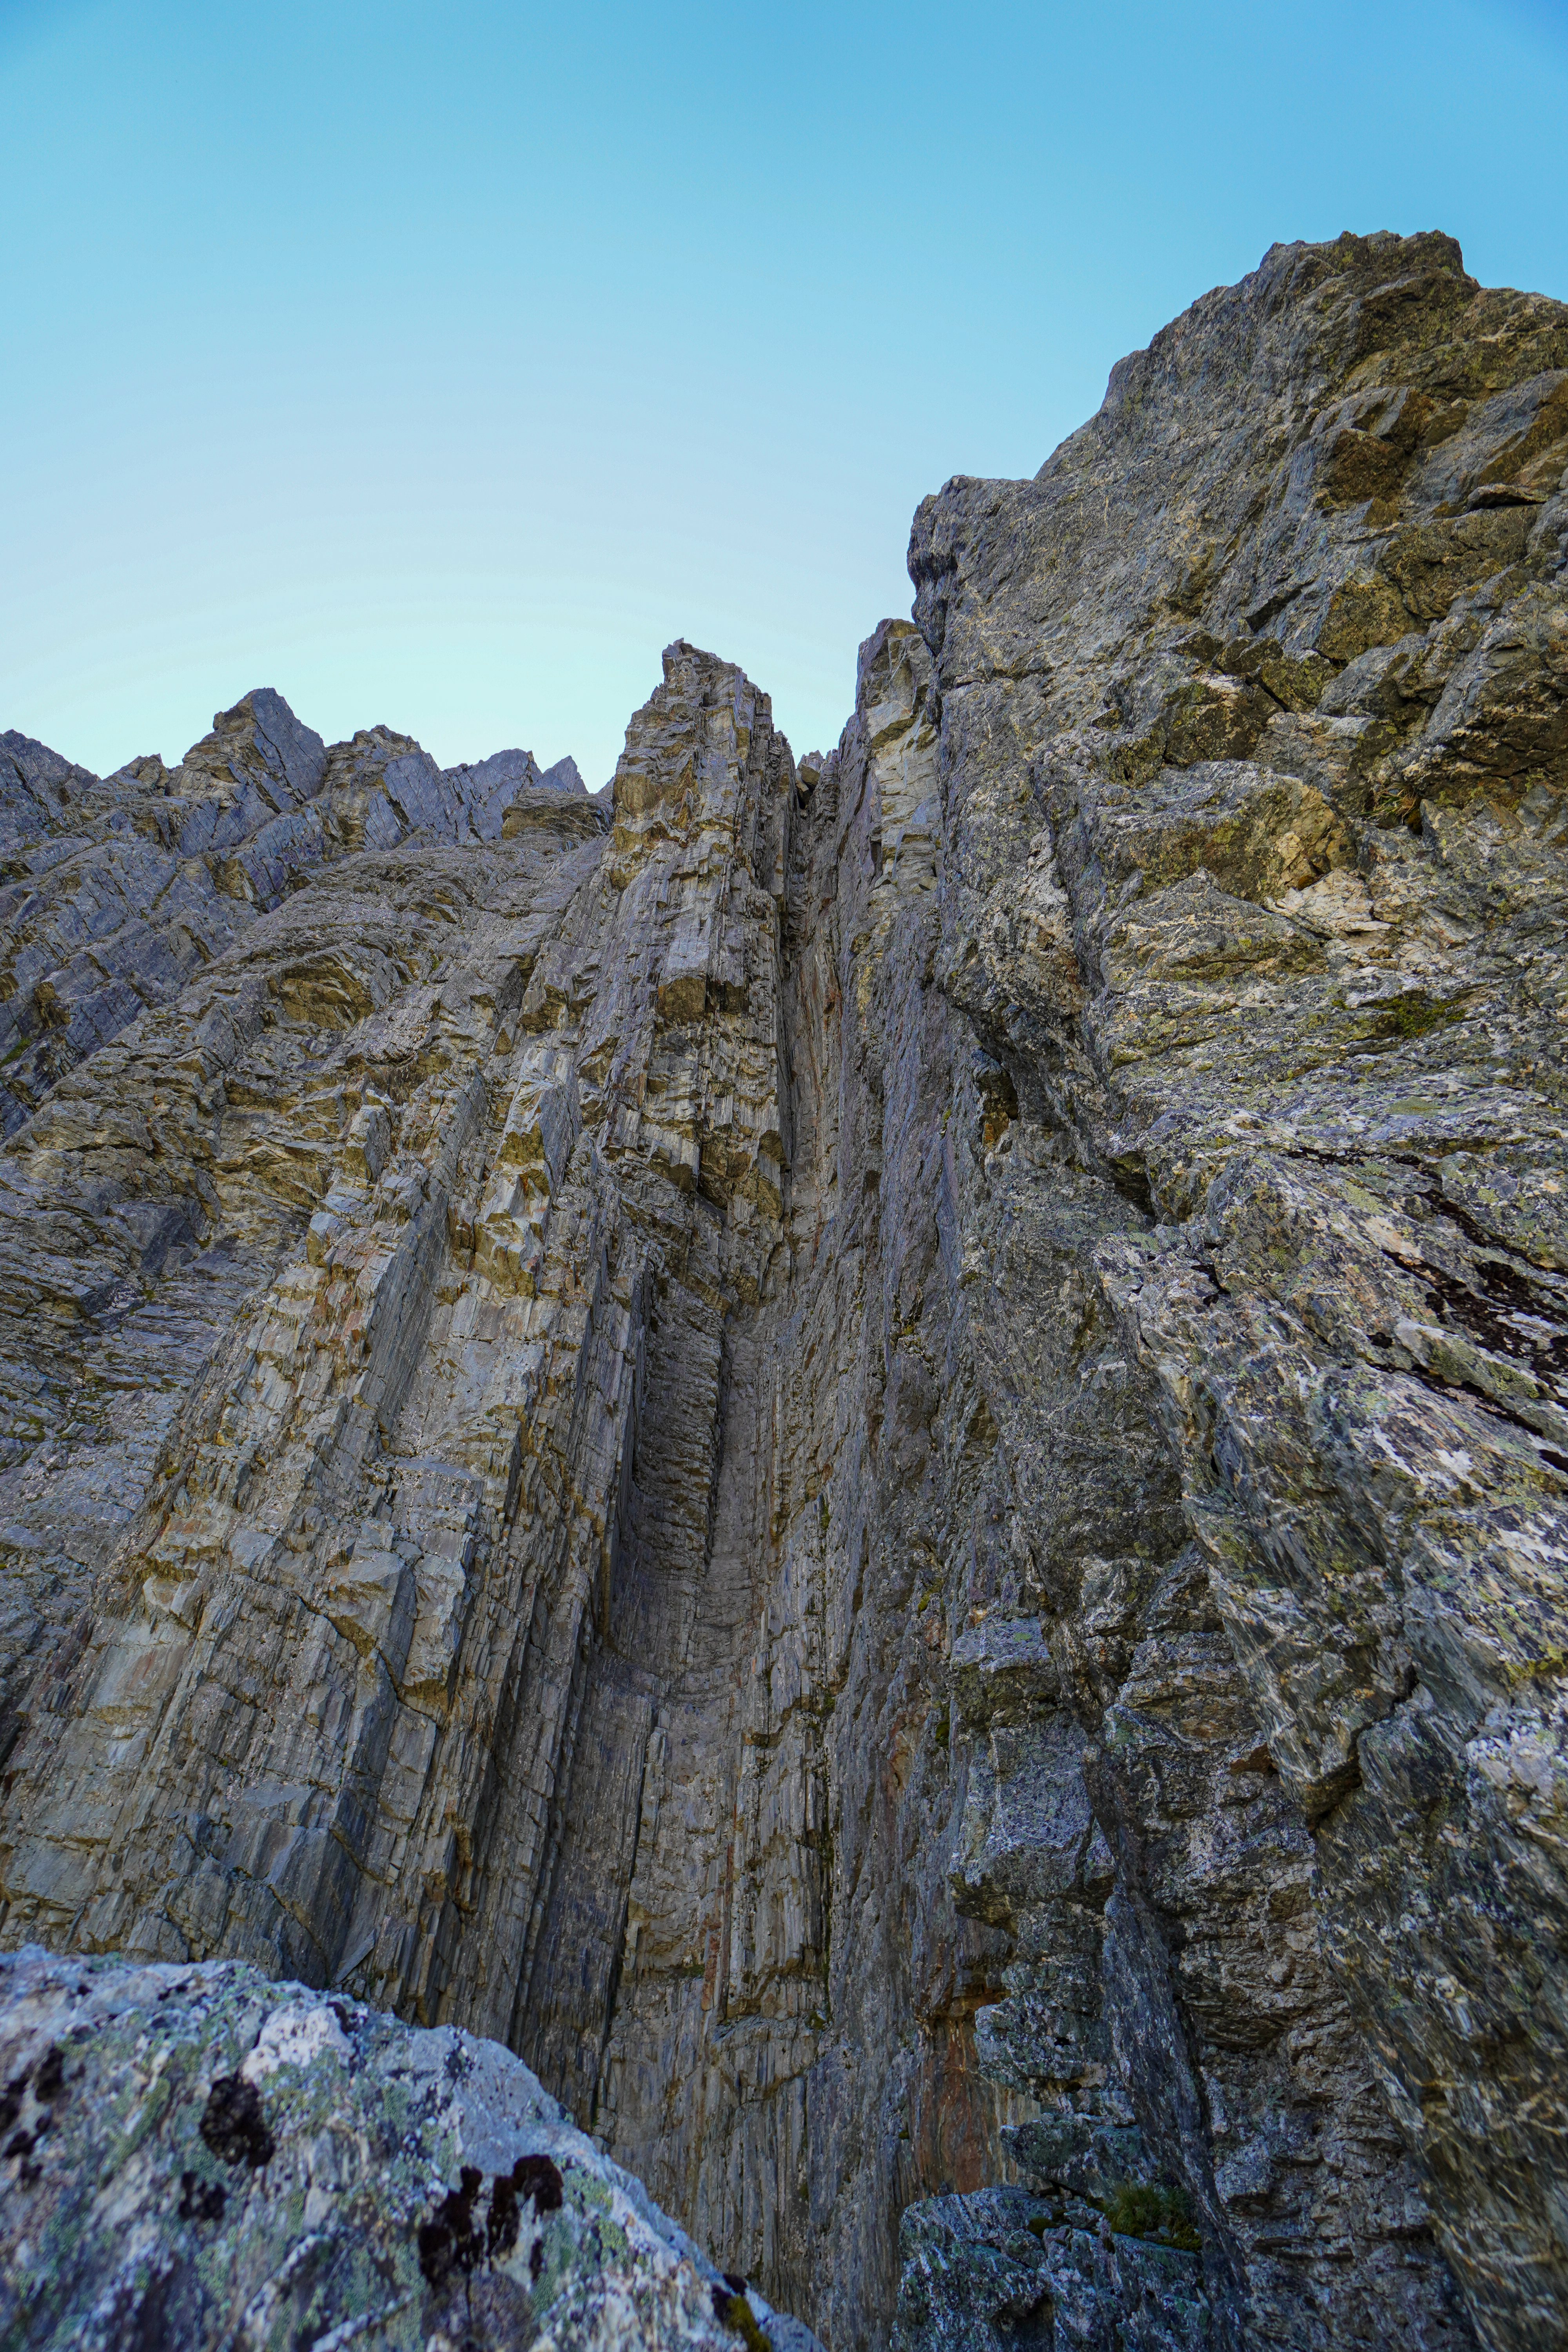
Pitch 9 : (19 70m) we did this all as one but probably better broken into 2 (or 3) pitches. Easy ground from the belay for 20m up to a ledge. Then up the big black towers to the top! Up the finger crack first to another small ledge, then into the fist crack which slowly widens to the top. Fantastic jamming and excellent gear on super interesting rock! Then scramble up the final scree gully to the big flat ledge system which it the top of the route.
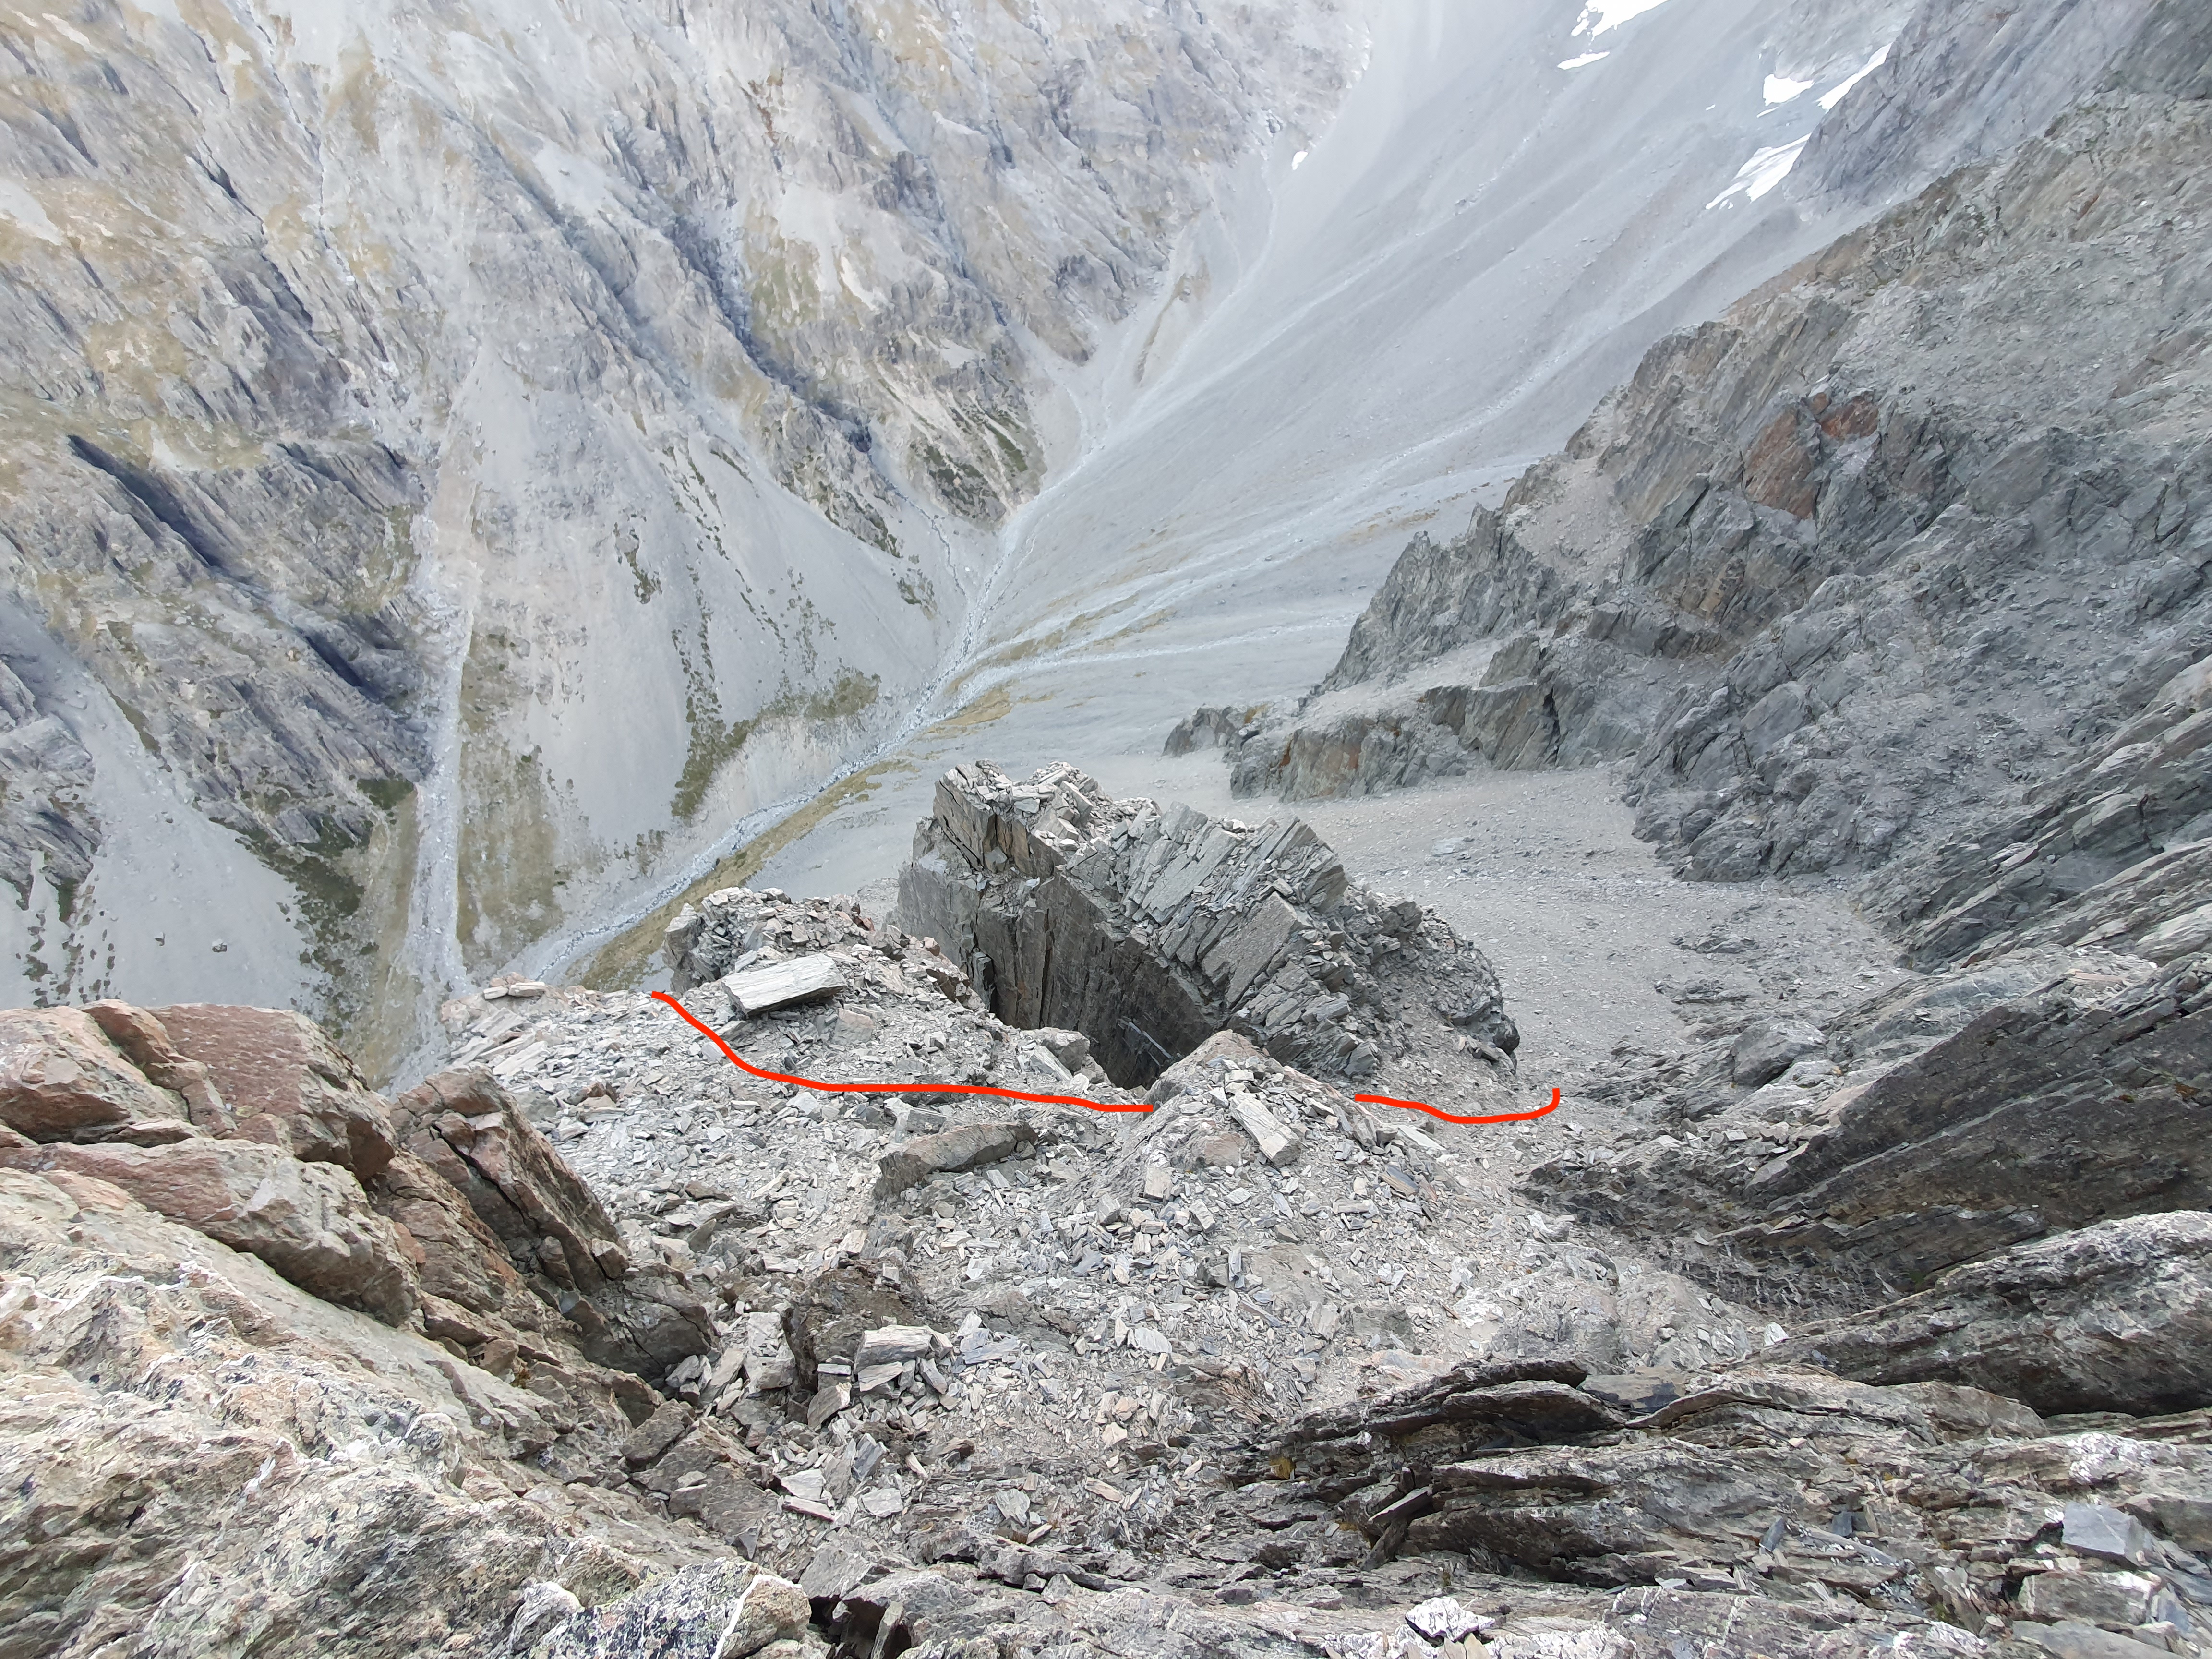
descent
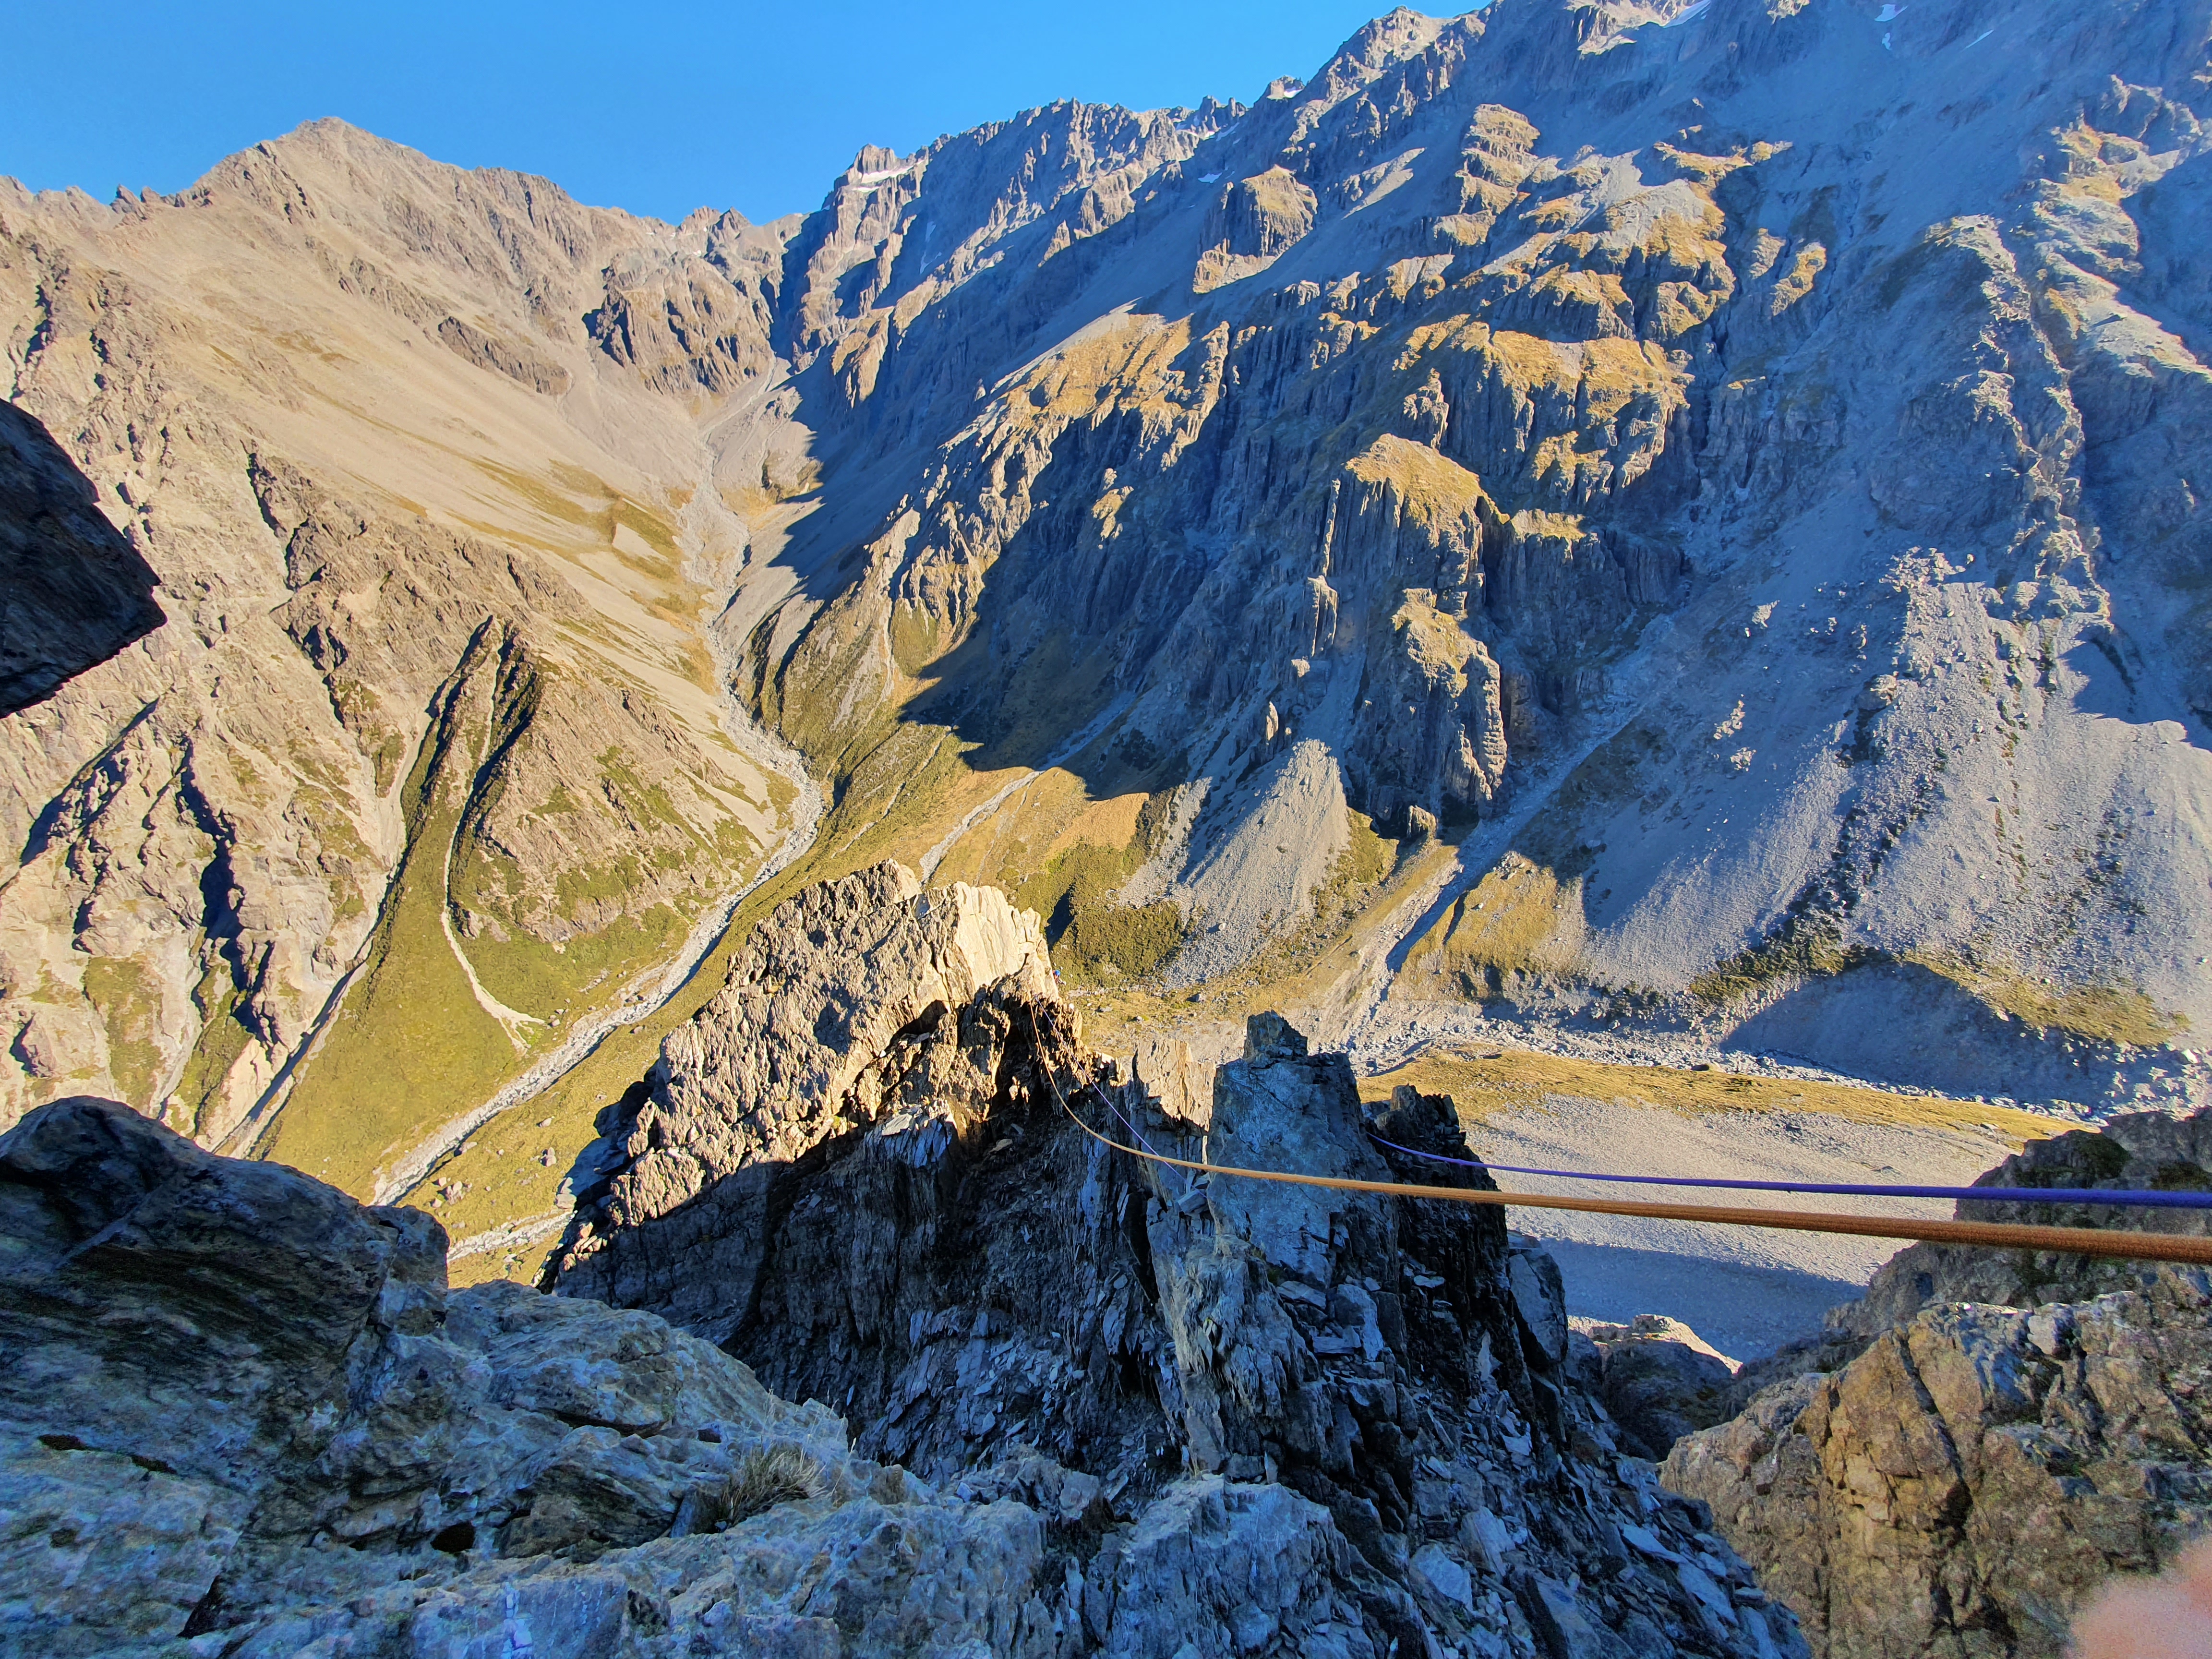
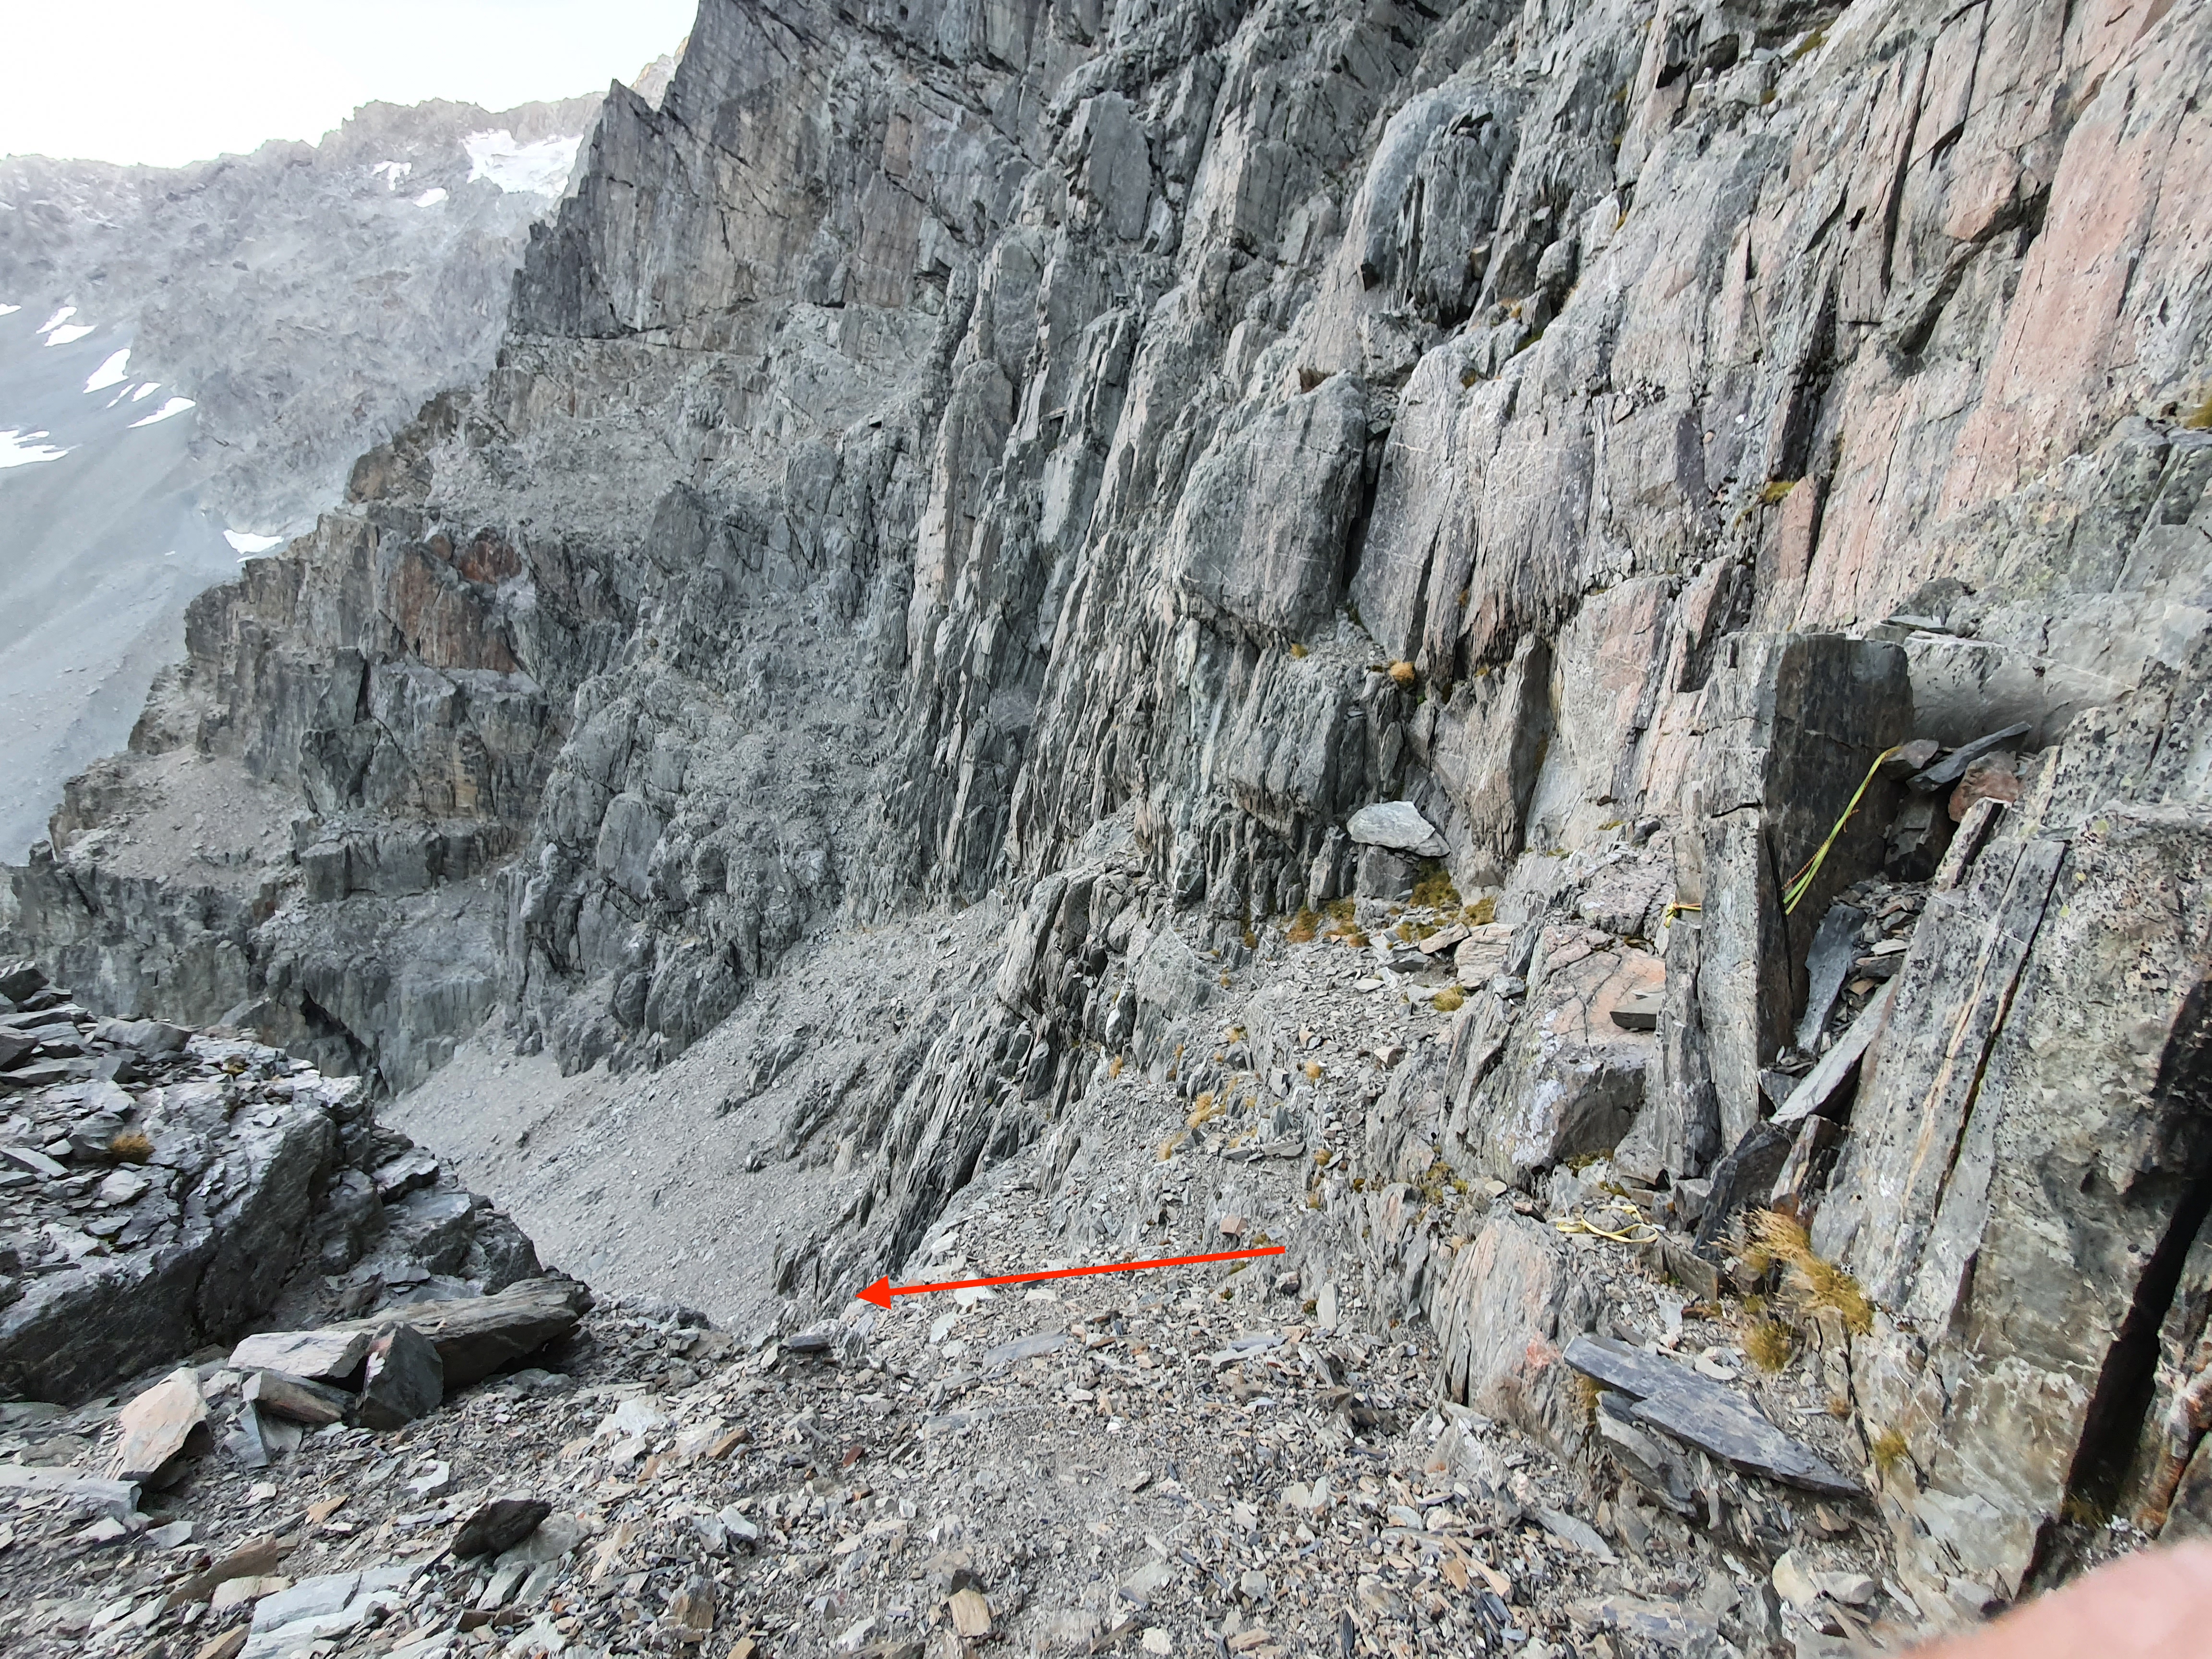
From this large scree platform there is a lot more vert up to the top of Mt Brown, but the standard route cuts off left down the scree ledges to a north facing gully. There is a giant block here which you can make a 30m rap down to the large scree slope to the North and then it’s an easy walk all the way back down to the valley. It took us around an hour to get from the top of the route back down to the valley.

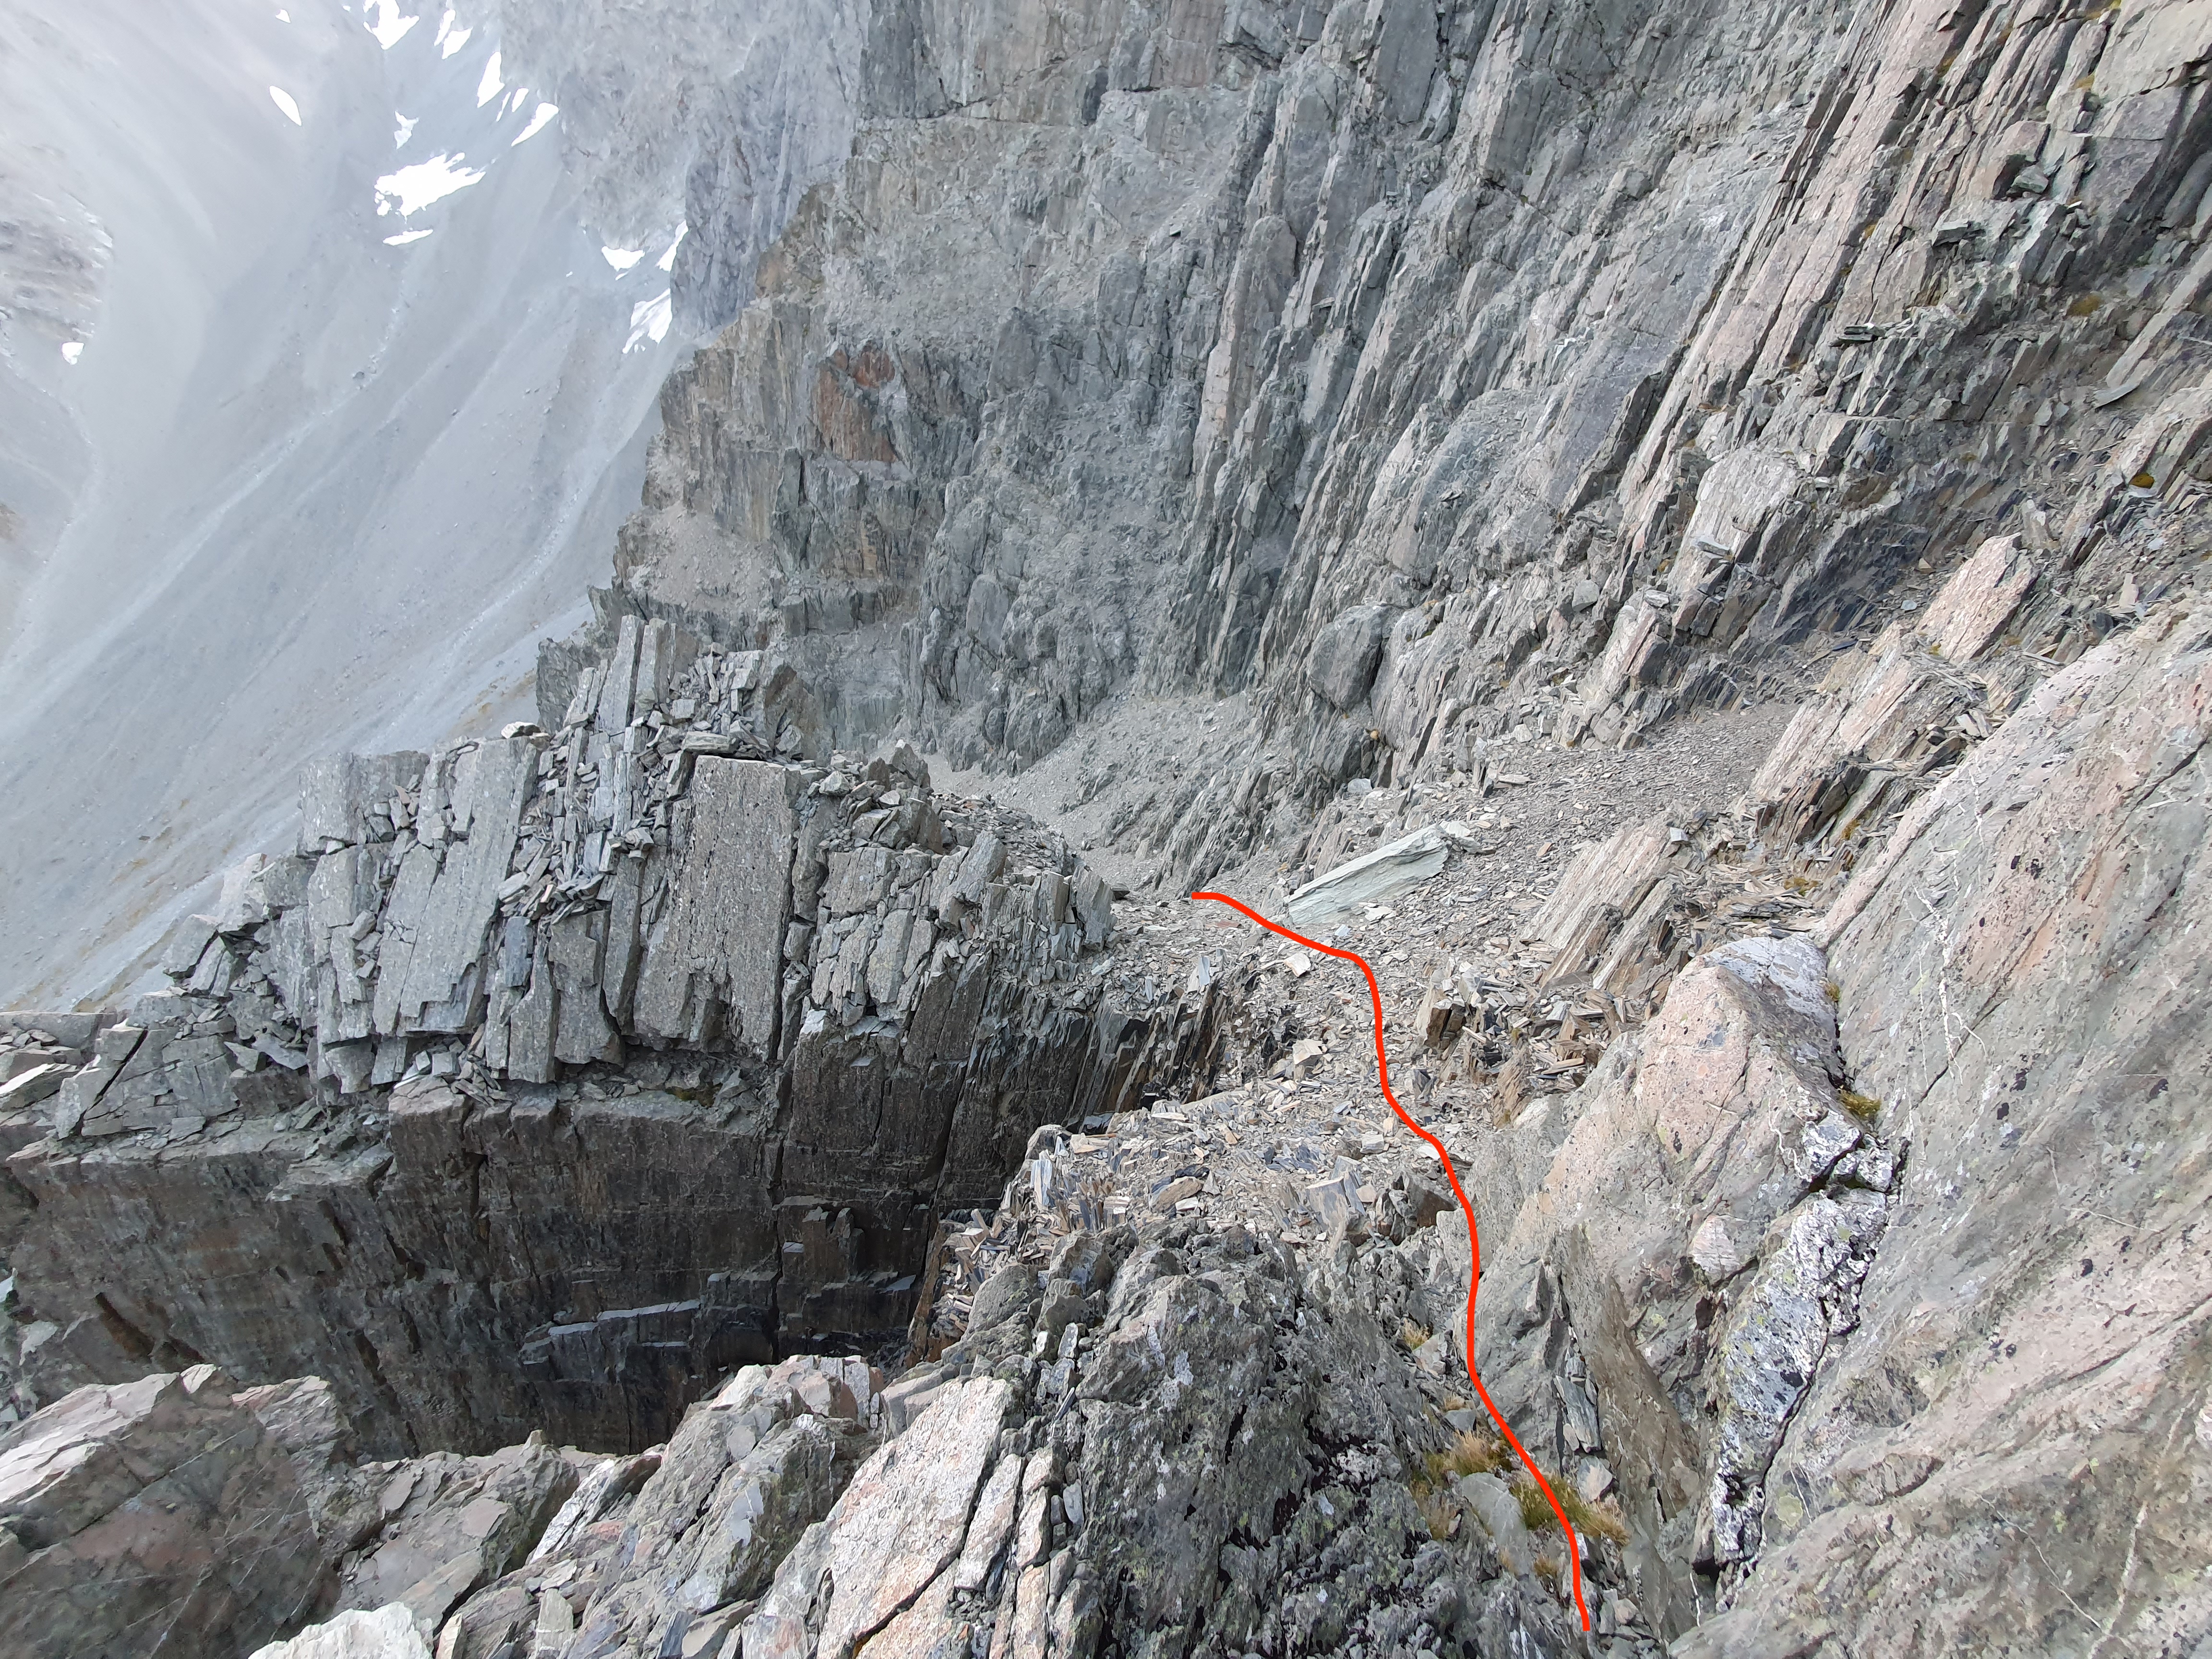
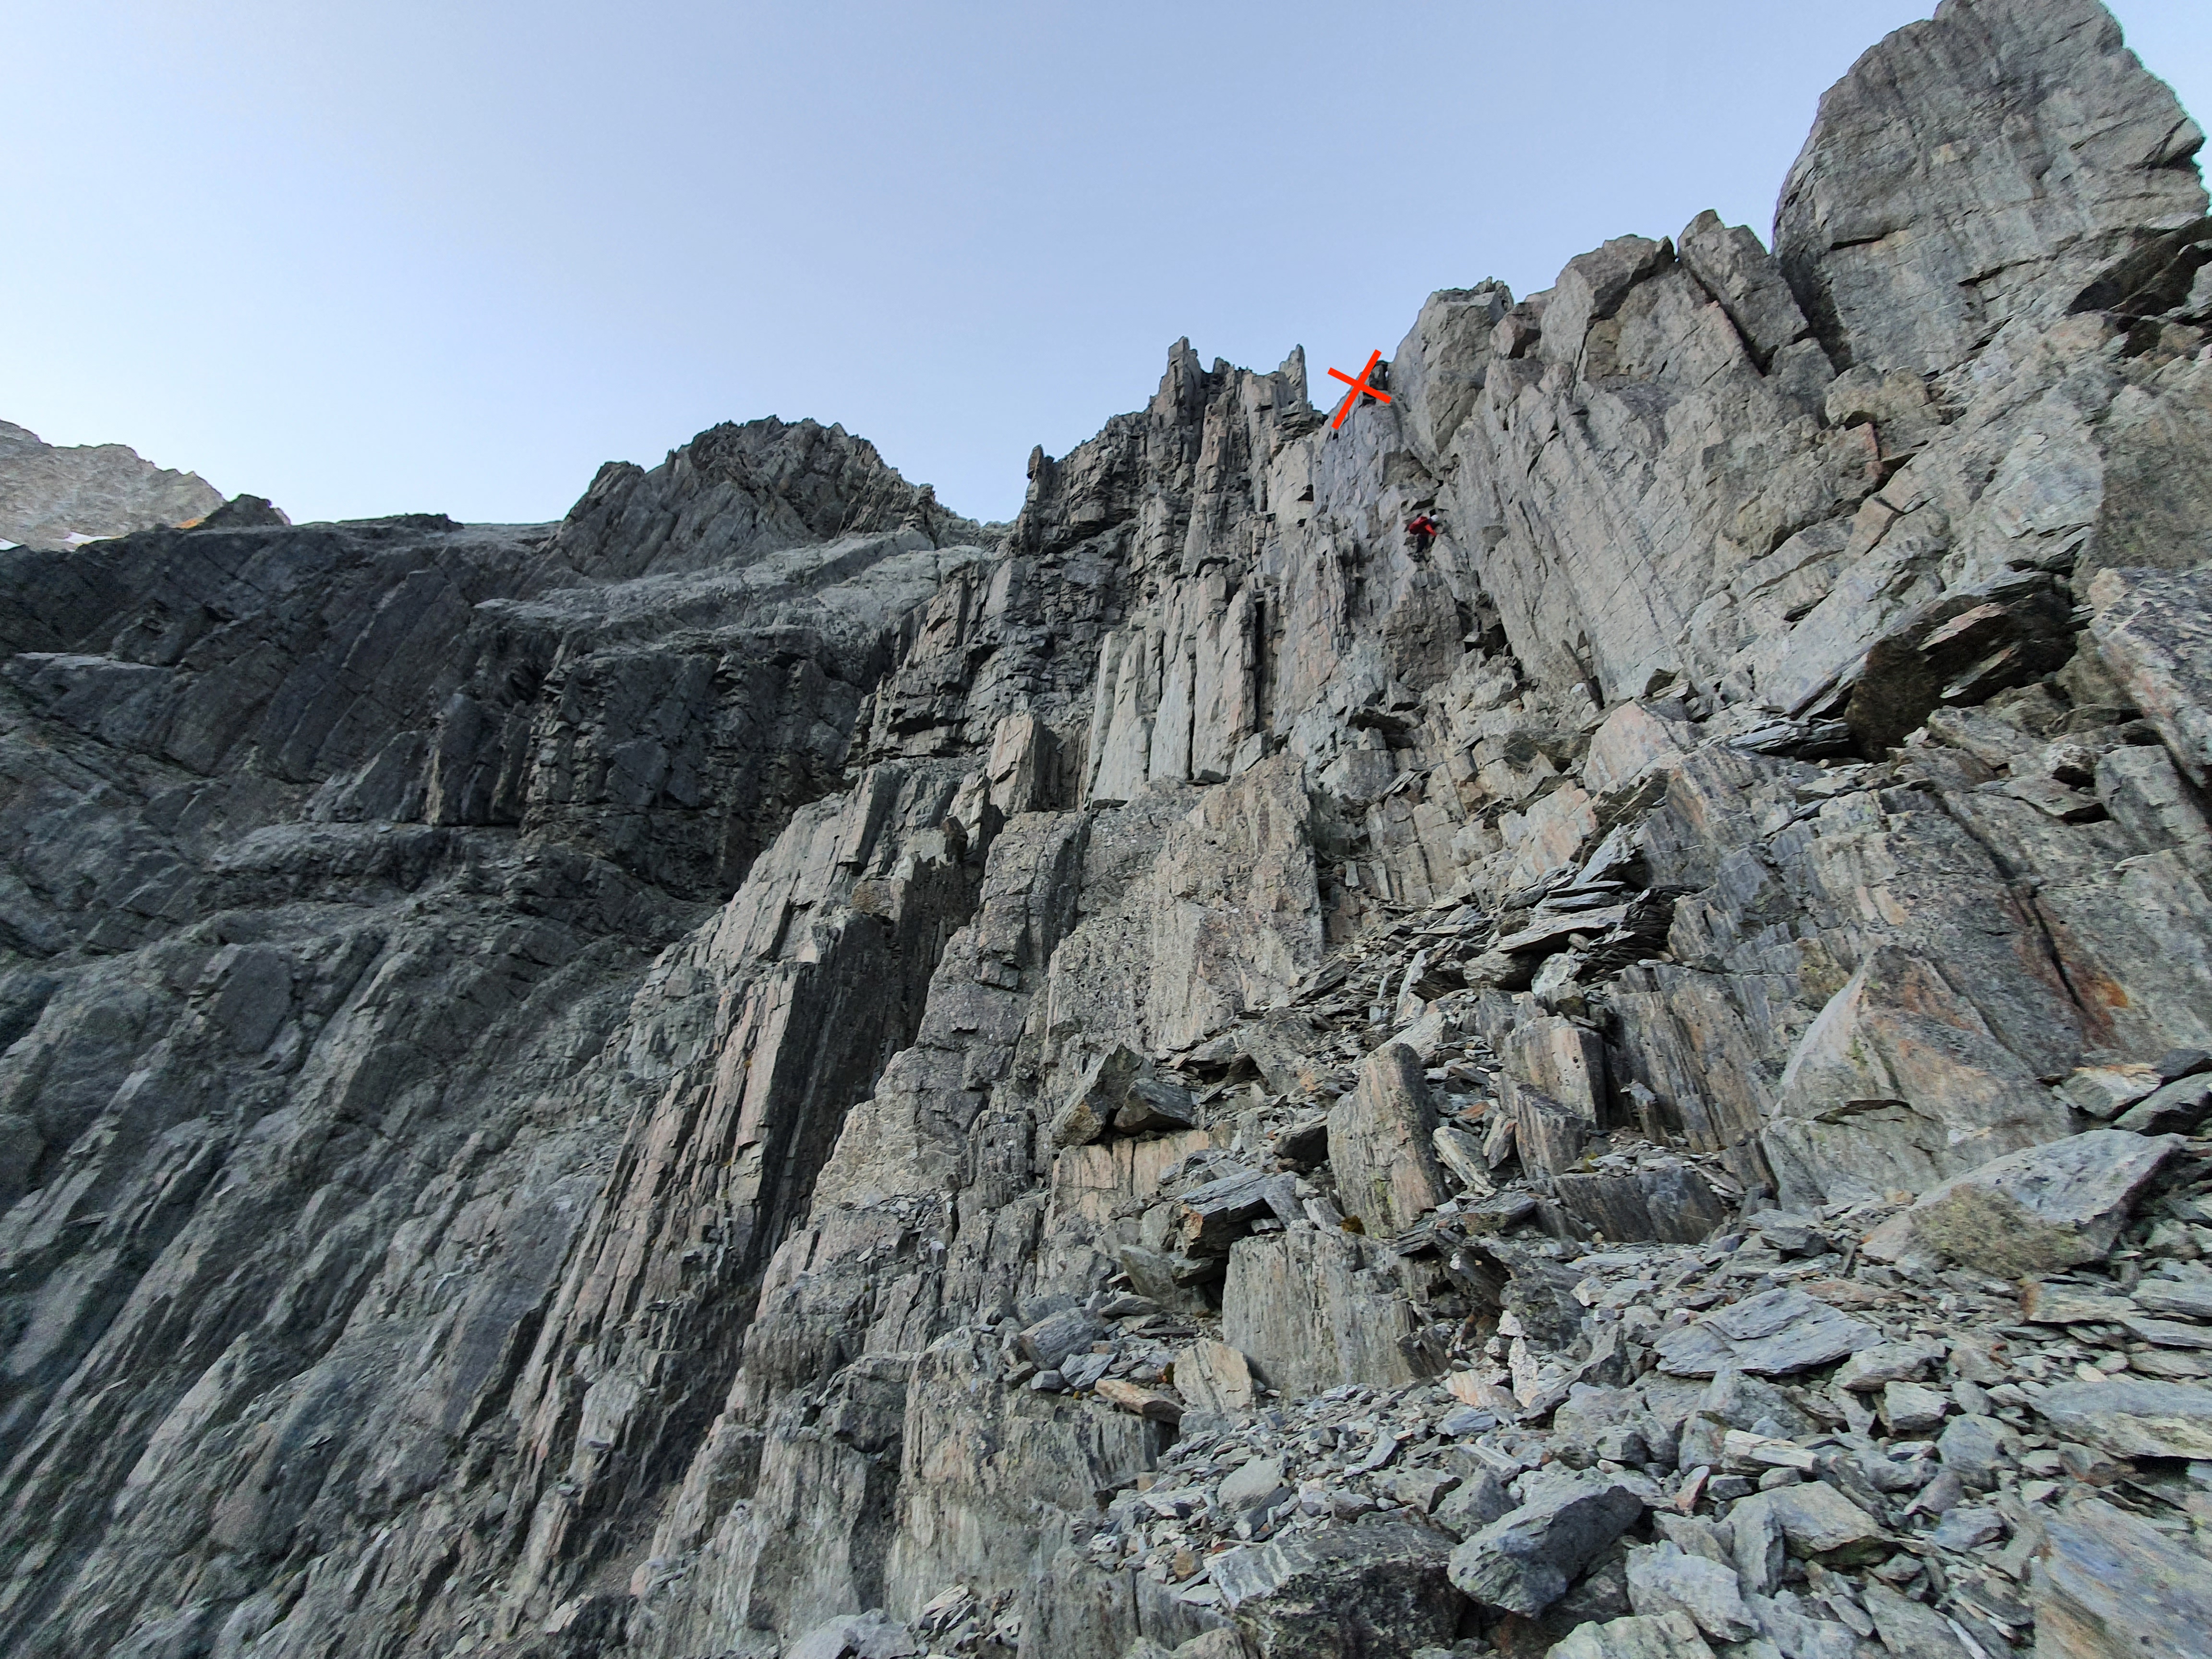
Carrying on to the very top looks like it would involve 2 more pitches of climbing (beyond the Red Cross in the above picture) and then a good few hundred metres of walking up through scree fields.
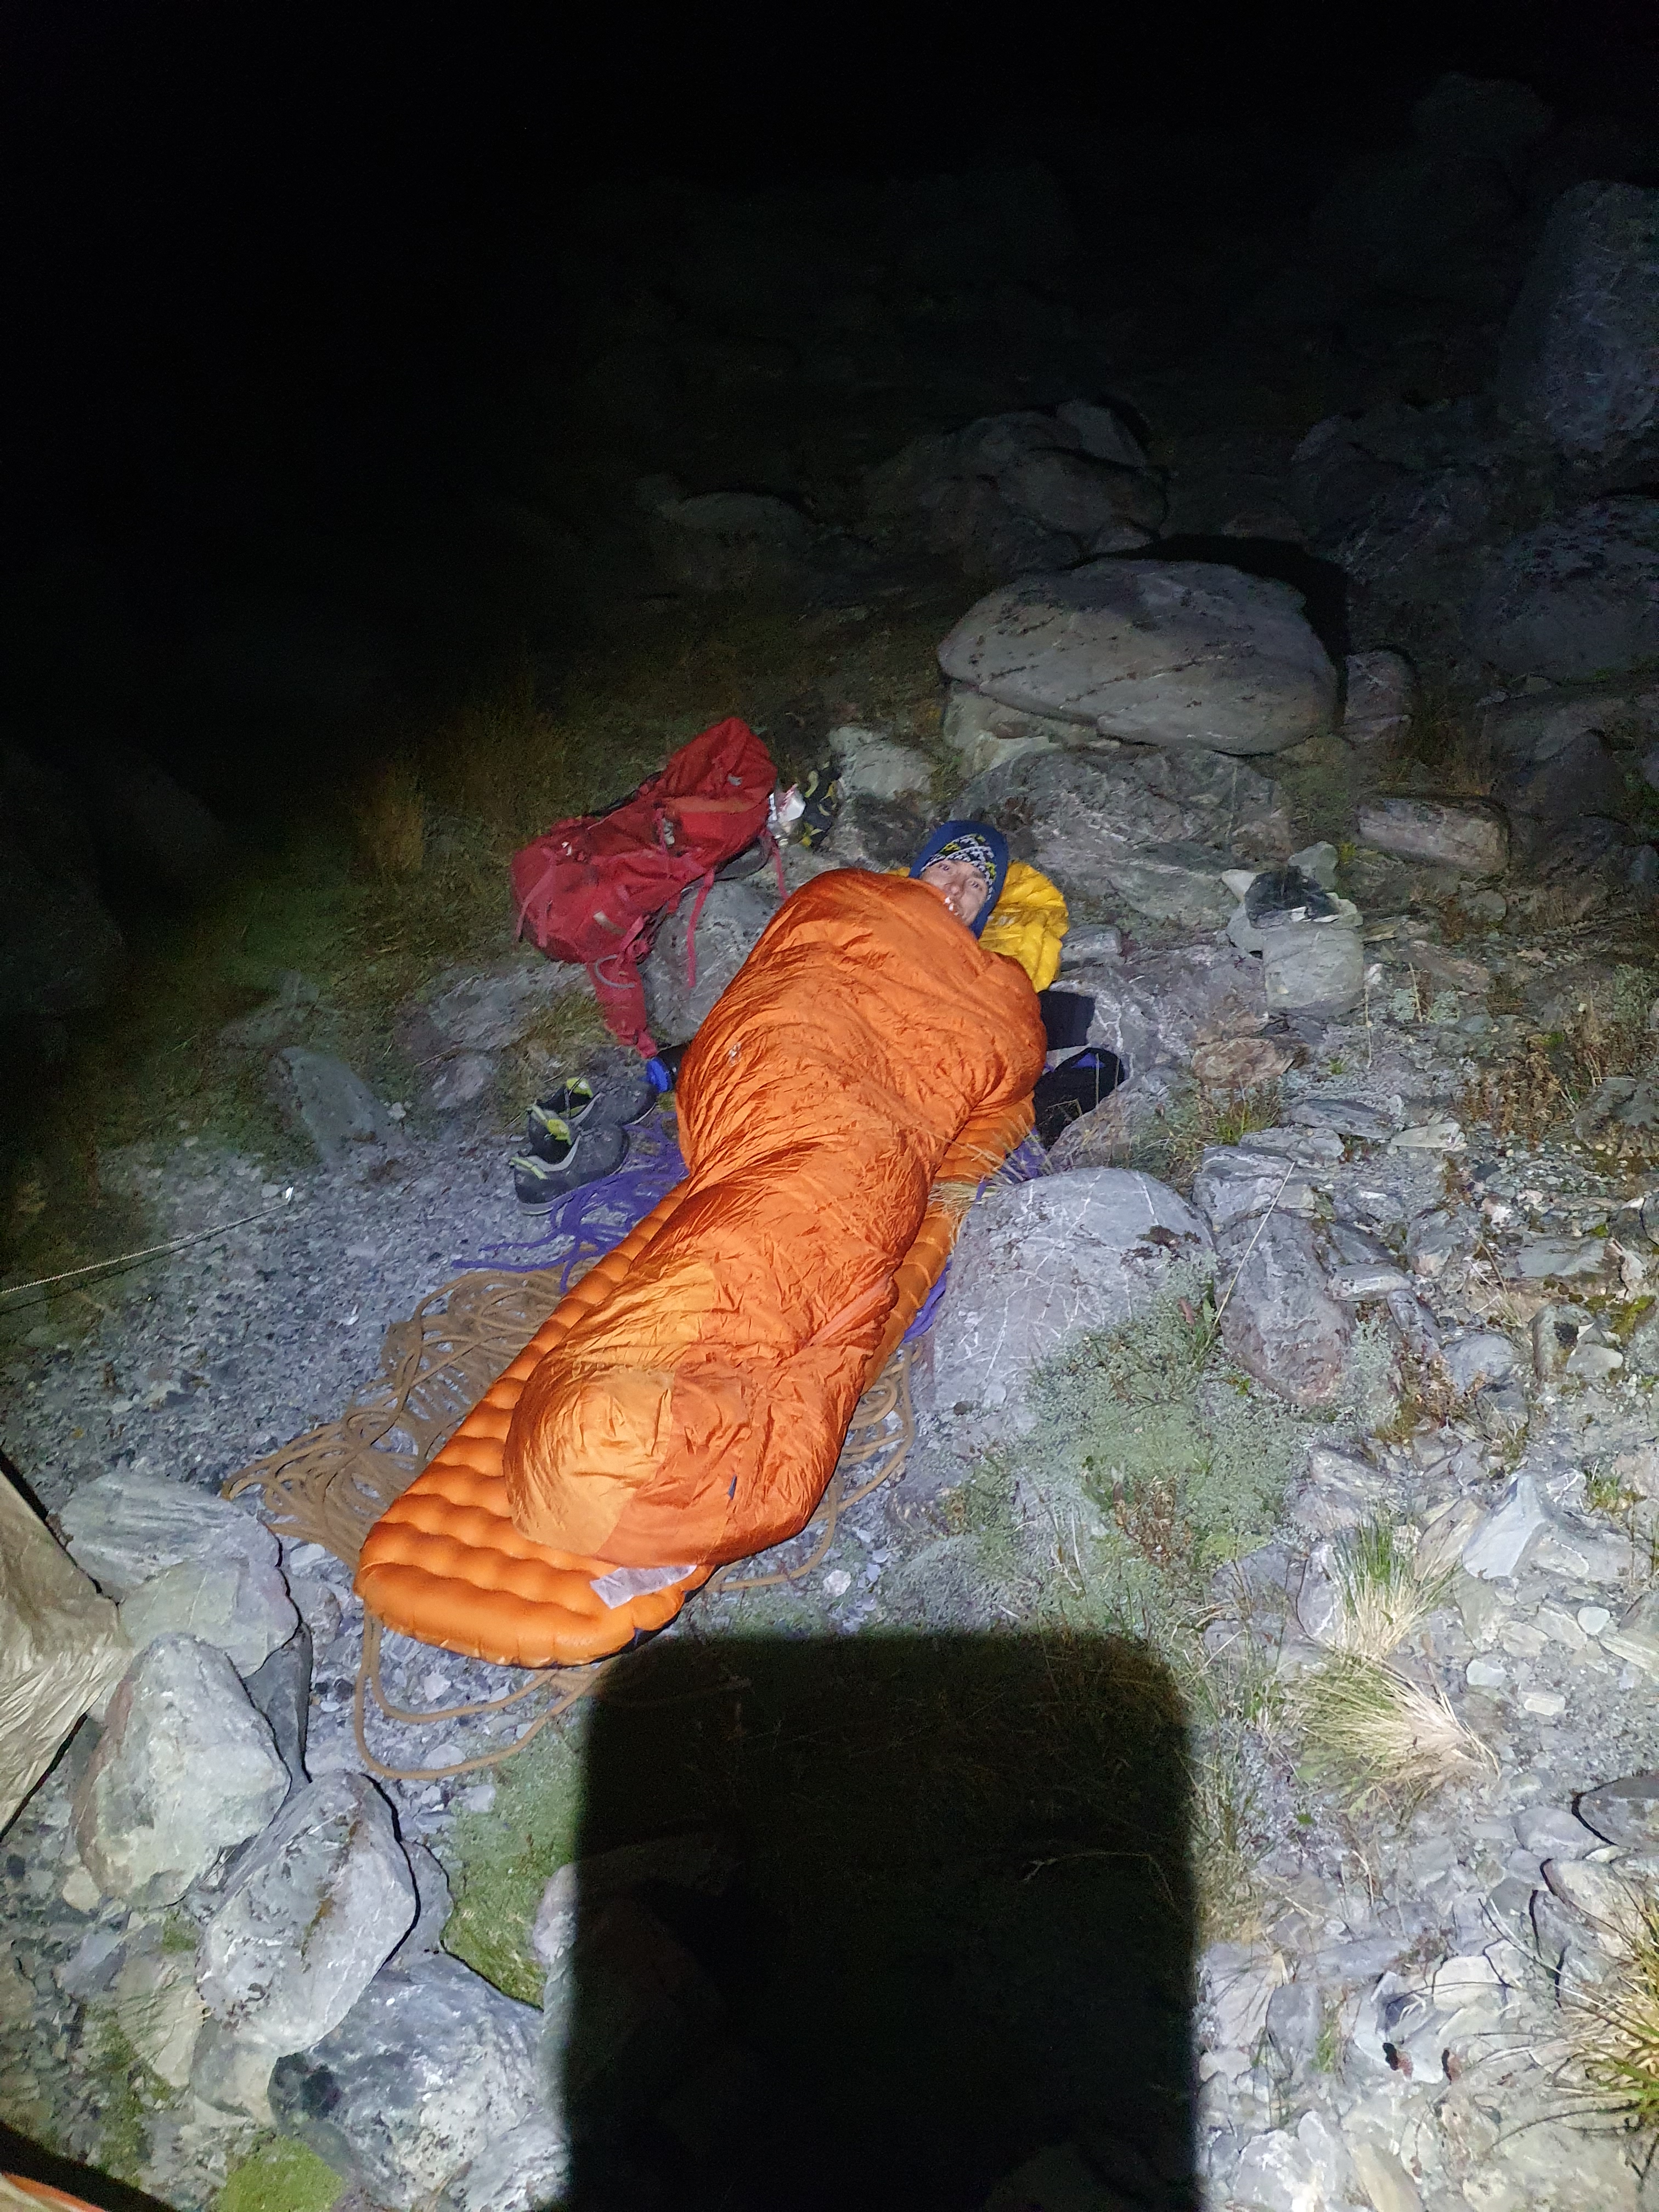
Doing the route in April meant the days were short and by the time we got back down to the valley it was fully dark. Thankfully we had left a GPS dot on our camping gear or we would never have found it after burying it under rocks for Kea protection. The whole river bed is covered in good bivvy spots, or if you cross to the south side of the river near the big boulders there are some even bigger spots.
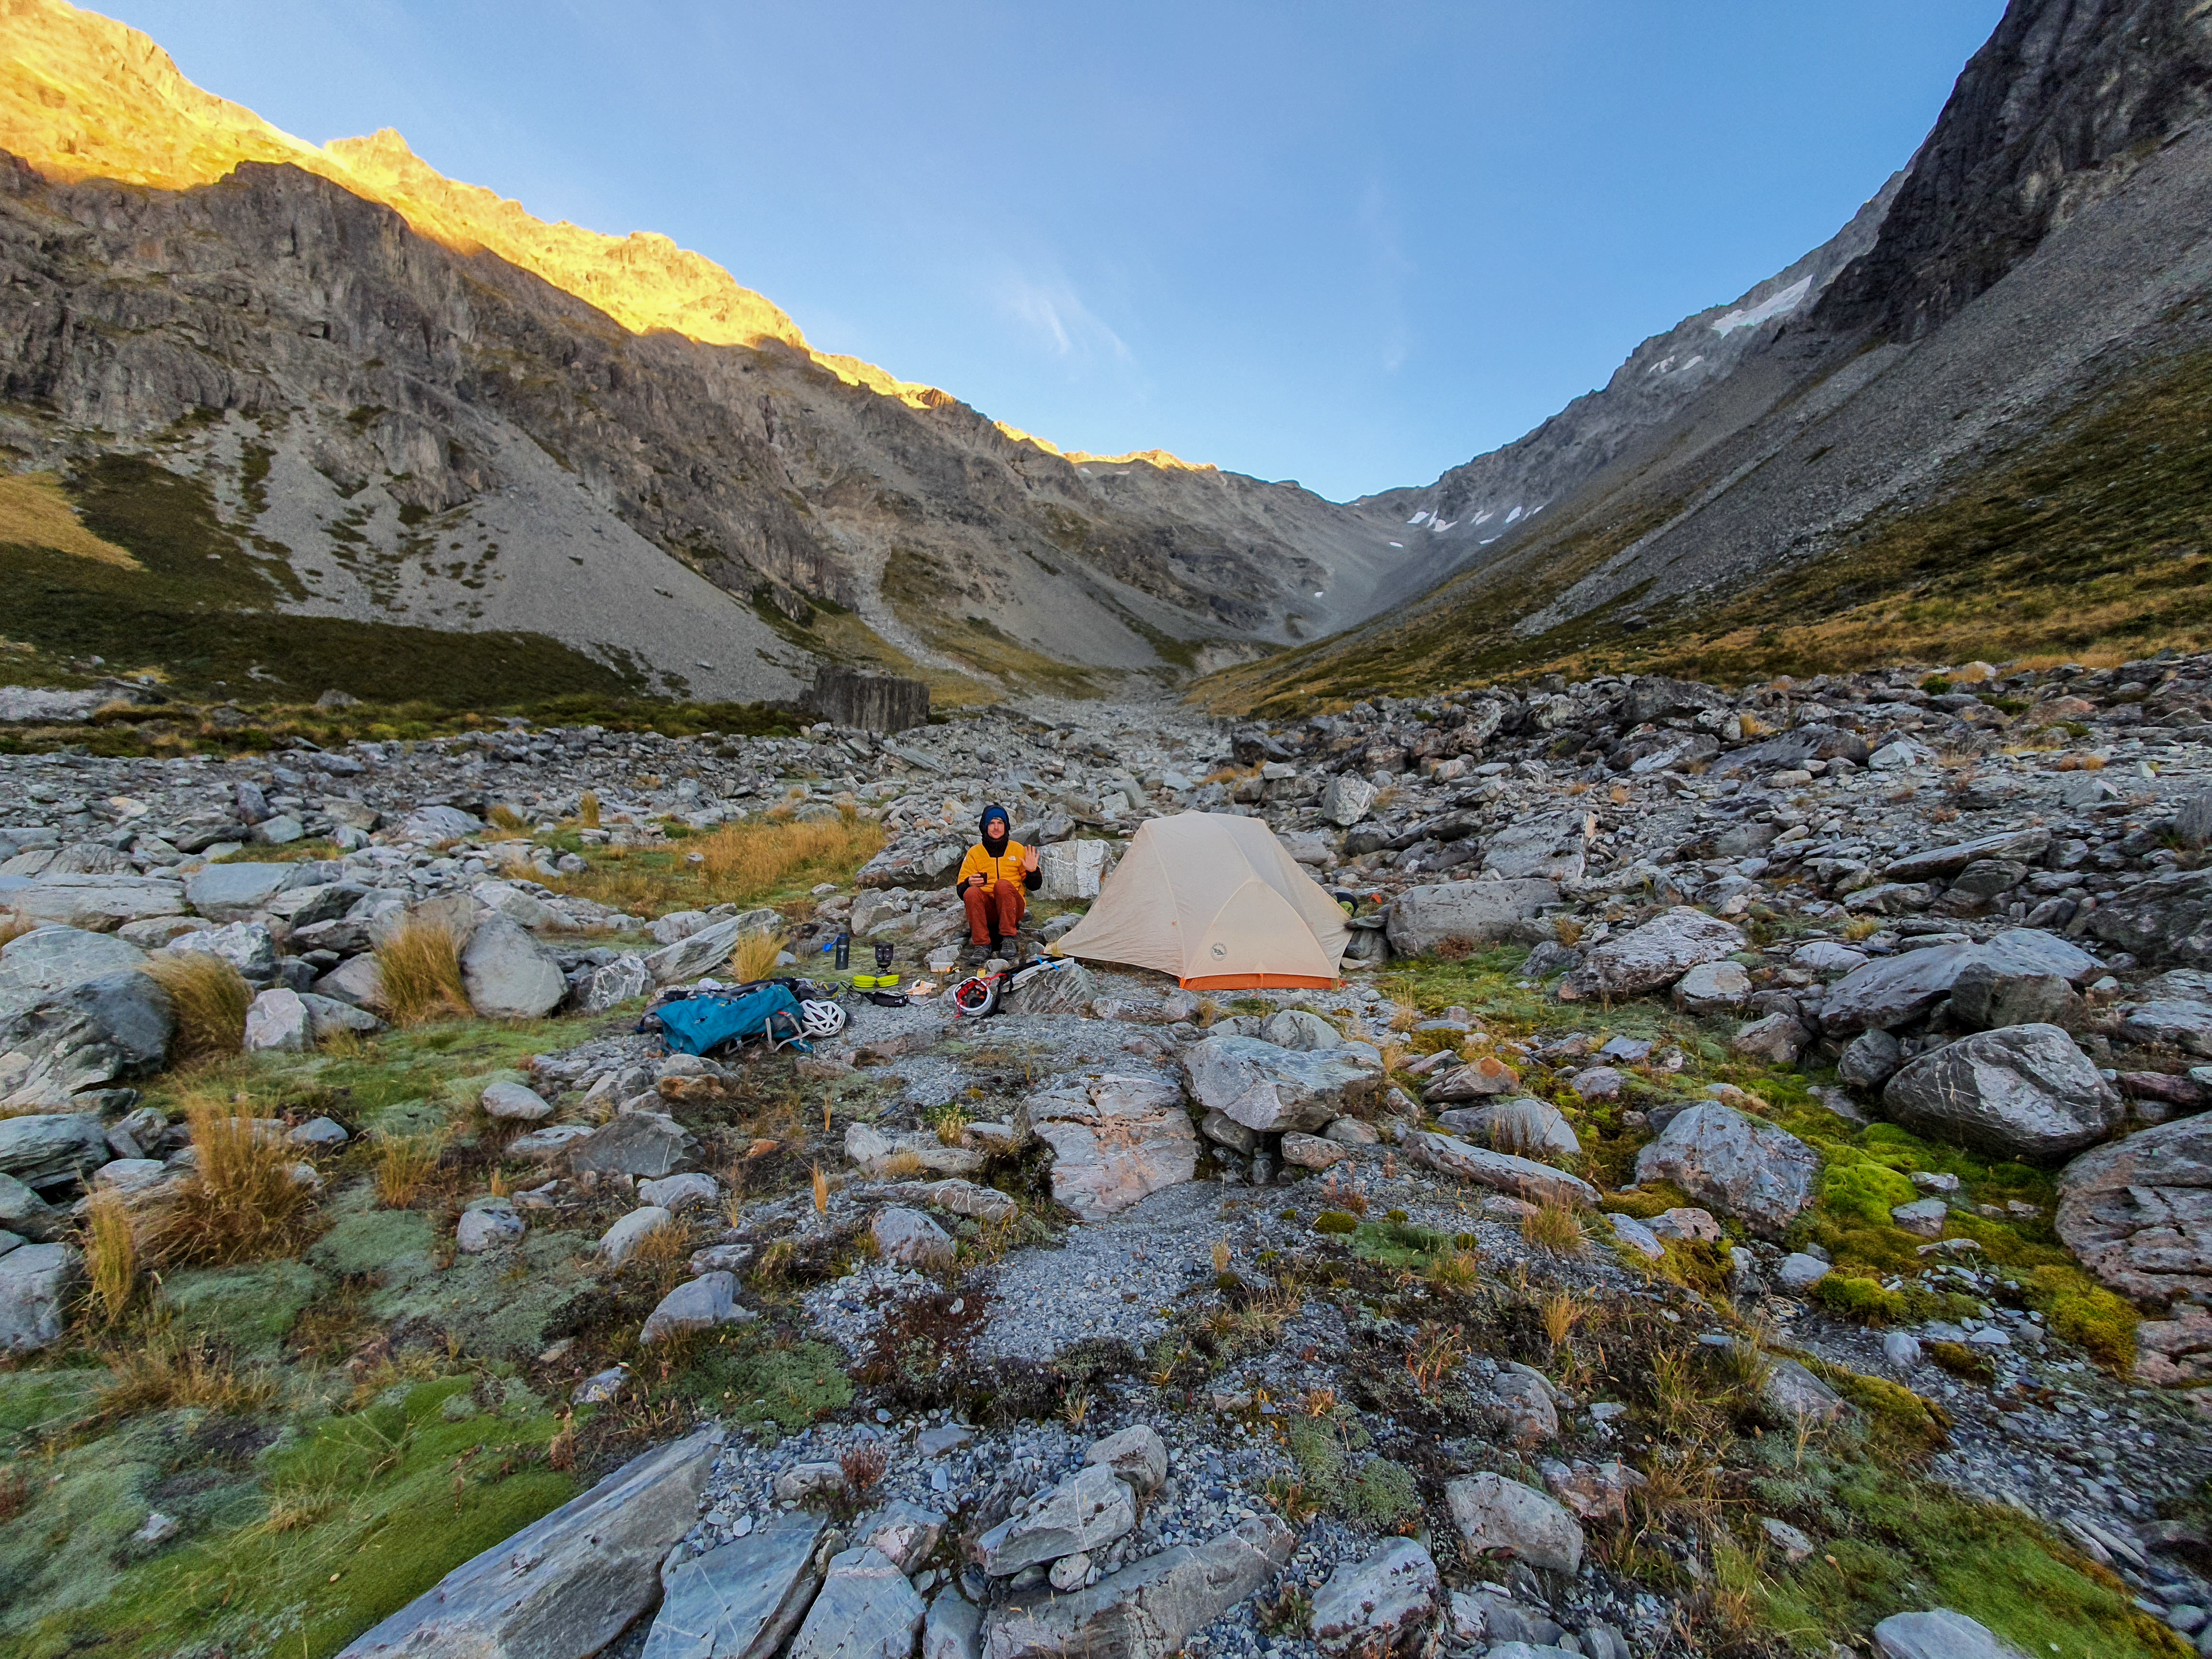
It’s a really leisurely day to fly in and then camp, and we got stuck into our soups and curries feeling pretty smug we werent going to go straight into a big walk out. Saying that in summer with more daylight it would be no problem to do the route and walk out the same day.
After a good night’s sleep we cruised out to the car in 3 hours and then headed back up to Christchurch – all up one of the best weekend trips from Chch I’ve had with an unprecedented ratio of actual good climbing compared to slogging through approach. Highly recommended!


One Reply to “”