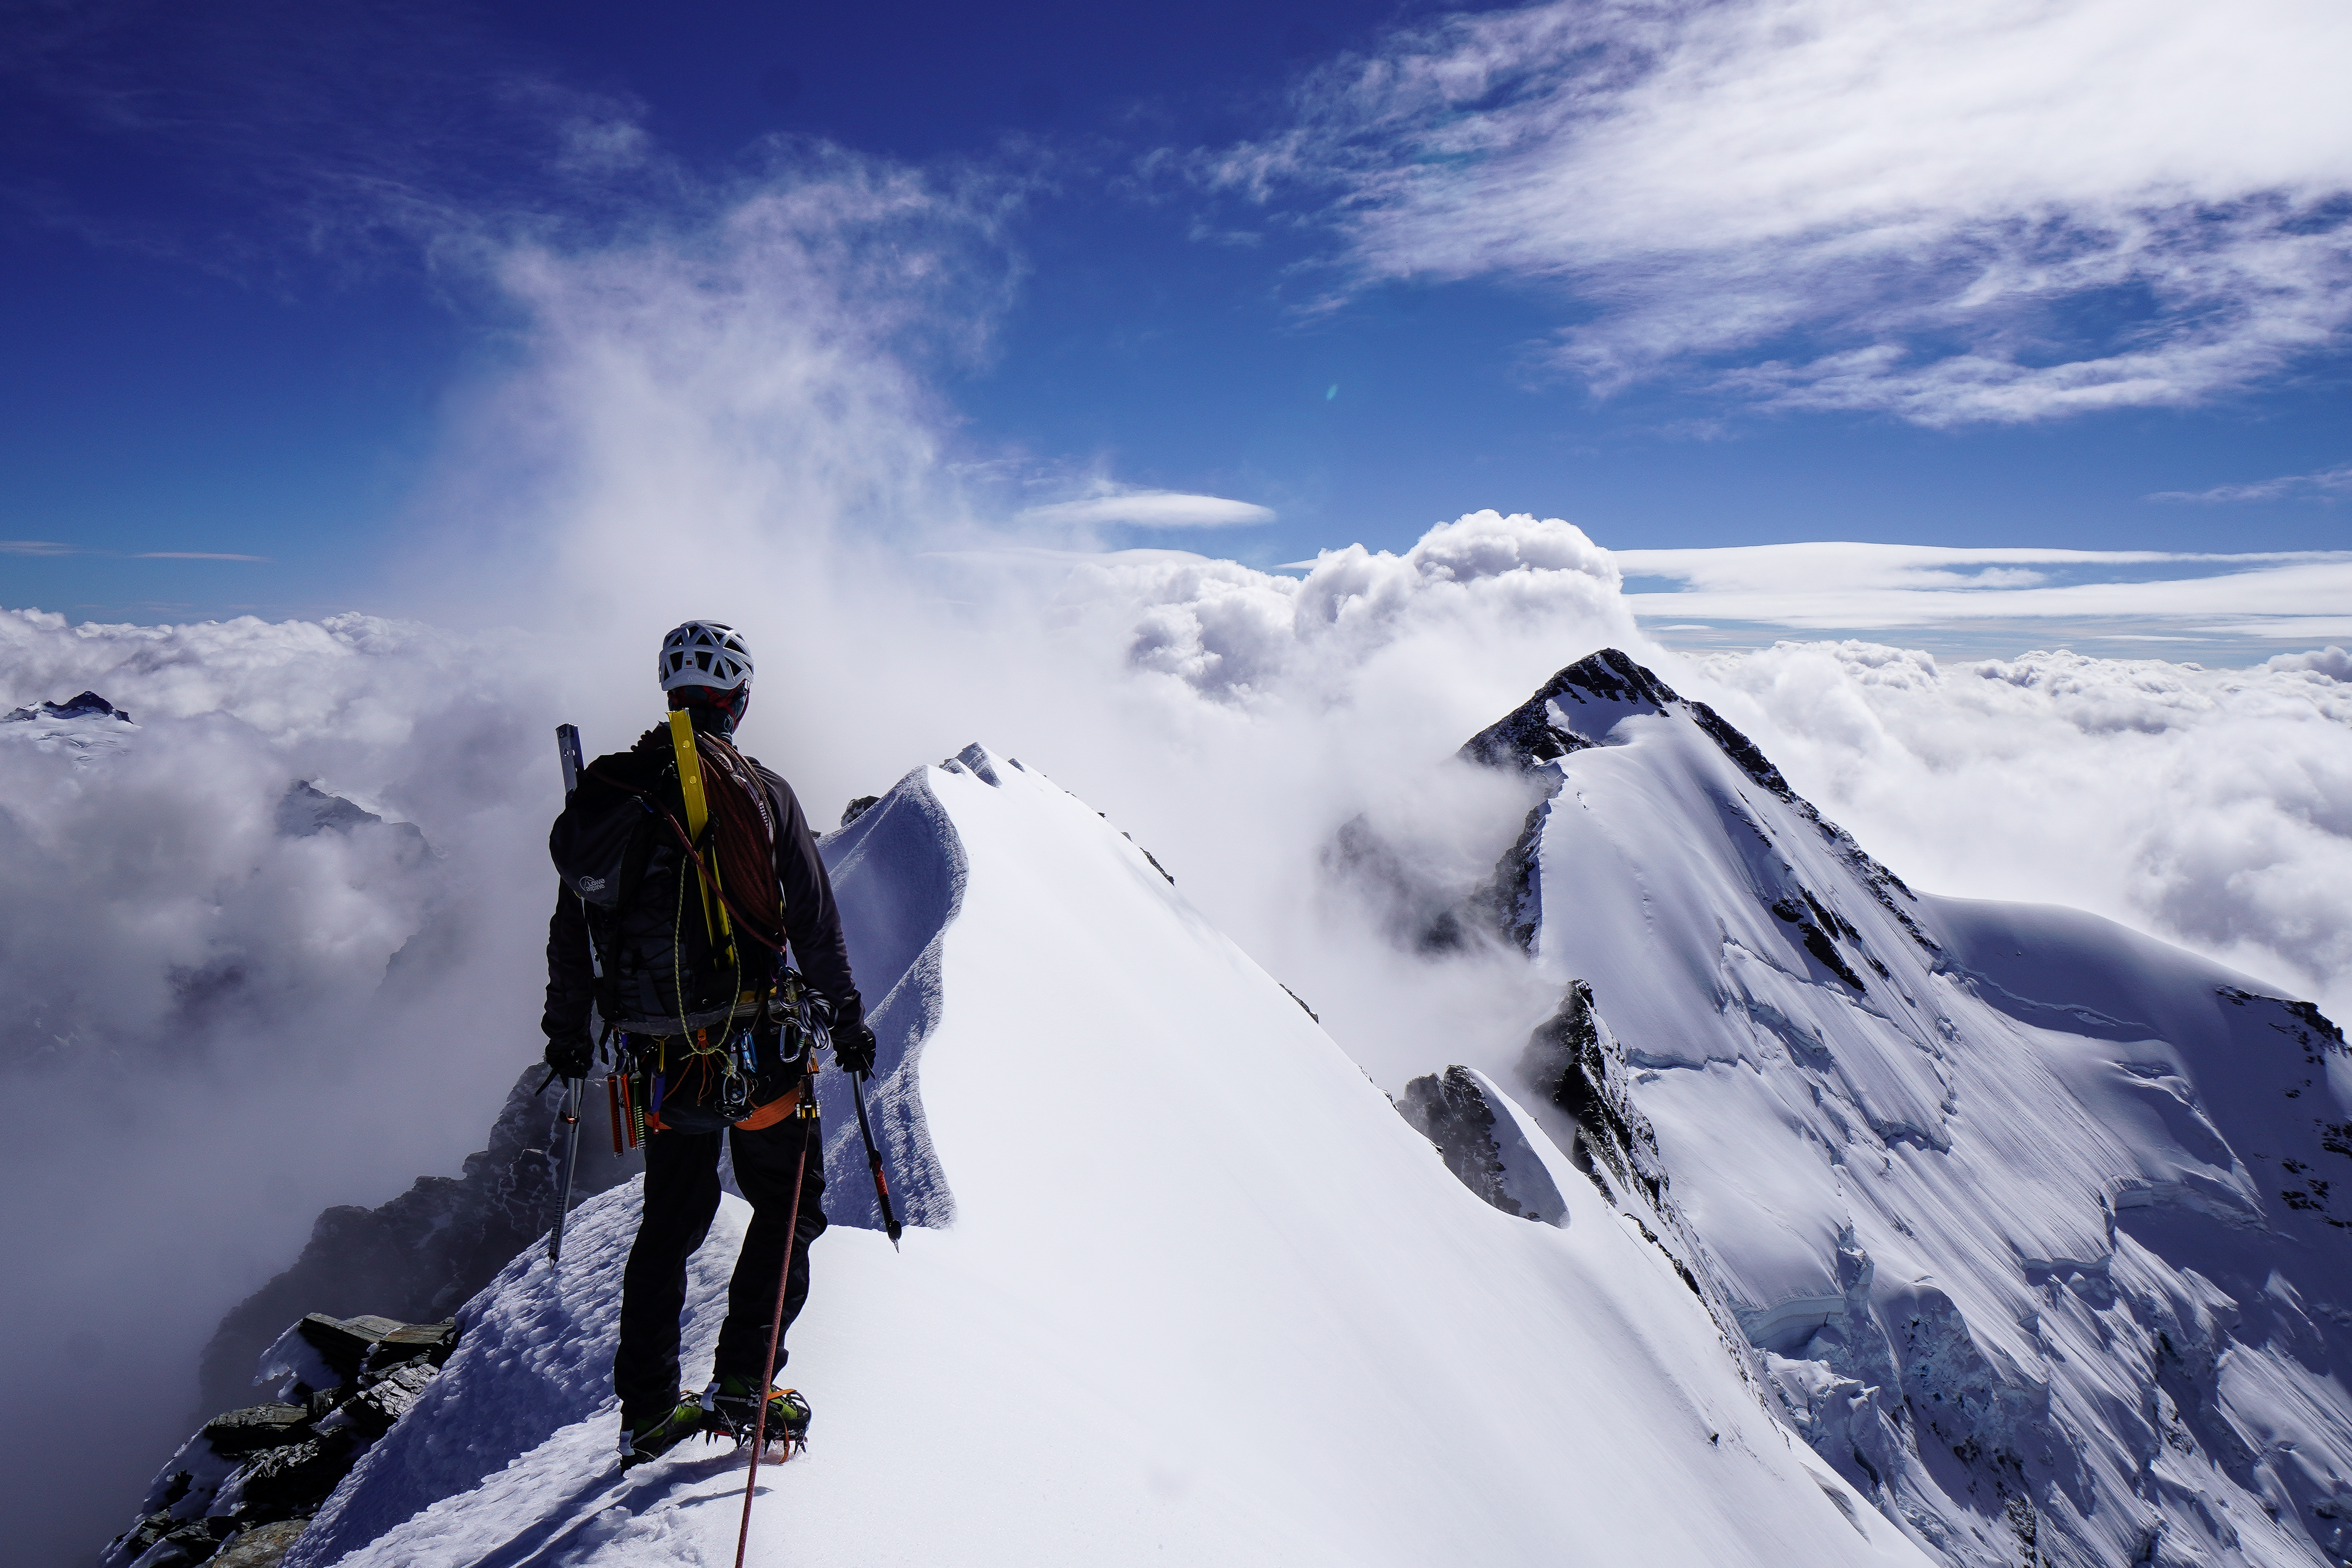
The weekend warrior’s grand traverse! One of the most fun 2 day trips I’ve had in the NZ alps – 4 pitches of WI2 ice up to West peak onto a spectacular knife edge snow ridge high above the Whakatipu, followed by exposed rock scrambling along the 1km long ridge to East peak. Big mountain terrain just a few hours from Queenstown with no heinous moraines to cross like in the bigger ranges. If you’re fast you can get it done in a weekend and be back in Queenstown for a beer on Sunday night. Highly recommended!
- Grade: 3+
- Equipment: 3 season mountain boots. 1x 60m rope. 2x ice axes each. 2x snow stakes, 6x ice screws, 1x set of cams up to yellow, small set of nuts, long slings, tat to rappel. NB. Later in the year, you probably wouldn’t need ice screws.
- Approach time: 9h to esquilant bivvy (6h on the way out!)
- Climb time: ~10h biv to biv
- Season: conditions will be highly dependent on time of year. We went late December and it was perfect, good ice up to W peak and clear rock on the summit ridge
- Team: Joe, Maria 28/12/2022
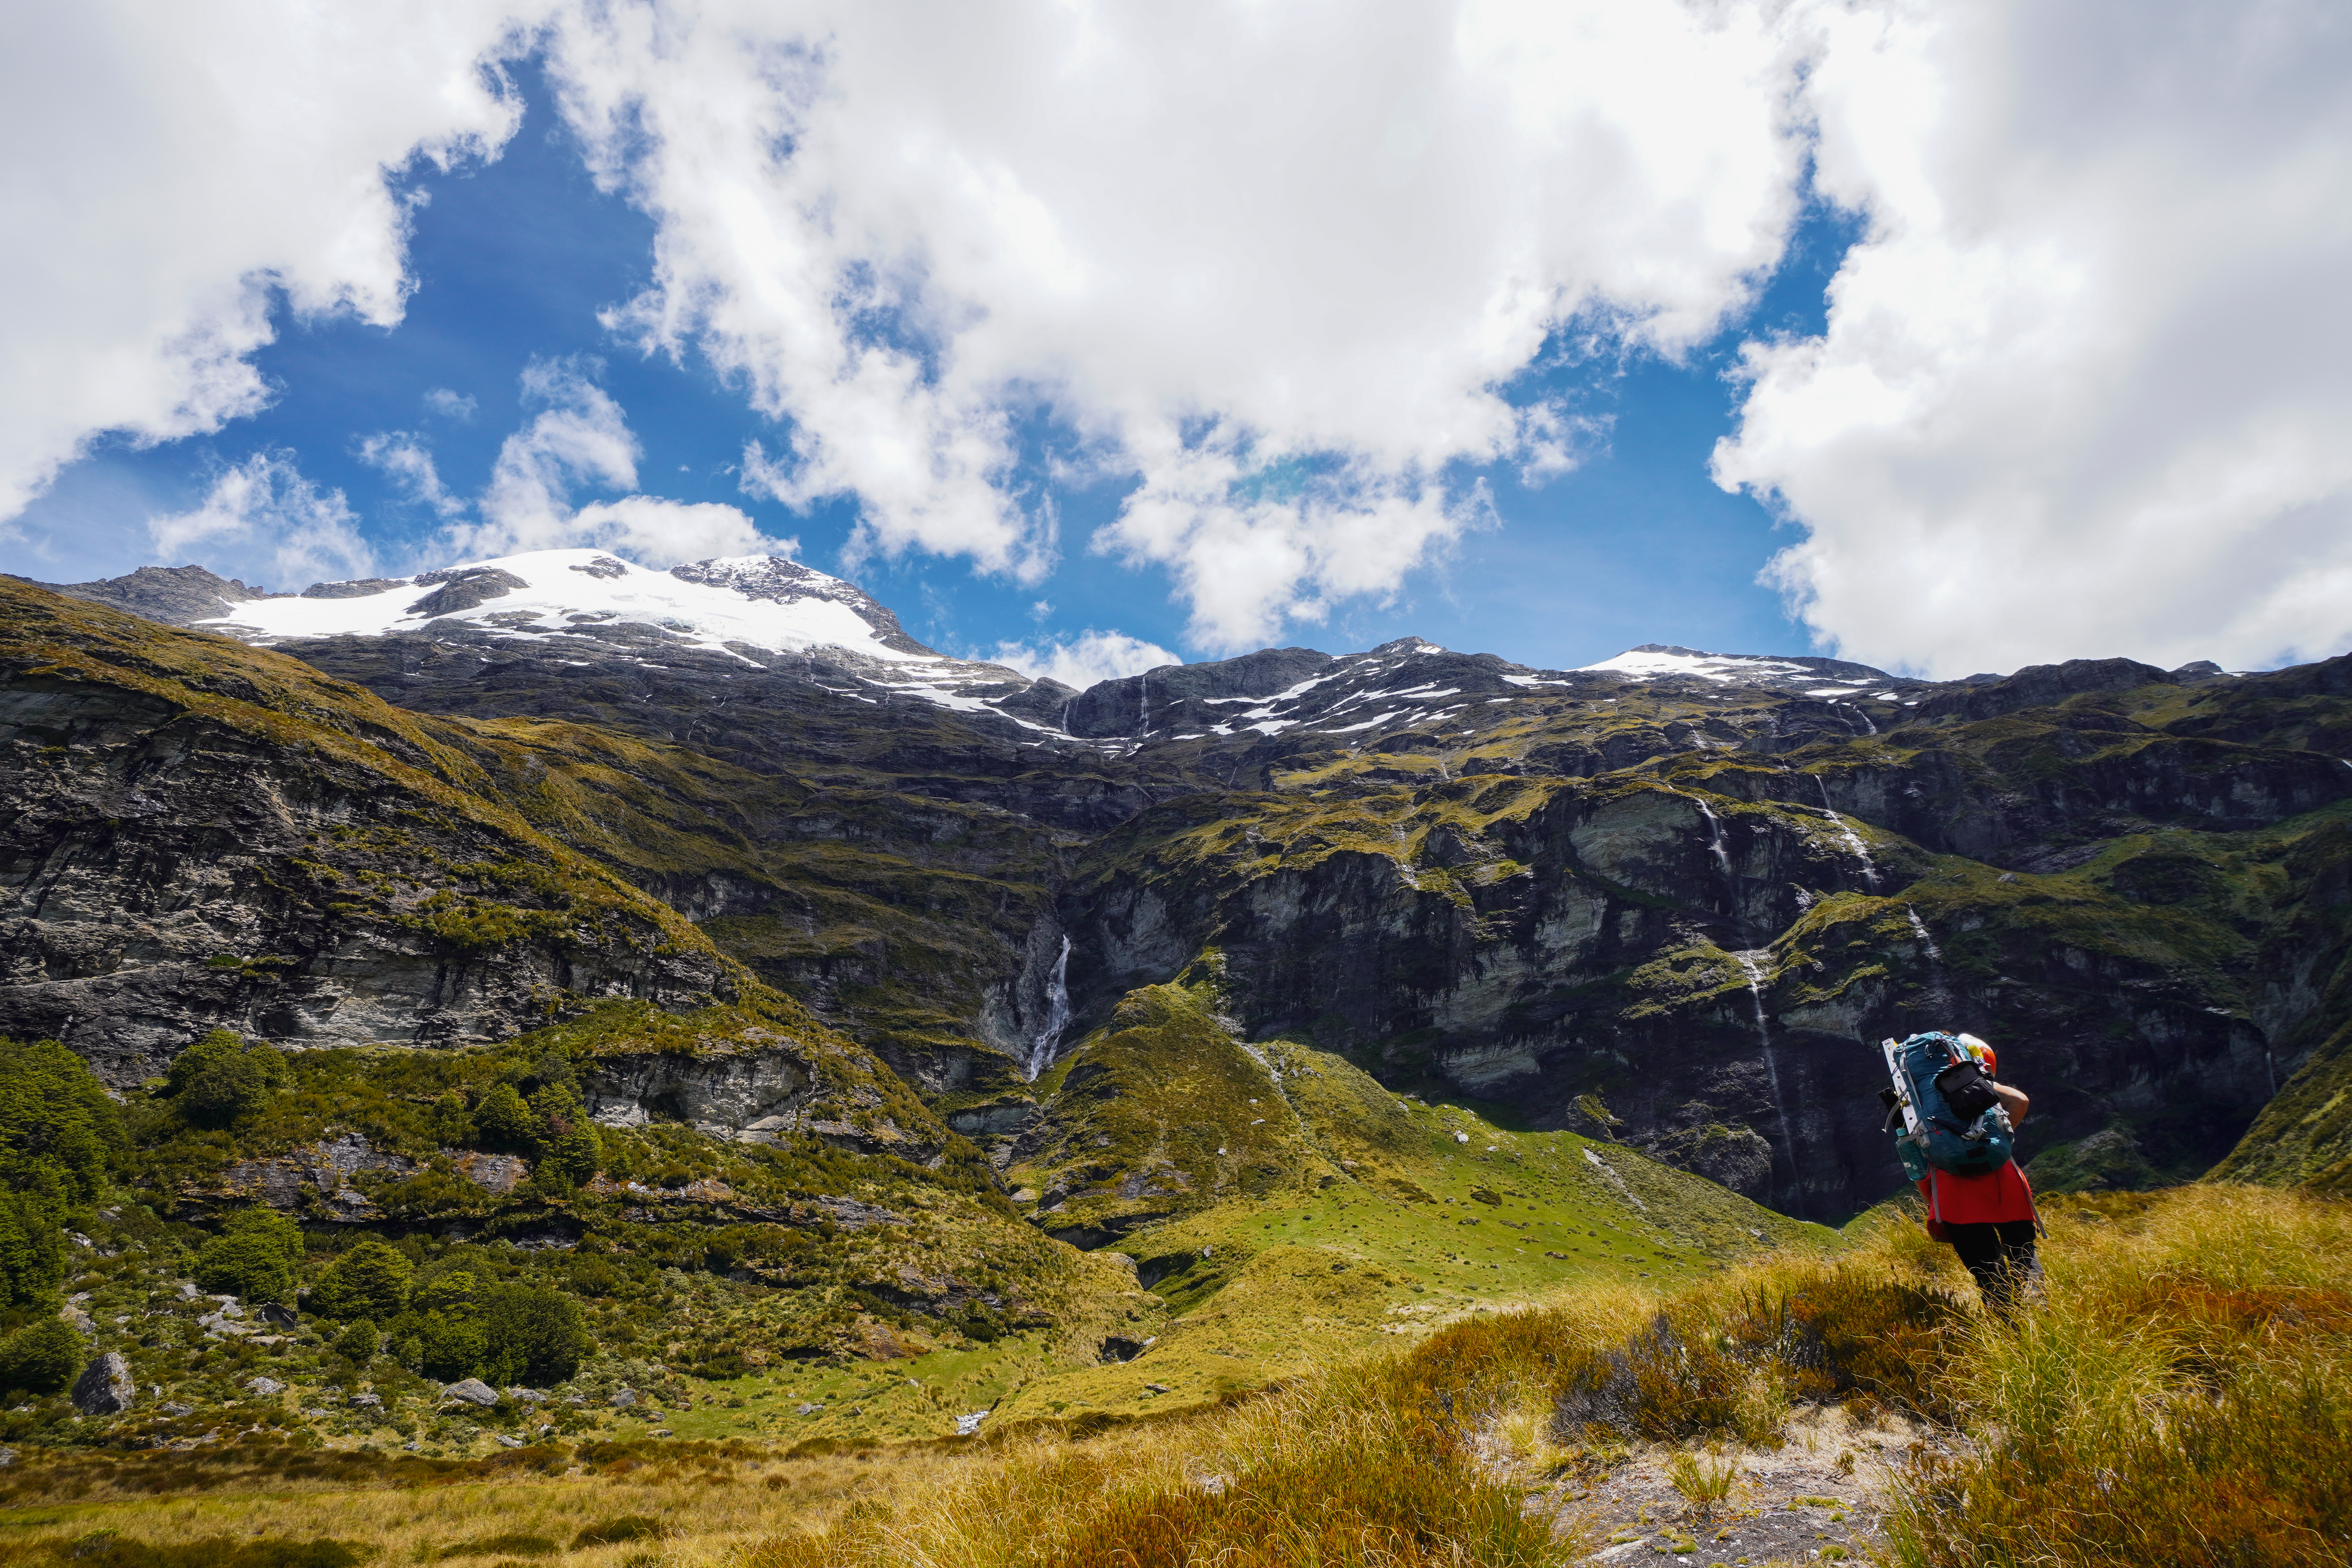
Approach
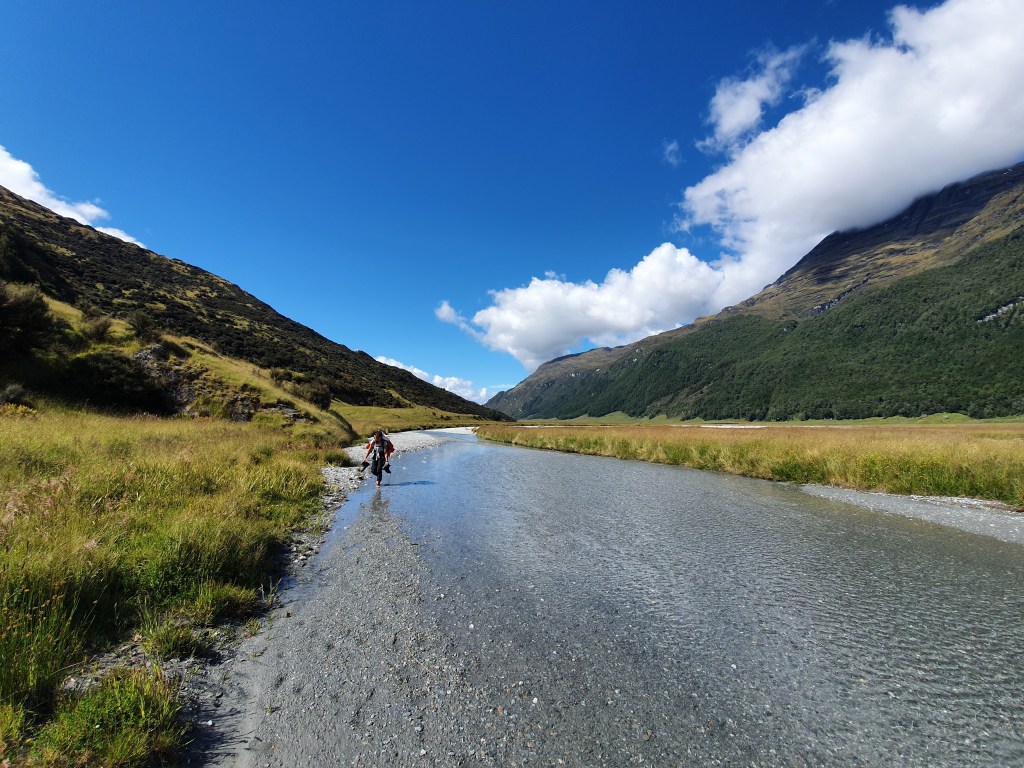
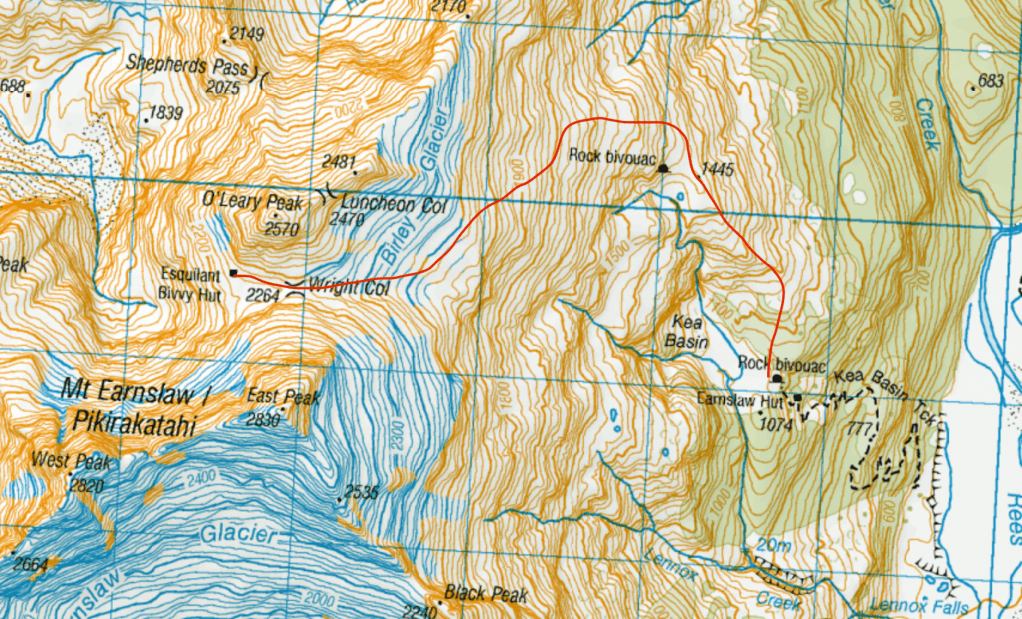
Drive from Queenstown to Glenorchy and head up the Rees valley track. Theres a car park just under cone hill but you can get a fair bit further that that (you will be glad on the way out!). As far as Fords Fall is easy (saw a Hiace make it there), but further than that requires a proper 4×4 plus snorkel. Access all the way to base of kea basin track is possible with a 4×4. Make sure you ask the land owners permission before driving up there! The Rees track is marked with orange poles all the way up on the true left of the river. After the first couple km we found it super, super boggy (wading through shin deep slop in bare feet, not a lot of fun). The valley is much drier and higher on the true right (near where the 4 wheel drive track is) and we came back this way and found it much easier ground. Be aware its a working station so don’t cross anywhere you’re not meant to! Cross at 663, there is an obvious orange marker at the top of a grassy bank marking Kea Basin track. Follow this up to the rock biv. From here on up, it’s really easy to lose the track and find yourself bashing up steep, horrible tussock which is time consuming and tiring – have attached our gpx file and photos to help keep you on track. From the 1st rock biv trend right onto the ridge which takes you to 1445 above a tarn. You should be approaching point 1445 along the ridge from directly south. Go round the 2nd rock biv staying NE of it then curve back round SW until you gain the Birley glacier and Wright col. Total of 2,339m vertical and 16.8km, took us almost 9 hours (but only 5-6 on the way down).
The hut is very cool – tiny and perched in a totally epic spot! Small though – has a top and bottom layer with mats provided, 3 people on each level. Little cooking area. No water tank – had to go hunting for water, ended up having to go all the way back to wright col and up to the slabs on the S face of E peak to fill up. Multiple flat areas in the scree that have been cleared out to pitch tents on
Climb
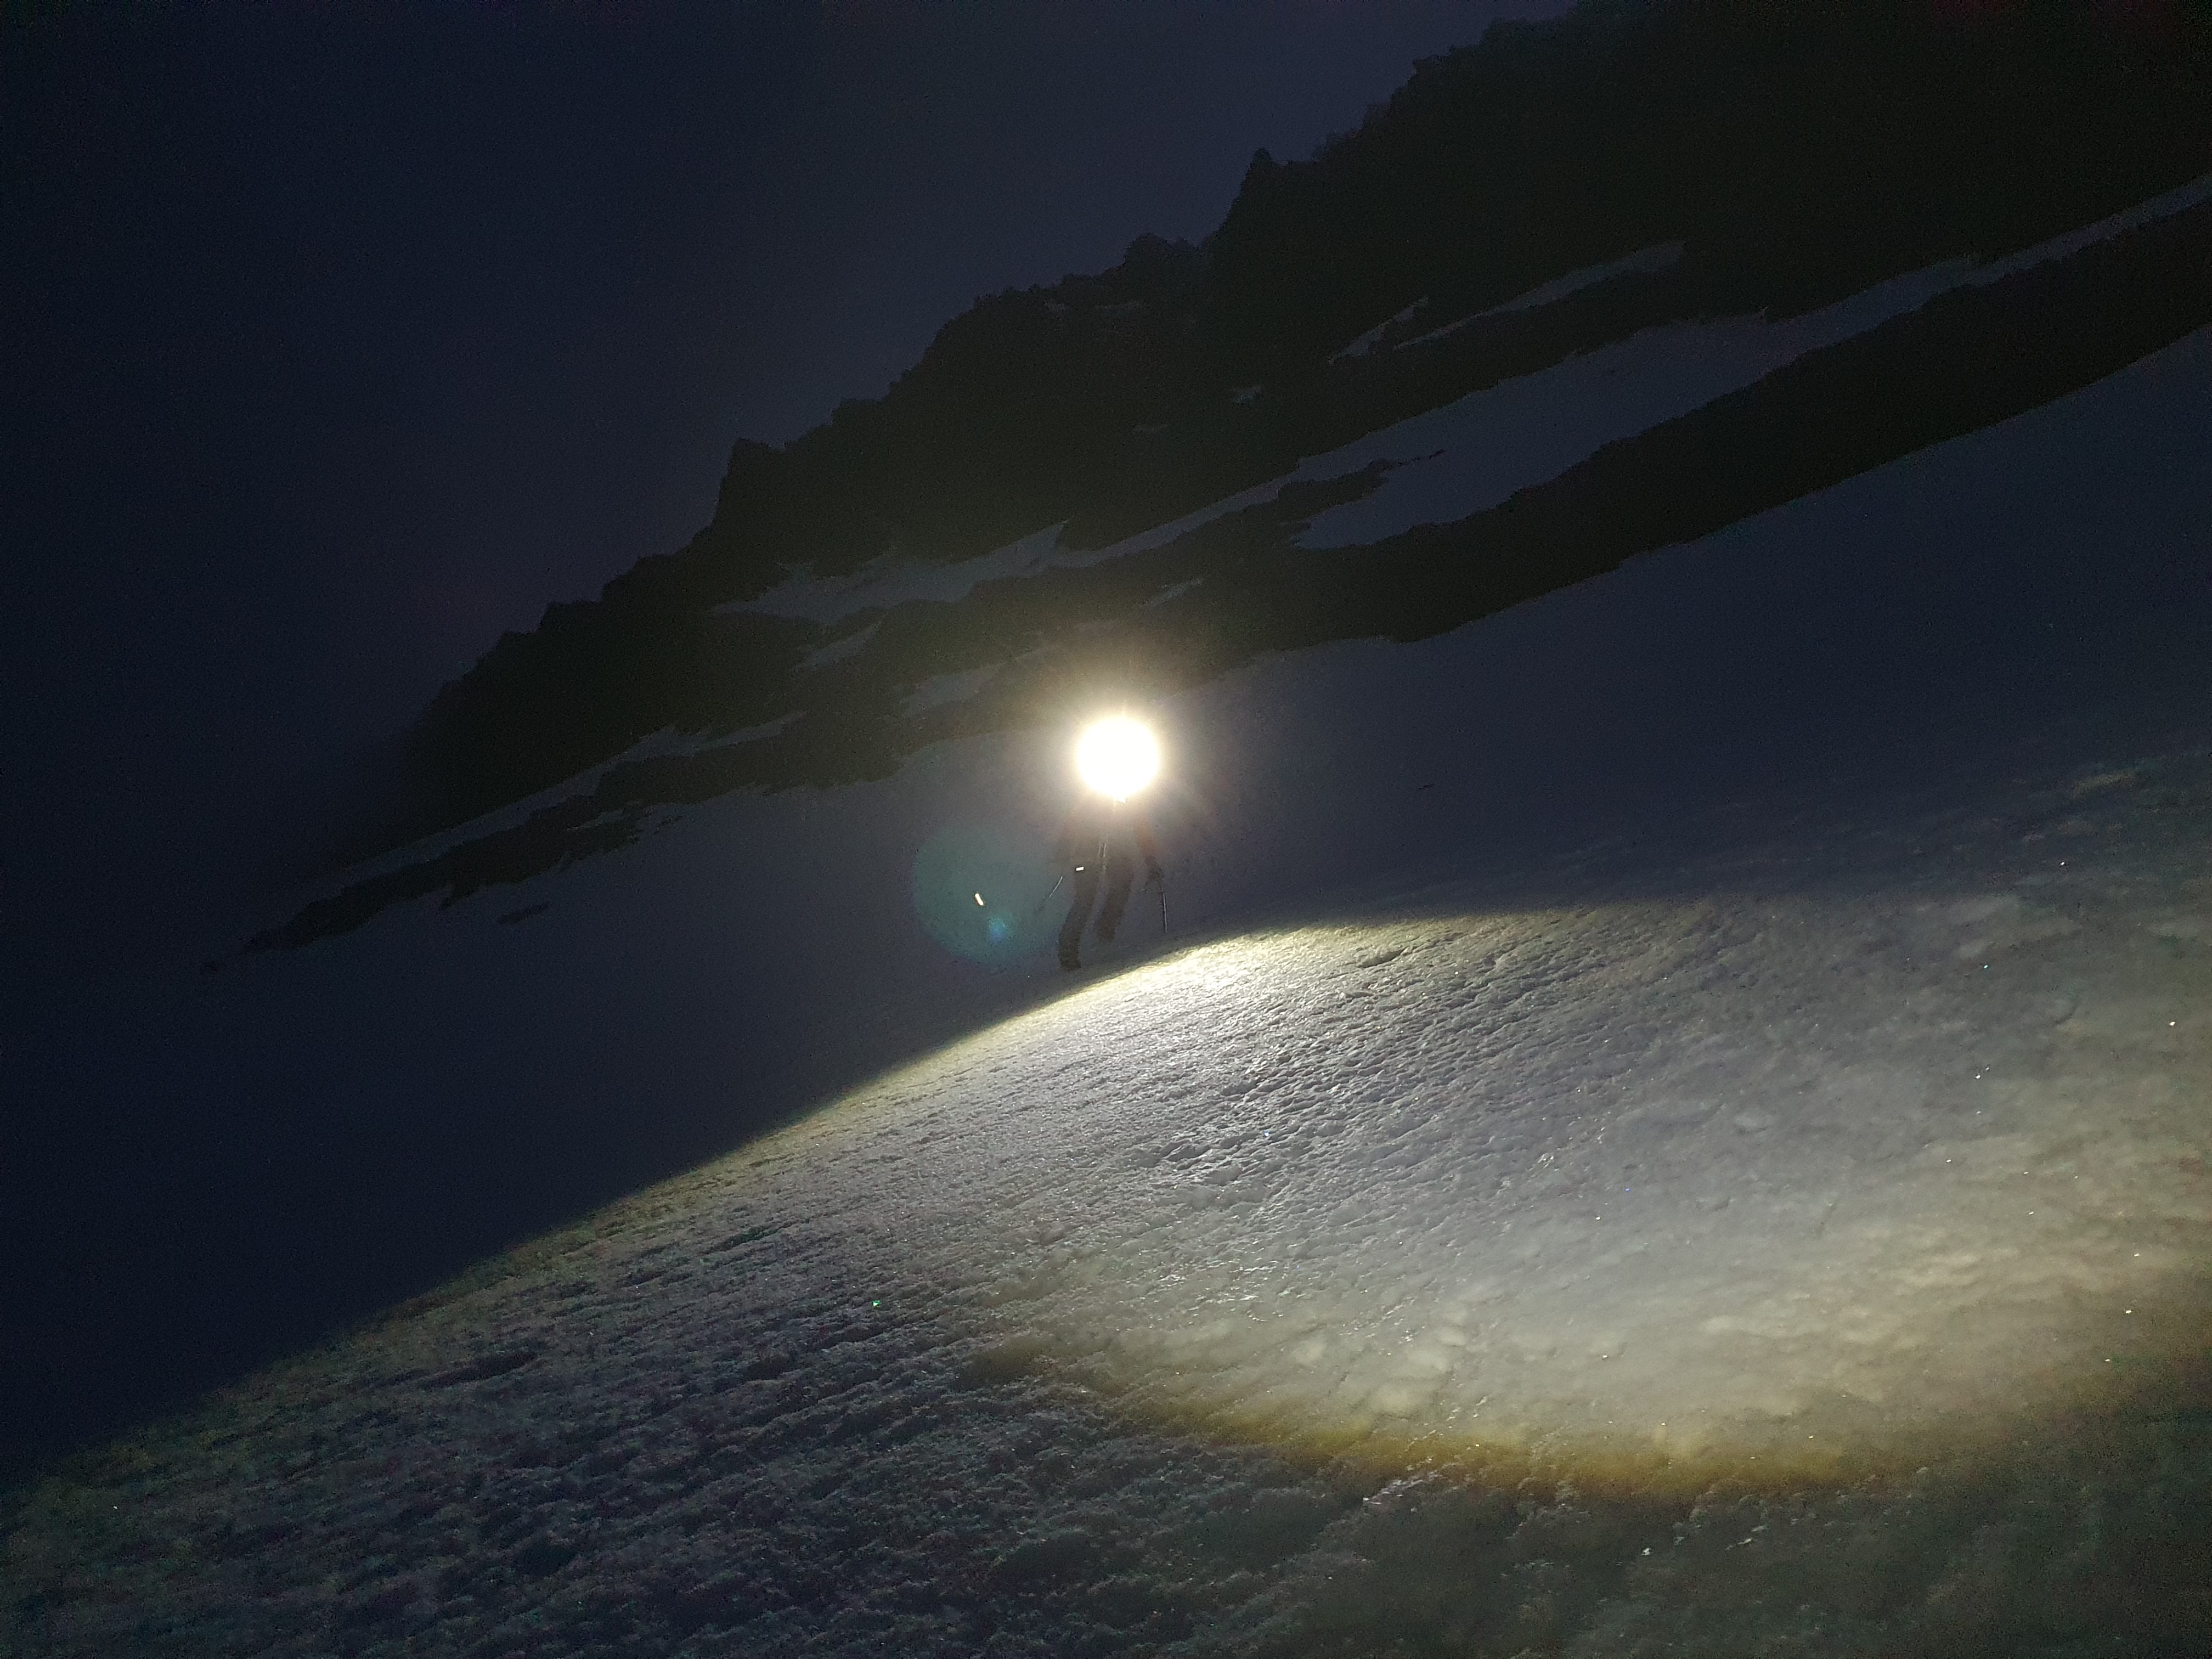
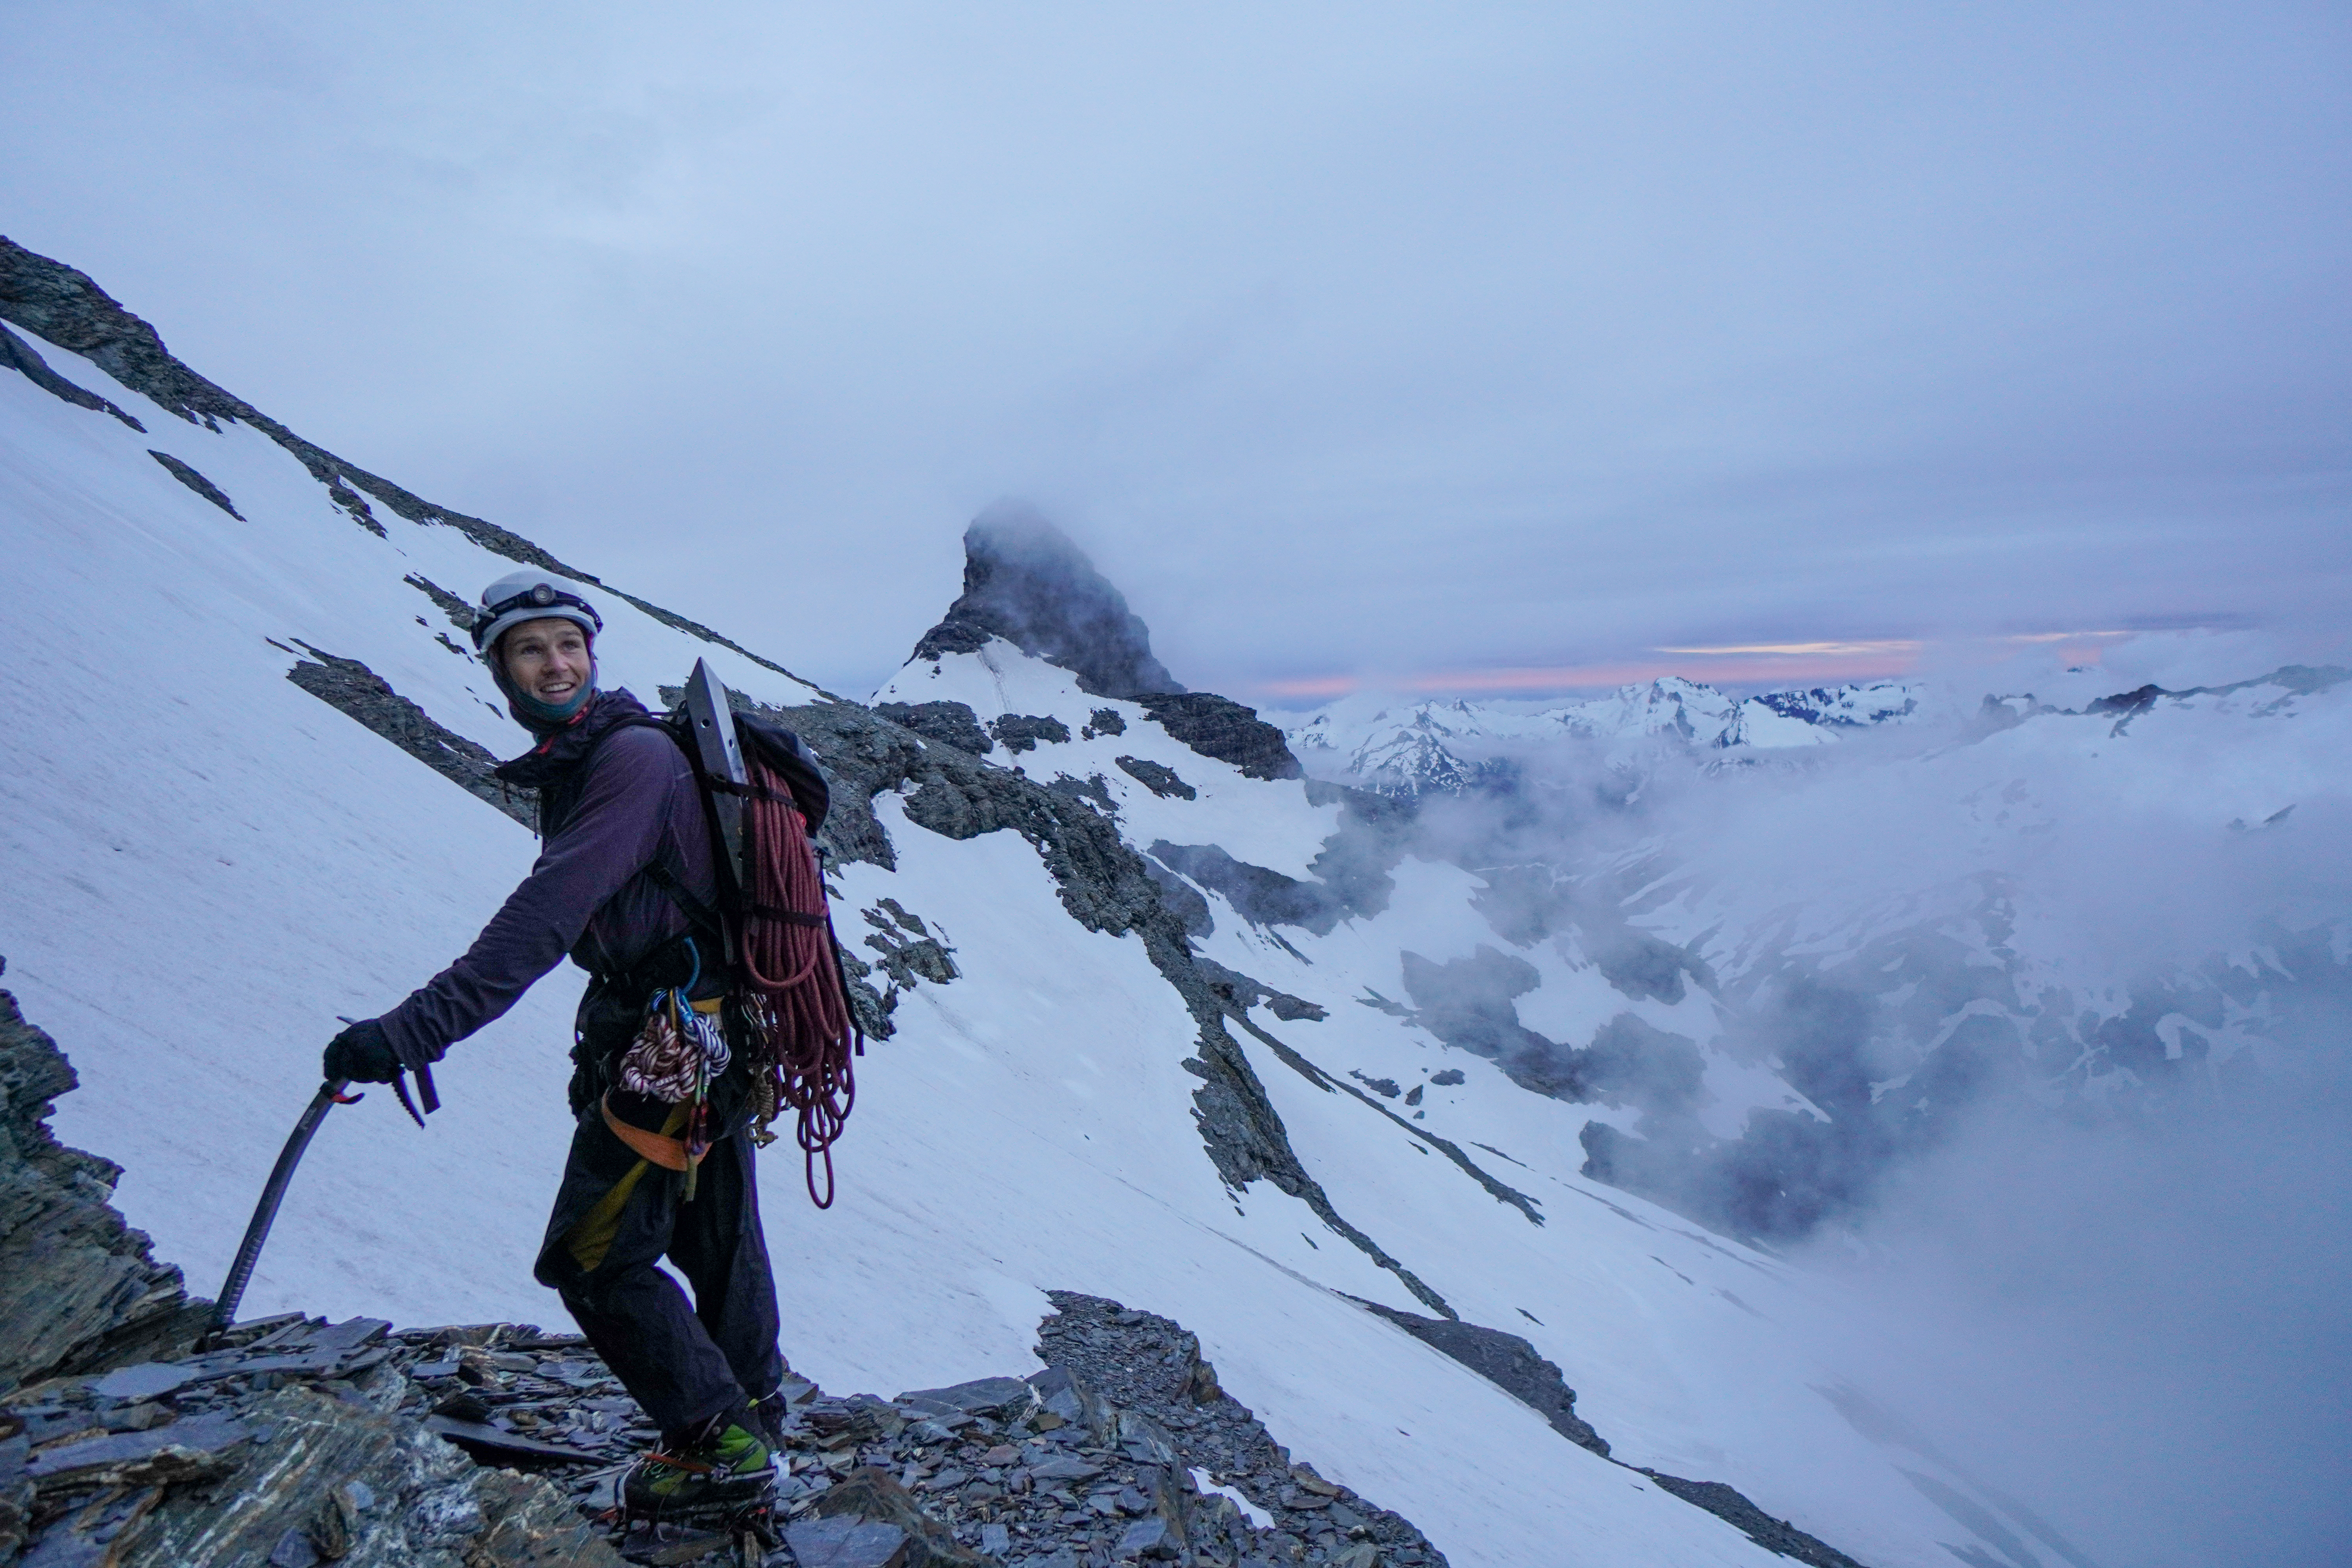
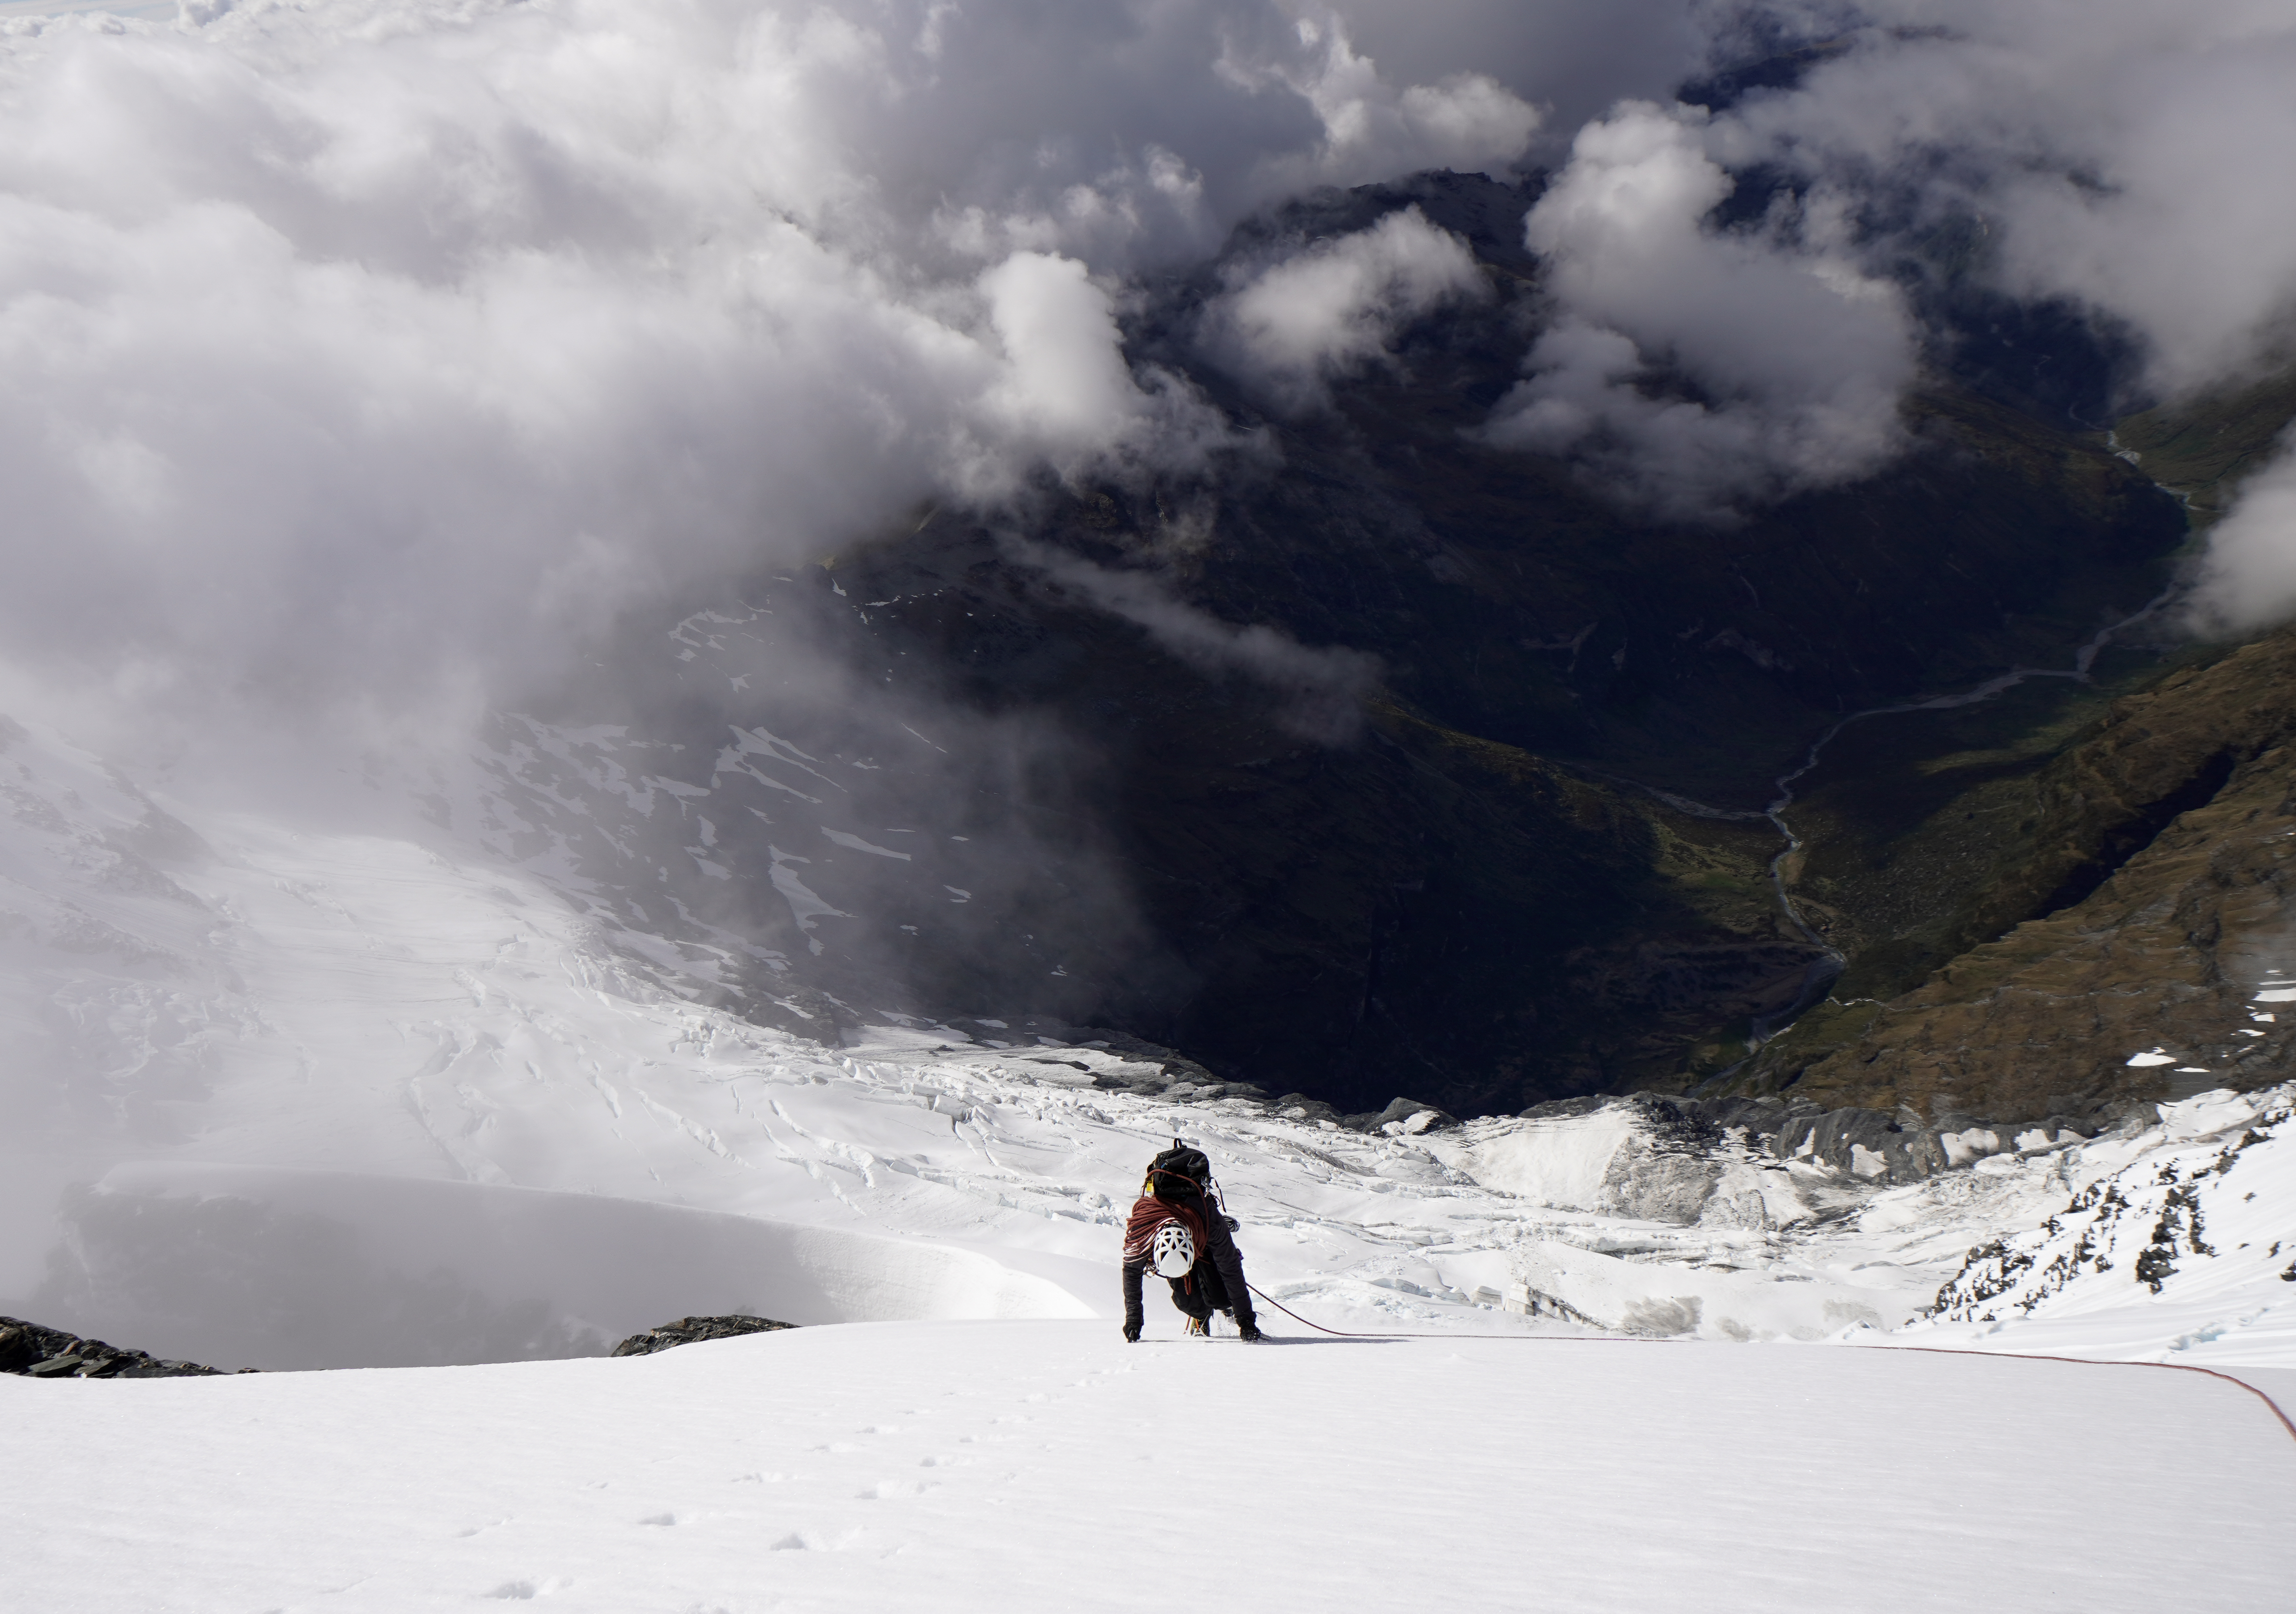
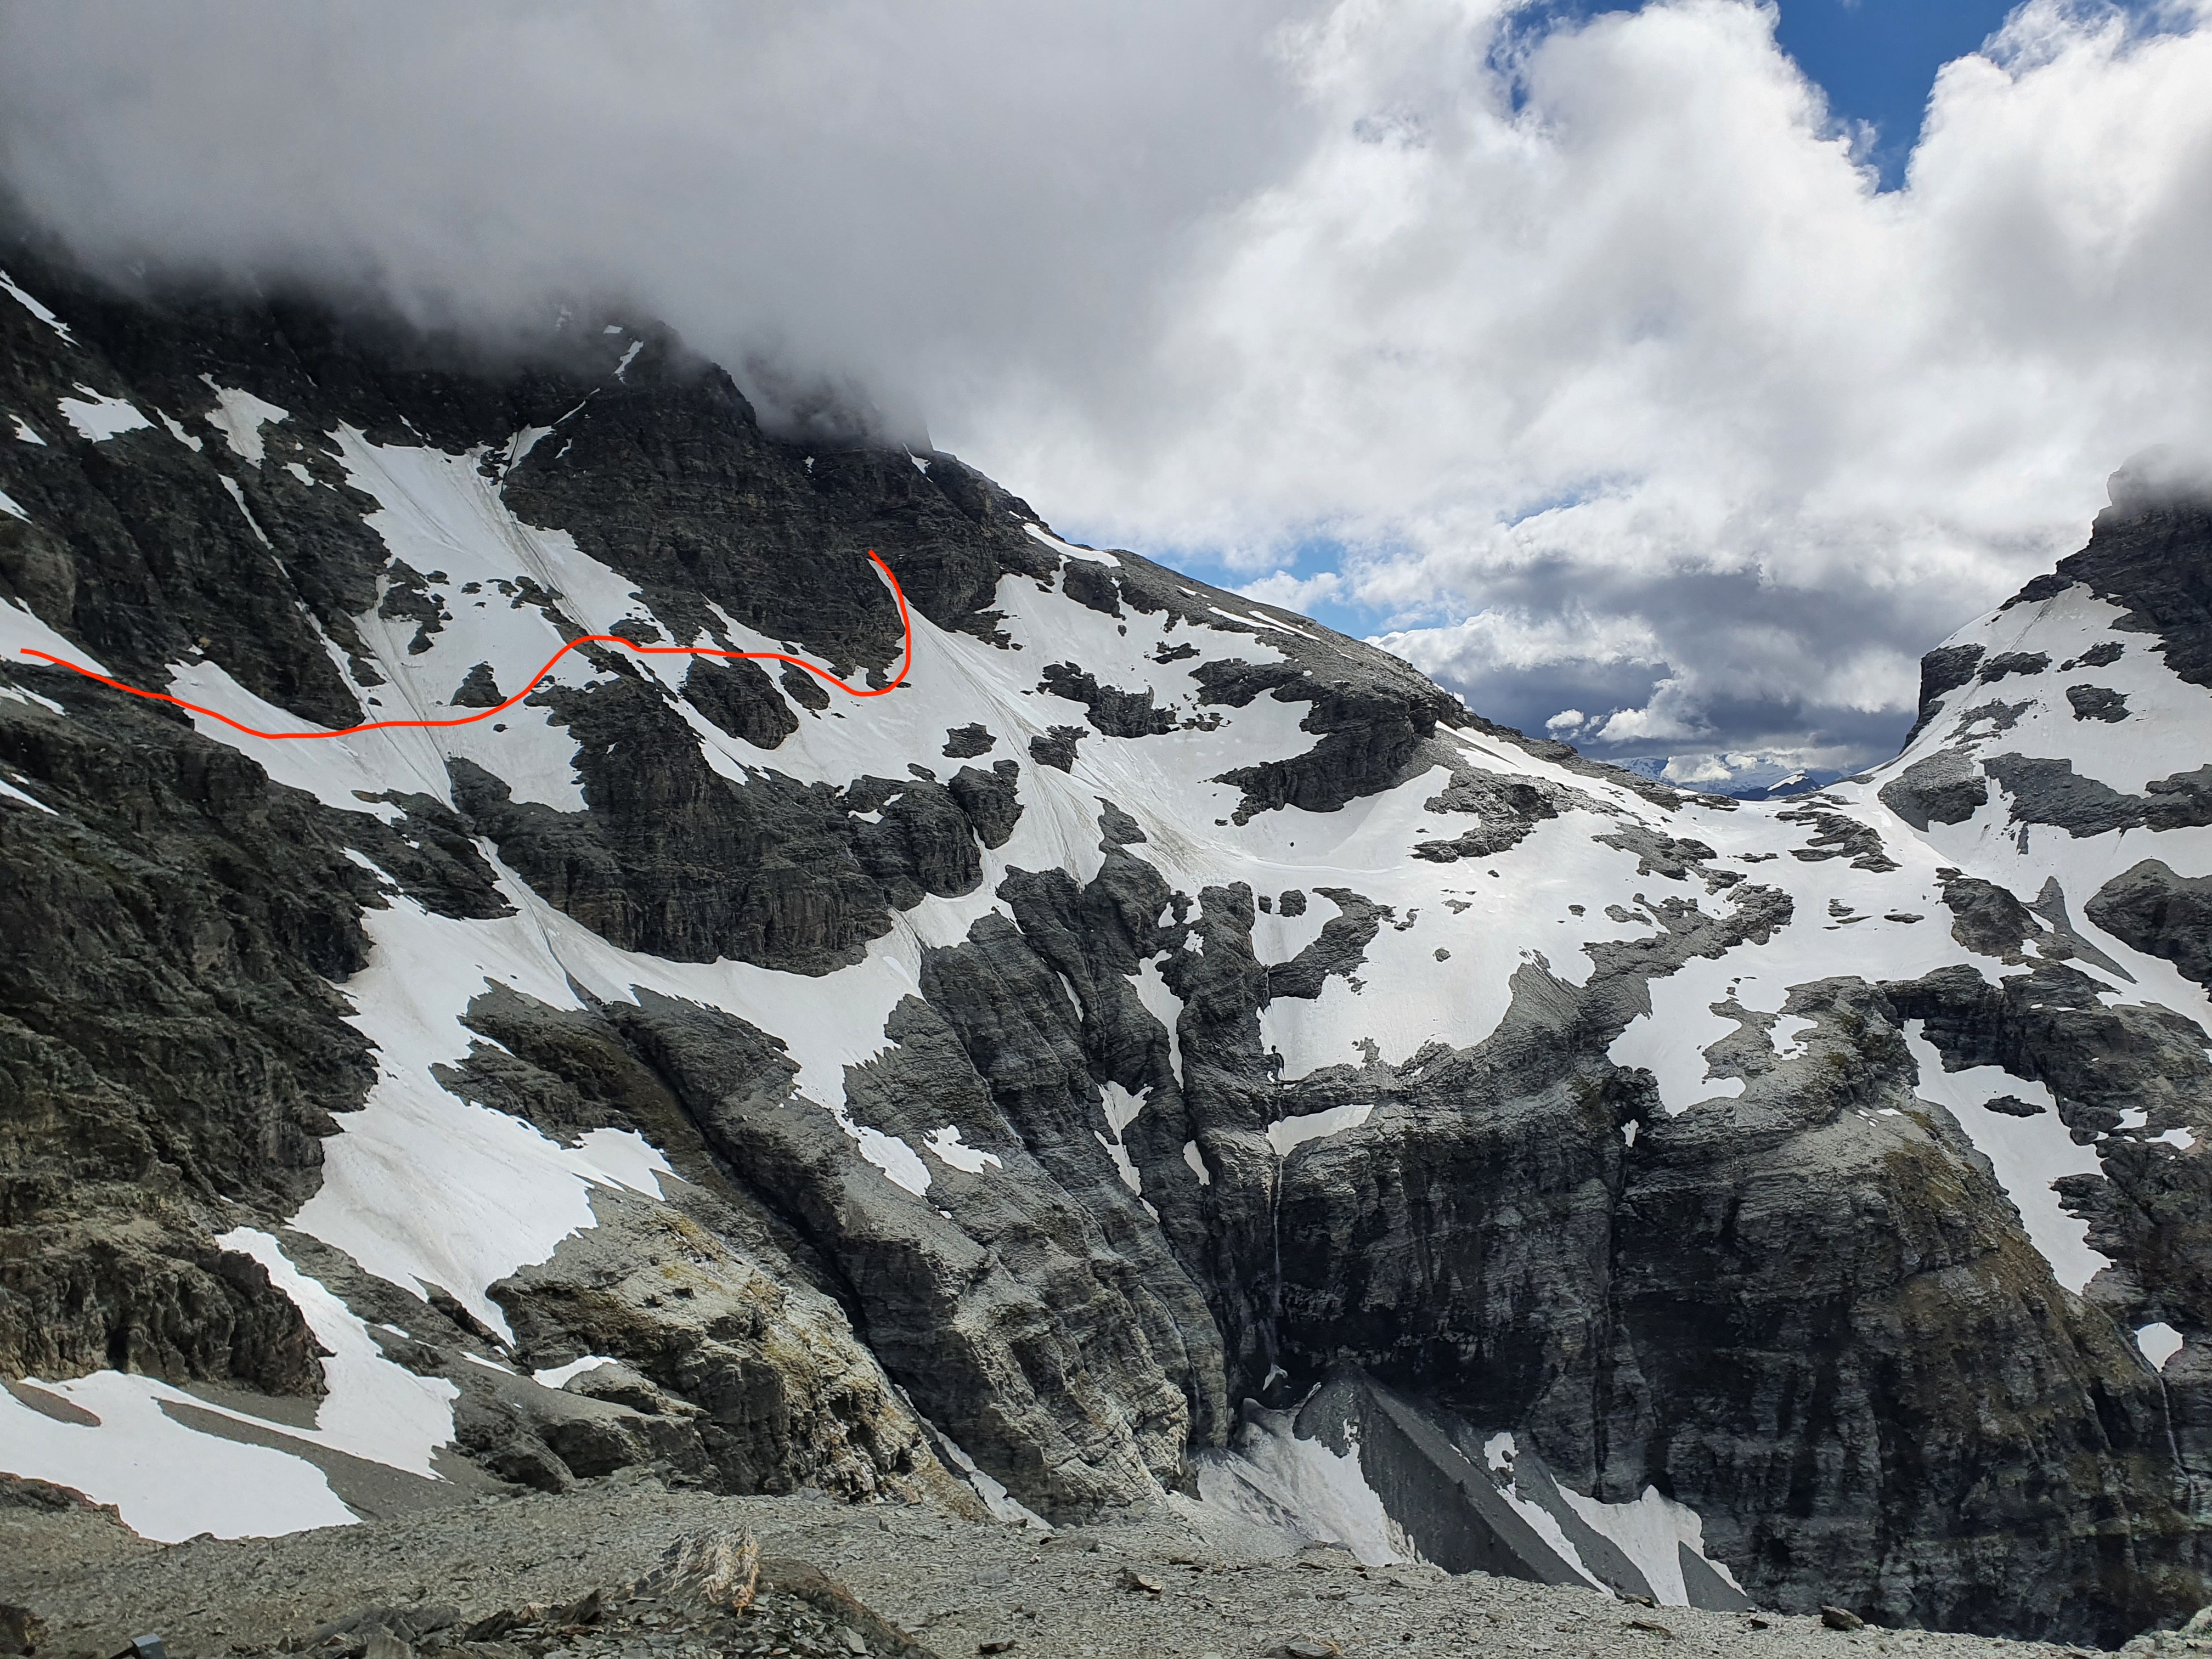
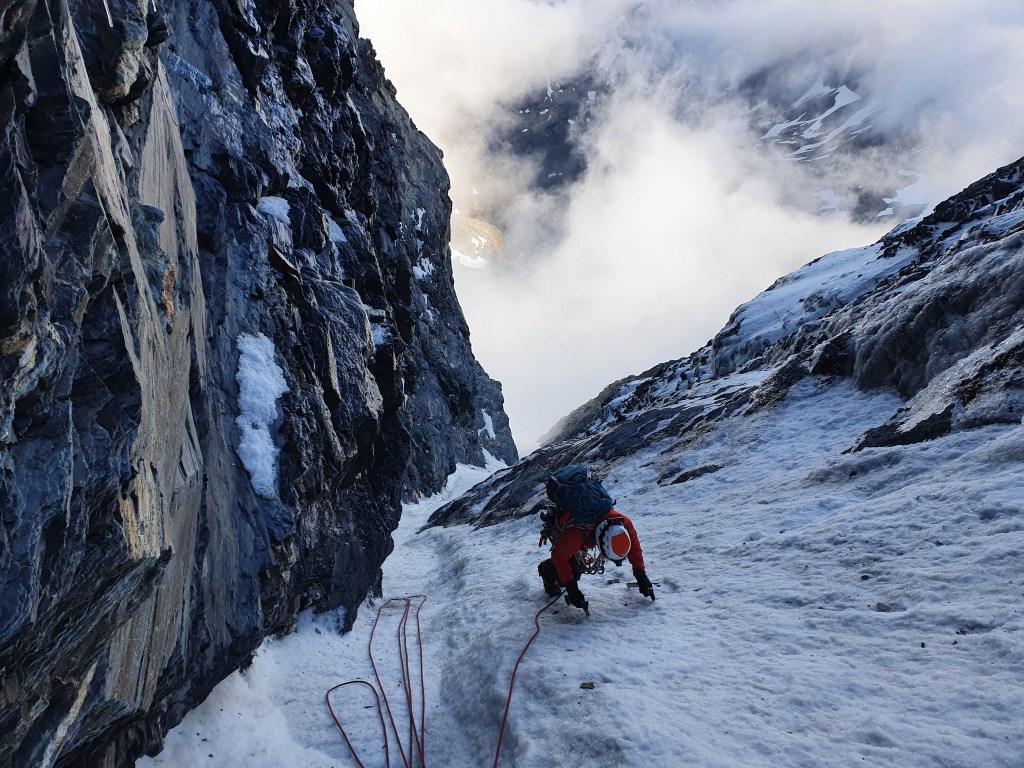
We set off at 4am. From the biv, traverse around under East peak to the bottom of the couloir at the base of West peak. This is a roughly 40 degree slope which as you can see from the photo has some serious exposure under it. Even a small avalanche would be bad news and when firm, a trip would result in you sliding down off the cliff so be careful. The exact route across depends on the state of the snow – the route we took is marked in red below.

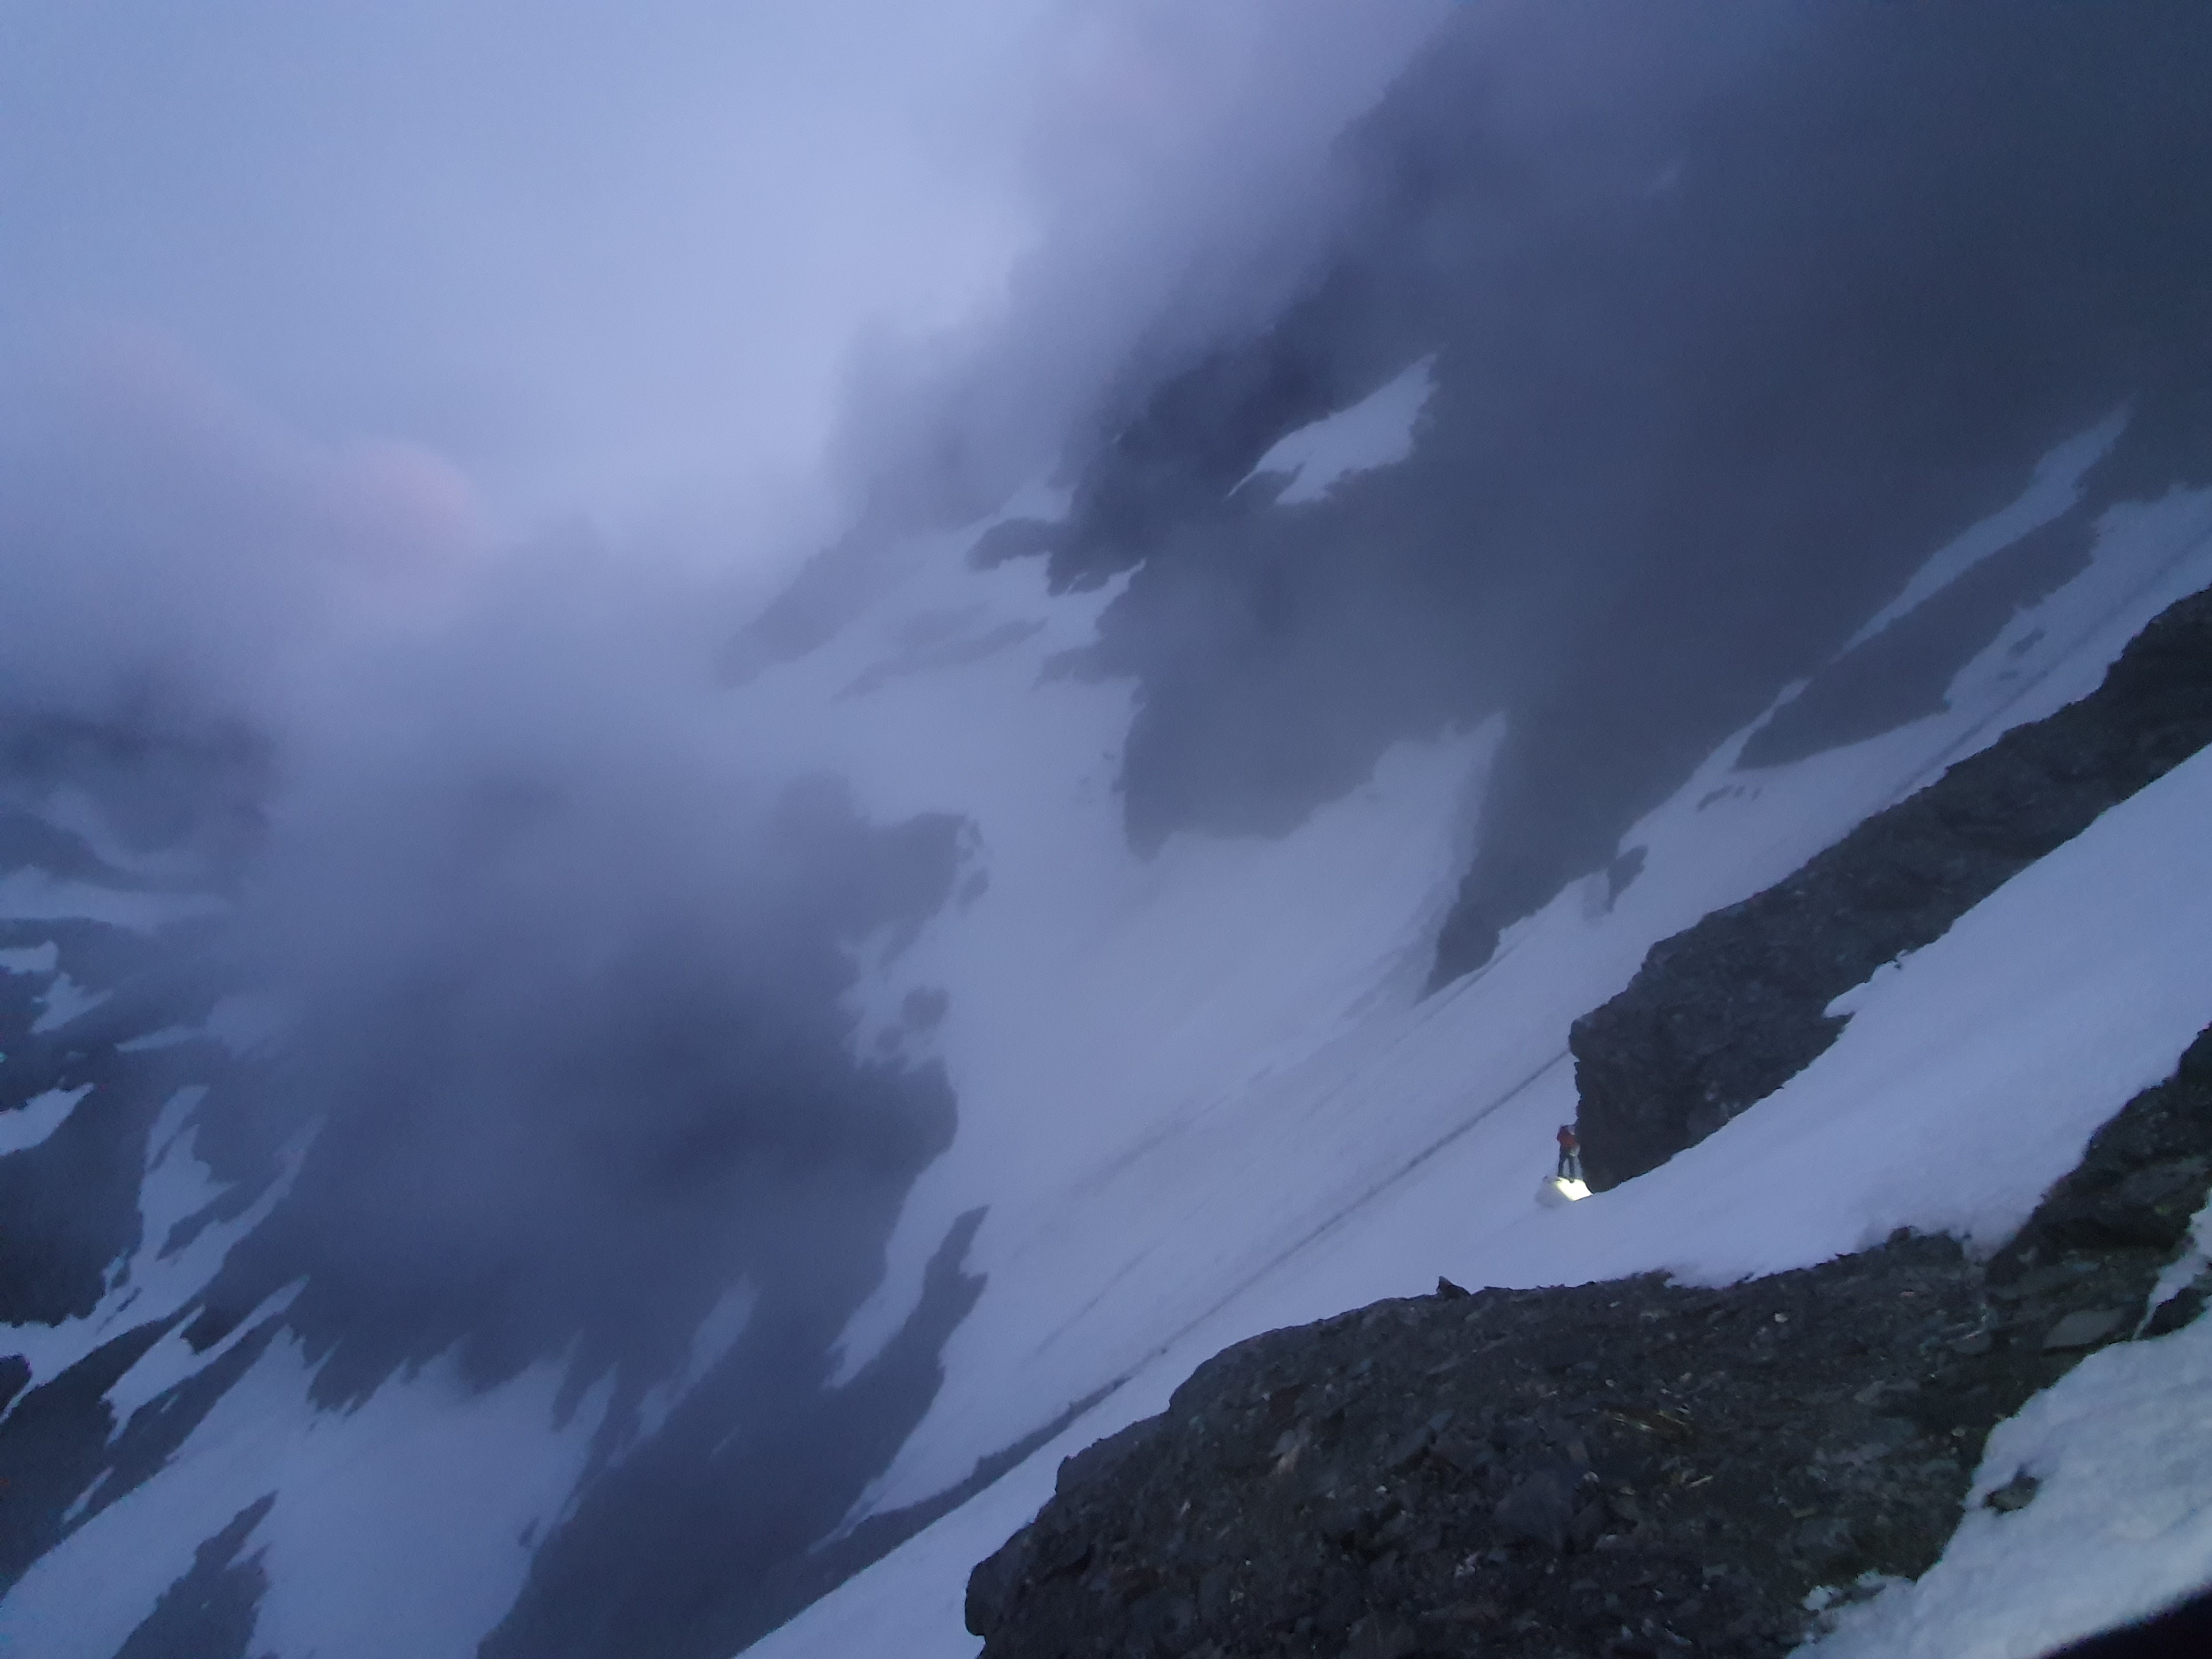
Once you get to the base of the couloir start heading straight up. 40 deg steepening and narrowing up to 45ish at the top. For the final 250m we had 4 pitches of good quality solid WI2 ice up to the top, protected with a combination of screws and rock pro on the couloir wall on the right.

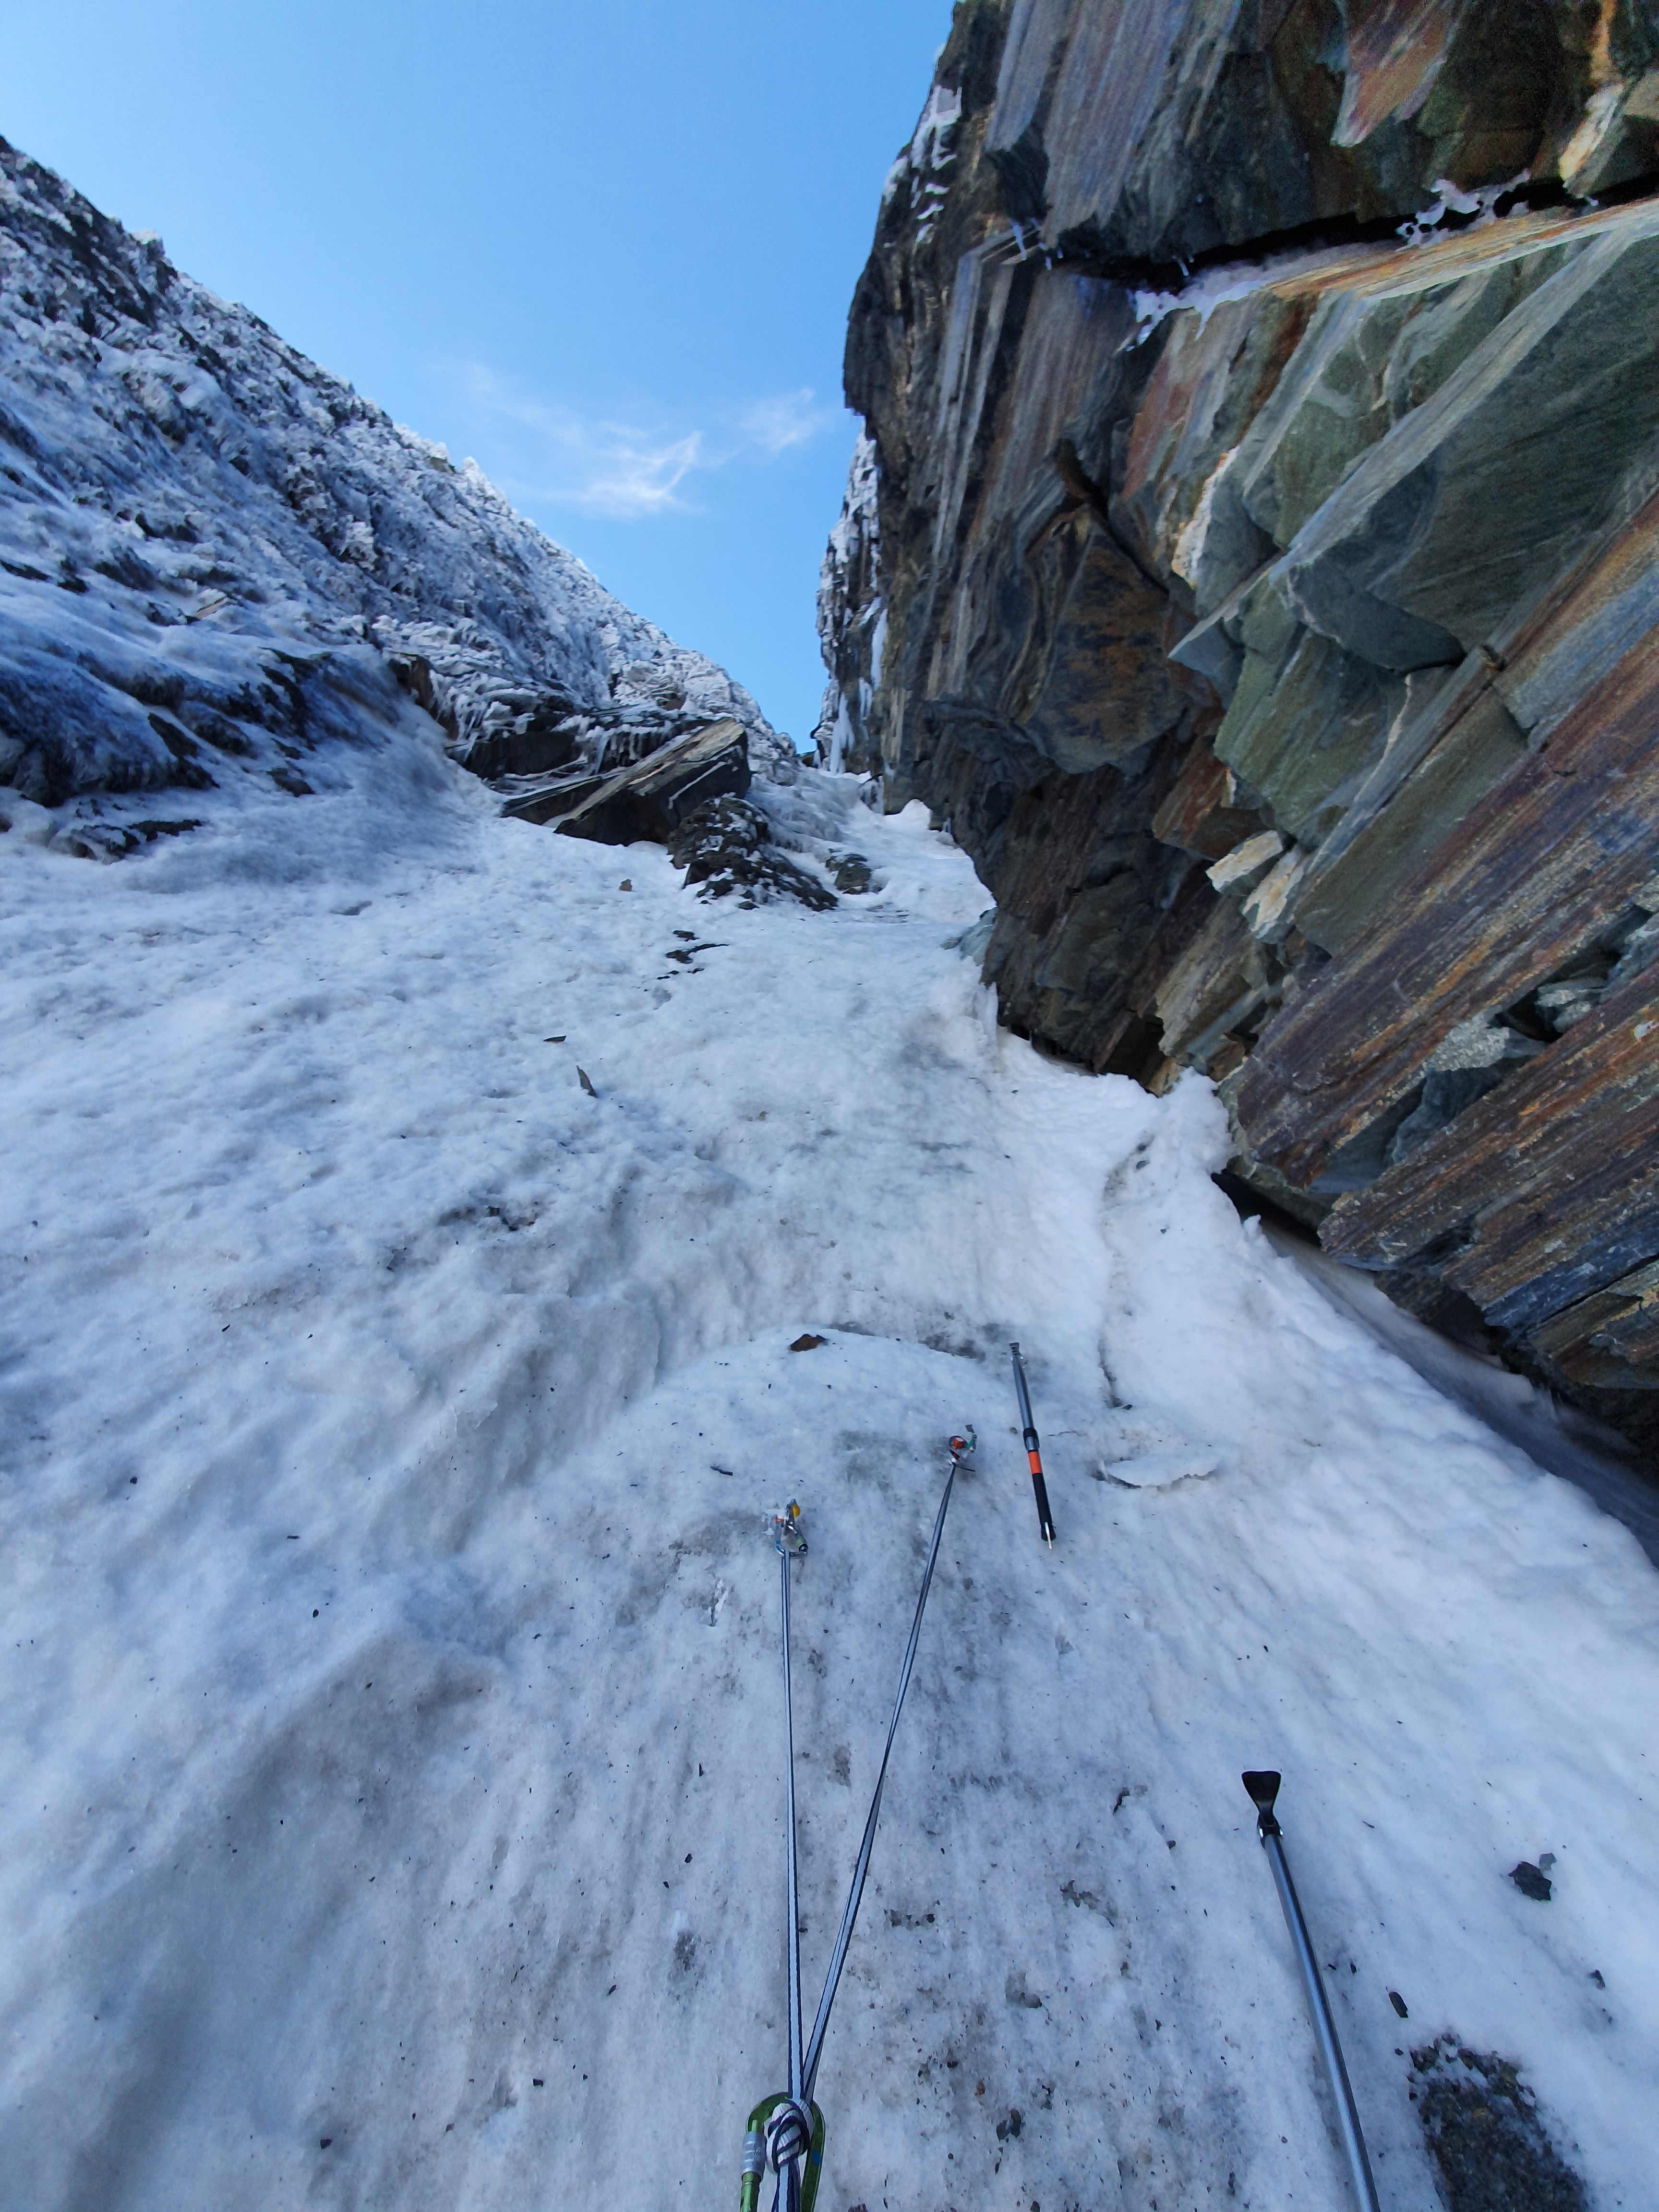
We were surprised how good the ice was in there at this time of year, but the couloir is so deep it obviously never gets the sun. That being said, the walls and the top most definitely do get the sun and once it started getting warm the gully turns into a shooting gallery and was filled with old rockfall so aim to be out of the couloir by then.
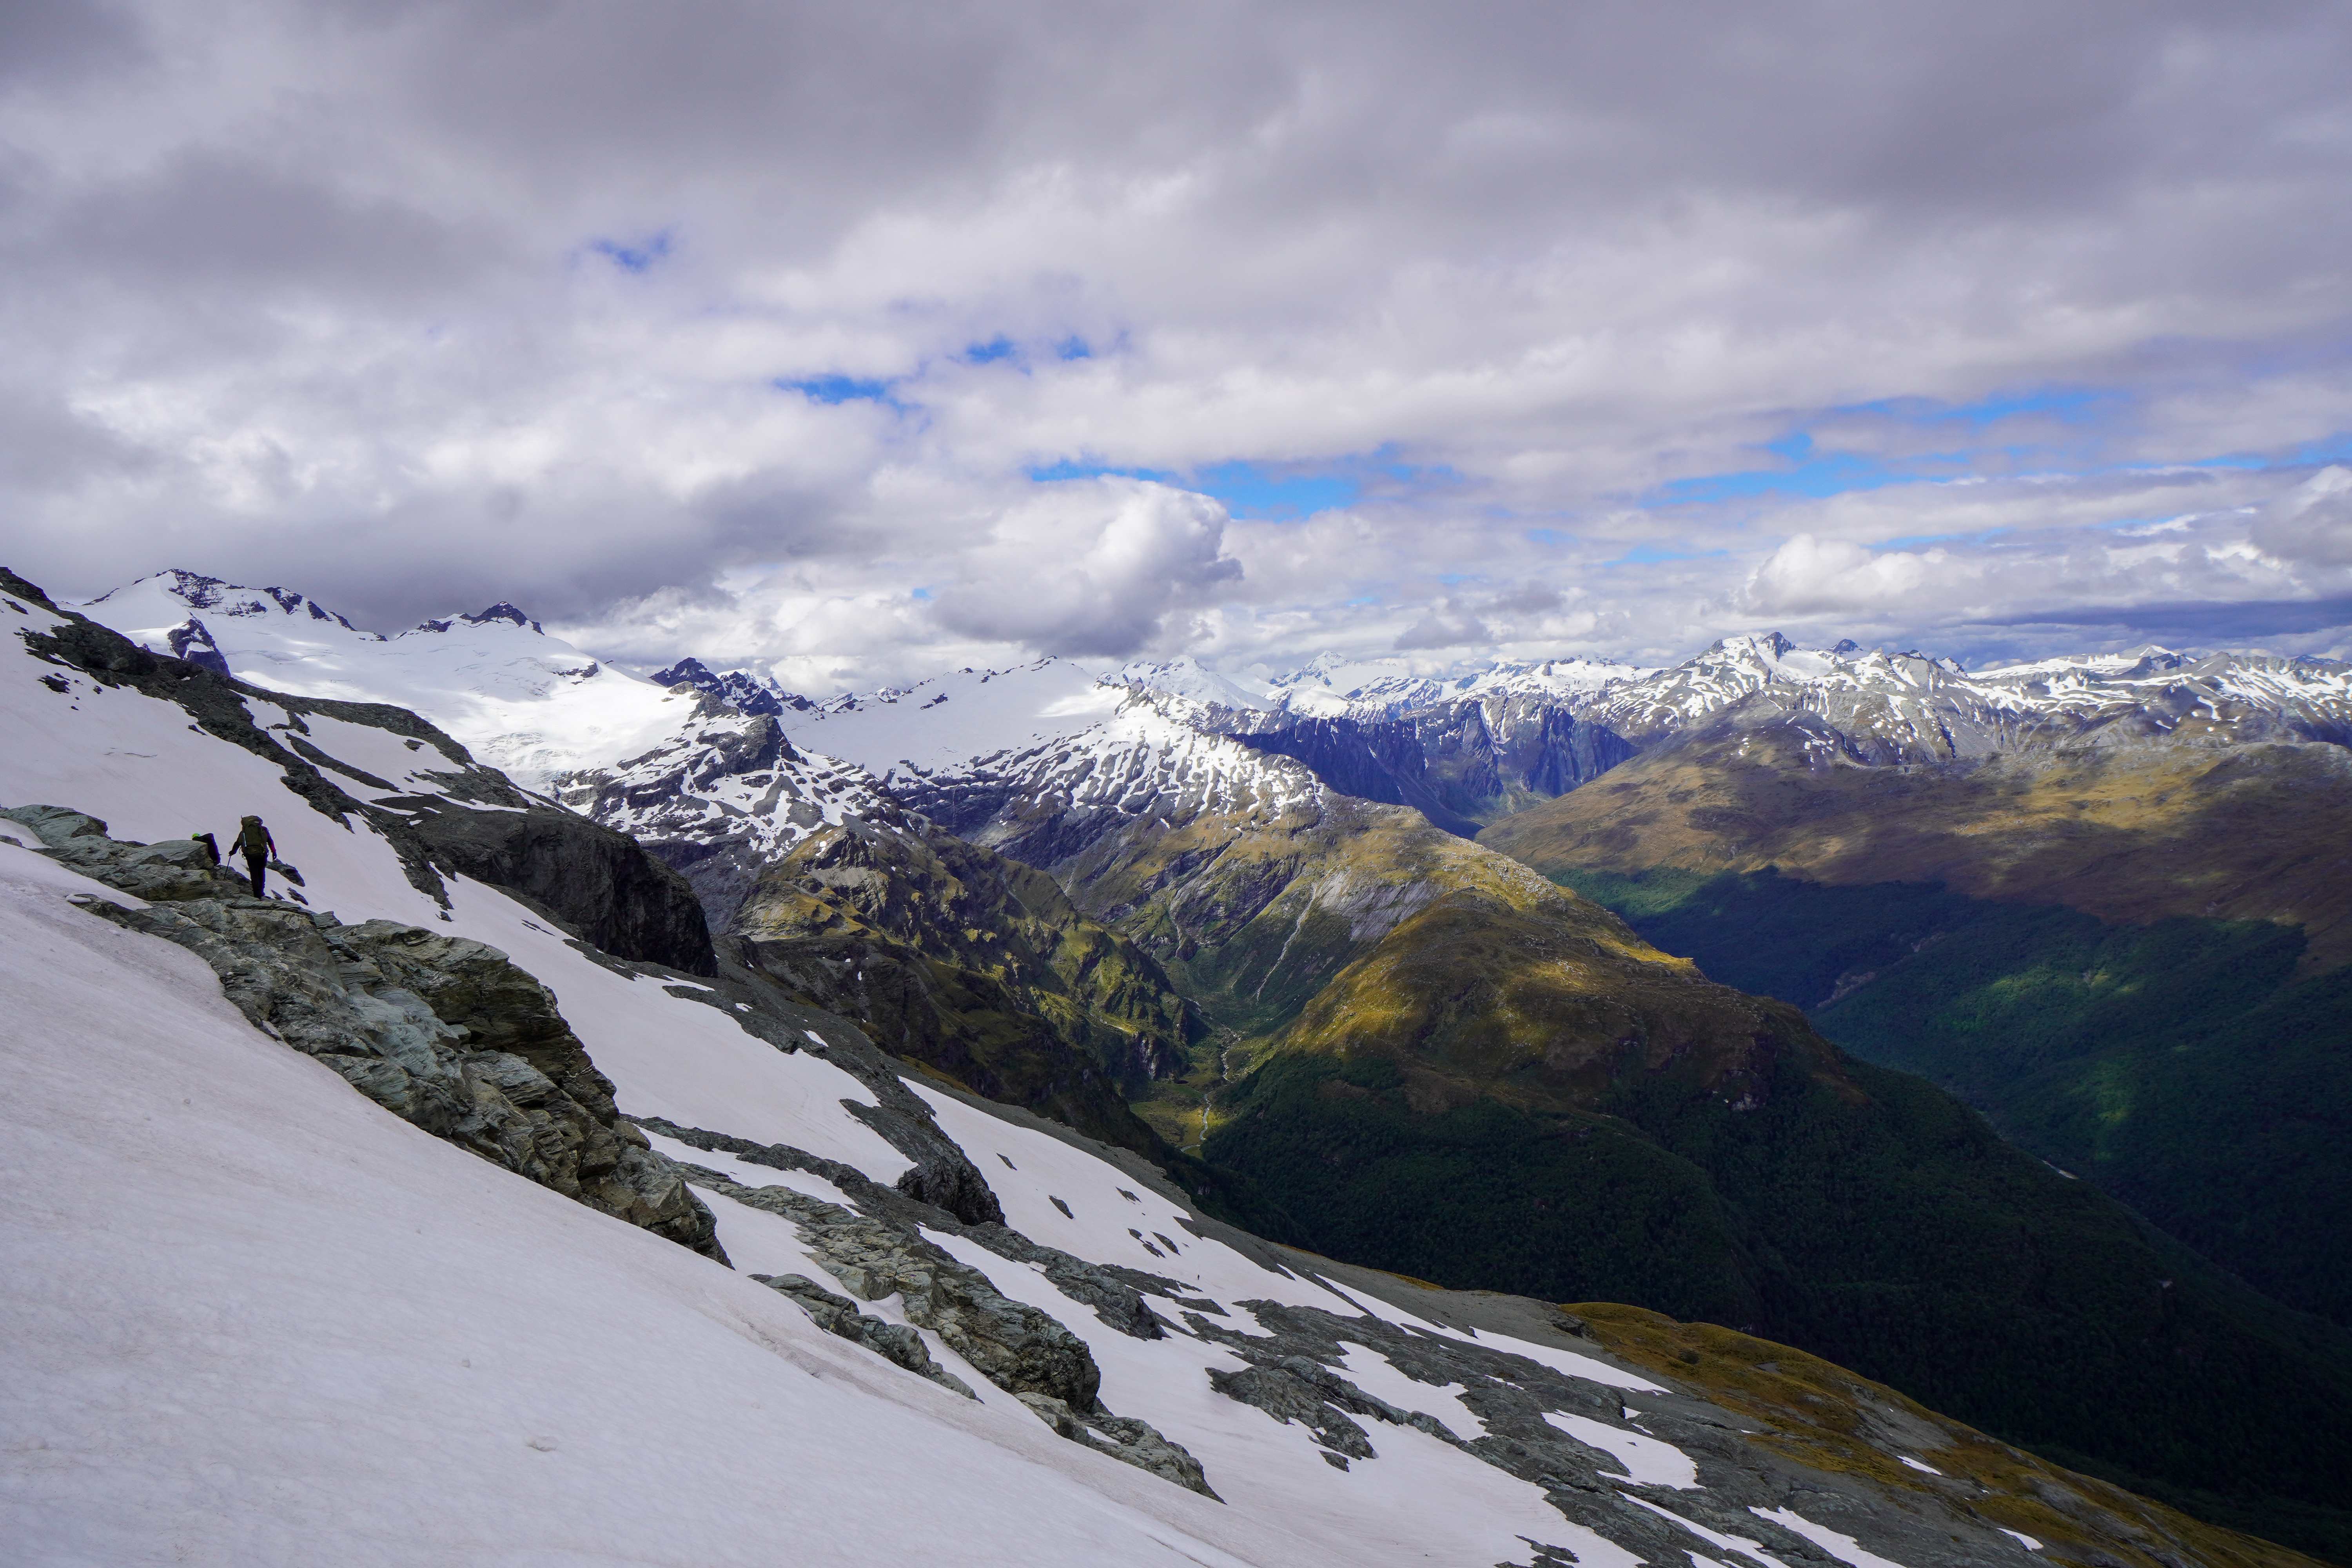
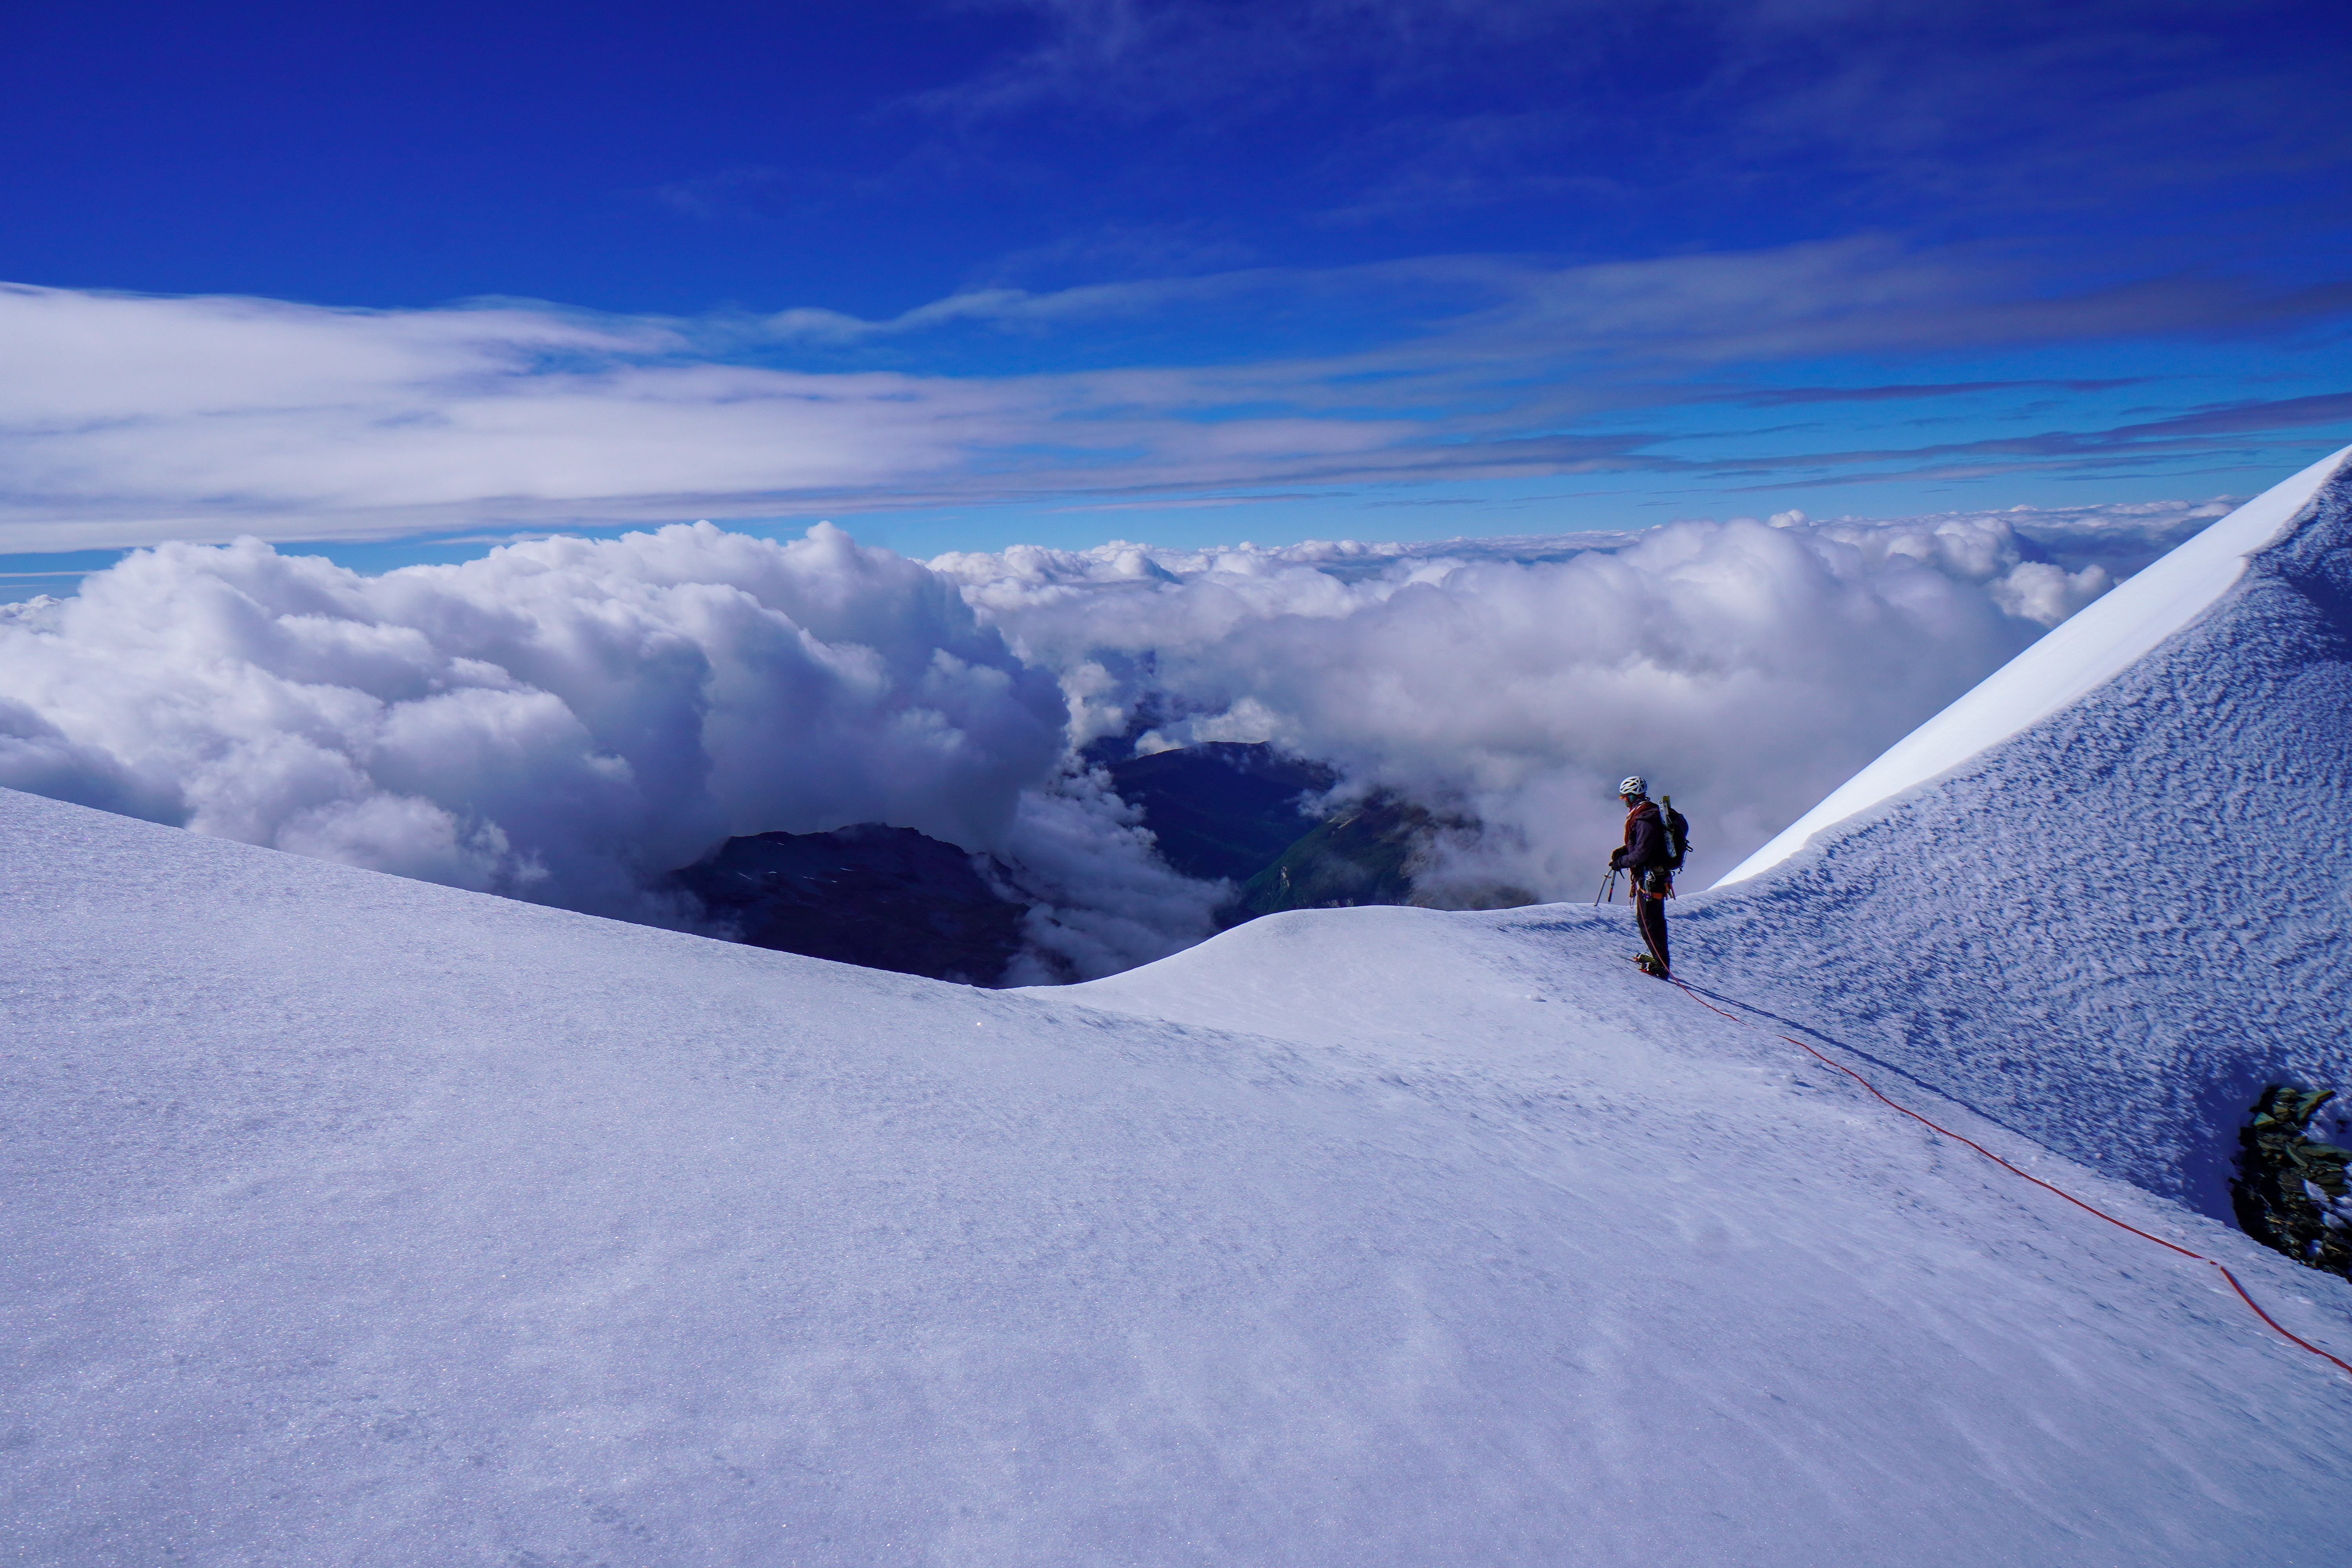
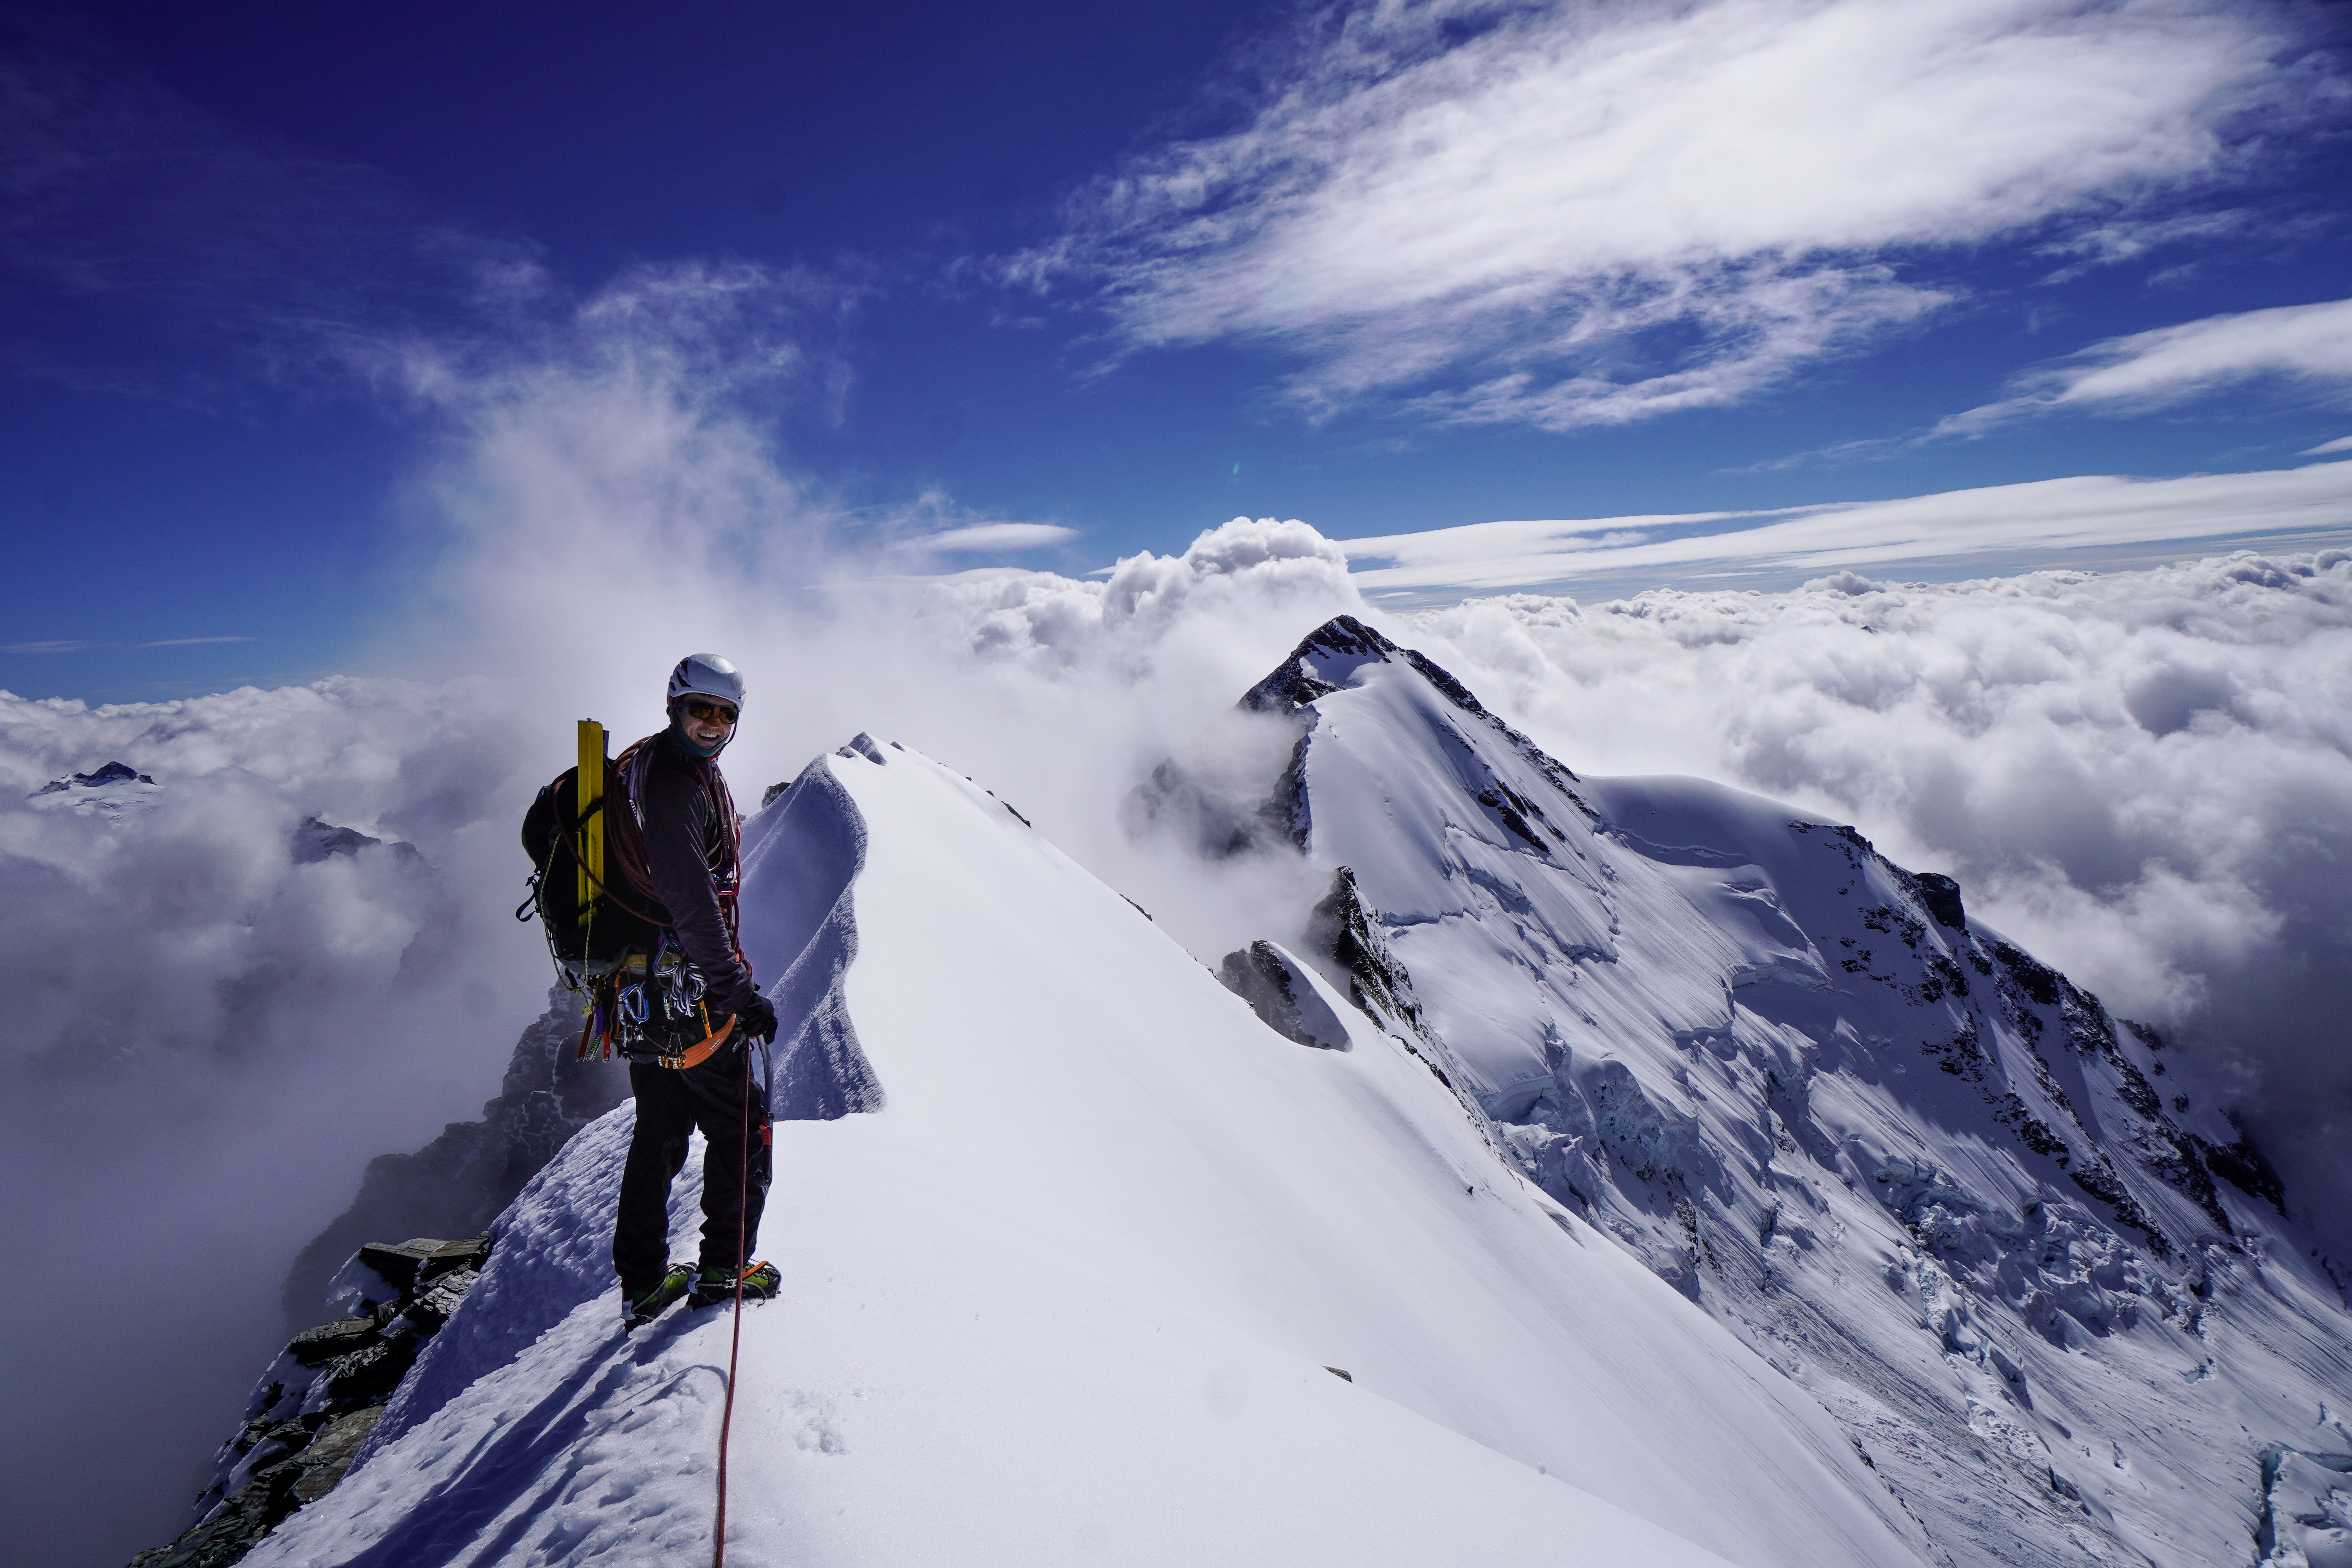
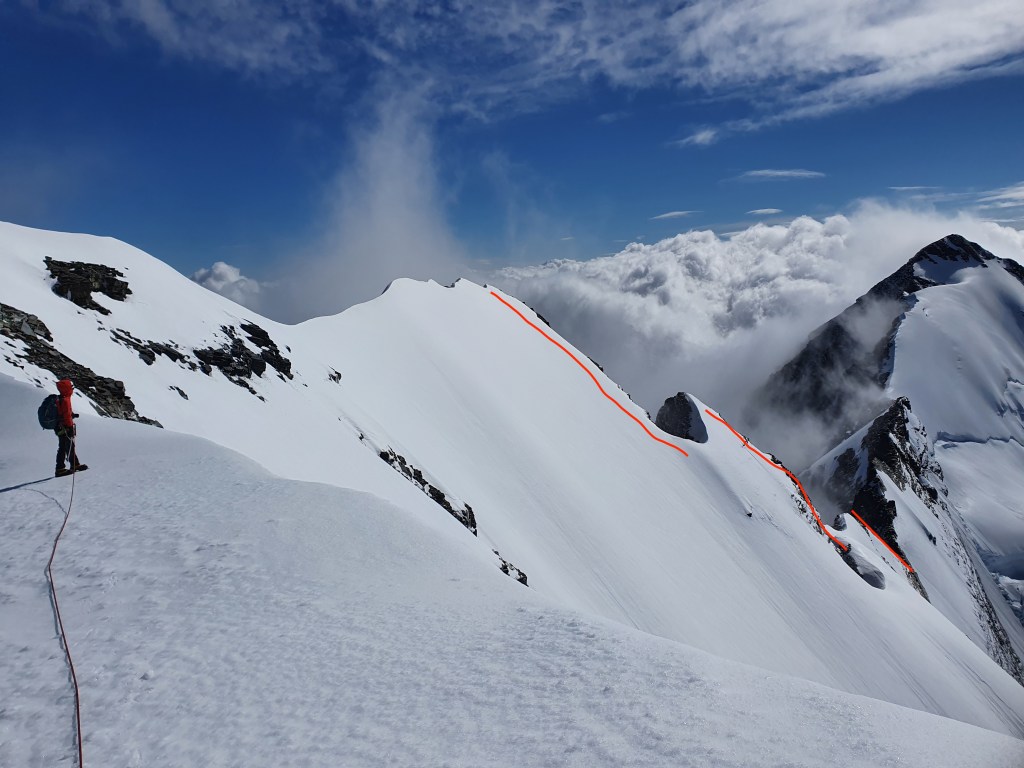
Also bear in mind if you decide to bail and come back down this way, you’re going to have to wait until it gets cold again and freezes up before you descend. We left the hut at 4am and were at the top of the couloir by 9:15, which was perfect. From the top of the couloir turn left and scramble up the rocky ridge to West peak and soak up the epicness of the views.

We wandered SW from here to point 2664 (partly because it looked cool but mainly because we got confused and thought that was the way to East peak… Which sounds pretty dumb but is not as obvious as you might think). Cruise along the snow ridge from West peak until you get to a col where you need to descend around 100m to the rocky part of the ridge. This is slightly E facing and so it catches the sun – was bulletproof first thing but had slightly softened so was a nice easy down climb for us but has some serious exposure so be careful – this spot is also very prone to avalanche. Some good bollards to rap if the conditions are more difficult.
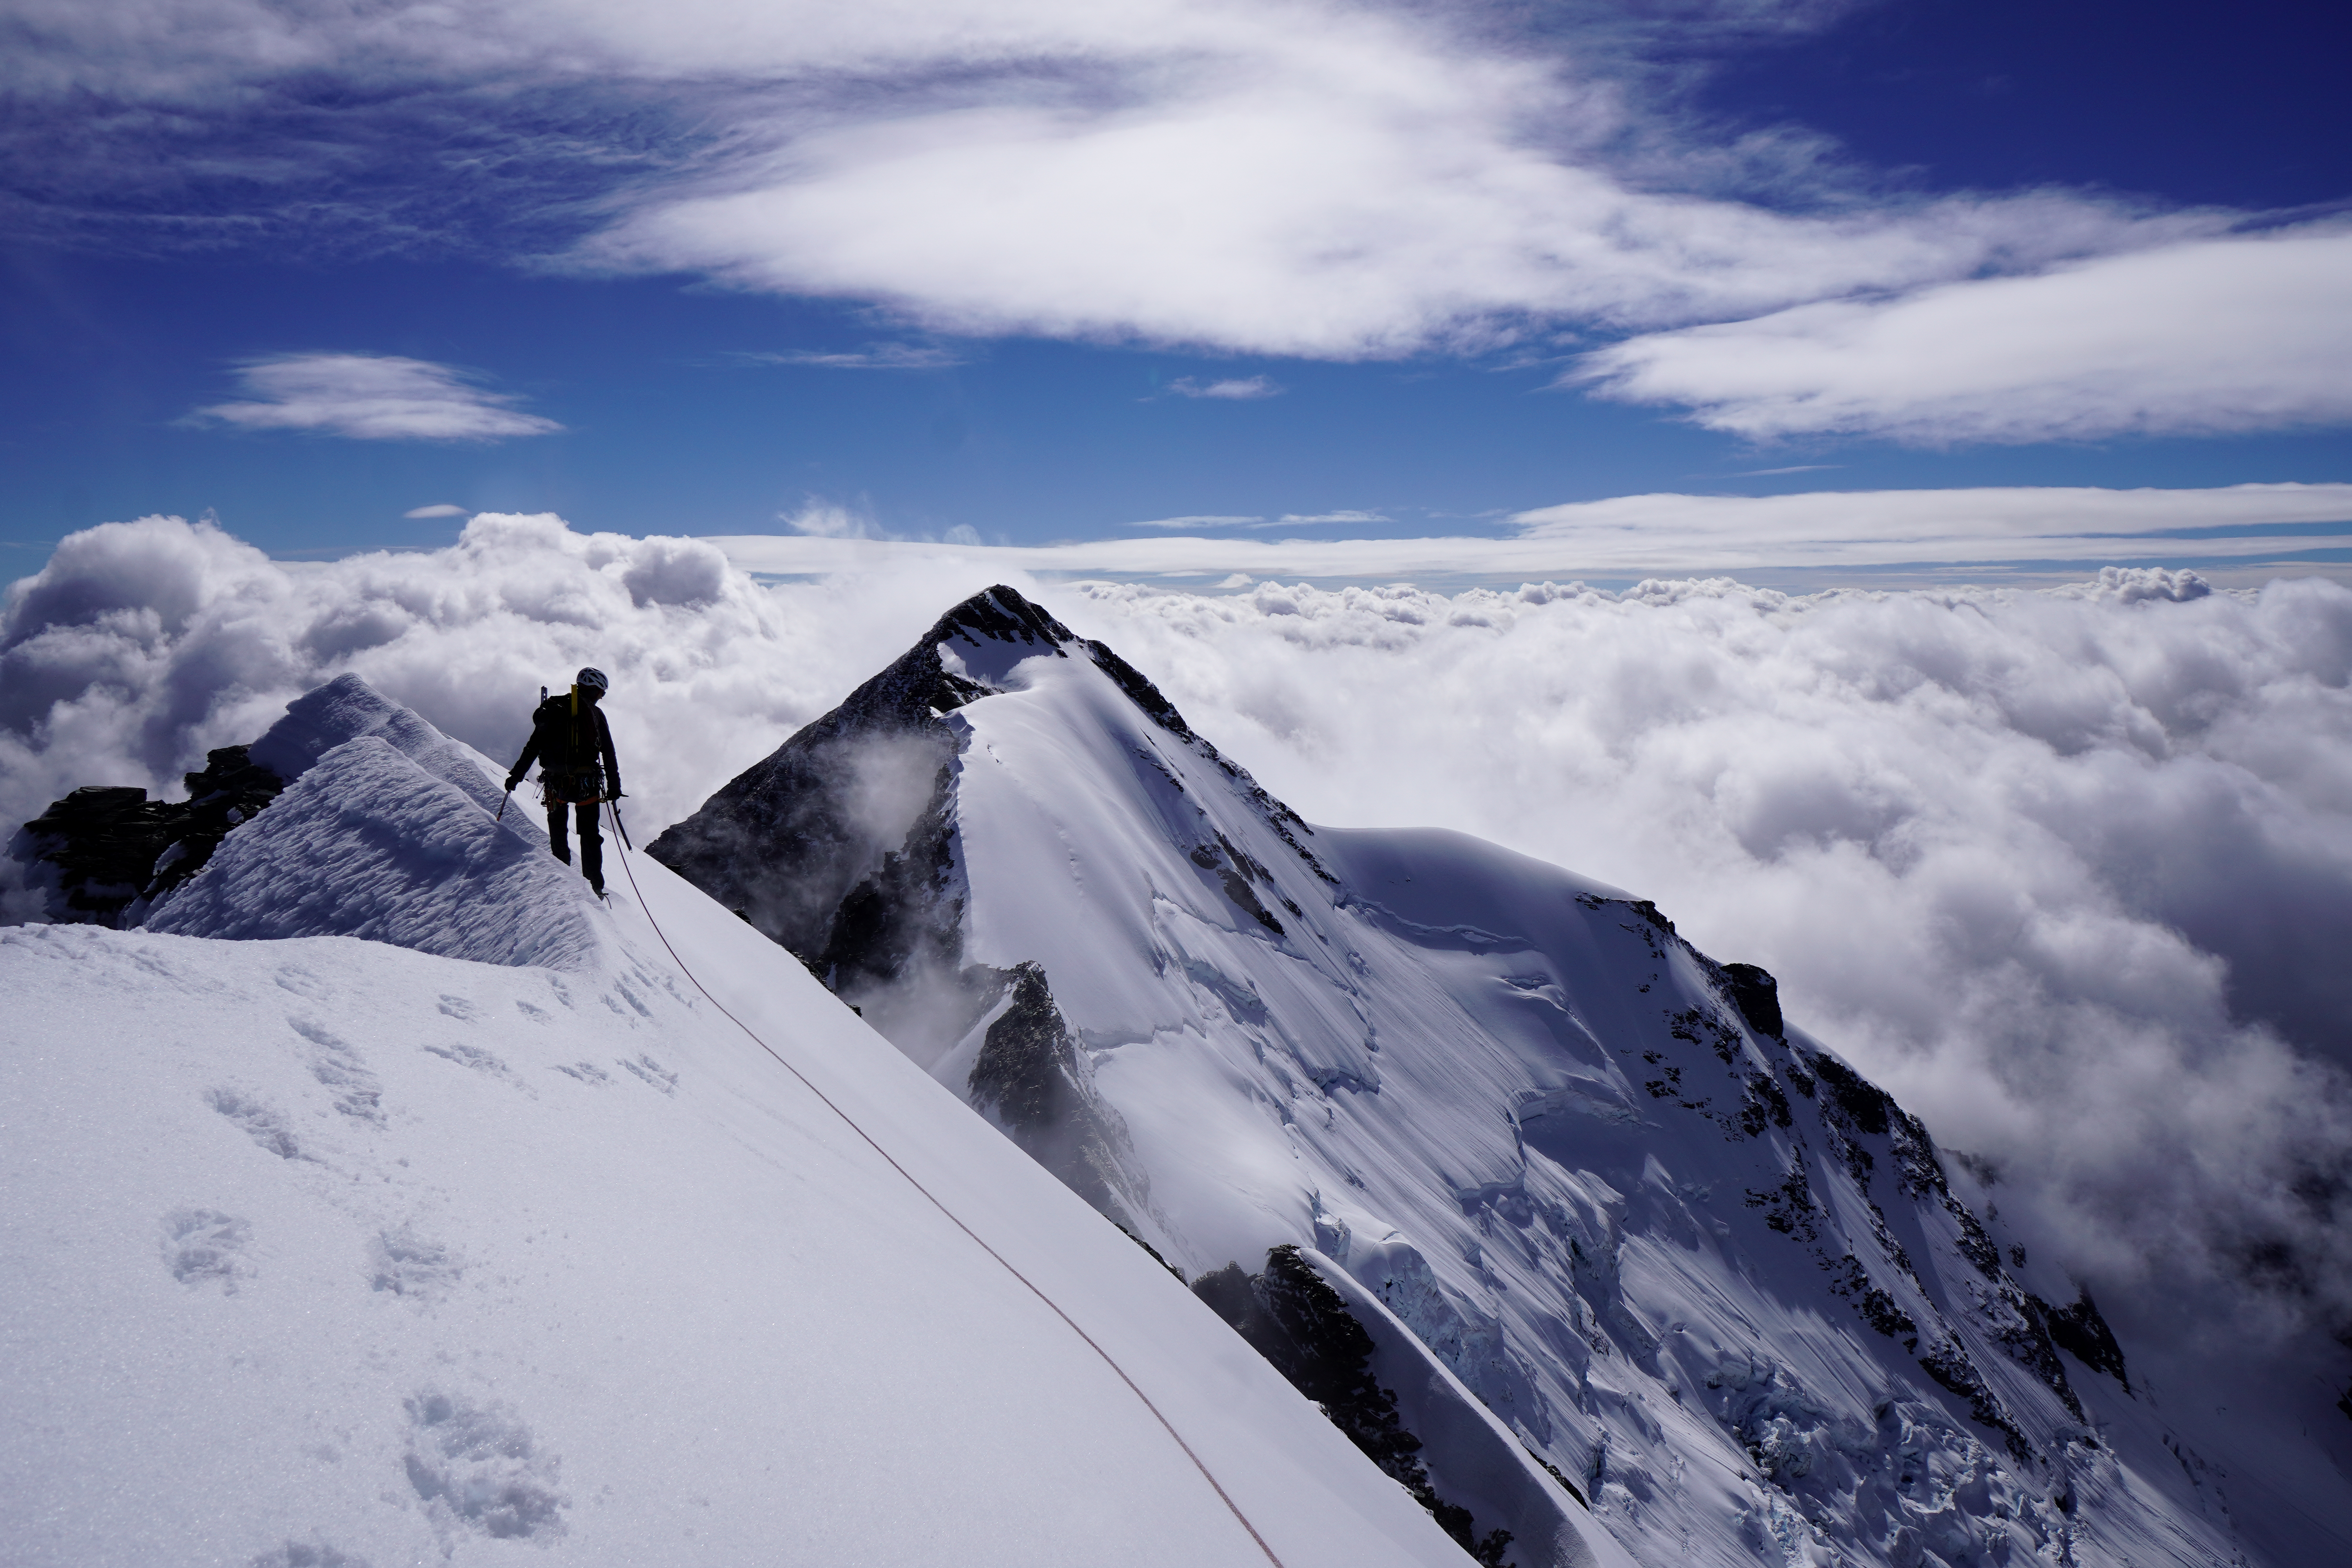
Now onto rock for the next km. Generally sound rock (but some very loose, very big blocks) around 3 large gendarmes. Really fun section of the route – easy scrambling which we simulclimbed with a running belay, but needed a couple of raps to descend several sections, especially from the first 2 gendarmes. From the 3rd gendarme, it’s a cruise to the final snow slope up to East peak. Soak up the views from East peak before descending the south face.
Descent
The descent can be tricky from a route finding perspective if you haven’t gone up that way. It pays to take a good look at the face from the hut and take some pics before you set off to avoid getting bluffed out. There’s a big gully in the middle of the face that you come down with bluffs on both sides. From the summit, stick to the ridge to the east of the summit and follow this down heading NE for around 100m before turning to head north down the face. Keep some spare tat for if you go wrong and need to make an extra rap here.
We had a dirty soup/noodle stop at the biv before bracing ourselves for the walk out. By the time we got down to Kea basin, our boots were not our friends so we hiked the rest of the way out barefoot!
To do the traverse and the walk out to the car took us 17hours 30 min.
Our GPS track available below in GPX format to download!